Microsoft Photos: How To Create A New Video
Introduction:
Microsoft Photos is present in Windows 10 ( Version 15063.0 and above;launched with Fall Creators Update). With Microsoft Photos you can organize, edit and share your memories. Movie making is easy, you can pick a theme, pick a soundtrack, add text or sub-titles, add filter or 3D effect or, automatically generate a movie with one click. Your story telling becomes so vivid with Microsoft Photos. In this WiKi article how to create a new video from start to finish will be discussed.
Steps To Follow:
Creating a basic story telling clip:
- Open Microsoft Photos.
- Click Video projects and click Create tab.
- You will get three options:
- Automatic video with music
- Custom video with music
- Album
- Select Custom video with music.
- Now select the photos with which you will make the video or, your storytelling.
- Click Create button again.
- Give a name to your video.
- Click OK.
- It will take a few seconds to create video from selected items.
- Now your video is ready, play it.
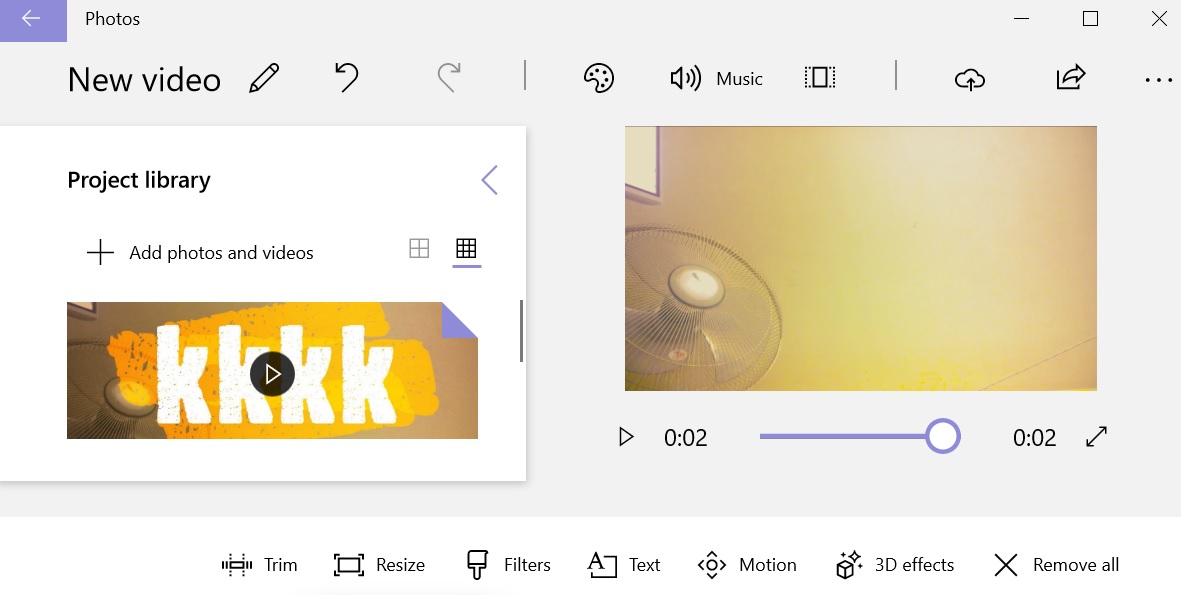
Editing Video:
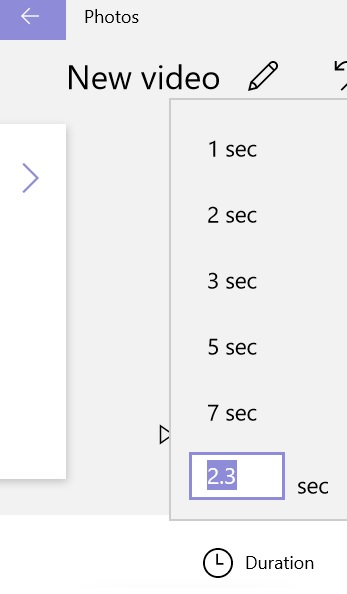
How to Change Duration of the Video:
- Click on Duration
- Change the duration to allow how long the video appears.
Resize:
With this option you can either shrink the video or remove the black bars.
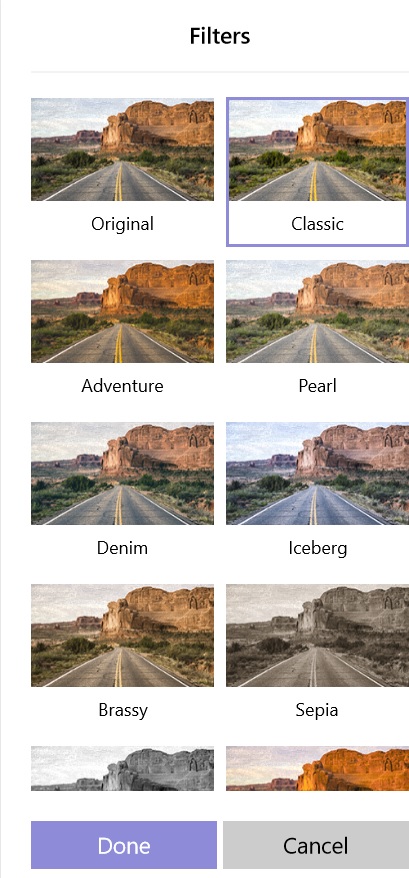
Adding Filters:
By adding filters you can provide a more attractive or, vivid presentation.
- Click Filters.
- Beside Original you will find the following filters:
- Classic,Adventure,Pearl,Denim,Iceberg,Brassy,Sepia,Inky,Energy,Joy,Loved,Pixel and Arcade.
- Select the right filter which will match along with your video clip.
- Click Done.
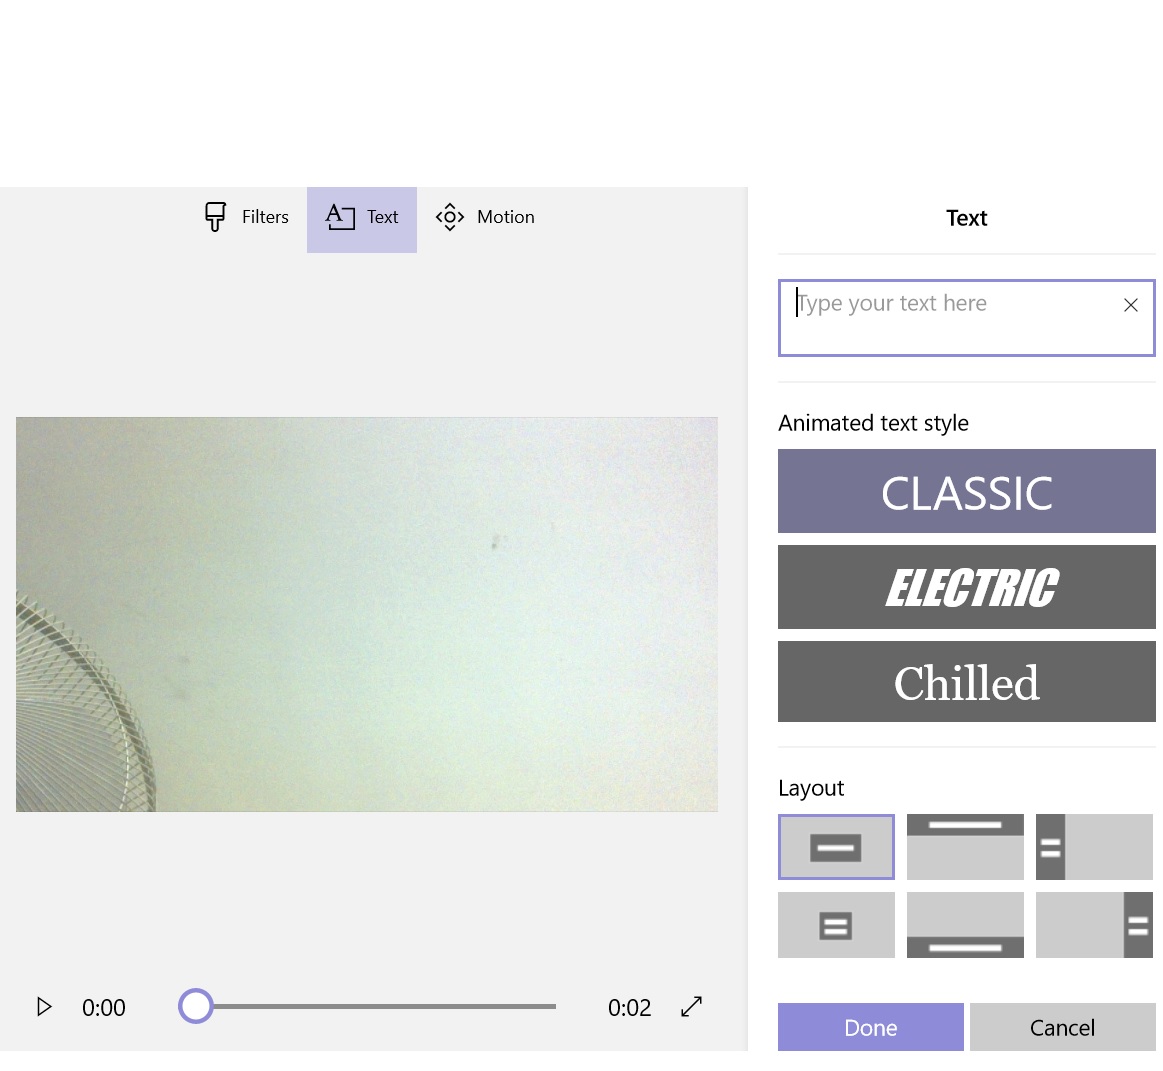
Animated Text:
This will allow how the text will appear in the video.
- In the blank box type the name of the video.
- The following animated text styles are available:
Classic,Electric,Chilled,Adventure,Loved,Joy,Pixel,Fresh,Poetry and Boom.
- Select any of the above and also select the layout to watch the preview of the animated text. If it is fine then click Done.
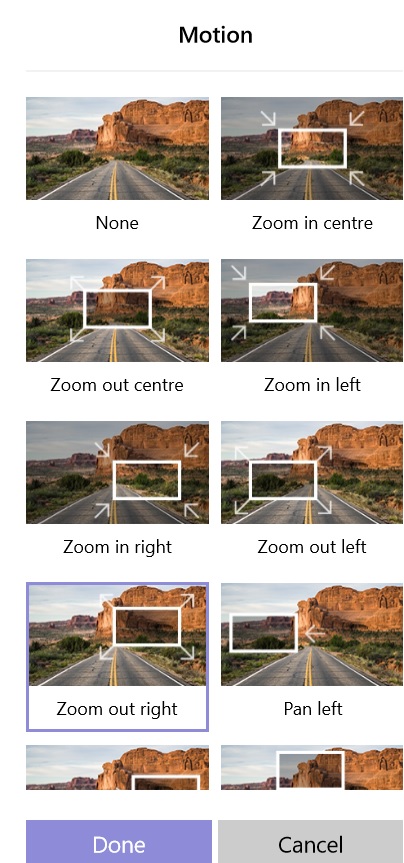
Using Motion:
Zooming in, zooming out, pan left or right, tilt up and down makes your video more effective and beautiful. Select the desired motion and apply the same by clicking Done button.
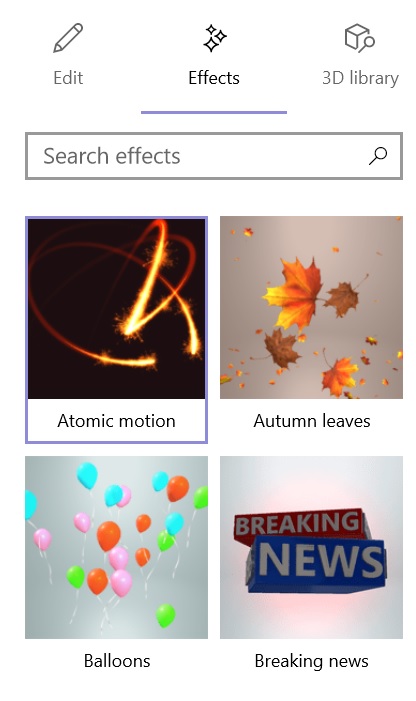
3D Effects:
Finally if you like to add 3D effects then you can do that.Select the 3D effect from the list.
There is a 3D library also from where you can select and add to board.
Change the Theme:
If like to change the theme of the video then click Theme icon.
Set a theme to unify your videos with filters,music and text styles.

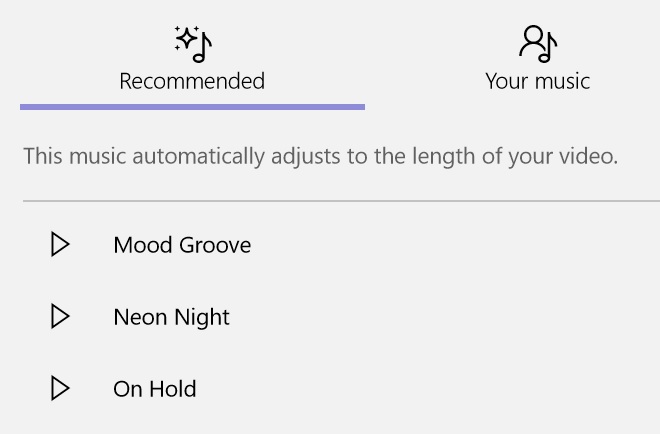
How to add Music:
If you like select music then click Music icon.
There is a library of music you can choose and listen to a specific music before adding that to your video.
If you like to add music of your own then click You music > Select a music file from your PC > click Done.
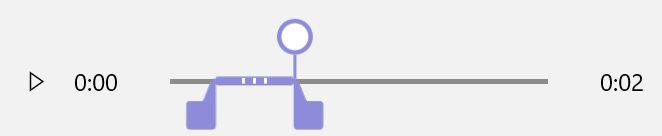
Trim the Video:
- Click Trim icon.
- Select the trim area, or the portion of the video you like to remove.
- Set the Start point and End point on timeline.
- Click Done to trim.
Change the Aspect Ratio:
You can change the aspect ratio of the video to 16:9,4:3 or,make a portrait size.
Export or Share:
- Once the video is ready select Export or Share.
- Pick the size - Small,Medium or, Large.
- The video will be rendered and encoded in **mp4 format **and saved in Picture Folder.
- Click Share to Copy file,Upload to YouTube,Mail,One Note or Skype.
