Azure VM: Merge Multiple Domain Controllers Into Azure Nested Virtualized VMs (Part 3)
Series
This article is a part of a series. (Part 1), (Part 2)
<<Part 2
Introduction
In part 2 we enable the Hyper-V role, set up the internet connectivity for the guest VM, and finally, we create the nested Virtual Machine. In part 3 we will see how to Install Windows Server 2019, enable and make the final configurations to the Domain Controller Role.
Windows Server 2019 Installation
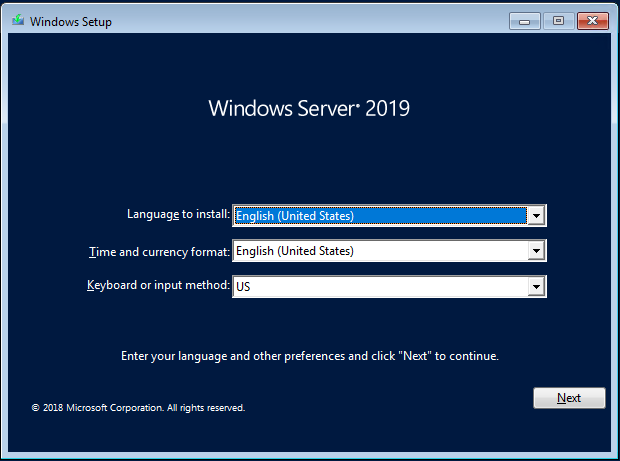
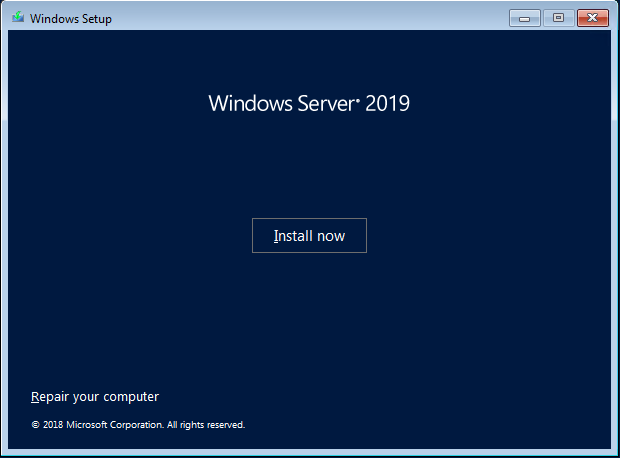
1. Select Language And Other Preferences
At the first step, select Language to install, Time and currency format, Keyboard or input method and Click Next >,
At the next form click Install Now,
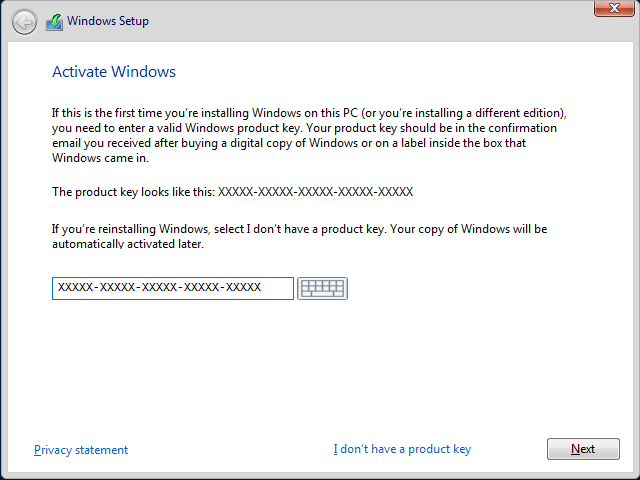
2. Activate Windows
At the second step, type the [Product Key] and click Next
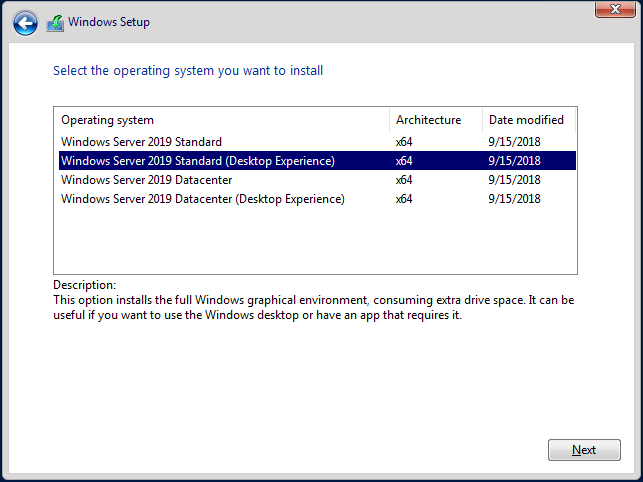
3. Operating System Selection
At third step select the operating system and click Next
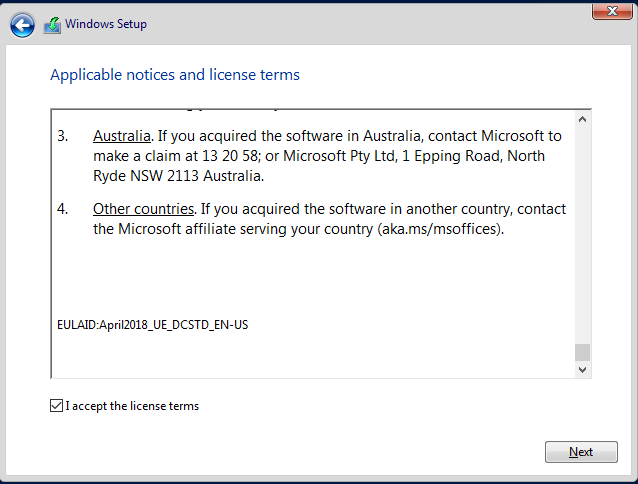
4. End User License Agreement (EULA)
Read the Applicable notices and licenses terms, check the checkbox "I accept the license terms", and click Next
5. Installation Type
Click the button "Custom: Install Windows only (advanced)"
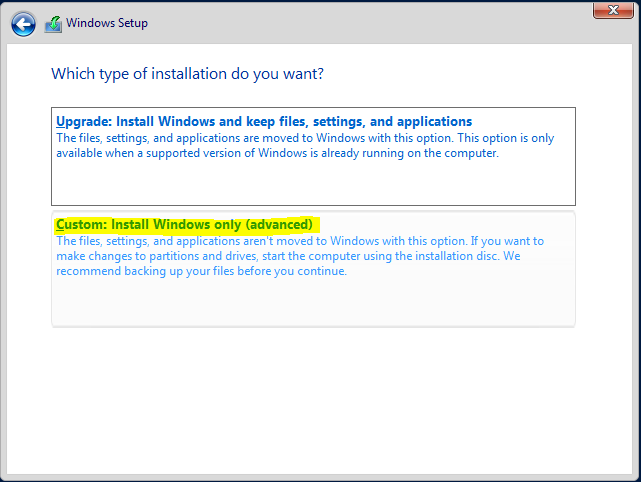
Check the drive that Windows installed and click Next

Windows Installation starts and after few minutes, Windows Server will be ready to use.

Network Adapter Configuration
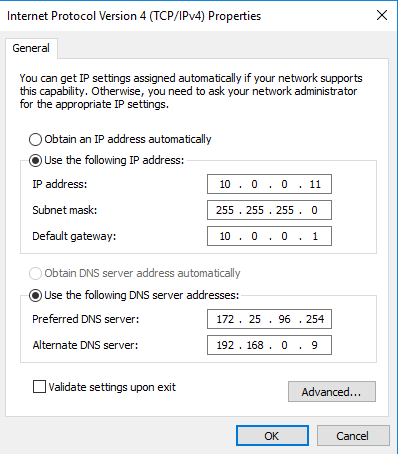
After Windows installation finished the first thing we MUST do is to configure the Nested VM network adapter.
Note
To set the DNS values of this Virtual Machine, we have to configure our DC to use static addresses (192.168.0.9 and 172.25.96.254 in this example). Then, we supply these addresses in the network adapter.
Setup Static IP Address (as the image below shows)
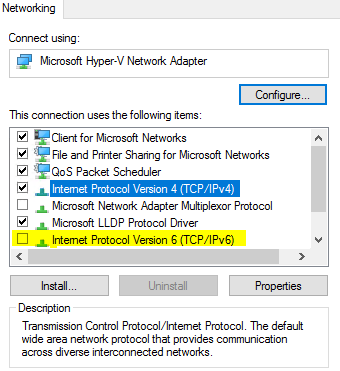
And disable the Internet Protocol Version 6 (TCP/IPv6)
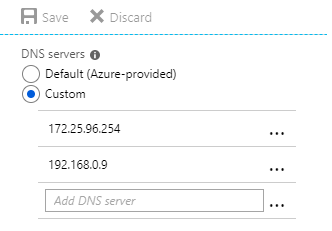
Azure VNet DNS Server Configuration
After the On-Premises nested Virtual Machine connects with VPN Client on the Azure VNet.
From the Virtual Network main blade, select Settings - DNS Servers, and type the IP Addresses from On-premise Nested Virtual Machine and the P2S VPN IP Address.
After we saved the DNS Server setting, download the VPN Client to the Azure nested Virtual Machine.
Note
Both ends (On-Premise Nested VM & Azure Nested VM) MUST be connected to the Point-To-Site VPN [This direction ONLY applies to this demo]
Domain Controller Role
In the previous step, we successfully complete the OS, and we are ready to move forward by enable the Domain Controller Role and make all the required configurations for the DC replication.
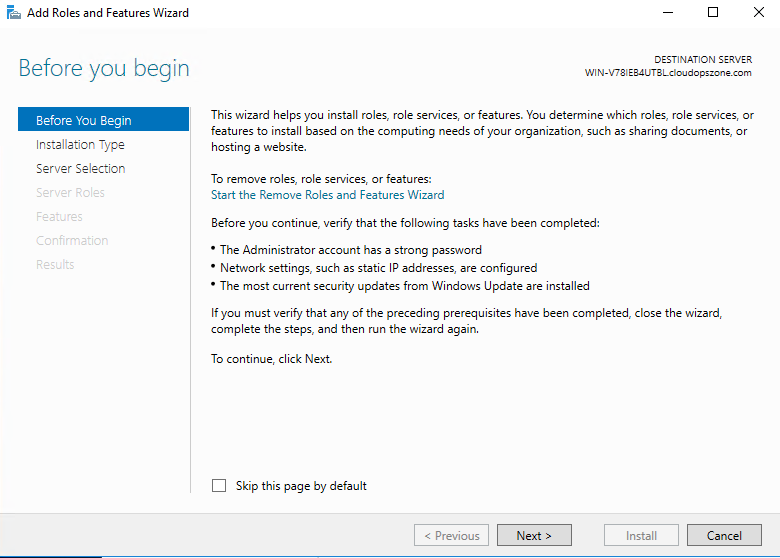
1. Add Roles and Features Wizard
This wizard will help us enable the domain controller role on the Windows Azure Virtual Machine. We just need to follow the next steps.
2. Select installation type
At the next form leave the default selection "Role-based or feature-based installation", and click Next >

3. Select destination server
At 3rd step, click Next >

4. Select Server Roles
Select the Active Directory Domain Services role and click Next>

5. AD DS
Also, we click Next > in this step,

6. Confirmation
Check that the correct feature will install and click Install to begin

7. Results
By following the wizard steps, the role installation starts

Domain Controller Configuration
The last part of this case is to configure the Domain Controller. At the following steps, we are able to complete the scenario by making a replica of the on-premises Domain Controller.
1. Deployment Configuration
At the first wizard page click select... to Add a domain controller to an existing domain, type the domain name, e.g cloudopszone.com and click Next >

2. Domain Controller Options
Select Domain Name System (DNS) server, **Global Catalog (GC), **from the Site Name drop-down menu select Default-First-Site-Name, type the Directory Services Restore Mode password and click Next>

3. DNS Options
Do **NOT **check Update DNS delegation and click Next>

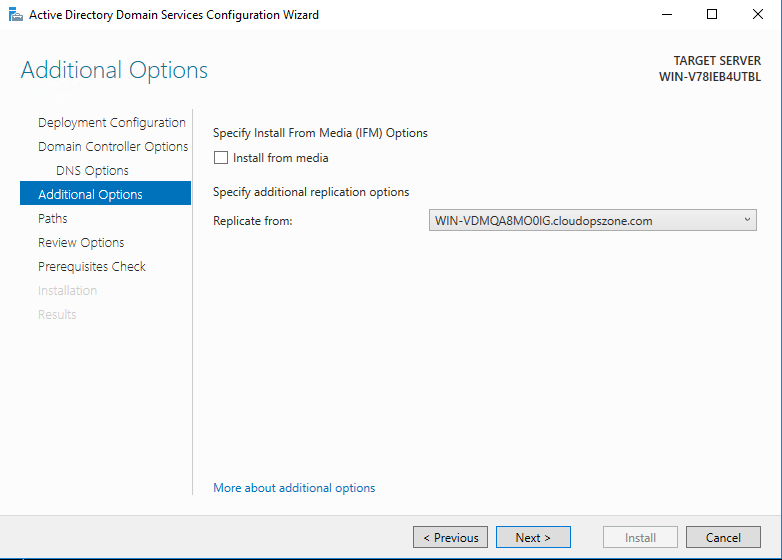
4. Additional Options
Select from the Replicate from the drop-down menu, the name of the On-Premises Domain Controller name.
5. Paths
In this post, we use the default paths, BUT the suggested method is to use a different drive NOT the system.

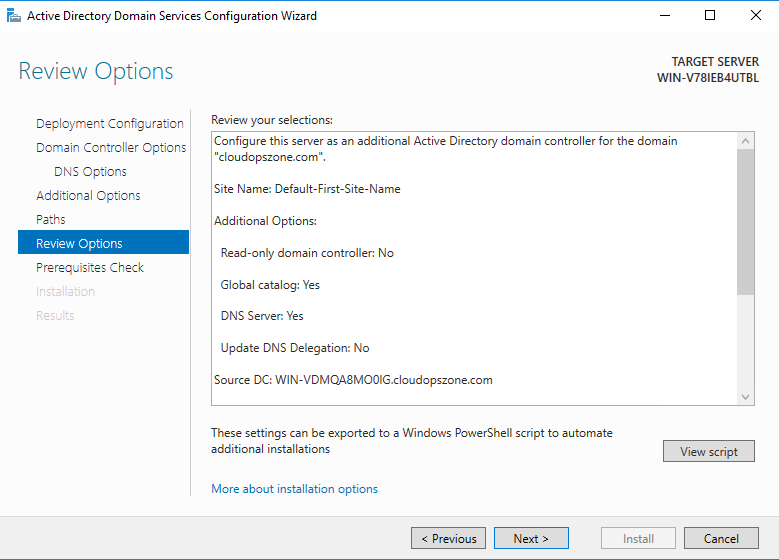
6. Review Options
Check the Review Options, select [View script] to get the configuration as a PowerShell script, and click Next >
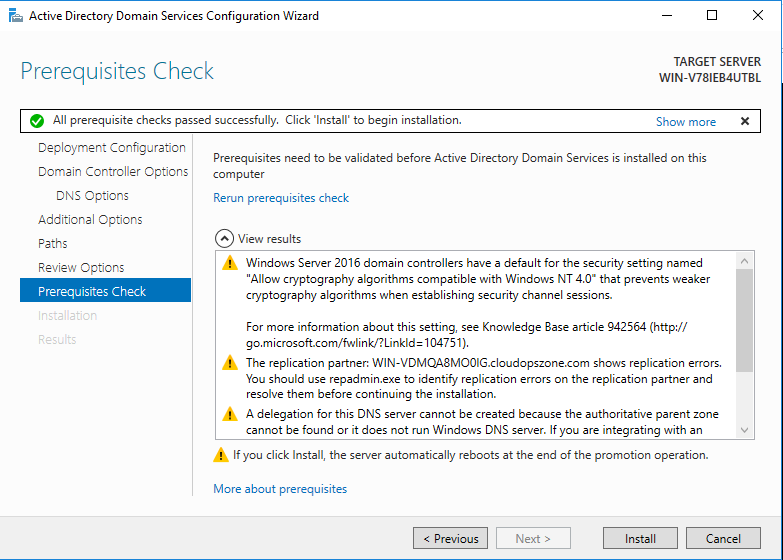
7. Prerequisites Check
Check the results from the Prerequisites Check and if everything is OK, click Install to begin the installation.
8. Results
At the final step, we get the message that the server was successfully configured as a domain controller.

Click the button Close, and now the replication has started! You can check the users in the Domain Controller User folder.
Note
Nested Virtual Machine will be rebooted automatically.
At the last image, we can see that all the users from the On-Premises Nested VM replicated to the Azure Nested VM domain controller.

Conclusion
In this post series, we read a somewhat complicated scenario, with an on-premises Nested Domain Controller Virtual Machine and another Nested Domain Controller VM in an Azure VM, connected each other with a Point-To-Site VPN (Site-To-Site VPN is the BEST option).
See Also
- Microsoft Docs
- Virtualizing Domain Controllers using Hyper-V
- Things to consider when you host Active Directory domain controllers in virtual hosting environments
- Active Directory Domain Services Overview
- Extend Active Directory Domain Services (AD DS) to Azure
- Upgrade Domain Controllers to Windows Server 2016
- Securing Domain Controllers Against Attack
- Related Posts
- Troubleshooting