Windows : Install RDS To A Server 2016
Introduction
This is a comprehensive guide for installing RDS services to a Windows Server 2016. We will see in great detail how to enable the Remote Desktop Roles, Activate the RDS licenses and make the final configuration to make it work.
Prerequisites
- Remote Desktop Licensing
- Remote Desktop Session Host
At the following steps we proceed with the installation of the required roles.
Install The Remote Desktop Roles
From the Server Manager, select Manage - Add Roles and Features, to start the roles installation.
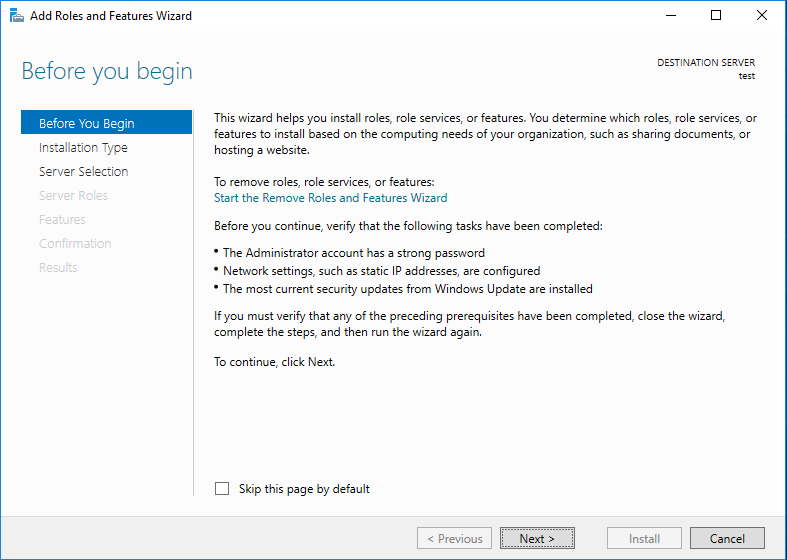
- The Add Roles and Features Wizard opens, and we click Next > to begin
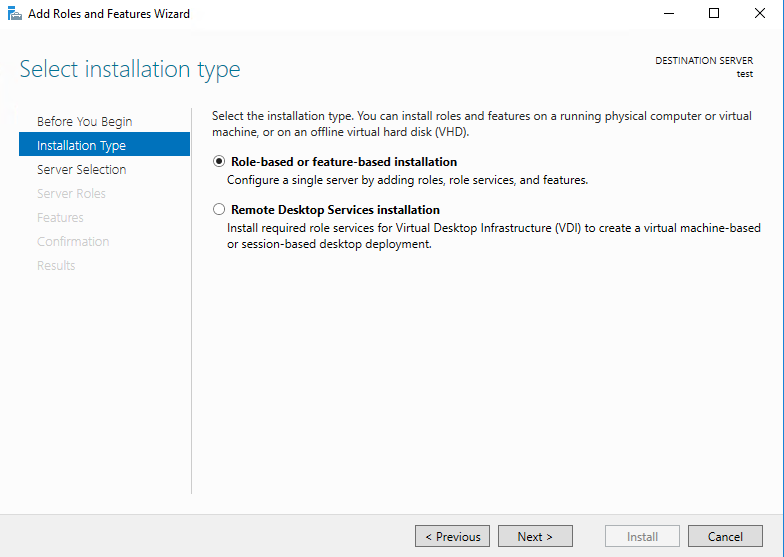
- Next we have to choose the installation type, we leave the default type {Role-based or feature-based installation}, and click Next >
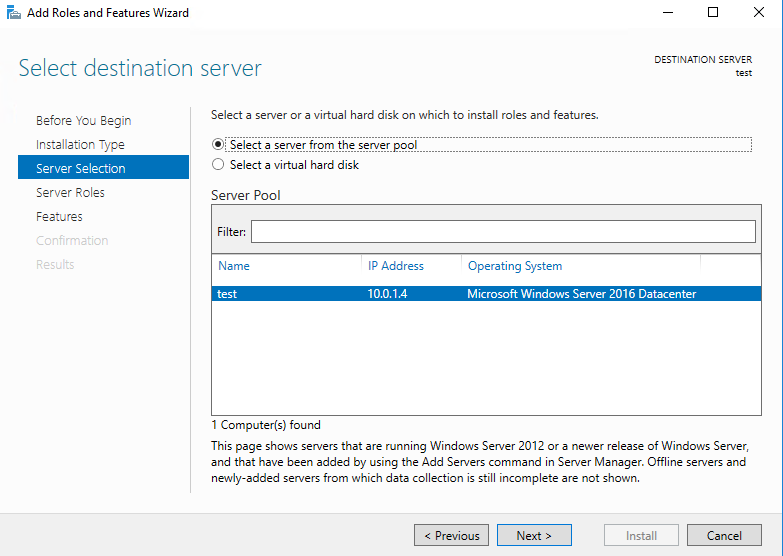
- In the next step, we select the destination server that the role will be installed, for the needs of the post we have only one server, named test with IP Address 10.0.1.4. Leave the default server and click Next >
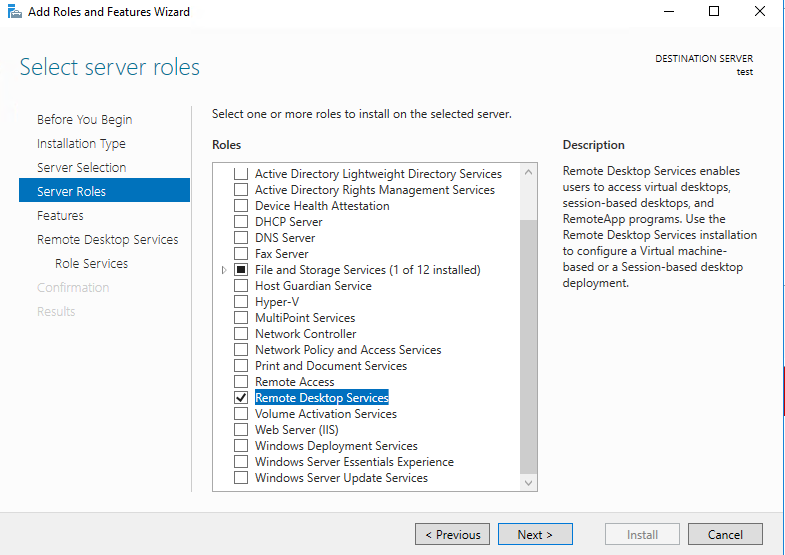
- In the fourth step, we need to select the server roles, that will be installed in the server, select the Remote Desktop Services, and click Next >, to continue.
- In the features form, click Next >

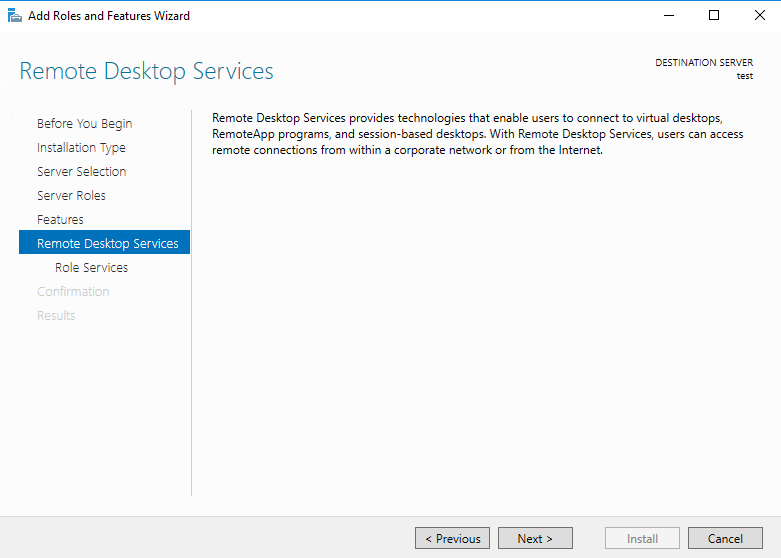
- At the next step, we have to select Next >
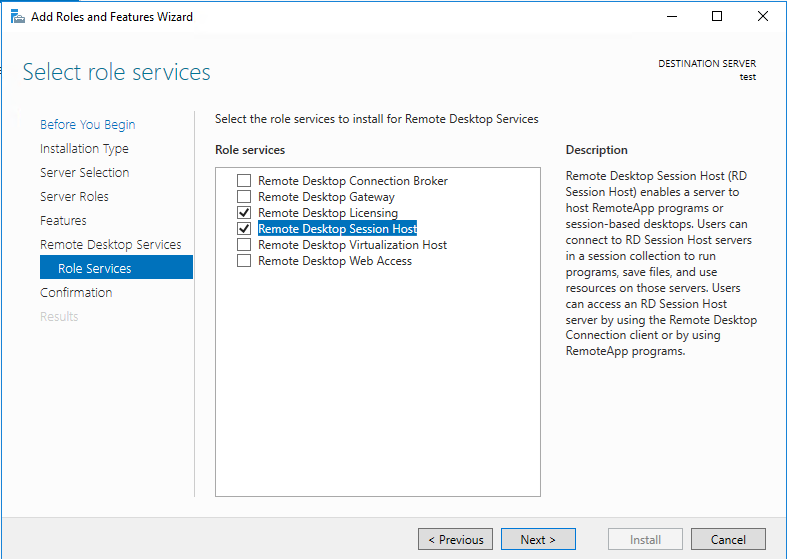
- In the Remote Desktop Role Services, select from the Role services list the Remote Desktop Licensing and the Remote Desktop Session Host roles and click Next >
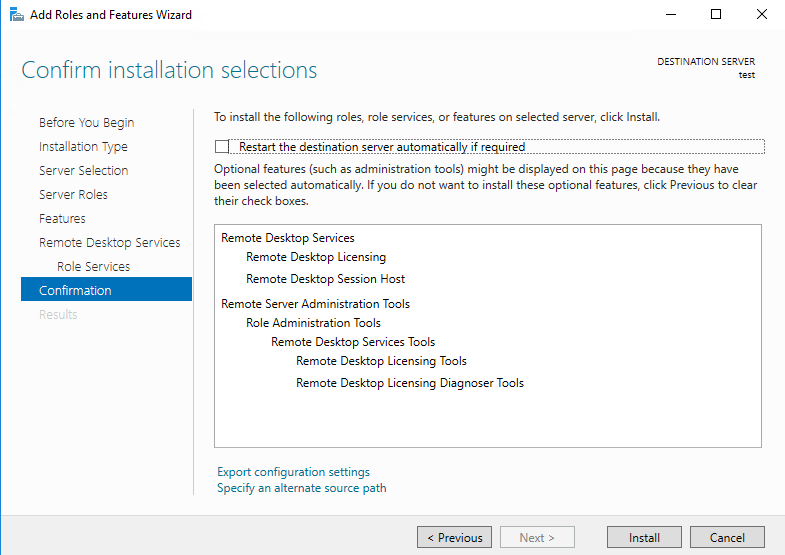
- In the Confirm installation selections form, we confirm the Remote Desktop Services that will be installed and select Install.
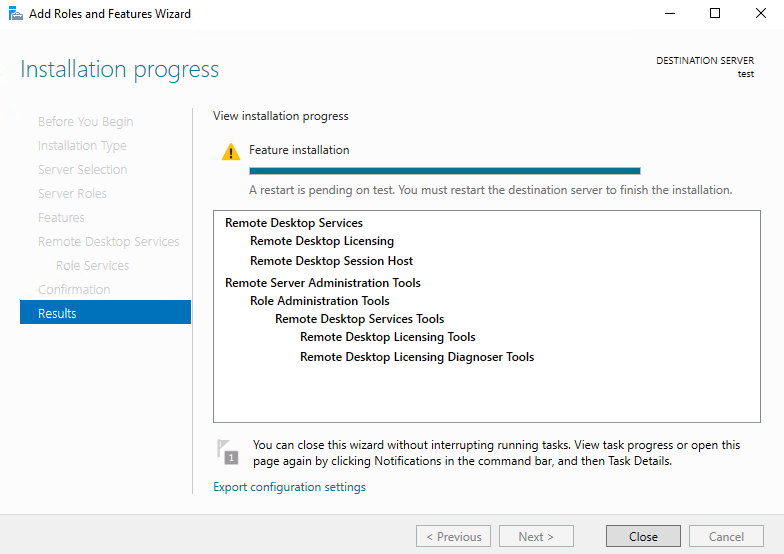
- The installation progress finished, so we need to select the Close button and restart the Server to apply the changes.
Activate The RDS Licenses
After the roles are installed, we need to activate the RDS licenses. To do this we follow the next steps.
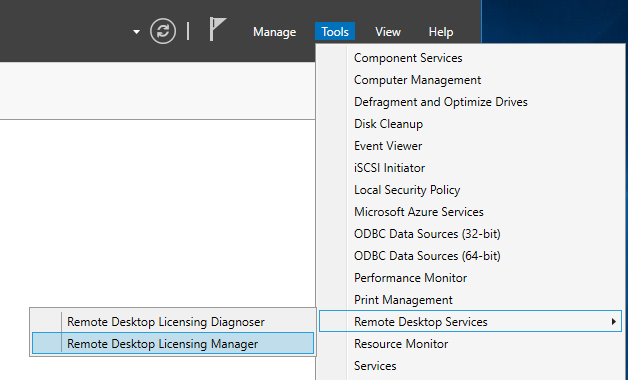
1. From the Server Manager, select Tools - Remote Desktop Licensing Manager
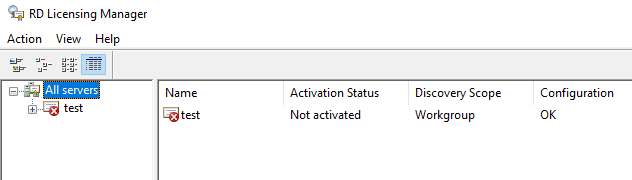
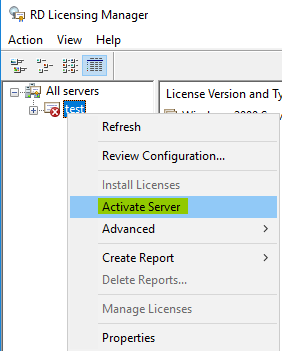
- In the RD Licensing Manager windows, we can see the server test which is Not yet activated.
- Right click on the server test and select Activate Server.
Activate Remote Desktop License Server
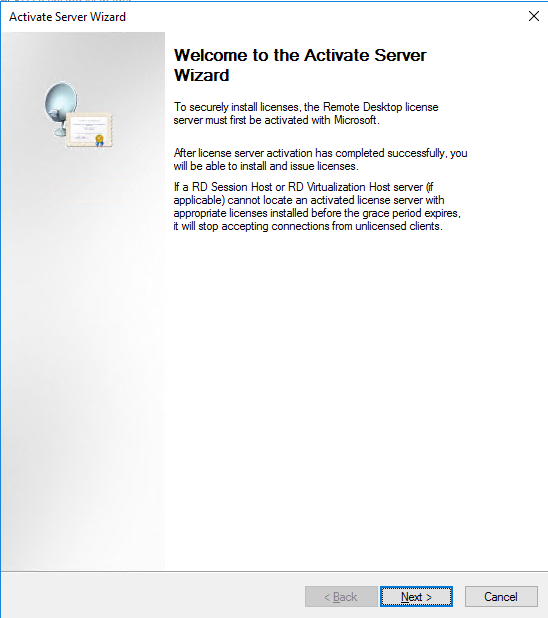
- A new Activate Server Wizard starts, and to continue click Next >
- At the Connection Method form, select Automatic connection (recommended), and click Next >

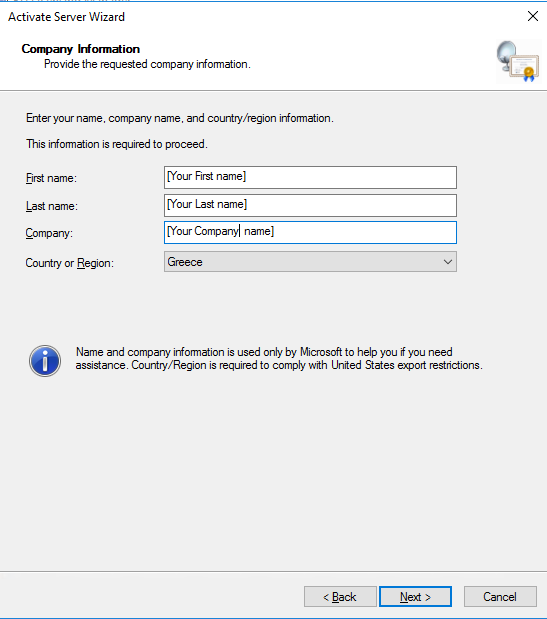
- Provide the requested company information and click Next >.
Note
This information are used by Microsoft if we need assistance.
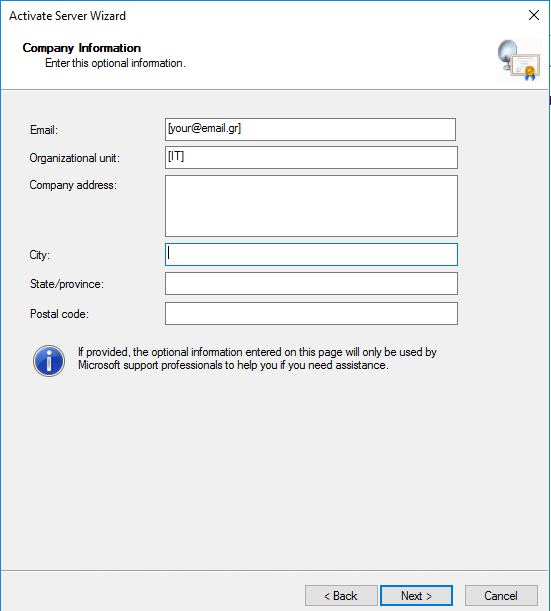
- At the next form, we type some other optional information, like Email, OU, City, and click Next >.
- At the final step in the Activation Server Wizard, check the Start Install Licenses Wizard now option and select Next >

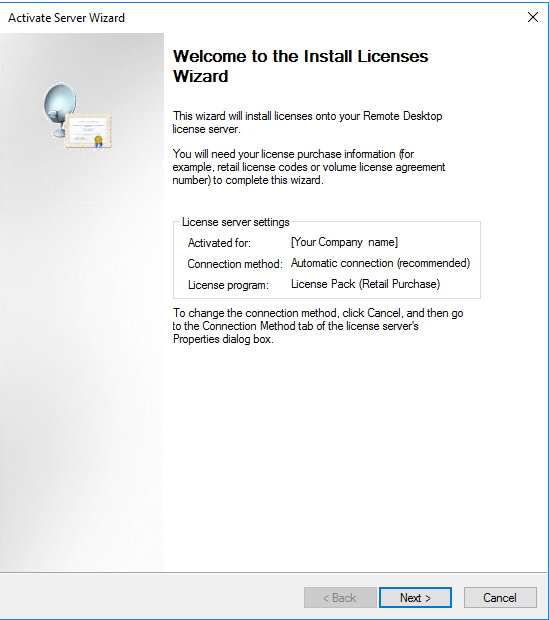
- Automatically the Install Licenses Wizard opens, and to proceed with the licenses installation we select Next >
Note
In this part we must be sure that we have bought a valid RDS license.
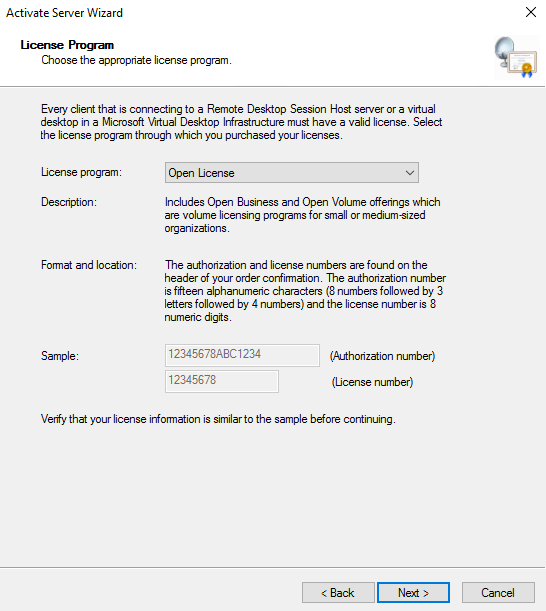
- The next step is to select the license program that we will activate the RDS licenses.
| License Program | Format Of The License |
| License Pack (Retail Purchase) | The format of the license code is 5 sets of 5 alphanumeric digits, 25 |
| Open License | For this type of license we need an authorization number of 15 alphanumeric digits and a license number of 8 numeric digits. |
| Enterprise Agreement | For all these six License Programs, the enrollment number is 7 number digits. |
| Campus Agreement | |
| School Agreement | |
| Services Provider License Agreement | |
| Other Agreement | |
| Select Plus License |
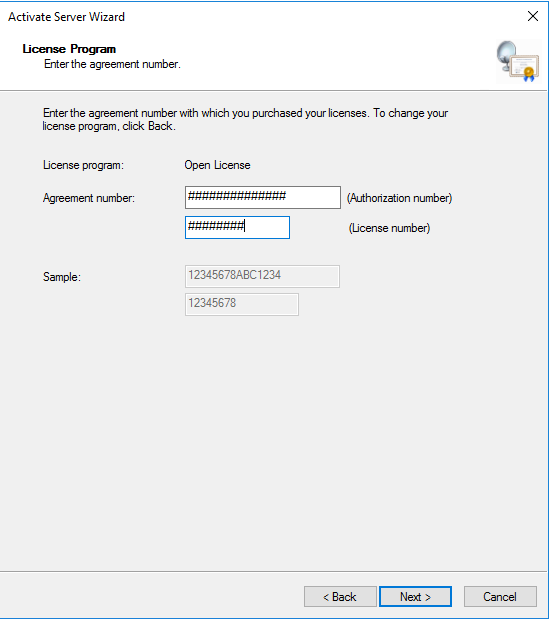
- In this post, we activate an Open License, for that reason we selected on the previous step (7) as licensed program {Open License}, type the Authorization and License numbers and click Next > to continue.
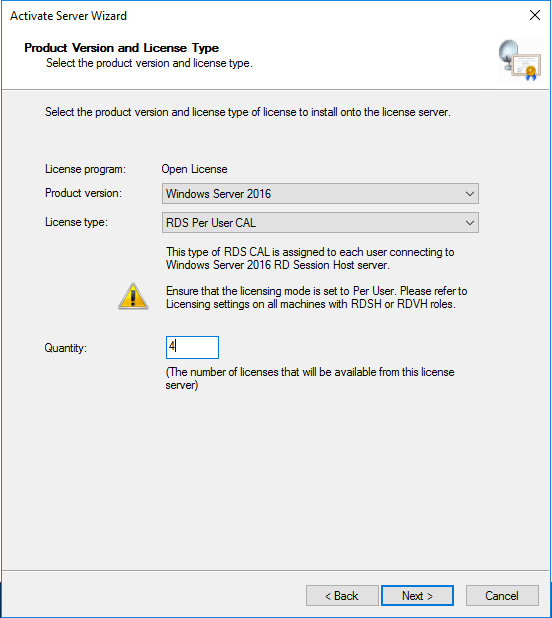
- In the Product Version and License Type form, select Windows Server 2016 and RDS Per User CAL and type into the Quantity field the number of the licenses that will be activated, and click Next >
- We have successfully installed the licenses, and we select Finish to close the Install Licenses Wizard.

RDS Rest Configuration
The last step for the RDS activation is to make two changes to the Windows Group Policies.
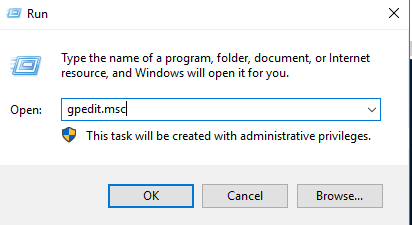
- Open the Run -> type gpedit.msc and click OK.
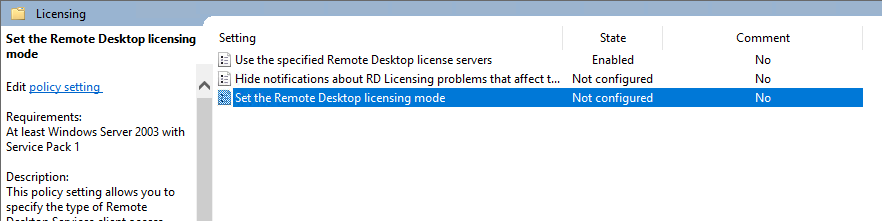
- Move to the path {Computer Configuration\ Administrative Templates\ Windows Components\ Remote Desktop Services\ Remote Desktop Session Host\ Licensing} and make the following changes :
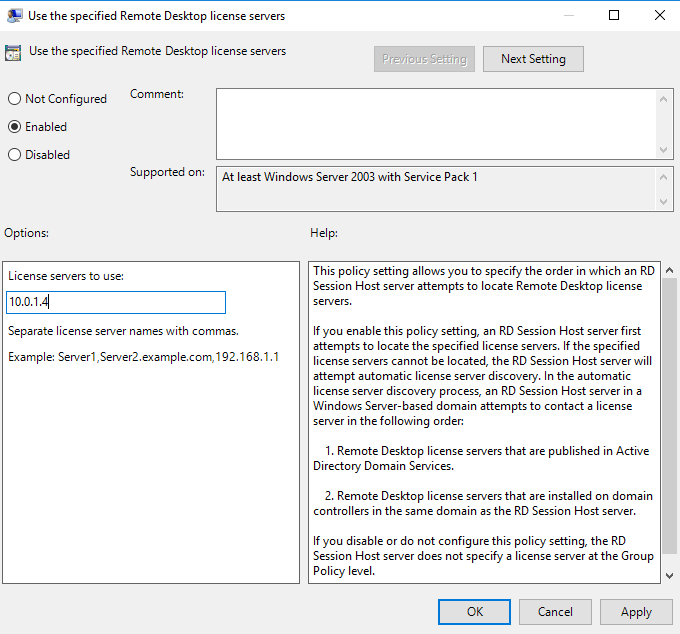
2a. In the Use the specified Remote Desktop license servers setting

Select the value Enabled, type the local server IP, e.g. 10.0.1.4, and click OK
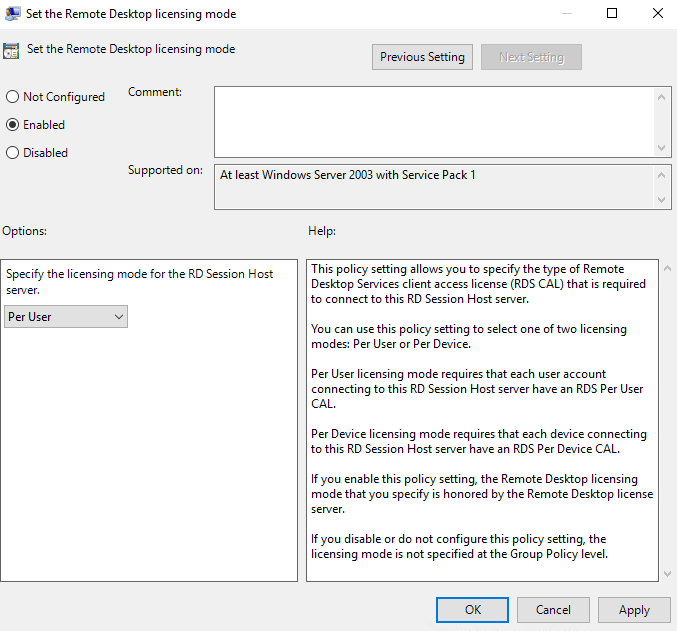
2b. The second change we must do is on the Set the Remote Desktop licensing mode setting
In this setting we select Enabled and also from the Options:, choose the Per User licensing mode and click OK.
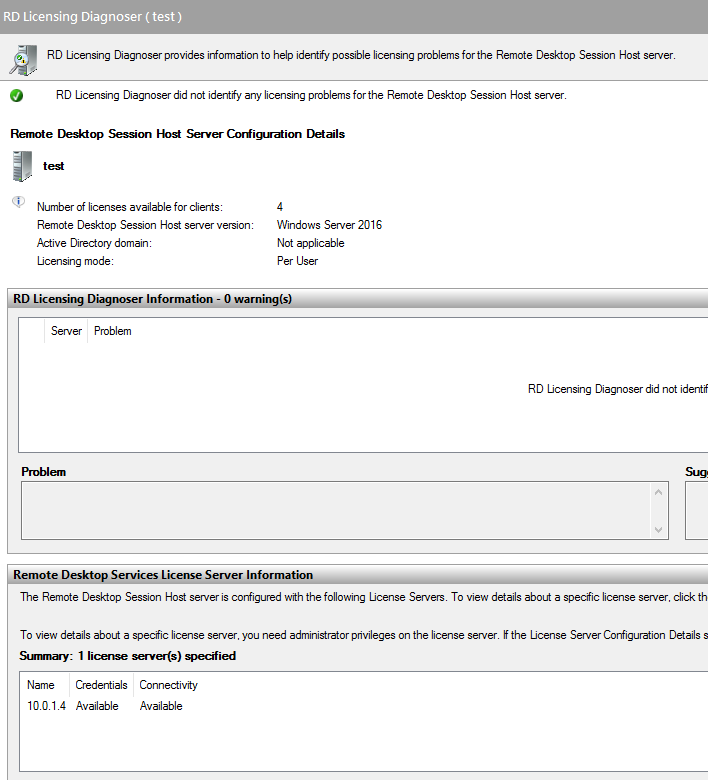
- The final of all the steps is to confirm that the licenses are activated. We can do this from the Server Manager - Tools -Remote Desktop Services - **Remote Desktop Licensing Diagnoser **
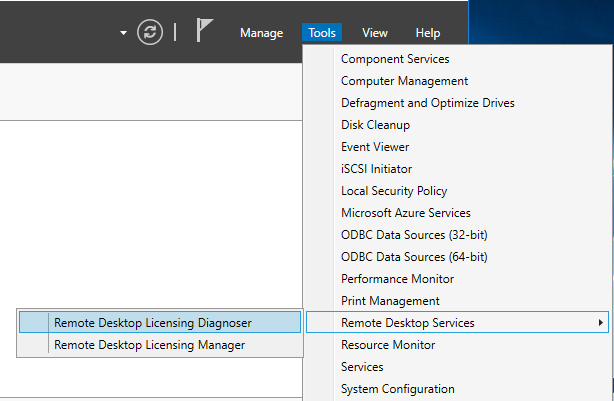
- The Remote Desktop Licensing Diagnoser opens and we can see that the licenses are activated.