Azure SQL: Schedule A Data Migration From On-Premise To Azure Cloud
Introduction
In this post, we will make a brief mention to the latest updates in the Azure SQL service and we see how someone can migrate a database to Azure SQL from an on-premise infrastructure. Before we begin the procedure we must know what Azure Database Services offer.
Prerequisites
What we need to complete the migration process from scratch is all the following prerequisites.
- On-Premise SQL Server installation
- Microsoft Account
- Azure Subscription
- Data Migration Assistant Tool
- SQL Database Instance
Procedure for Azure SQL Database Deployment
At this point, we log in to the Azure Portal and follow the next steps to create a SQL Database Instance.
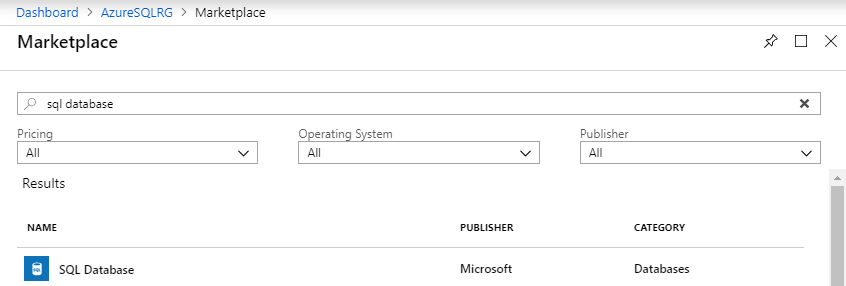
1. Search The Service
From the left main blade click + Create a resource, type 'sql database' and hit Enter.
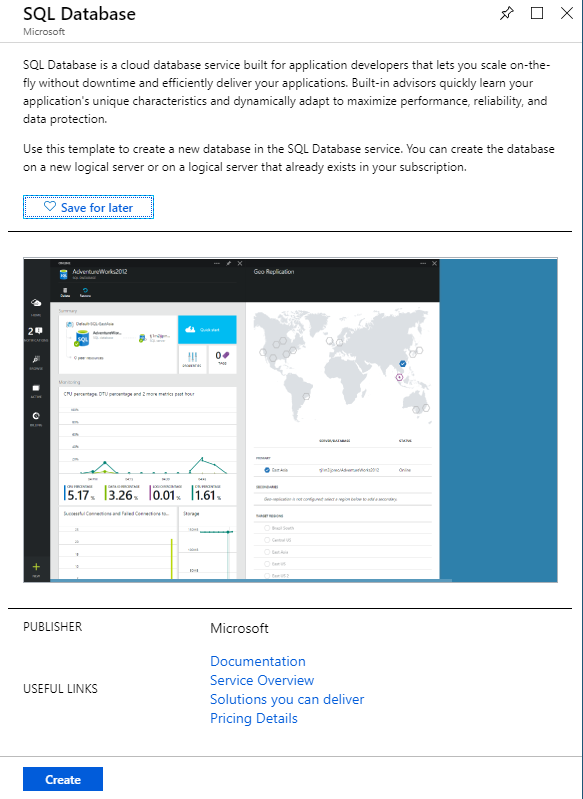
2. Create SQL Database
Click the button Create to begin the deployment.
First, we must create the database, with all important parameters like Server, Pricing Tier, Collation, etc.
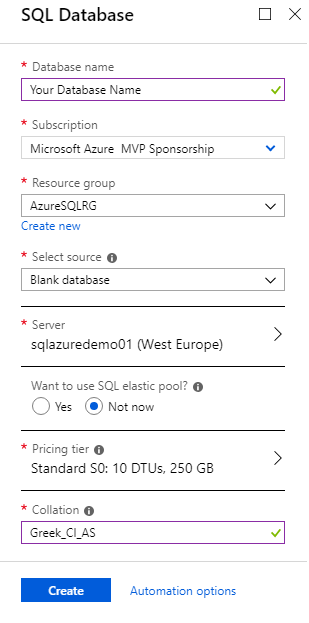
| Setting | Value |
| Database name | Type the database name |
| Subscription | Select an Azure Subscription |
| Resource group | Select an existing or create a new Resource group |
| Select source | Select between a blank, a sample database or create a new from an existing backup |
| Server* | Select an existing or create a new server |
| Use Elastic Pool** | Select elastic Pools for managing multiple databases within a fixed budget. |
| Pricing tier*** | Select the pricing tier for the SQL database service |
| Collation | Default database collation is SQL_Latin1_General_CP1_CI_AS, for this demo purposes we've changed to Greek_CI_AS |
2.1. Create Server
If the Server exists this step is not mandatory, but if not then we must see how to deploy a new server.
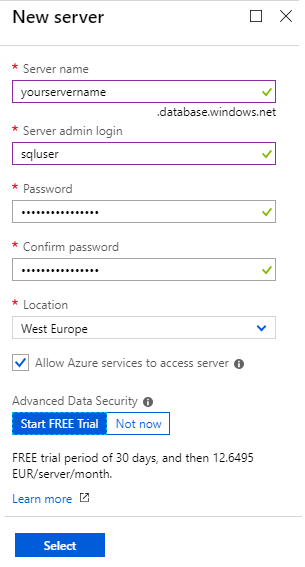
| Setting | Value |
| Server name | Type the server name, this MUST be unique |
| Server admin login | Type the Server admin login |
| Password / Confirm password | Type and re-type the Server admin password |
| Location | Select the Location for the Server |
| Allow Azure services to access server | Check this option to allow other Azure applications to access this server |
| Advanced Data Security | A unified security package for discovering and classifying sensitive data, detect anomalous activities that could be harmful to the database. |
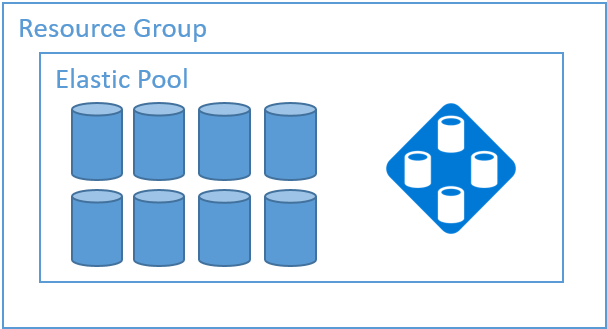
2.2. Use Elastic Pool
An elastic pool is a good option if we have to manage more than one databases. Imagine
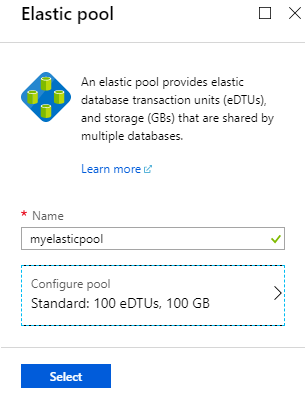
If the SQL elastic pool option is checked

then, a new blade is open and we have to type the elastic pool name and select the Configure pool purchase model.
2.3. Select Pricing Tier
It is quite important to know what are the required resources for the databases because based on those we are able to select the correct tier.
For more details about Services Tiers and their cost, check the following links.
Procedure to Install DMA in the On-Premises Environment
The first we must to do is to download and install the Data Migration Assistant (DMA).
At the following steps, we can see how easy is the DMA installation.
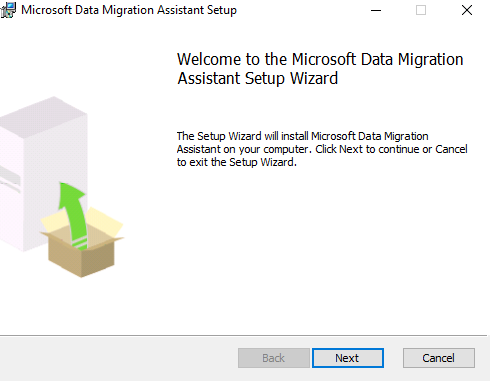
1. Wizard welcome screen
In the first step click Next to begin installation
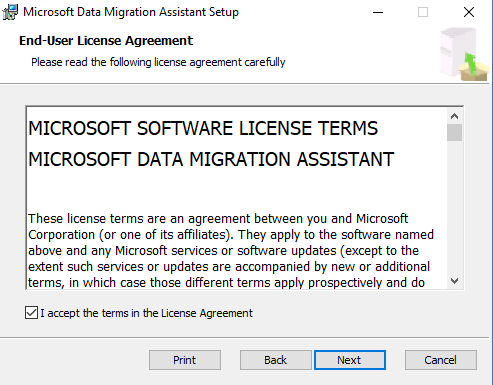
2. End User License Agreement
Read the EULA, select the check-box {I accept the terms in the License Agreement} and click Next
3. Privacy Statement
Read the Online privacy statement and select Install.

4. Installing Microsoft Data Migration Assistant
The installation has begun and the new files are copying.

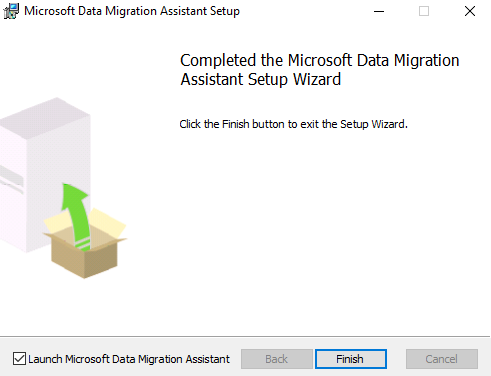
5. Completed the Microsoft DMA Setup Wizard
The installation is completed, and we select Finish to exit from the Wizard.
The Migration Process
0. Create New DMA Project
Before we start we need to create a new Data Migration project {Assessment / Migration}, type Project name, select Source server type, Target server type, Migration scope and click Create.
1. Select source
The first of the six steps is to select the source server. Select the Server name that the source database is located and click Connect. If the connection is successful then choose the database to migrate and select Next.
2. Select target
Select the target server (SQL Database), a database for the migration process and click Next.
Note
If we intend to migrate Windows users, make sure the target external user domain name is set correctly.
3. Select objects
In the 3rd step, we need to select the schema objects from the source database that shall be migrated to the target database, and click the button Generate SQL script.
4. Script & deploy schema
The SQL script is generated for all selected object we can review, edit (if this needed), and click Deploy schema, to begin the deployment in Azure SQL Database.
If this completed then select Migrate data.
5. Select tables
Select the tables that we want to migrate data to Azure SQL Database and click Start data migration.
6. Migrate data
If we select data migration from the previous step then we see how the migration process is running.

Migration Demo Video
At the following video file, we can see all the necessary steps for database migration from On-Premise SQL Instance to the one that is deployed in Azure.
Migration Results
Last but not least is to check if the database schema and the data were migrated successfully.
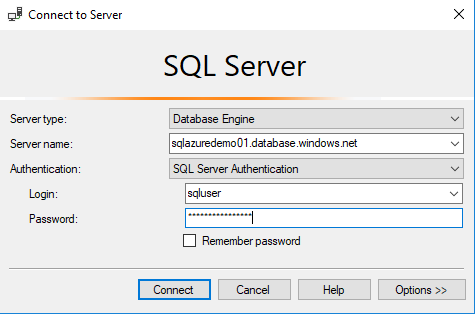
1. Connect via SSMS
Open the SQL Server Management Studio (SSMS) and type Server name, Login, Password and click Connect.
2. Querying the Database
We connect to the database via SSMS and we only need to open tables and check schema and data.

Conclusion
In this post, we talk about database migration in Azure from an On-Premise infrastructure and how easy is this to be done in a few steps. We created an Azure SQL Database Instance and we migrate an On-Premise database by using the Data Migration Assistant v.4.2 tool.
See Also
- Compare the DTU-based service tiers
- What is the Azure Database Migration Service?
- Single database DTU and storage limits
- Elastic pool eDTU, storage, and pooled database limits
- DTU Benchmark
- Prepay for SQL Database compute resources with Azure SQL Database reserved capacity
- General purpose service tier - Azure SQL Database
- Business Critical tier - Azure SQL Database
- Elastic pools help you manage and scale multiple Azure SQL databases
- Azure SQL Database: Single database
- Azure SQL Database pricing
- Azure videos
- Azure updates