Azure Bastion
Introduction
Microsoft on 18 June 2019 announced a new service called Azure Bastion, this is a service where the users can connect remotely to Azure VM without the danger of exposing RDP or SSH ports. This way critical VM deployments that need to be isolated from the internet are secured.
Features
There are a lot of features available come with the Azure Bastion service
- No need for Public IP
- Connect using RDP or SSH via the Azure Portal
- Compatible with the most known Internet Browsers (Edge, IE, Chrome, Firefox, etc.)
- No need for maintenance from the user side like updates for vulnerabilities, because the Azure Bastion service is managed by Microsoft.
- No need for P2S VPN to RDP or SSH a Jumpbox VM
Try Azure Bastion
Currently, the service Bastion is in Public Preview and to try it we must meet certain conditions.
Available Regions
The service is not yet available to all Regions but only in specific, which are :
| Region |
| West Europe |
| West US |
| East US |
| South Central US |
| Australia East |
| Japan East |
Register The Azure Bastion Provider
First, we must register the Azure Bastion Provider and this can be achieved by running the following powershell scripts.
Step 1. Register the feature AllowBastionHost
Register-AzureRmProviderFeature -FeatureName AllowBastionHost -ProviderNamespace Microsoft.Network
Step 2. Re-register Microsoft.Network provider
Register-AzureRmResourceProvider -ProviderNamespace Microsoft.Network
Step 3. Verify that the feature is registered
Get-AzureRmProviderFeature -ProviderNamespace Microsoft.Network
Create Azure Bastion Host
The following steps will guide us to create an Azure Bastion Host.
Step 1. Login to the Azure Portal - Preview
At the first step, we have login to the Azure Portal - Preview.
Step 2. Select To Create Azure Bastion Host
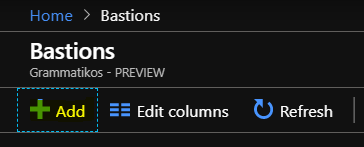
Click on the left blade, select All services , type [Bastions] in the search field and press Enter.
Step 3. Add a Bastion Host
Select +Add to create an Azure Bastion Host.
Step 4. Create a Bastion Host - Basic Tab
In the Basics Tab we have to fill in few fields and then click Next to move to the other Tab.
| Setting | Value |
| PROJECT DETAILS | |
| Subscription | Create a New or Select a valid subscription |
| Resource Group | Select an existing or Create a New Resource Group |
| INSTANCE DETAILS | |
| Name | Type a Name for the Bastion Host Service |
| Region | Select a region for the Bastion Host |
| CONFIGURE VIRTUAL NETWORKS | |
| Virtual network | Create a New or Select an existing VNet * |
| Subnet | Create a New Subnet with name "AzureBastionSubnet" or Select an existing with this name |
| PUBLIC IP ADDRESS | |
| Public IP address | Create a new Public IP address or Select an existing |
| Public IP address name | Type a Name for Public IP address |
| Public IP address SKU | |
| Assignment | |
Step 5. Review + create
Before we create the Azure Bastion service we can review the configuration. If the validation is successful we have to select Create to proceed with the deployment.
Note
* At the image below we can see how to configure the VNet and more specifically the subnet where the Azure Bastion feature enabled. The name of the subnet MUST be AzureBastionSubnet.
When the deployment completed. Into the resource group, we have 3 services, like the image below shows.
Use Azure Bastion Host
Note
To use the Azure Bastion Host service we must deploy an Azure VM in the VNet where the Bastion Host feature is enabled.
After a few minutes, the VM deployment is complete and as we can see the Public IP address is dissociated.
To connect to the VM over the web using the BASTION, we click Connect and from the pop-up window in the right of the menu select BASTION, type Username and Password and click Connect.
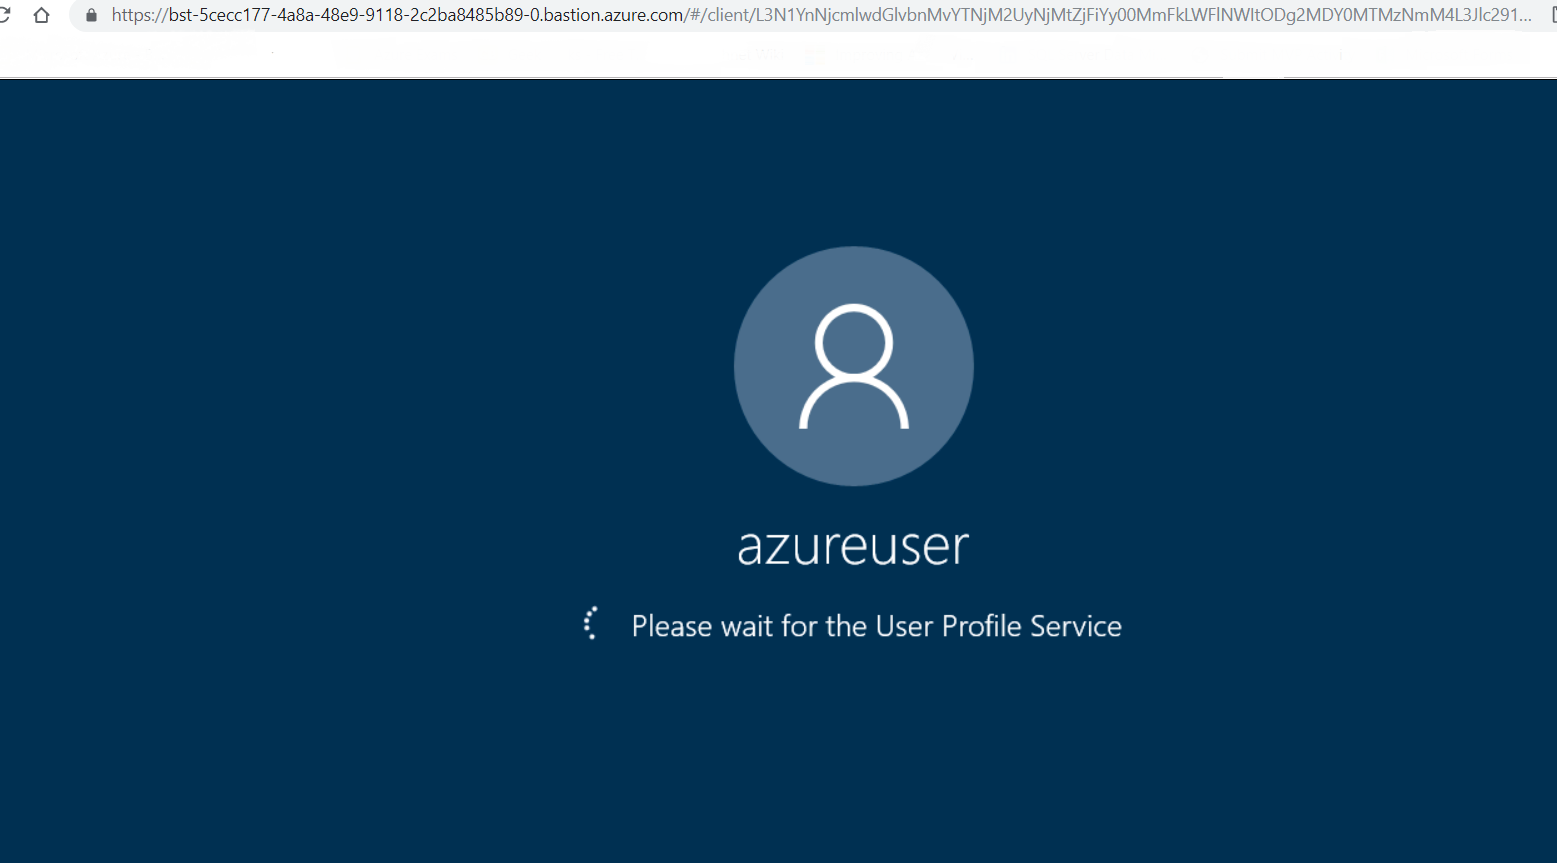
Few seconds later, we are connected to the VM using an Internet Browser.
Conclusion
Azure Bastion is a new service which can offer more security to users when they connect to an Azure VM. By using this service there is no need to enable RDP or SSH ports on the VM.
See Also
- Announcing the preview of Microsoft Azure Bastion
- Create a bastion host
- Connect using SSH to a Linux virtual machine using Azure Bastion (Preview)
- Connect to a Windows virtual machine using Azure Bastion (Preview)
- Copy and paste to a virtual machine: Azure Bastion (Preview)
- Change to full screen view for a vm session: Azure Bastion (Preview)
- Working with NSG access and Azure Bastion (Preview)


