Monitoring DPM 2019 with SCOM 2019
Applies to
System Center Operations Manager 2019
System Center Data Protection Manager 2019
Introduction
There are many benefits of integrating the System Center products with each other, first of all they integrate very well and easily with each other.
Integrating DPM with SCOM can also be cost effective, meaning that you don’t need any other third party software to do the same job.
If you already own one product from the System Center suite, it means that you actually own all products within the suite, the System Center suite is purchased as a whole which means all System Center products are licensed automatically.
Prerequisites
- A running System Center Operations Manager 2019 environment.
- A running System Center Data Protection Manager 2019 environment.
- DPM 2019 management pack for SCOM 2019.
- SCOM agent installed on the DPM server.
Installing the SCOM agent on the DPM server
The SCOM agent can be installed either by pushing the agent from the Operations Console or by installing the agent manually.
Install the SCOM agent manually on the DPM server:
msiexec.exe /i \\SCOM2019.lab.ad\Share\MOMAgent.msi /qn /l*v %temp%\OMAgentinstall.log USE_SETTINGS_FROM_AD=0 MANAGEMENT_GROUP=Lab-MG MANAGEMENT_SERVER_DNS="SCOM2019.lab.ad" MANAGEMENT_SERVER_AD_NAME="SCOM2019.lab.ad" ACTIONS_USE_COMPUTER_ACCOUNT=1 USE_MANUALLY_SPECIFIED_SETTINGS=1 AcceptEndUserLicenseAgreement=1
Push the SCOM agent to the DPM server via the Operations Console:
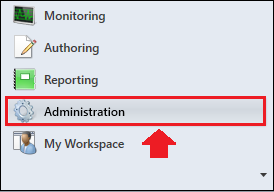
1. In the Operations Console (SCOM console) head to the **Administration **pane.
2. Right-click on the Agent Managed tab and select Discovery Wizard.

3. Select Windows Computers and then click Next.
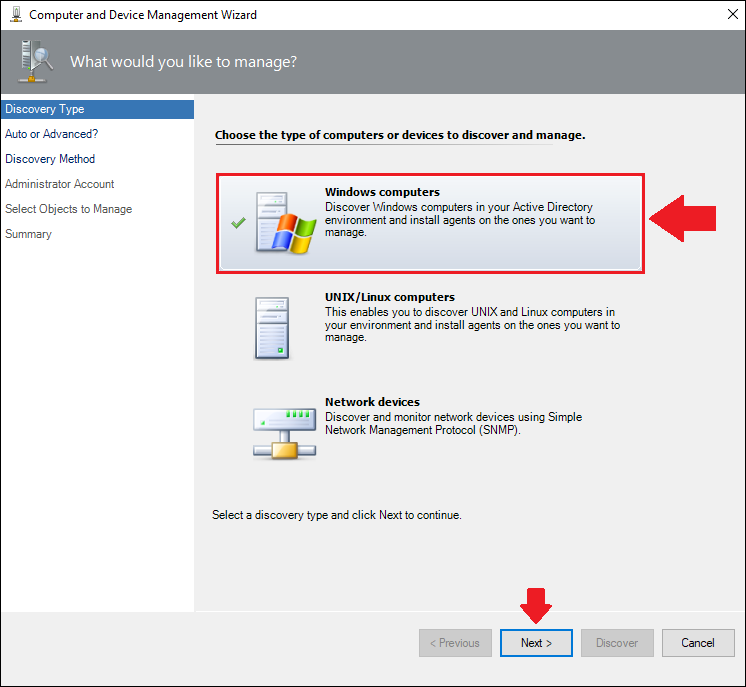
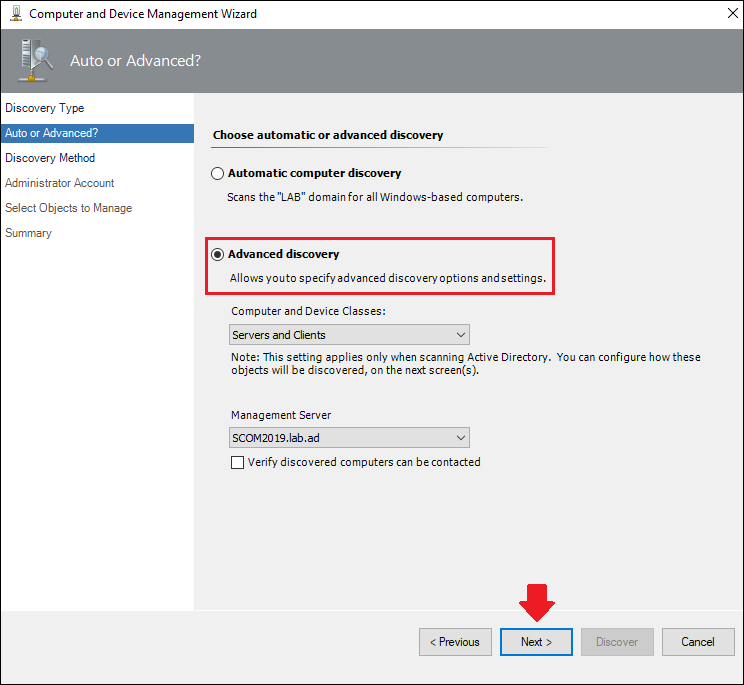
4. Select Advanced discovery and click Next.
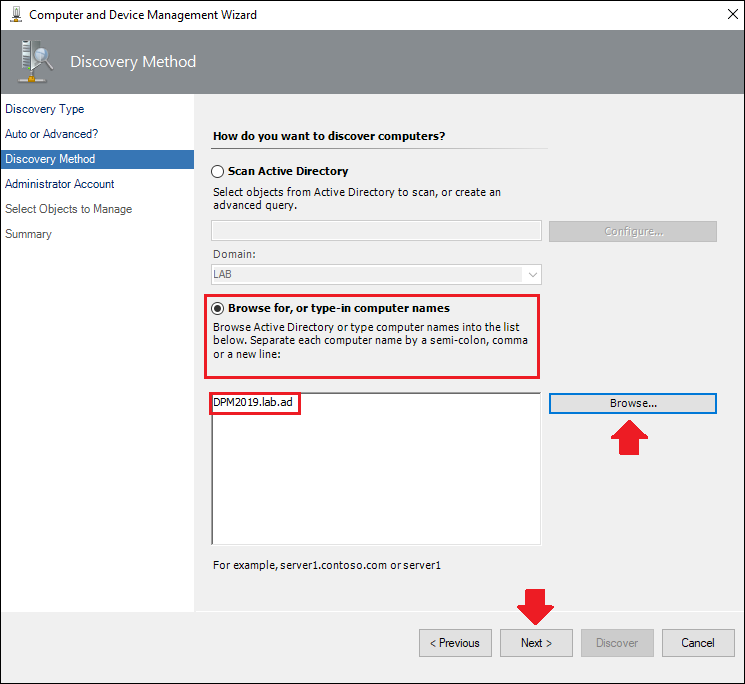
5. Select Browse for, or type-in computer names, click **Browse **and type in the DPM server name, click **OK **and then click Next.
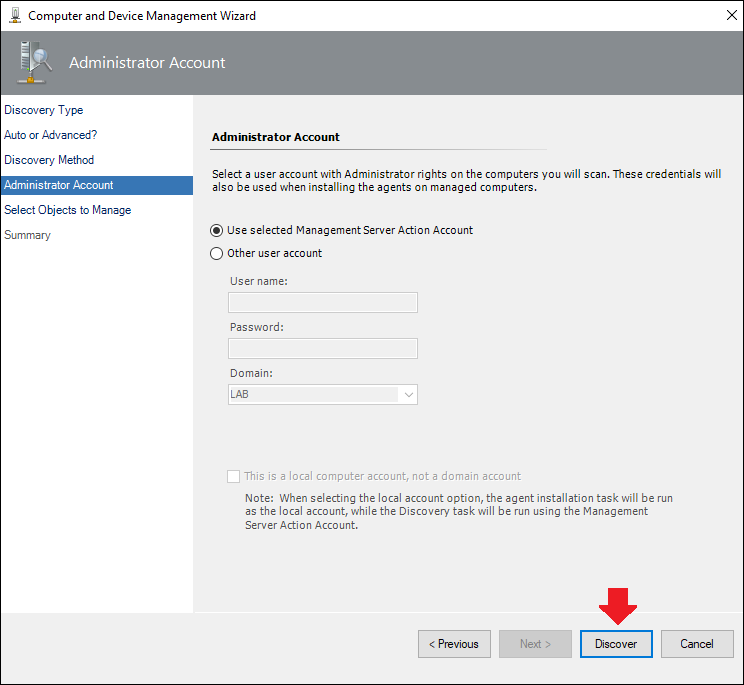
6. Click Discover.
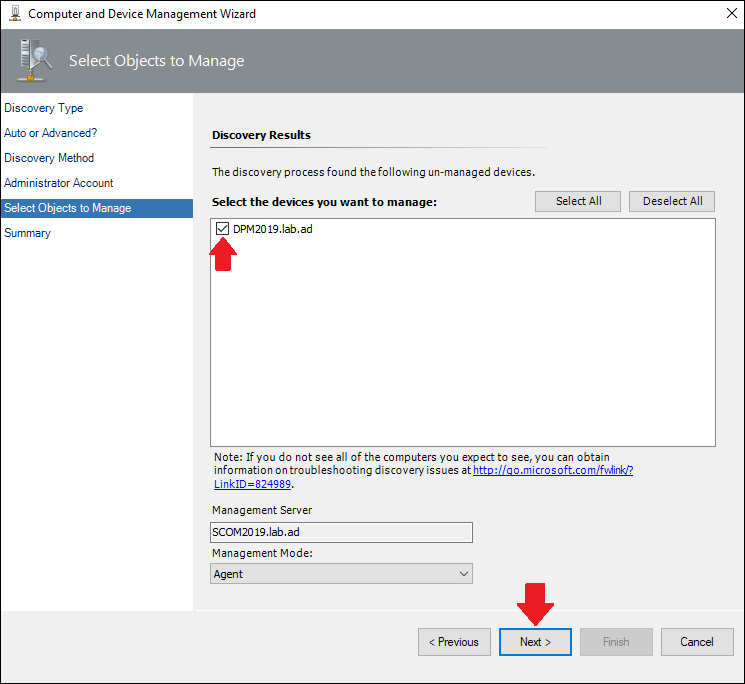
7. Check the check box for the DPM server that we’ve discovered and then click Next.
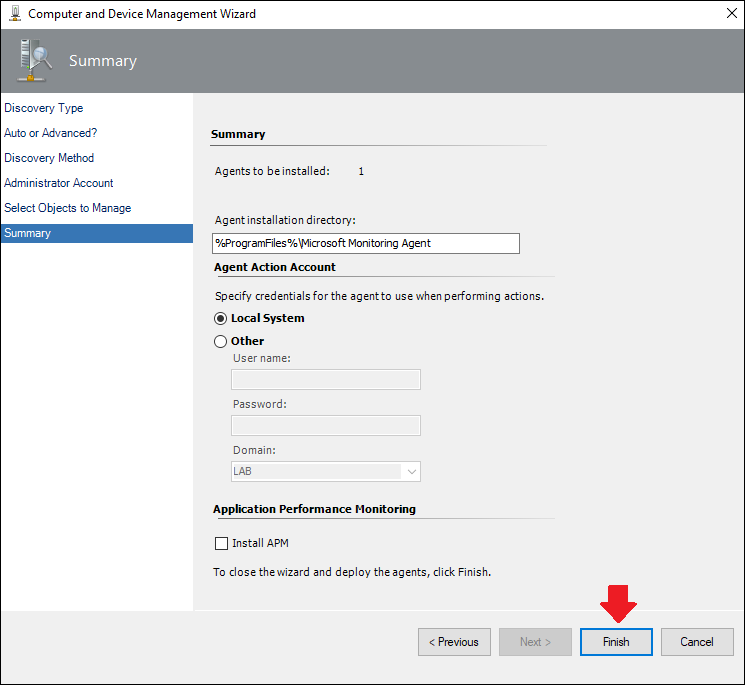
8. Click **Finish **to start the SCOM agent deployment.
9. Once the SCOM agent has been successfully deployed, we should see a similar window as shown below:
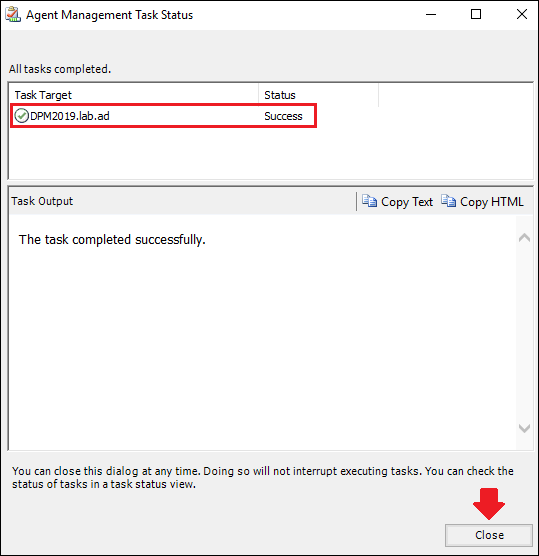
Click **Close **to finish.
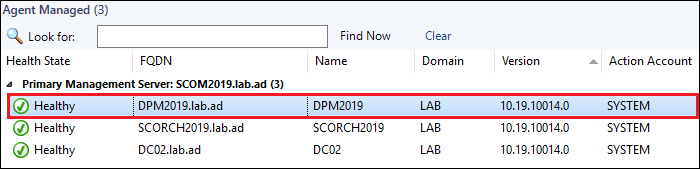
The DPM server should now have a SCOM agent installed and we should see it under Agent Managed:
Importing the DPM management packs
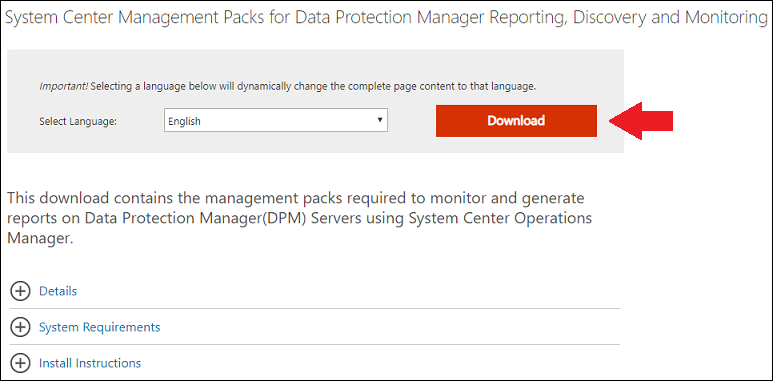
The first step is to make sure we have the management pack for DPM. the latest DPM 2019 management pack can be downloaded from here:
1. Download the latest DPM 2019 management pack from HERE to the SCOM 2019 management server.

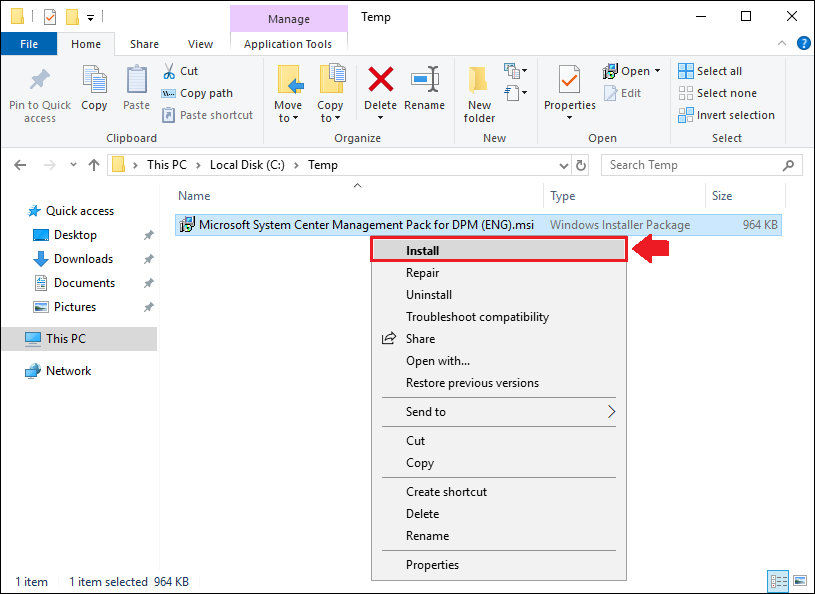
2. To install the DPM management pack right-click the Microsoft System Center Management Pack for DPM .msi installer file and select Install.
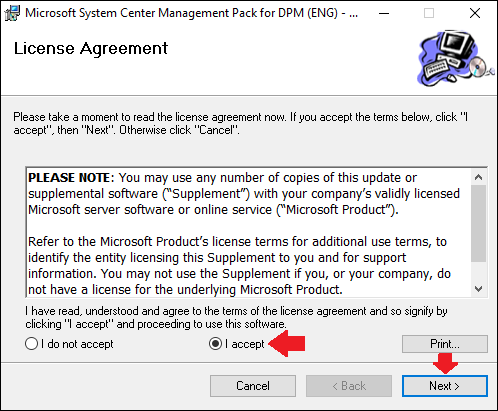
3. Check the I accept check box and click Next.
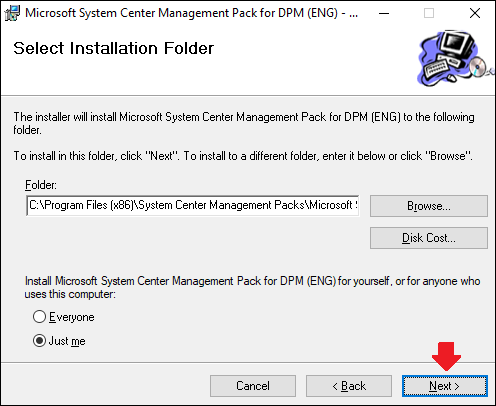
**4. **Click **Next **again.
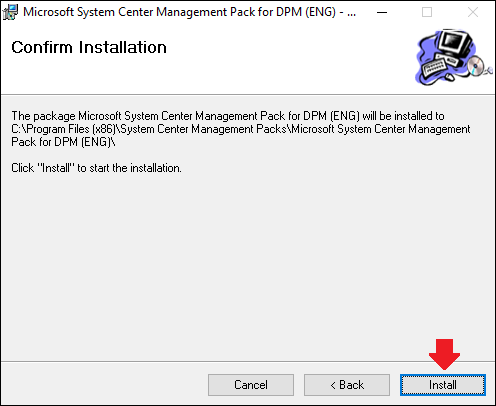
5. Click **Install **to install the management pack on the SCOM 2019 management server.
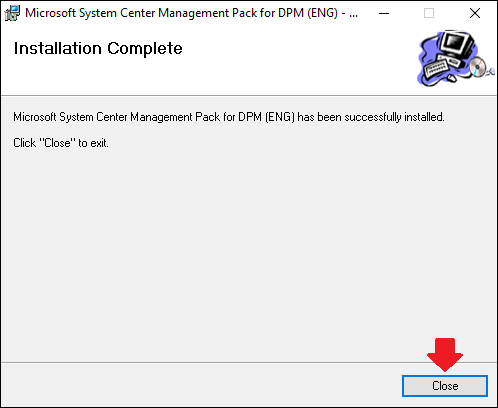
6. Once the installation has completed, click **Close **to close the installation wizard.
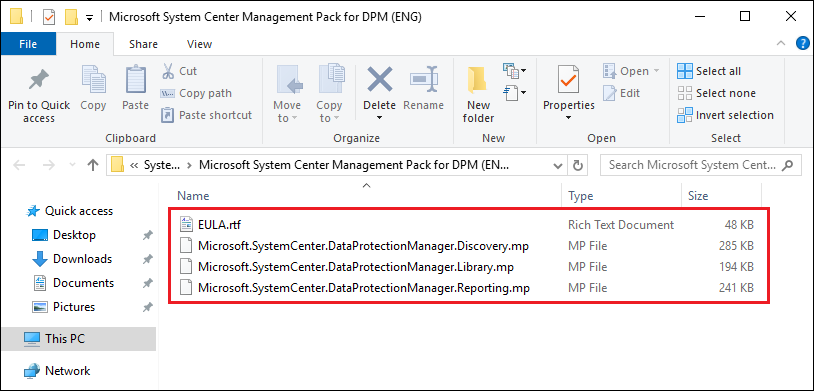
7. A File Explorer window should open up showing the installed DPM 2019 management packs as shown below:

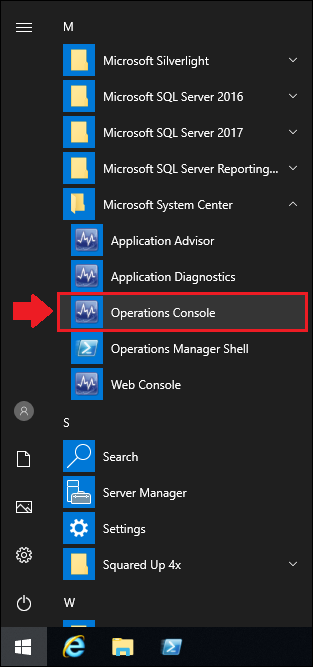
8. Open the Operations Console (SCOM console) on the SCOM 2019 management server.
9. Once the Operations Console has opened, head to the **Administration **tab.
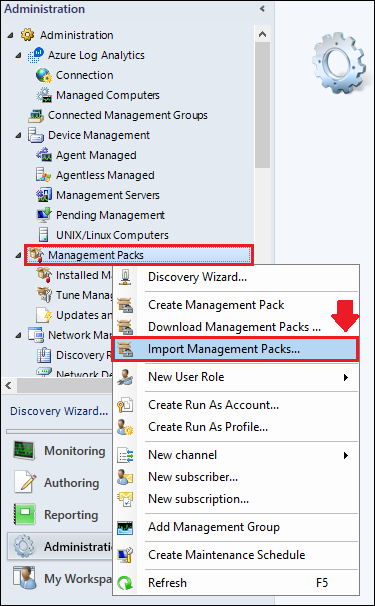
10. To import management packs right-click Management Packs and select Import Management Packs.
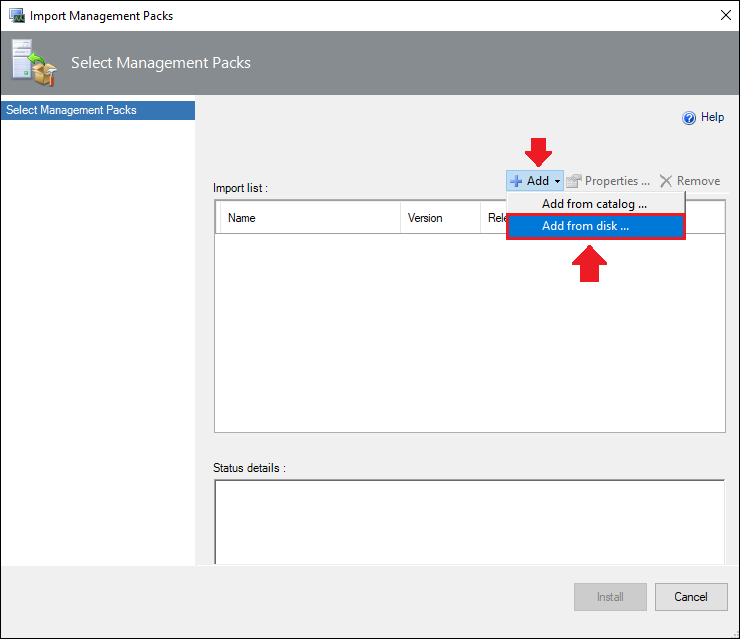
11. A Import Management Packs window will open up, click on + Add and then click on Add from disk to add a management pack from a local or remote disk.
12. An Online Catalog Connection window will show up, click on **No **to not search for any dependencies for the management packs.
13. Browse to the path where the DPM 2019 management pack was installed, select all of them and then click Open.
Note: If you’ve downloaded the English version of the management pack it will be located here by default:
C:\Program Files (x86)\System Center Management Packs\Microsoft System Center Management Pack for DPM (ENG)
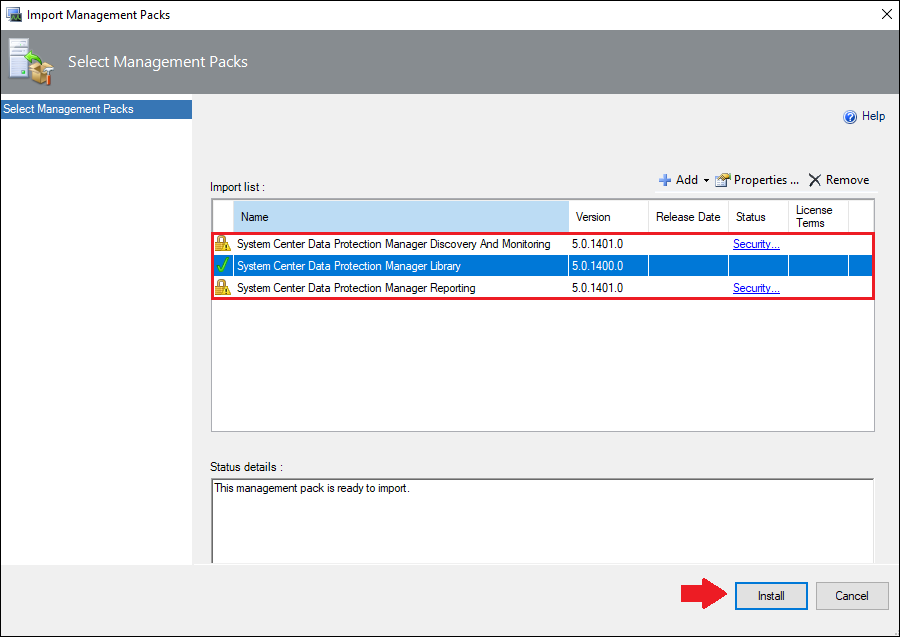
**14. **There will be security warnings saying that the management pack contains rules which have write actions, as this is a management pack from Microsoft it’s safe to say that the management pack comes from a trusted source.
Click **Install **to import the DPM 2019 management pack.
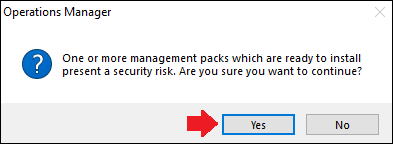
15. A window will pop up asking if we want to continue with the import of the management packs as they have security risks, click **Yes **to continue.

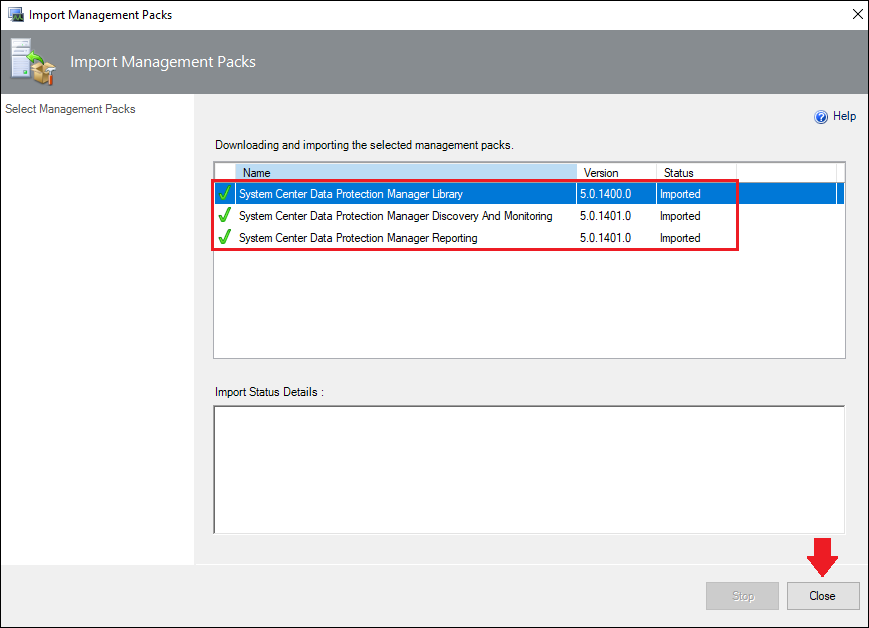
16. Once the DPM 2019 management pack has been successfully imported, click Close.
Installing the DPM Central Console on the SCOM management server
Now it’s time to install the DPM Central Console on the SCOM 2019 management server.
1. Mount and extract the DPM 2019 installation media on the SCOM 2019 management server, unless it is already extracted somewhere.
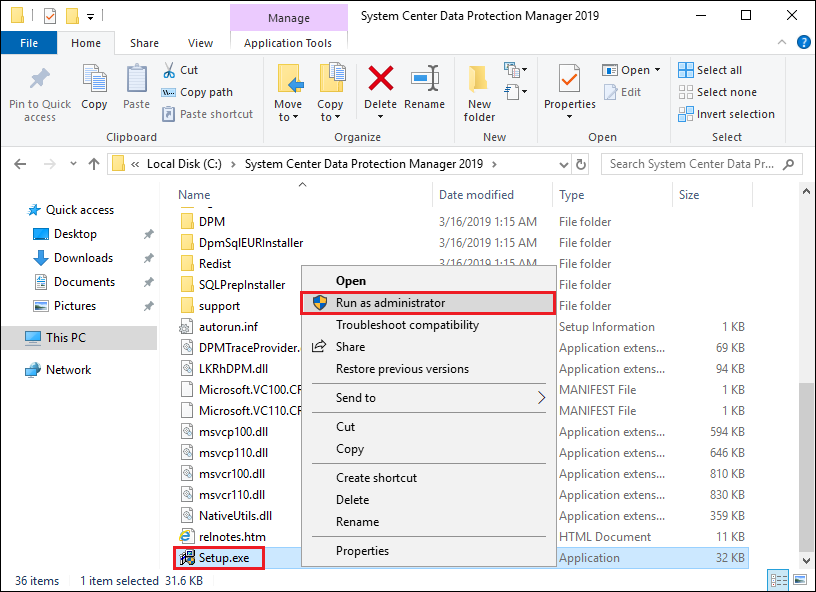
2. Once the DPM 2019 installation media is extracted, open the extracted folder "System Center Data Protection Manager 2019", right-click the Setup.exe and choose Run as administrator.
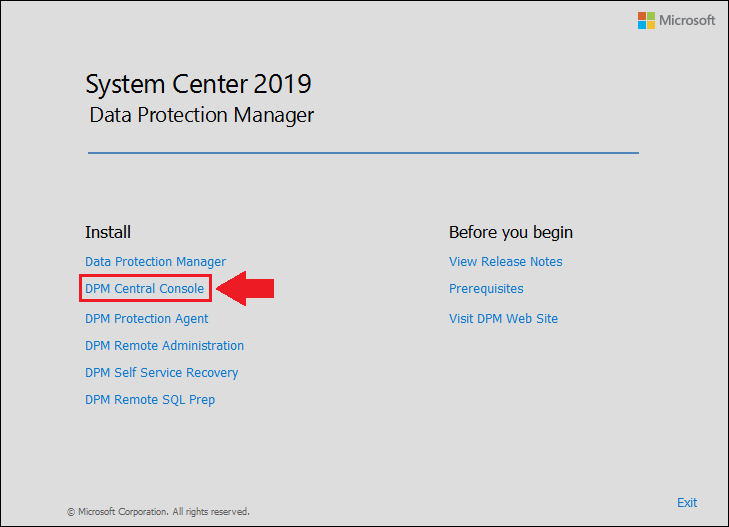
3. The System Center 2019 Data Protection Manager installation menu will appear, select the DPM Central Console.
4. A Microsoft Software License Terms window will appear, click Accept.
5. A Data Protection Manager Central Console Setup window will now open, click Next.

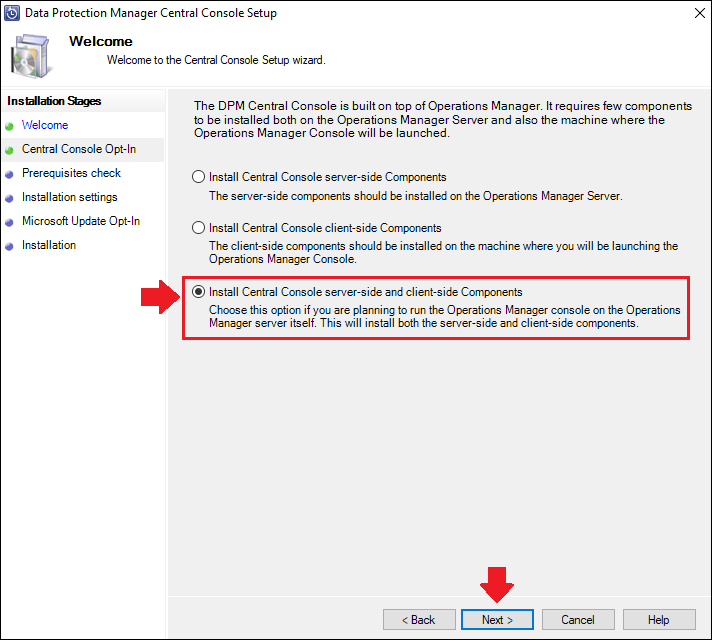
6. In the next step we will have three (3) different options to choose from:
- Install Central Console server-side Components
- Install Central Console client-side Components
- Install Central Console server-side and client-side Components
In this guide we will install the DPM Central Console on the SCOM 2019 management server itself, choose Install Central Console server-side and client-side Components then click Next.
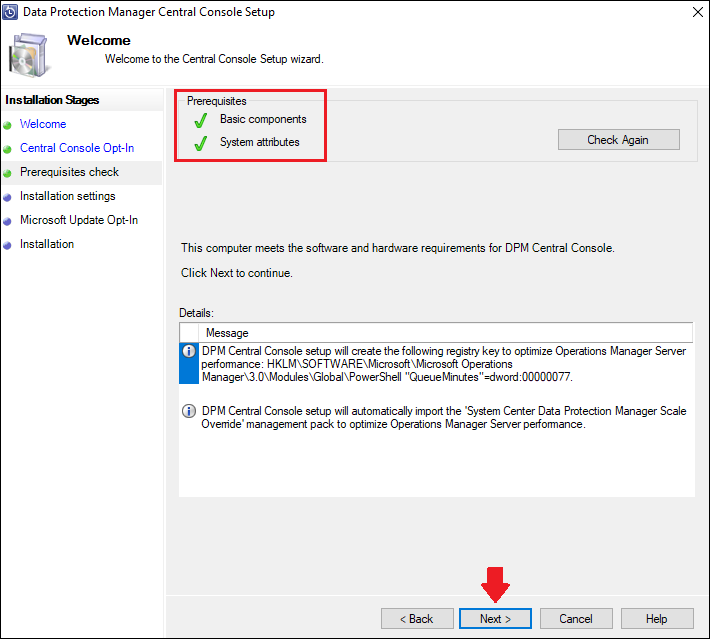
7. There will now be a prerequisites check, if all prerequisites passed we can click **Next **to continue.
8. On the Installation settings step, click **Next **to continue.

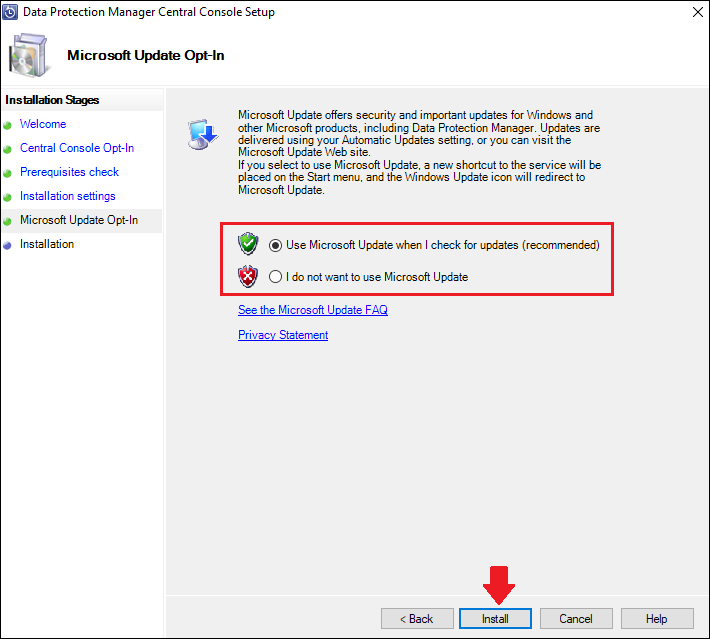
9. Select whether we want to opt-in or opt-out for Microsoft Updates, then click Install.
10. Once the installation is complete, we should receive an identical as shown below:
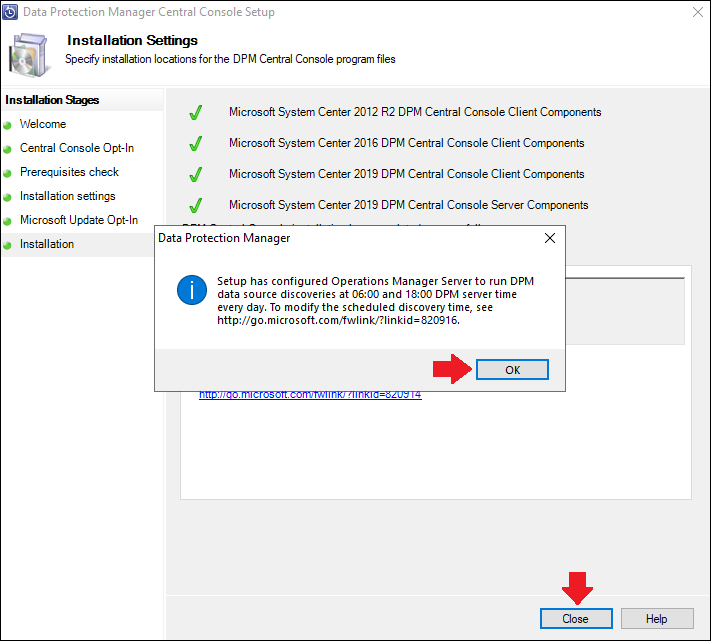
The installation will install the following components:
- Microsoft System Center 2012 R2 DPM Remote Administration
- Microsoft System Center 2016 DPM Remote Administration
- Microsoft System Center 2019 DPM Remote Administration
Take extra note of the following message:
"Setup has configured Operations Manager Server to run DPM data source discoveries at 06:00 and 18:00 DPM server time every day".
Click **OK **and then click **Close **to finish the installation wizard.
If nothing is showing up/being discovered in the Operations Console (SCOM console) this is most likely the reason why, these discoveries can be overridden if needed:
Overview of the DPM monitoring
Under the Monitoring pane within the Operations Console (SCOM console), we should now have a new folder called "System Center Data Protection Manager" which contains a few sub folders and many views, as shown below:
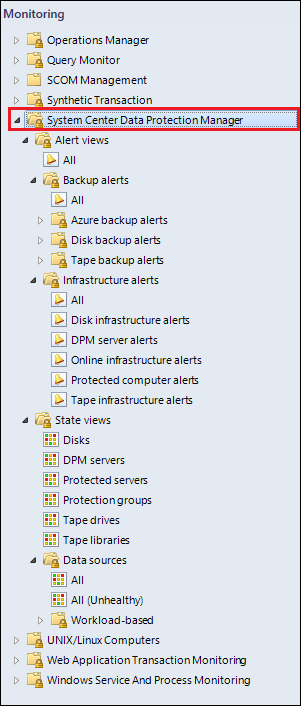
Once the discoveries have been triggered (by default at 06:00 and 18:00 daily), we should start seeing the state views being populated.
Creating overrides for the DPM discoveries
The discoveries can be changed by creating overrides within the Operations Console (SCOM console), all the DPM discoveries are configured by default with a frequency of 43200 seconds (12 hours).
Here’s a list of all the DPM discoveries in SCOM:

We can also find all of this information from the technical documentation library over at System Center Wiki web site.
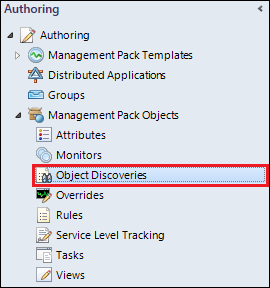
1. In the Operations Console, head to the Authoring pane.

2. Go to the Object Discoveries tab.
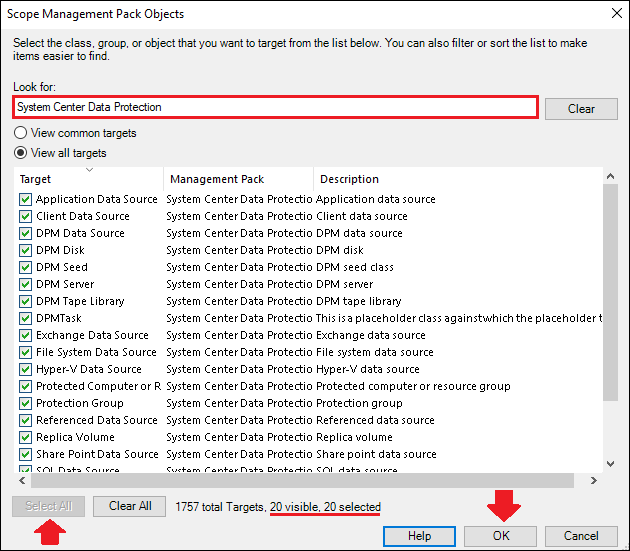
3. Click on Scope which can be found on the upper toolbar in the Operations Console.

4. Select View all targets, look for “System Center Data Protection“, then select all the found objects and then click OK.
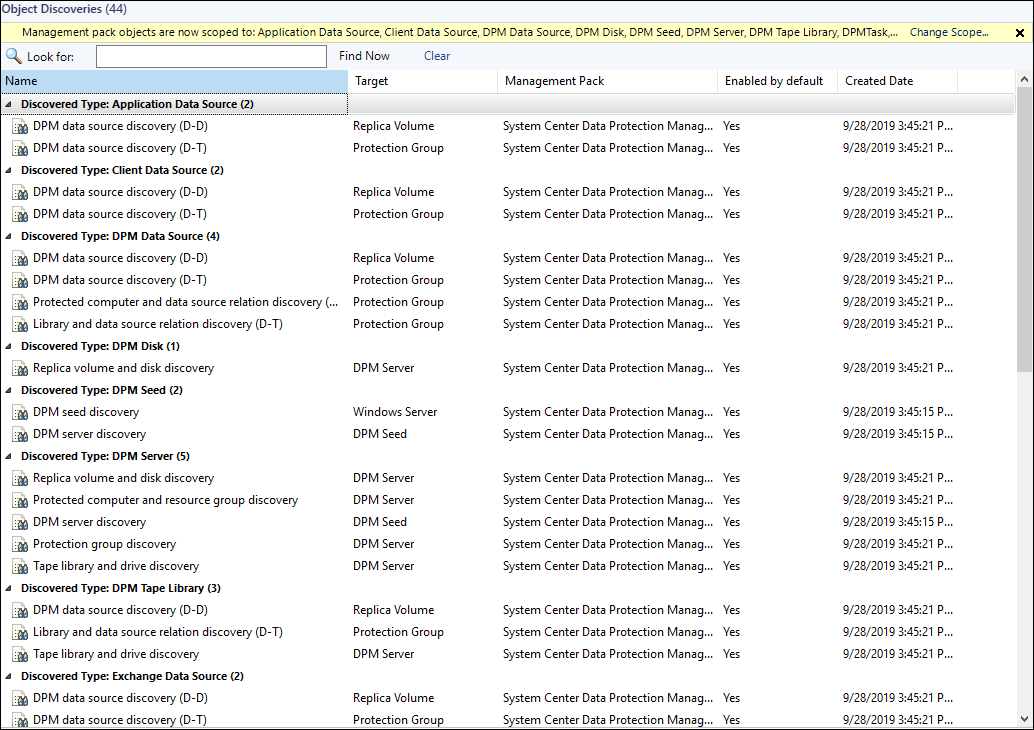
5. We should now see all object discoveries related to DPM:
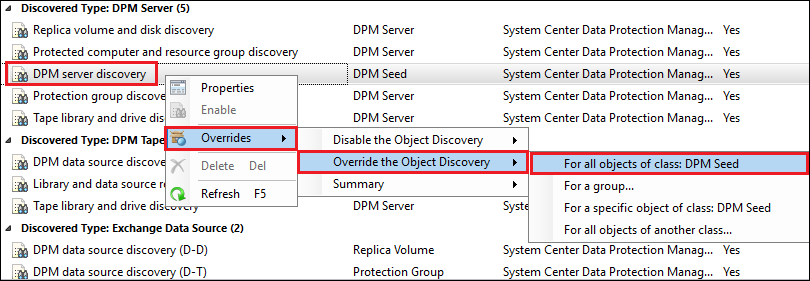
6. Let’s say we want to override the discovery of the DPM server:
Right-click the "DPM server discovery" under the “Discovered Type: DPM Server (5)” select Overrides > Override the Object Discovery > For all objects of class: DPM Seed.
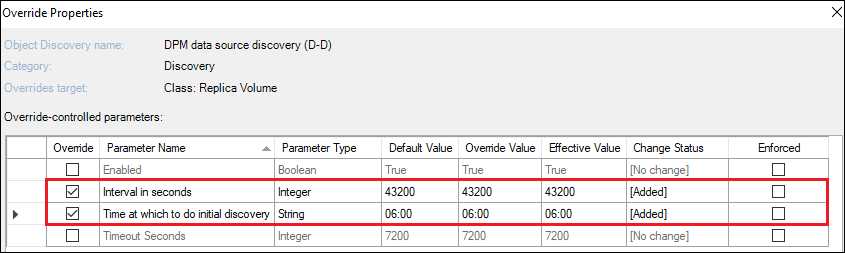
7. We should now have the Override Properties window in front of us, as shown below:
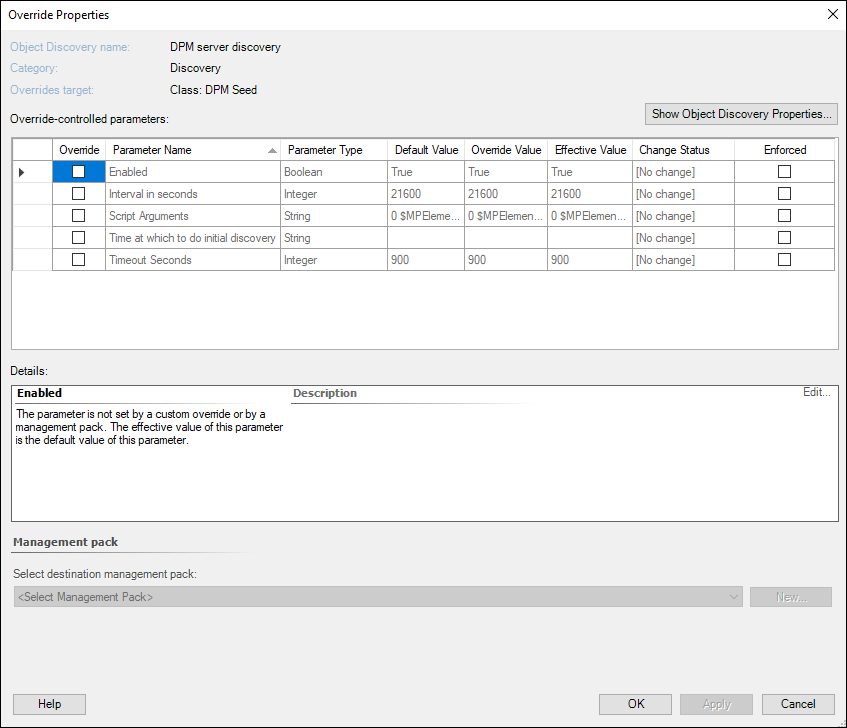
8. If we want the discovery for DPM servers to be shorted, we simply check the check box for “Internal in seconds” and change the Override Value to a lower value.
Once we’ve done that, we need to create a new overrides management pack for DPM (unless we haven’t already done so), then click OK to apply the override.
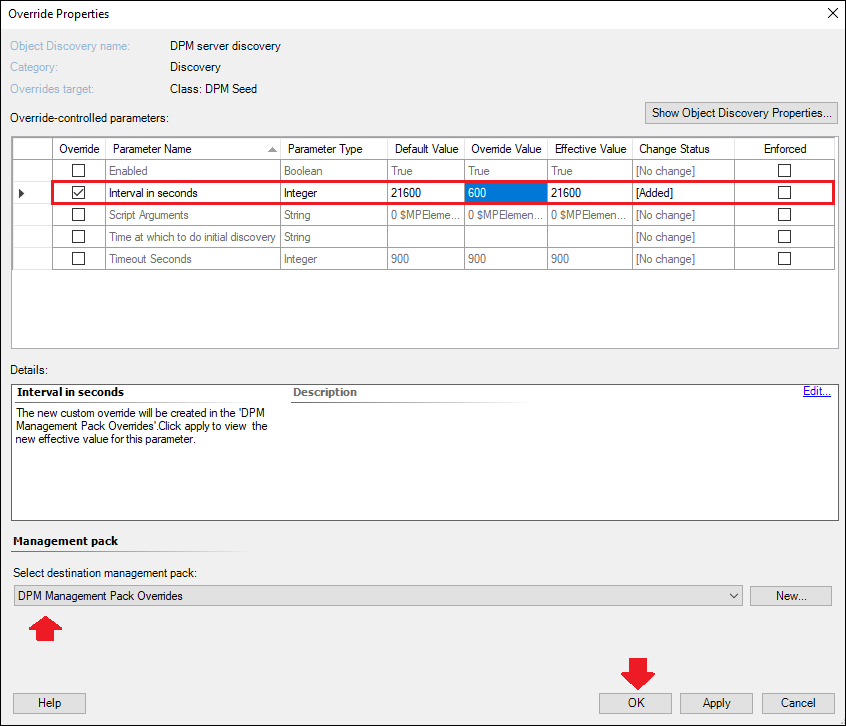
The DPM server discovery should now be triggered every 600 seconds (10 minutes).
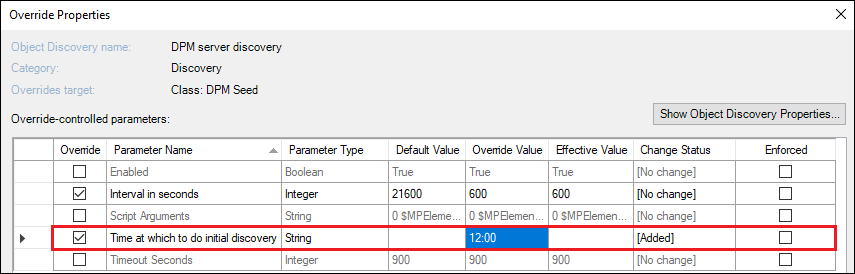
Note: If you haven’t discovered any DPM servers yet, you can speed up this process by overriding the "Time at which to do initial discovery" and define a time.
Monitoring view examples of the DPM Management pack
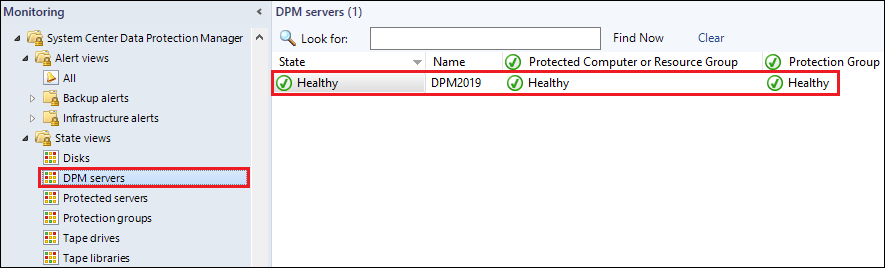
Below are a few examples of how it may look like once the DPM objects have been successfully discovered by SCOM:
DPM Servers
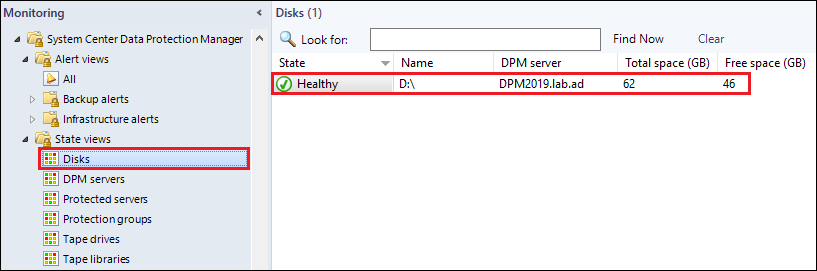
DPM Disks
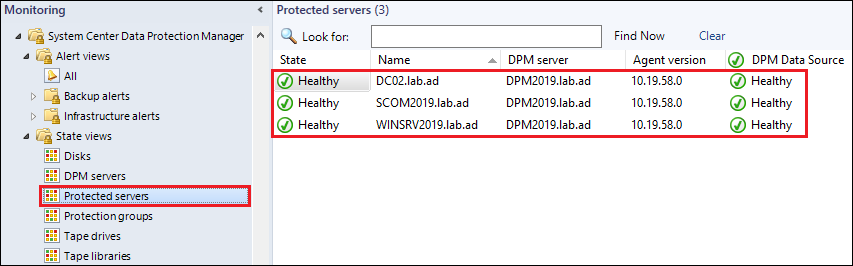
DPM Protected Servers
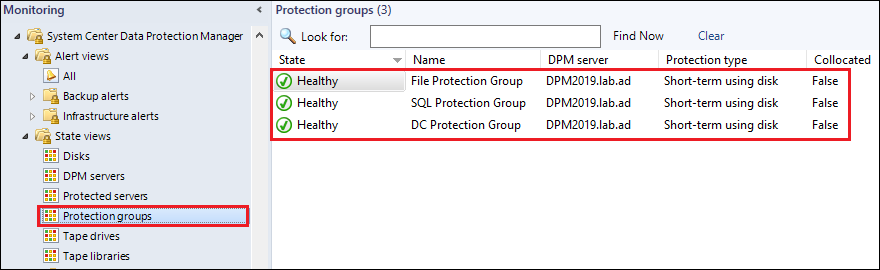
DPM Protection Groups
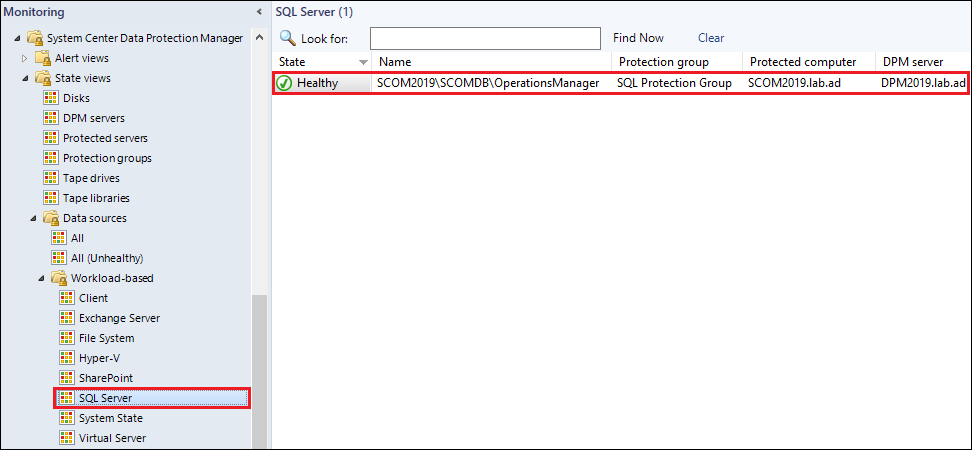
Below is an example how a protected SQL workload looks like:
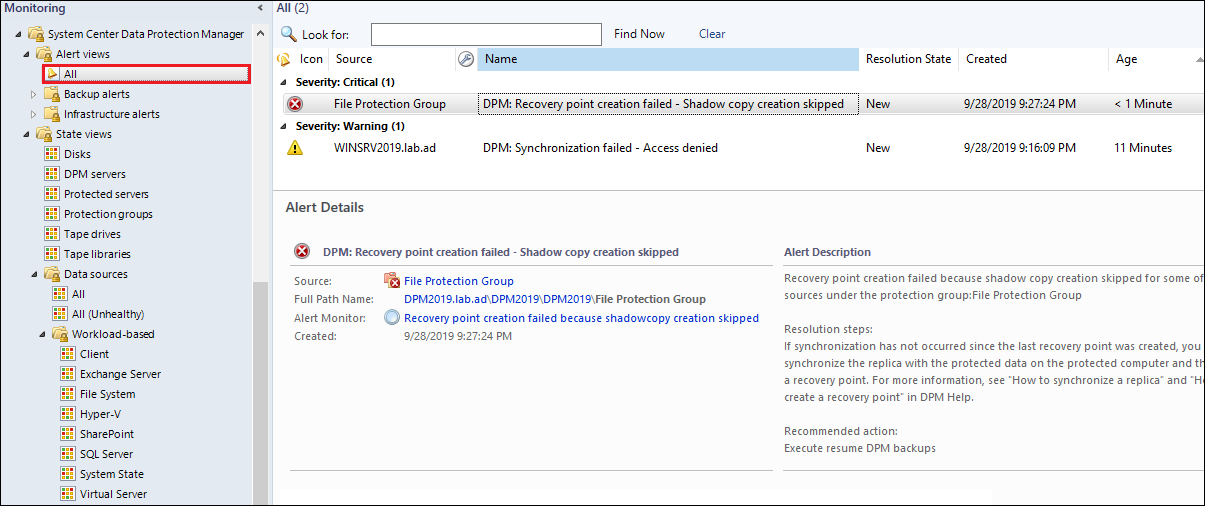
Alerts view
Conclusion
The integration between SCOM and DPM is a straightforwad process and doesn't require many steps.
DPM itself offers an own "Monitoring" pane within the DPM console, but it's doesn't give a good enough view of the whole backup environment.
This is one good reason why an integration between DPM and SCOM can be very beneficial.