Moving Azure Virtual Machine to different region using Azure Site Recovery
Introduction
Azure VMs can be Moved or Managed using Azure Site Recovery Service. This service main purpose is for Business Continuity and Disaster Recovery (BCDR).
Moving Azure VMs you can enable and can execute Failover from Primary region to Secondary region.
This article will explain moving Azure VM from one region to another region.
Prerequisites
- Create an Azure VM
- Create a Recovery Service Vault
- Enable Replication for VMs
- Run Failover to move VM to different region
Create an Azure VM
By following the steps of the below article, we can create an Azure VM.
Creating Virtual Machine in Microsoft Azure
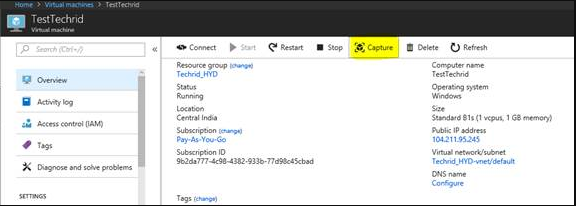
OK great we have Azure VM residing in Central India as shown below:

Azure geographies & Locations
**Note: **Before moving VMs please follow the Supportability Azure geographies & Azure Locations
Azure geographies
Azure regions are organized into geographies. An Azure geography ensures that data residency, sovereignty, compliance, and resiliency requirements are honored within geographical boundaries.
Azure Locations
Azure has more global regions than any other cloud provider—offering the scale needed to bring applications closer to users around the world.
Now moving Virtual Machine (VM) from one region to another region current location of VM is in Central India.
Movement Types
There are two types of Movements
- Offline Movement
- Live Movement (Point In Time)
1: Offline Movement
Steps for Offline movement
For the Virtual Machine create custom Image (Capture)
Note : Before creating an image use “sysprep /generalize” to prepare the windows guest OS on the virtual machine. If you create an image from a virtual machine that hasn’t been generalized, any virtual machines created from the image won’t start.
For More Info : Capture Image Resource using SysPrep

Put check mark on “Automatically delete this virtual machine will be deallocated automatically“
This will delete the VM after creating the image.
Click Create.
Go the Destination Resource Group “Techrid_KoreaCentral” -> Go to all resources from their you can see the Custom Image use the custom image to VM in that destination Resource Group.
2: Live Movement (Point In Time)
The 2nd method can be called as Live Movement (Point In Time), this is done by using “Recovery Service Vault”
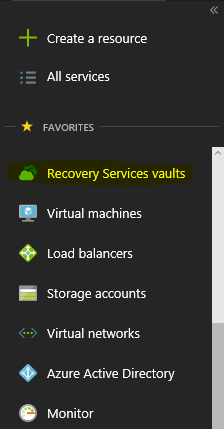
Click Recovery Services Vaults
Click “+ADD“

Select the Source Resource Group, in my scenario I have selected “Use existing” and provided “Techrid_Hyd“
Location selected the same region as the VM located “Central India“
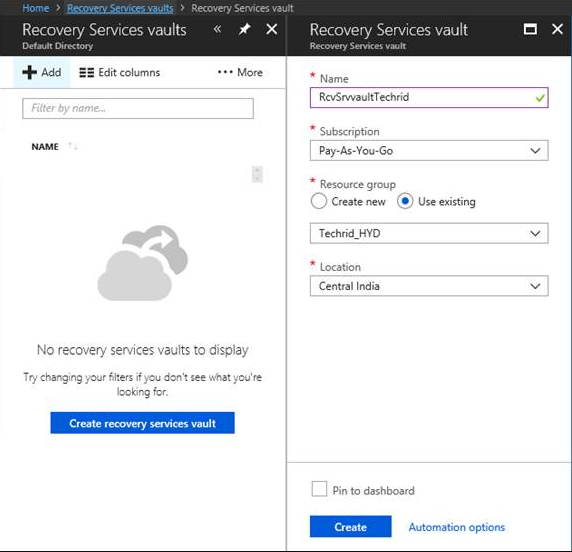
Click Create
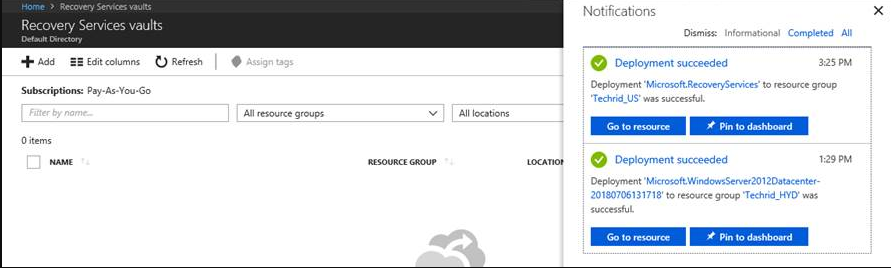
Select Refresh
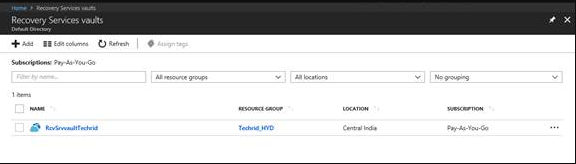
Select the Vault you have created that will take you to Backup and Site Recovery Page.
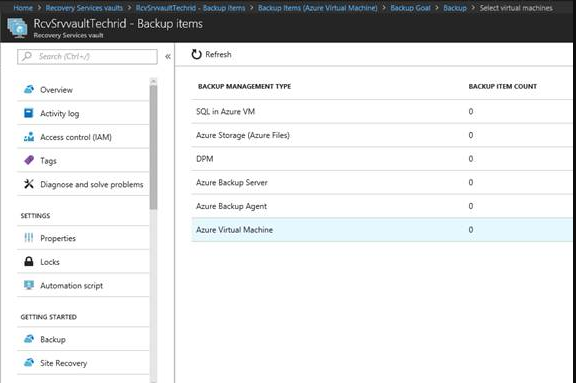
Selected the backup Item that we are trying to backup which Azure virtual Machine
Click +Add

Provide the Backup Goal as shown below:
Note: You can mention the workload running here in my scenario I have selected Azure

After selecting the workload, here we need to define the backup what you are planning with.
Backup Goal
- Virtual Machine
- Azure File share
- SQL Server in Azure VM (Preview)
I have selected Virtual Machine as shown below:
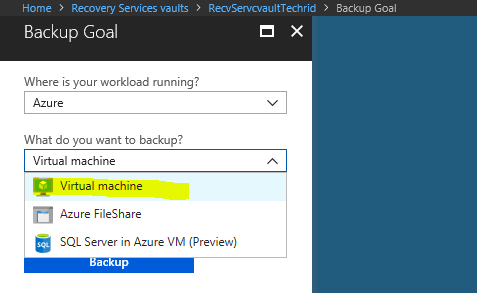
Click Backup
Now time to define policy and this can be scheduled as per your requirement : Backup Policy
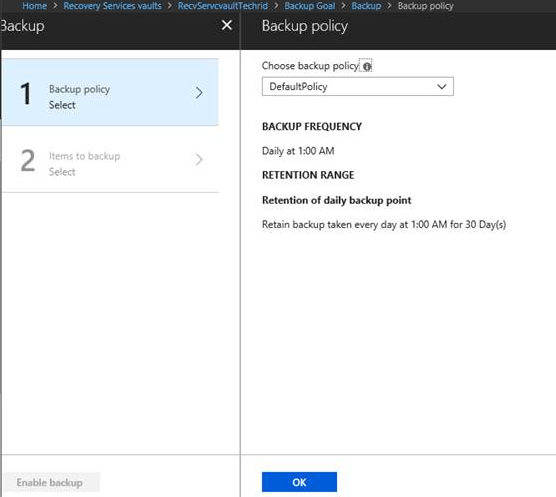
Here I am creating New Backup not going with Default Policy
Provide the Backup and retention policy as per your requirement

Click OK
And Select the Items to backup
Now you can see the VM proceed with Backup
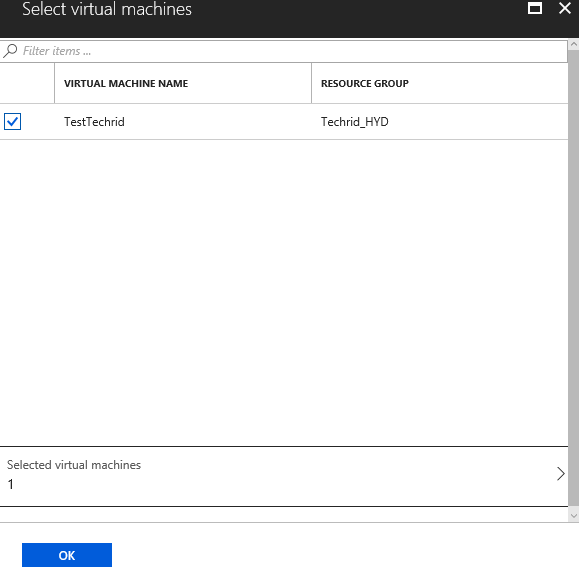
Click OK
And proceed with Enabling the Backup
Click Enable backup

After Enable completed when you go back to Recovery Service Vault
You can see Backup PRE Check status

If you click Notification you can see the status

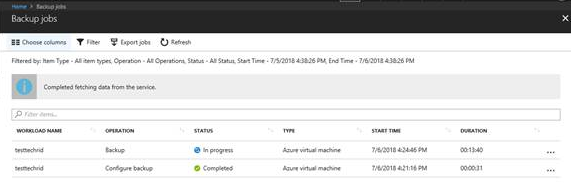
Go to Backup Jobs
Enabling Replication for Azure VM
Go to VM and click on Disaster Recovery and provide the Target Region
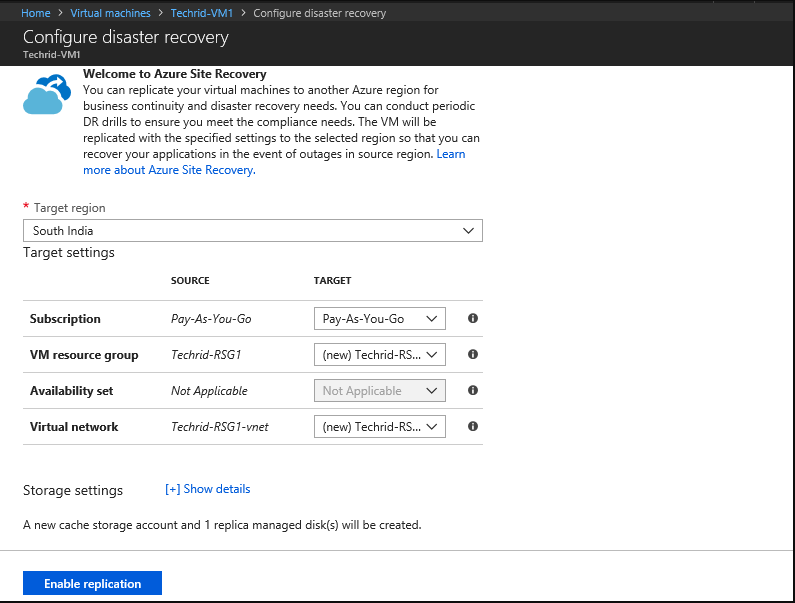
Click Enable Replication.
When you click Enable Replication we can see the below screen.
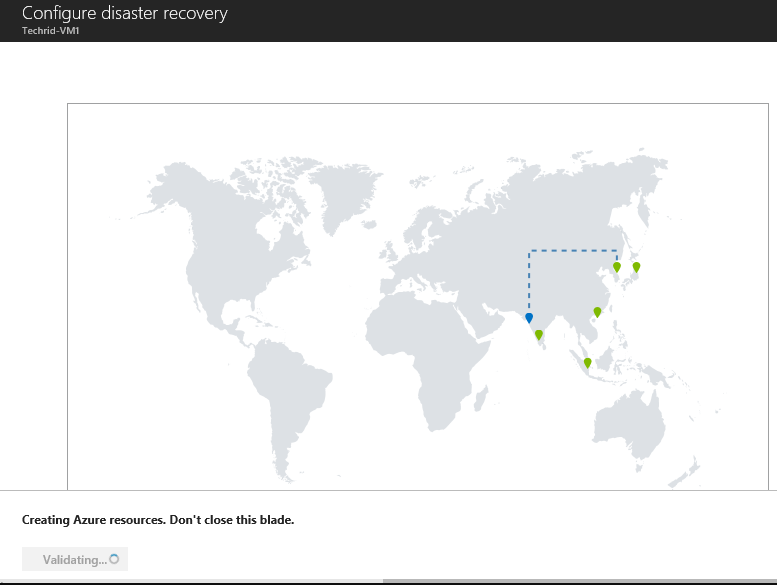
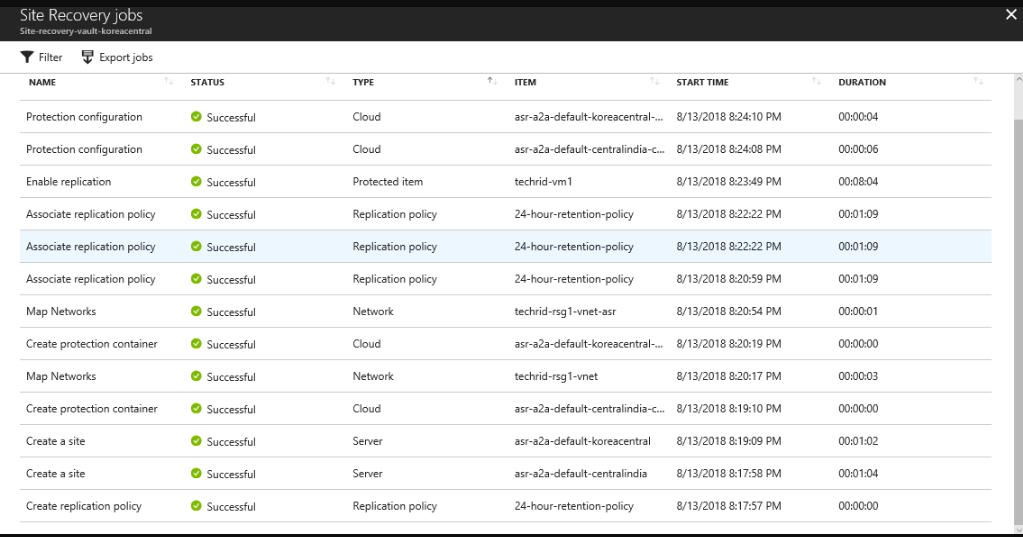
After Replication you can see the status in Target Region as shown below:
Target Region : KoreaCentral
Now time to Failover.
Note: Before Failover make sure you execute Test Failover and the proceed with Actual Failover.
Test Failover
Steps for executing Test failover
Click Test Failover
Provide the Source and Target and need to give the Azure Virtual network
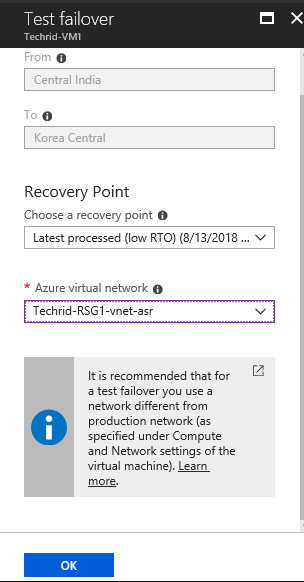
Click OK
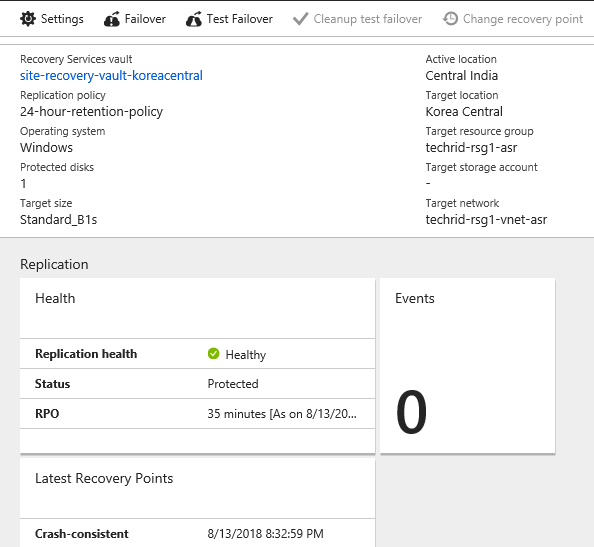
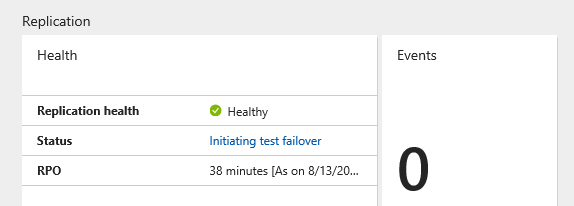
Below screenshot shows the Replication health, Status and RPO (Recovery Point Objective), also if any issues we can see the events….
Status shows : Initiating test failover
Also if you go Vault properties test failover will be shown in detail as shown below:

Status shows : Cleanup test failover pending

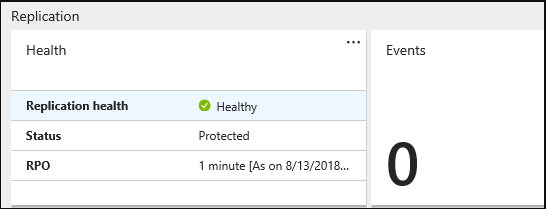
Status shows : Protected
Now as the Test Failover completed with no Issues or events triggered we can proceed with Actual Failover.
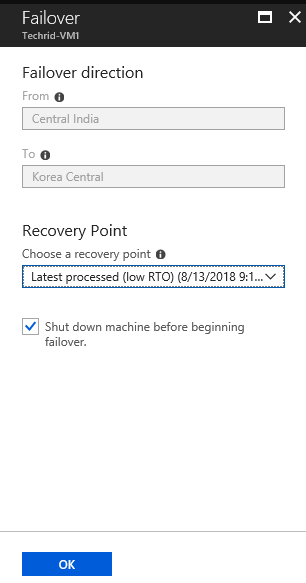
Select Source and Target. Also need to provide Recovery point…
Make sure you keep the check box on “Shut down machine before beginning failover”
Click OK
After completion of Failover we can see the status as shown below:
After VM moved you can see the Source VM (Central India) status showing as Stopped
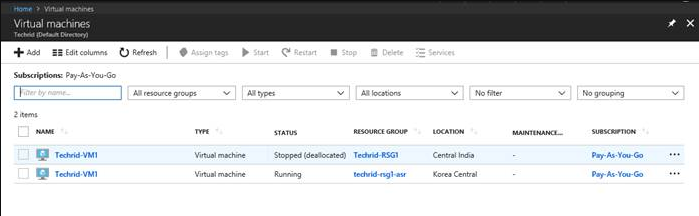
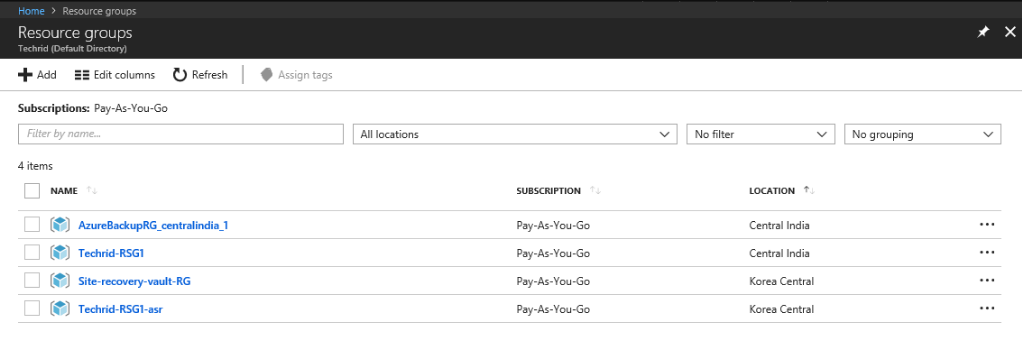
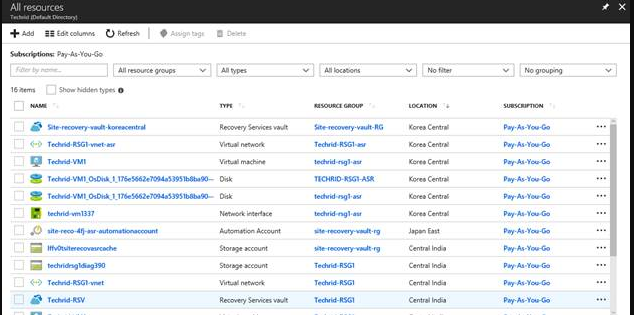
When you go to Resource groups you can see the status of Source and Target Locations