Azure Networking: VNet Peering
Introduction
By default, Microsoft Azure doesn't accept connections between Virtual Networks ,this problem has been solved by using the VNet Peering mechanism, setting up one V-net peering per virtual network communication between Vnets becomes possible. In this post, you can read about Peering and how you can deploy it.
Note
If the Peering is configured between virtual networks in the same region, latency or bandwidth overheads eclipse. On the other hand, if the virtual networks are located in different regions, then you will experience some latency.
Scenario
You are a Network admin and the board of the company decided to open a new branch office in France, they want this branch to communicate with the headquarters in Amsterdam, you need to create a peering between those two virtual networks.
Solution
The company has two Resource Groups, one for each VNet these are PeeringDemoWE (West Europe) and PeeringDemoFC (France Central)

Configure Peering in the France branch office
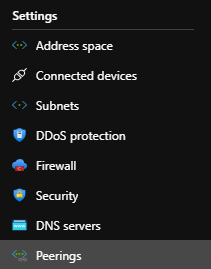
From the left main blade select Settings - Peerings, and click +Add First, type a name for the Peering connection, in the Peer details choose Resource manager, check I know my resource ID and paste the Resource ID from the West Europe Vnet.
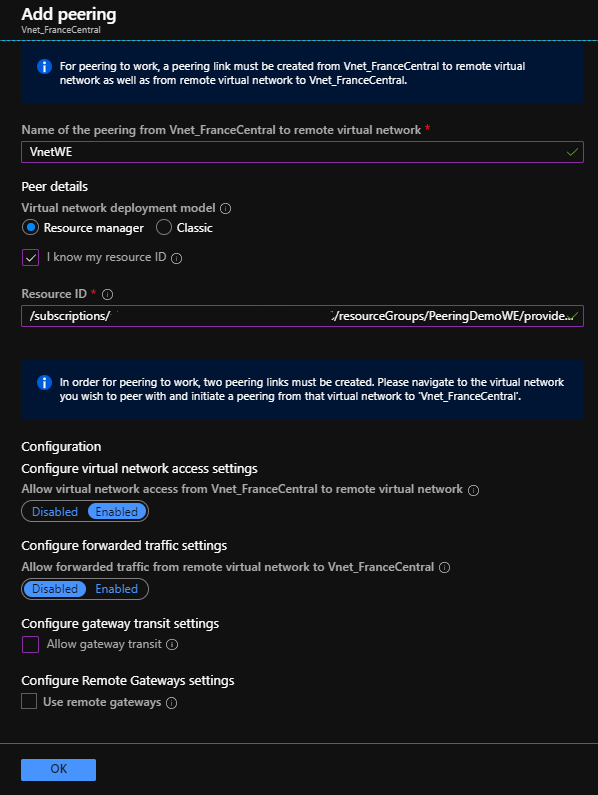 |
Name of the peering from Vnet_FranceCentral to remote virtual network: The name of the peering connection |
| Virtual network deployment model: Choose Resource manager and click the checkbox [I know my resource ID], if you don't have read access to the Vnet or subscription you want to peer with. *** | |
| Configure virtual network access settings: Select Enabled to allow virtual network access from Vnet_FranceCentral to the remote virtual network Vnet_WestEurope {It is not configured yet} | |
| Configure forwarded traffic settings: Select Enabled to allow traffic that comes from another source, e.g a Peering from another Vnet. | |
| Configure gateway transit settings: Choose this to allow peer network to use an existing virtual network gateway. Configure Remote Gateways settings: Select this to use the peer network a virtual network gateway that exists in another Vnet. You prohibit the use of this setting if you already have a gateway in your Vnet. | |
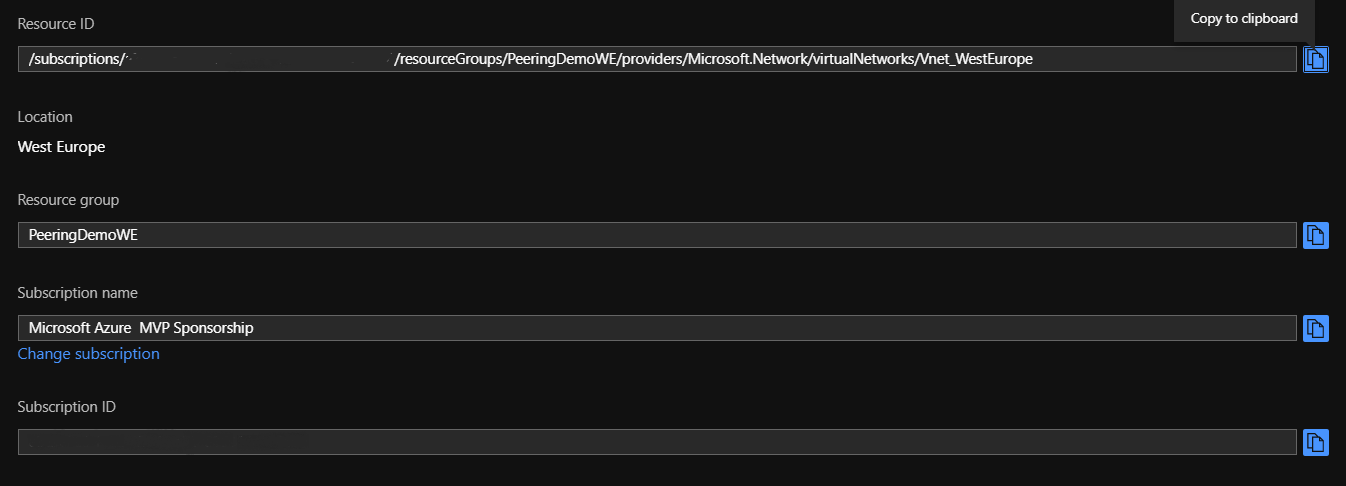
*** The Resource ID can be found on the Settings - Properties and appears like the image below.
When the Peering has completed you can see the information message below. This message means that until you complete the other peering the state will be in initiated status.

Configure Peering in the Amsterdam's head courters
From the left main blade select Settings - Peerings, and click +Add
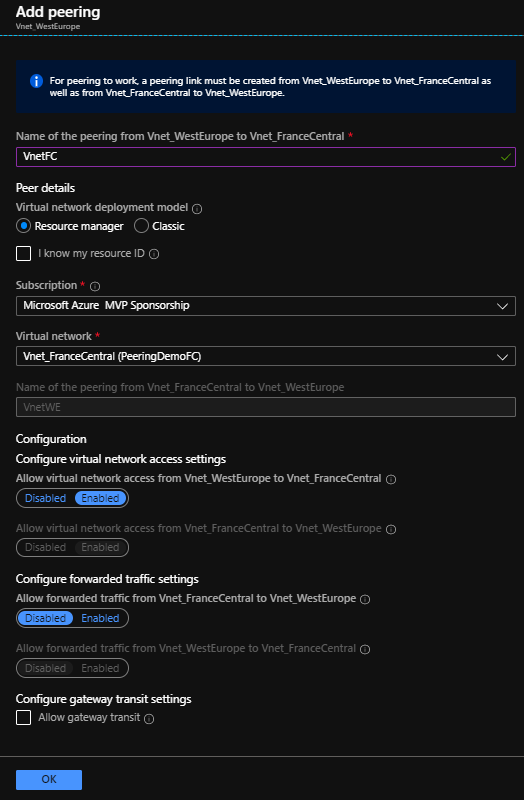 |
Name of the peering from Vnet_FranceCentral to remote virtual network: The name of the peering connection |
| Virtual network deployment model: Choose Resource manager and click the checkbox [I know my resource ID], if you don't have read access to the Vnet or subscription you want to peer with. *** | |
| Subscription: Select the subscription where the branch office virtual network belongs. | |
| Virtual network: Select the branch office Vnet, where is located in France. | |
| Configure virtual network access settings: Select Enabled to allow virtual network access from Vnet_WestEurope to the remote virtual network Vnet_FranceCentral. | |
| Configure forwarded traffic settings: Choose Enabled to allow traffic that comes from another source, e.g a Peering from another Vnet. {In this demo, I have selected to be Disabled this setting} Configure gateway transit settings: Select this to allow peer network to use an existing virtual network gateway. | |
A few seconds later the Peering status is Connected and the two Vnet's can communicate one to others.


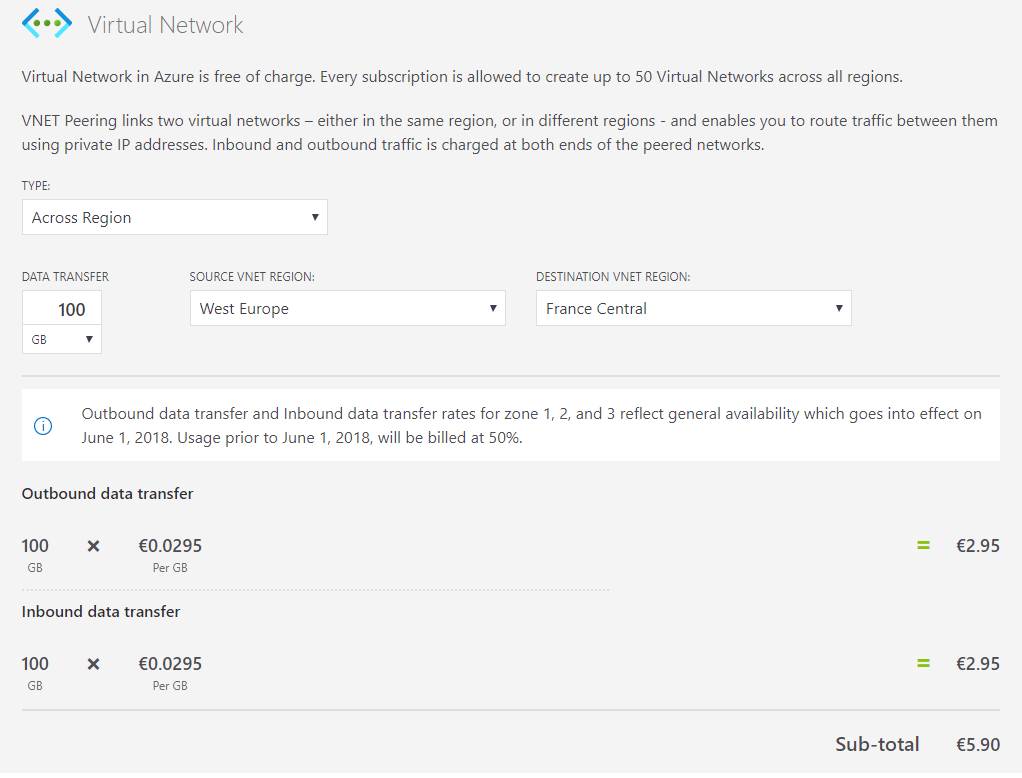
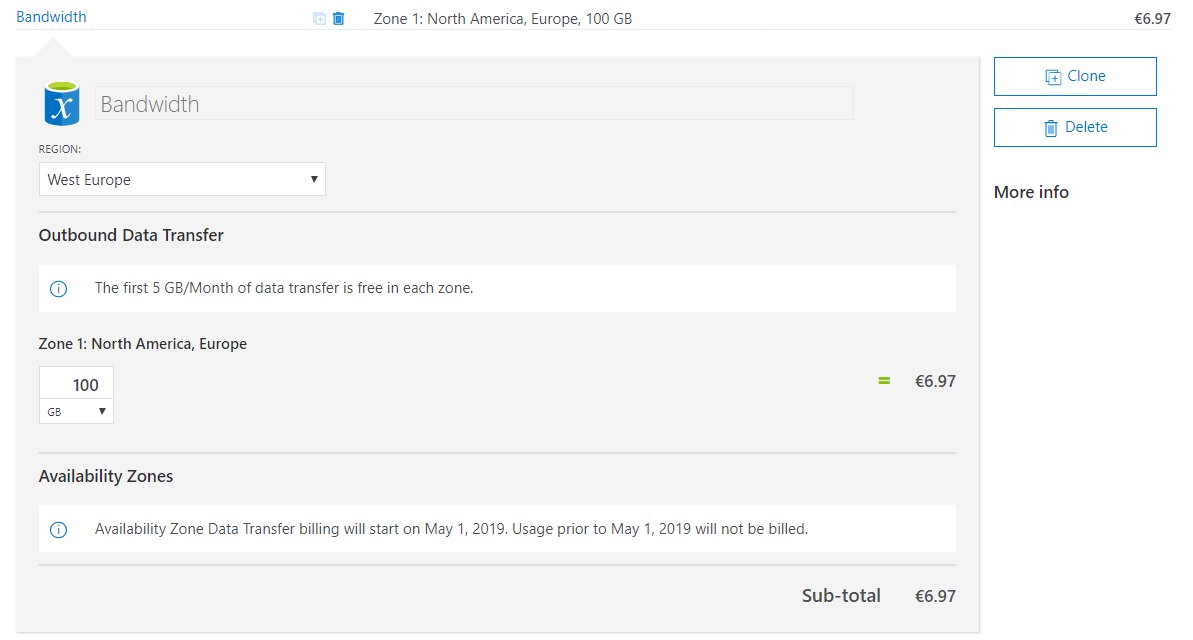
Solution Cost
In the image below you can see how this solution will cost.