Co-authoring in Canvas Power Apps

- Introduction
- Co Authoring with Git Version Control
- Enable Git Version Control
- Create a Personal Access Token
- Working with Git
- Summary
Introduction
While working with PowerApps, one of the biggest limitations had been that only one person could edit the application at a time. While working with large complex applications there would be situations where multiple app makers could work with different screens at the same time to complete the development faster. Lets take a situation where a user tries to access an App that is being edited by another app maker, we will instantly get the below message that prevents us from opening the app for editing.

To overcome the Single user limitation, Microsoft has rolled out the Co Authoring facility by which multiple users can now work on the same app at the same time. In this article we will see how to implement Co Authoring in Power Apps
Co Authoring with Git Version Control
We can now use Git Version Control so that multiple users can work on the canvas app, make edits to it and sync changes in real time. Users will not get the locked-out message if the App is being concurrently opened for editing. The changes made by the app makers are synchronized and made available for the other user in real time. Git is used to enable co authoring feature.
Note: Advanced Conflict resolution, say for instance , changes made on the same control is not yet a feature that has been rolled out as part of co-authoring. Unrelated changes are merged automatically by the App Studio.
Before heading over to Enabling Git Version control, lets create a repository in https://github.com/ and copy the URL of the repository as we would need it in the next step .
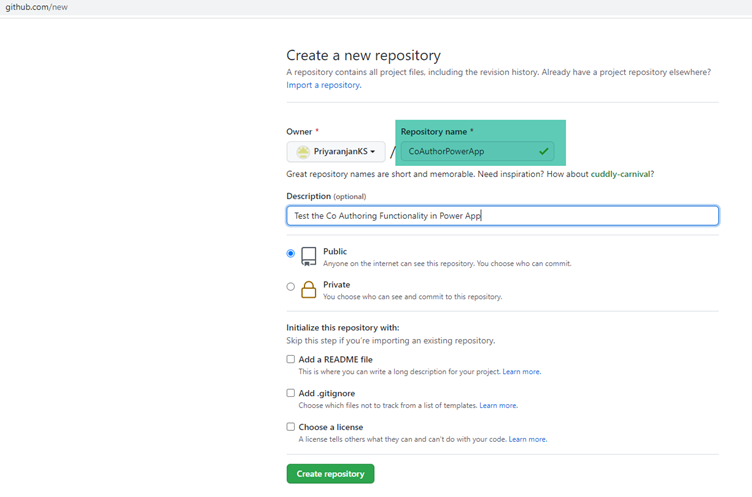
Clicking on Create repository will create the github repo and the url for the recently created repository is :
https://github.com/PriyaranjanKS/CoAuthorPowerApp
Enable Git Version Control
As the next step, lets enable Git Version Control for the App. Lets head over to an existing App, File->Settings->Upcoming features->Experimental and toggle the Show the Git version control setting to On

This will add a new section for Git Version Control in the Settings window which lets you connect the App to Git.

Click on Connect to make the connection to the recently created github repository. We will specify the URL of the repository, mention the branch name and the directory name where the app will be stored.
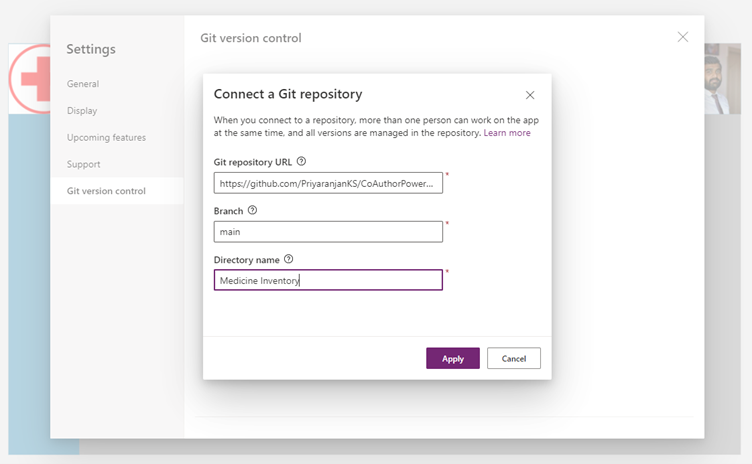
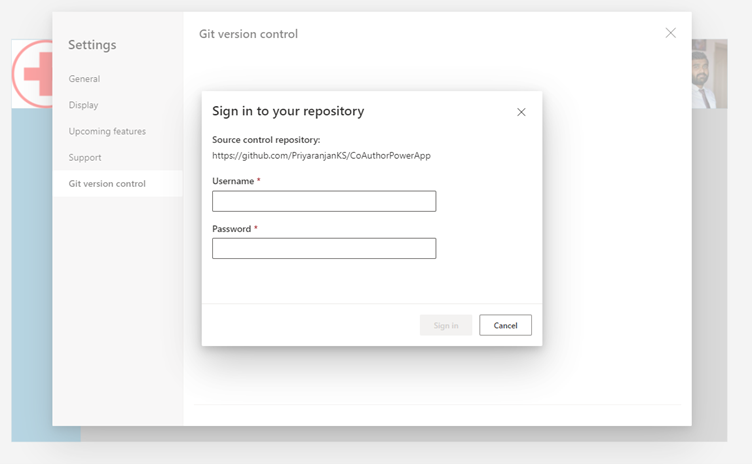
Clicking on Apply will ask for the authentication to the repo.
Create a Personal Access Token
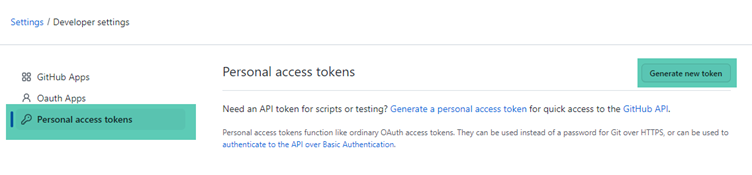
Please Note that the Password to be used here is not the password for the Github account, rather it is a Personal Access Token which you can generate from your logged in Github session. Click on the Settings Menu from your account.

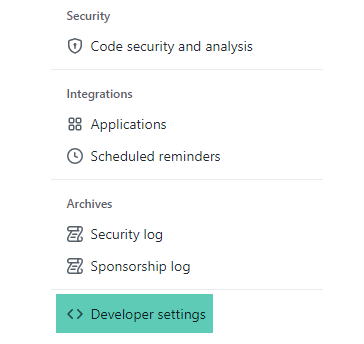
From the left side bar, select Developer Settings
Select Personal access tokens -> Generate new token
Specify the Token Name, expiration and the permission scope that will be granted through this token. As we are using it to access to repository, we will select the repo scope and click on Generate Token.
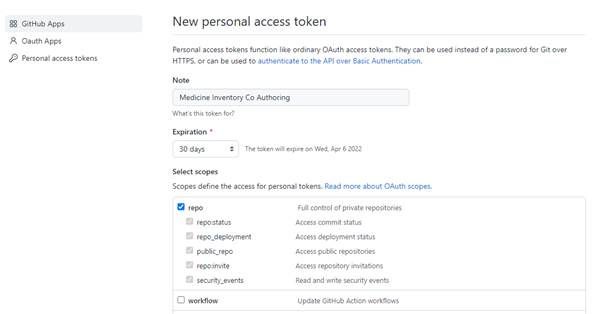
Save the token as it will not be available for viewing once you leave the page.
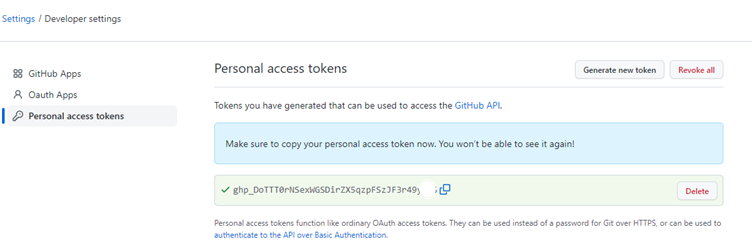
Lets head back to the Power App and complete the authentication by placing the newly created Access Token in the password field.
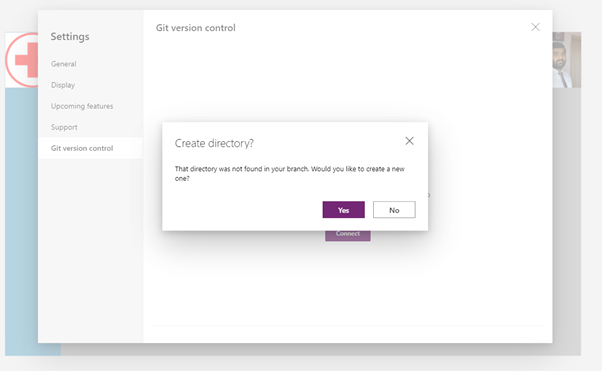
In case the branch is not present in the repository, it will create a new one for use.

Same goes with the directory within the branch. If not found, a new one will be created.
Thus, we have completed the one time setup of the App’s configuration and connection to github

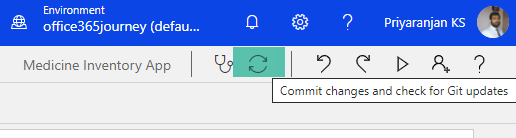
Heading back to the App, we can see that a new Sync icon has come up at the top of the app that lets you commit the changes and at the same time fetch the updates by another app maker from Git.
Working with Git
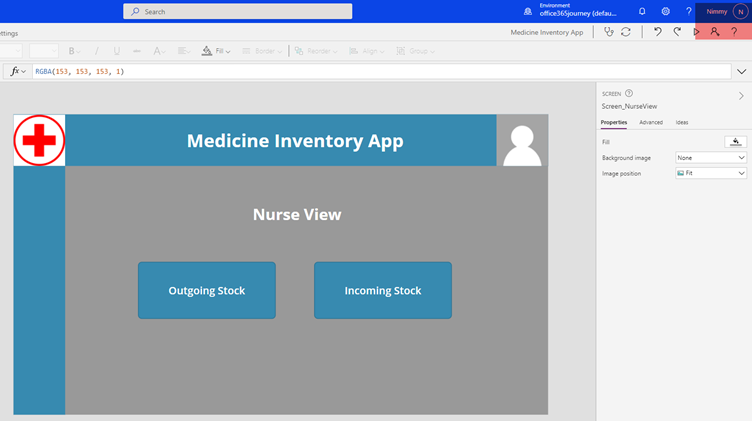
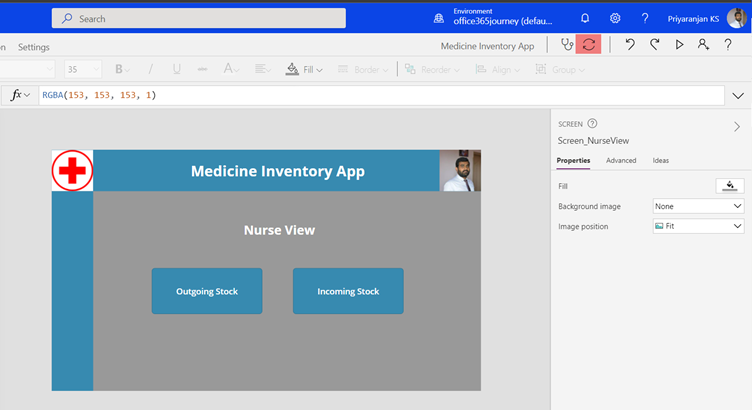
Let’s see how concurrent updates with an App works with multiple users. I have logged in to PowerApps under my account

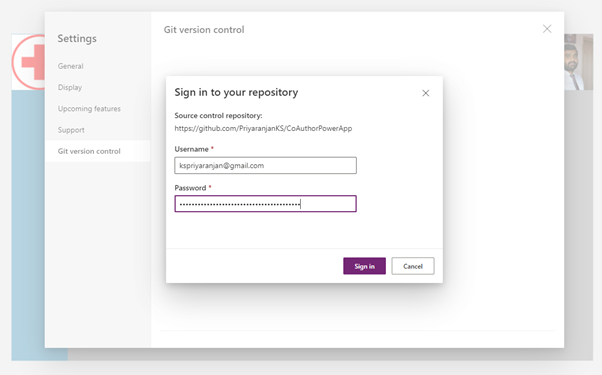
Now let’s see what happens when a colleague of mine tries to edit the same app. It has not shown any locked out message but has asked for authentication to git repository which we created.
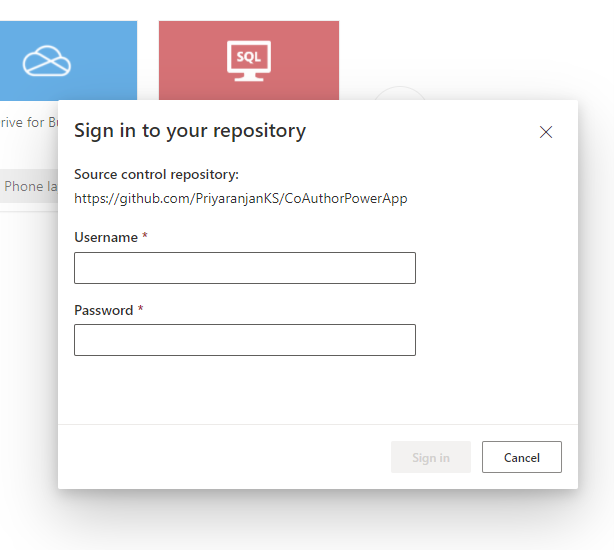
Upon adding the username and personal access token, the access to the app has been granted without any issues.
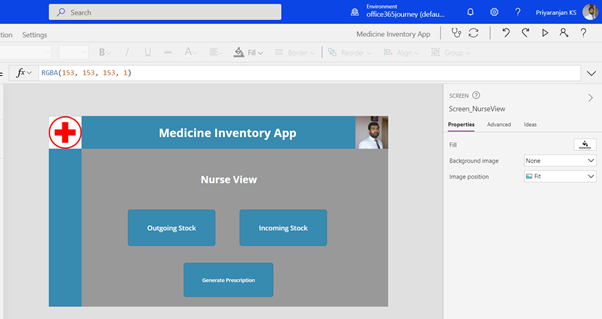
Now let’s try adding a simple update, by adding a new button and commit it by clicking on the sync button at the top right corner.

We will head over to the Concurrent app maker’s screen and try to fetch the updates by clicking on the same sync button.
You can now see that the newly added button has been fetched and shown in the concurrent app makers copy of the app as well
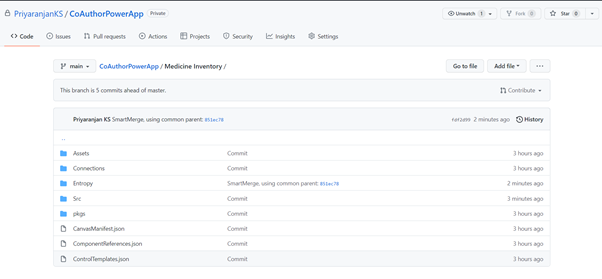
Heading over to github, we can see that the directory has been populated with the App files in the main branch.
Summary
Thus we saw how we can implement the new co authoring feature in Power Apps which is a great boon for multiple app makers who are working on the same app as it helps in better collaboration and faster app development.