Azure: How to publish a Project Update Using Visual Studio
This article is a tutorial step-by-step process to create a new Web project with Visual Studio and publish it on Azure. After completing the tutorial, you will have an ASP.NET MVC application running on Azure production environment.
Prerequisites
To perform this tutorial, you must have:
Create a new Web project
In this step you will create a new ASP.NET MVC project type using a standard template.
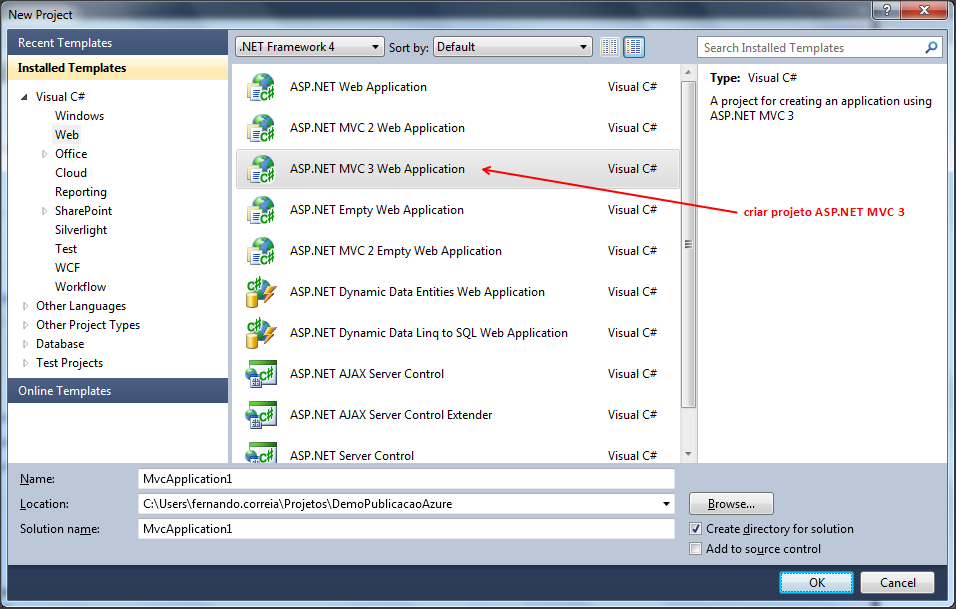
1. Create a new ASP.NET MVC. *Note: This tutorial uses "MVC 3 ASP.NET Web Application" as an example, but earlier or later versions of ASP.NET MVC may also be used.
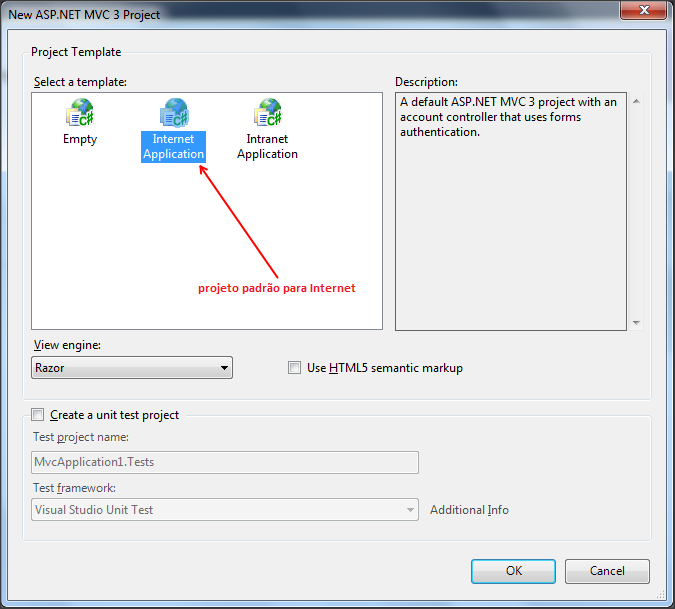
* 2. Select the template "Internet Application".
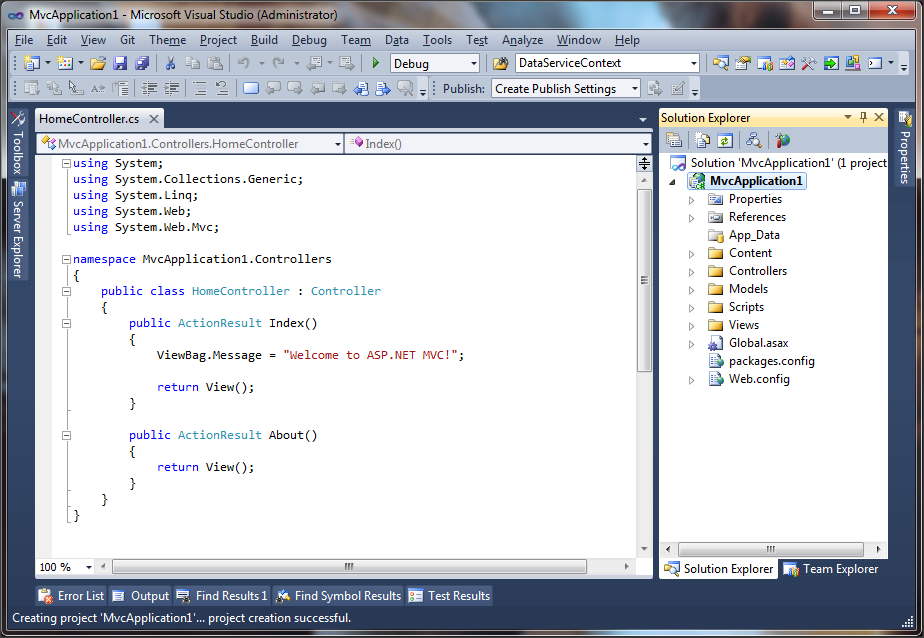
3. Visual Studio will create and open the new project.
Add the Azure project
In this step you will add to the solution one Cloud-type project for publication in Windows Azure.
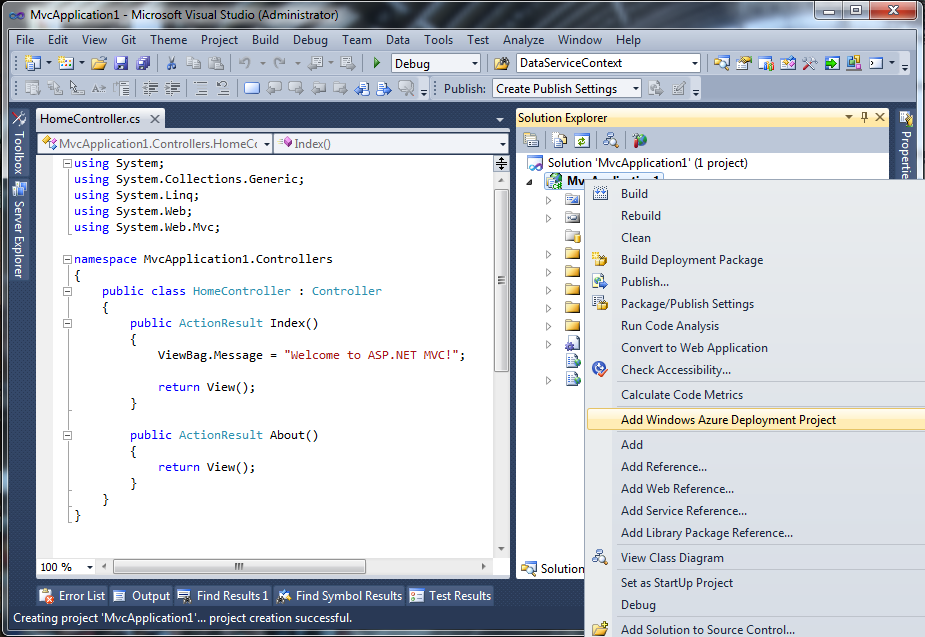
- Right click on the Web project created in the previous step and click on the command "Add Windows Azure Deployment Project."
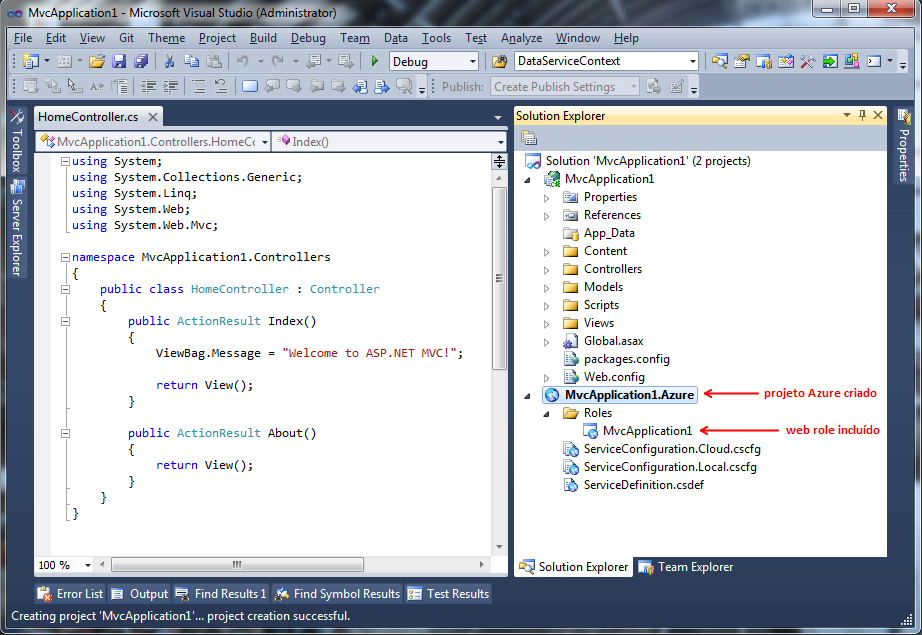
- Visual Studio will create an Azure project and configure the Web project as a Web role.
Publish the project
In this step you will publish the Azure project, which includes Web design, Windows Azure.
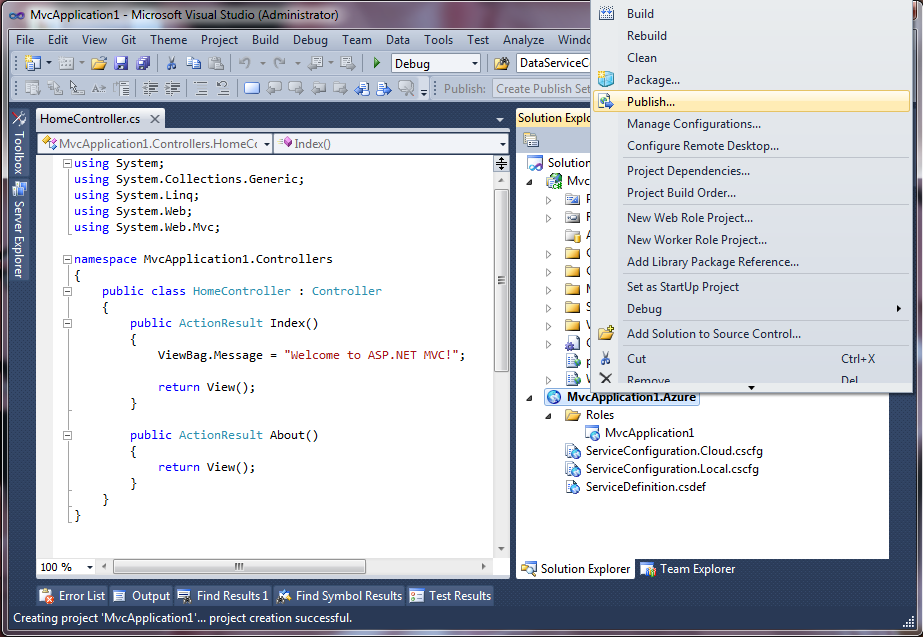
- Click the right button on the Azure project and activate the command "Publish".
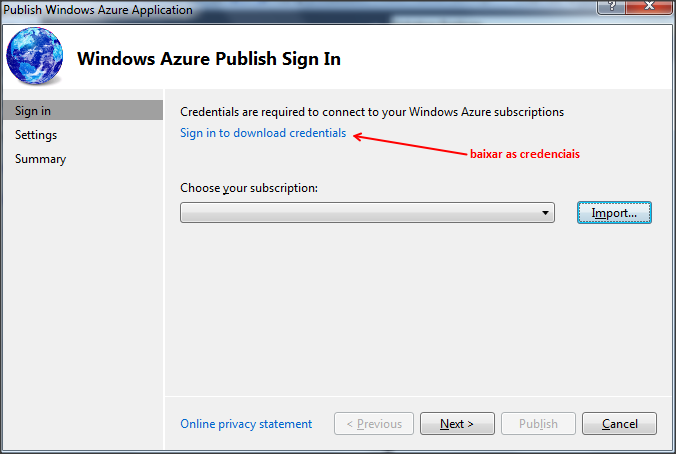
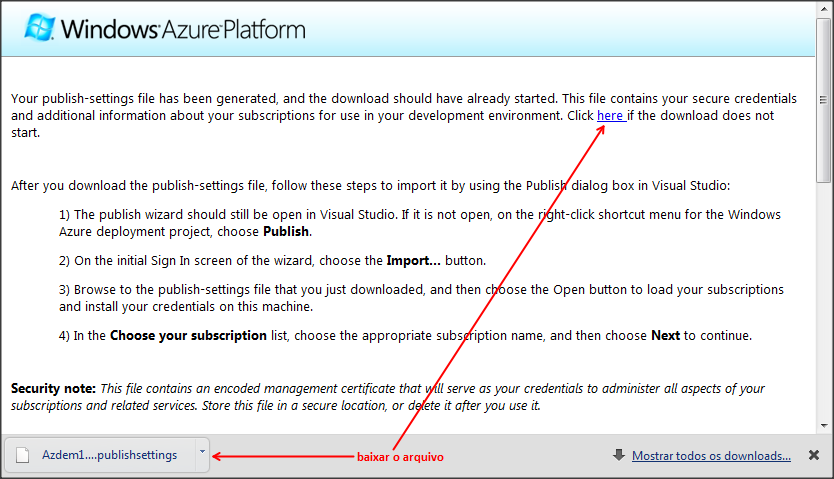
- Click the link "Sign in to download credentials" to download their credentials of the Windows Azure website.
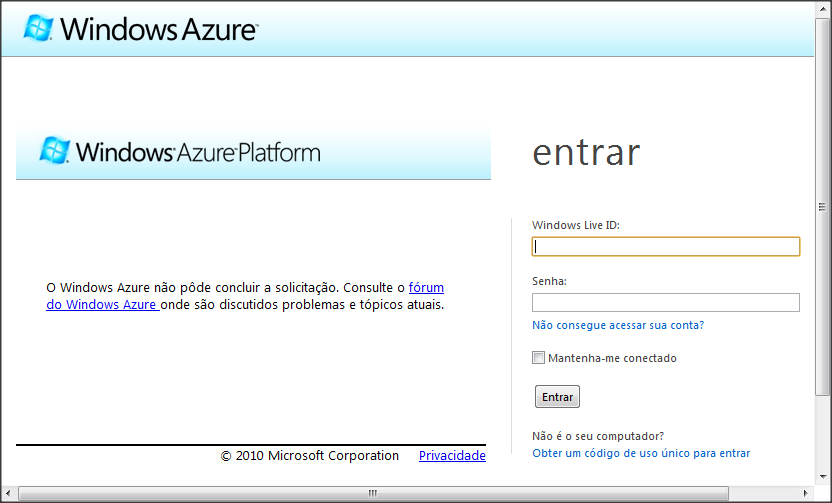
- Log into the Windows Azure.
- The web browser will download a file of type "publishsettings". If the download does not start automatically, click the link.
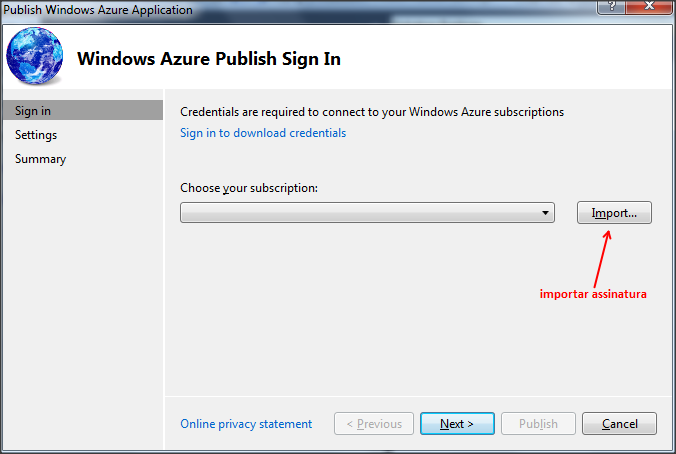
- Return to Visual Studio and import the file you just downloaded.
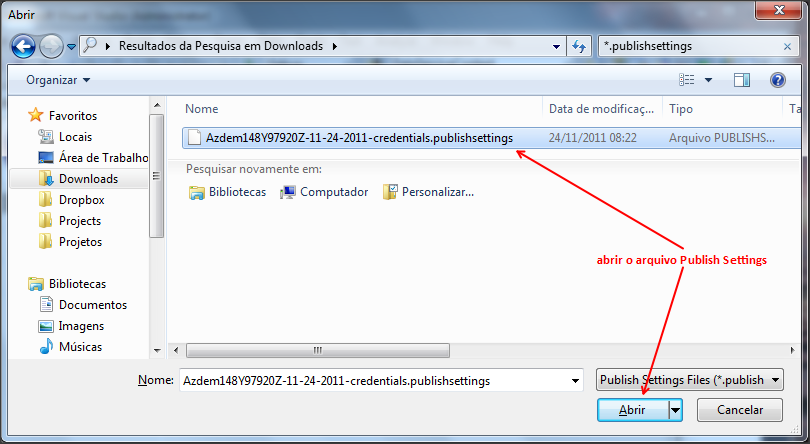
- Locate the downloaded file in the folder where your web browser saves downloads. Select the file and open it:
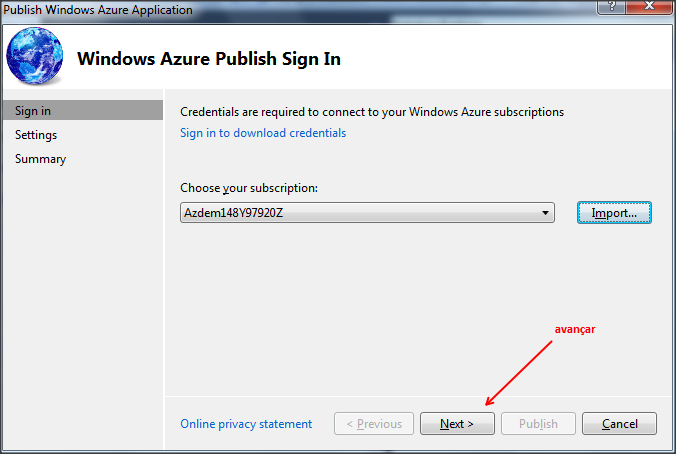
- Proceed to the next step of the wizard.
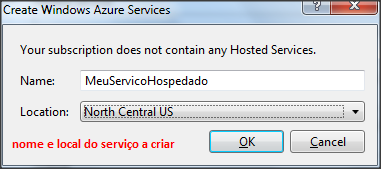
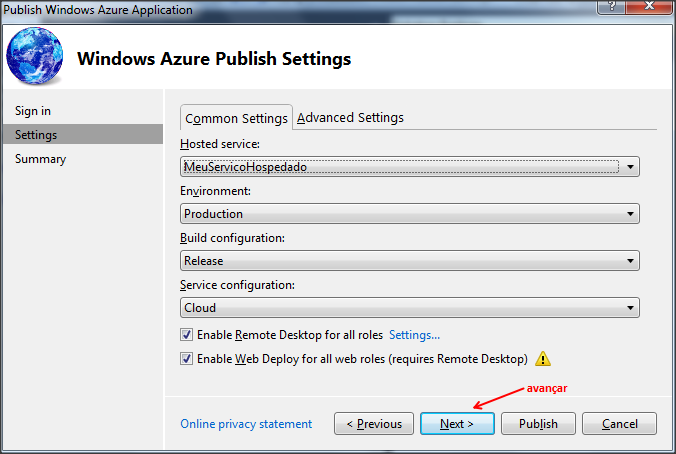
- Enter the name you want to use in Azure to the new hosted service and select the datacenter where you want to publish the application.
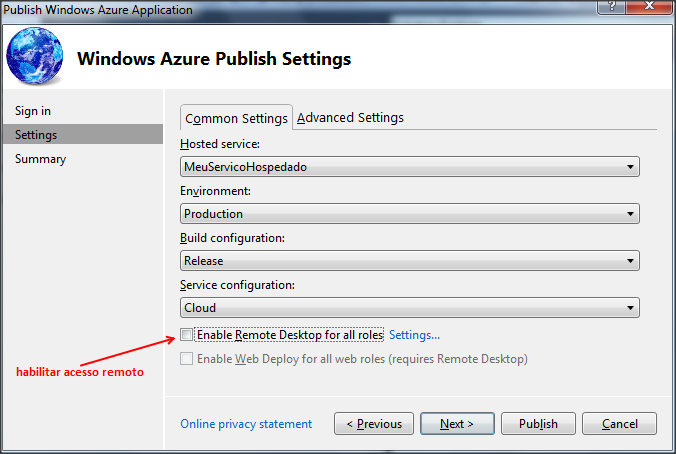
- Click the check box to enable remote access via Remote Desktop.
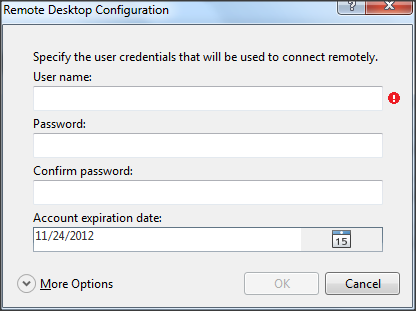
- Enter the username and password you want to use for remote access.
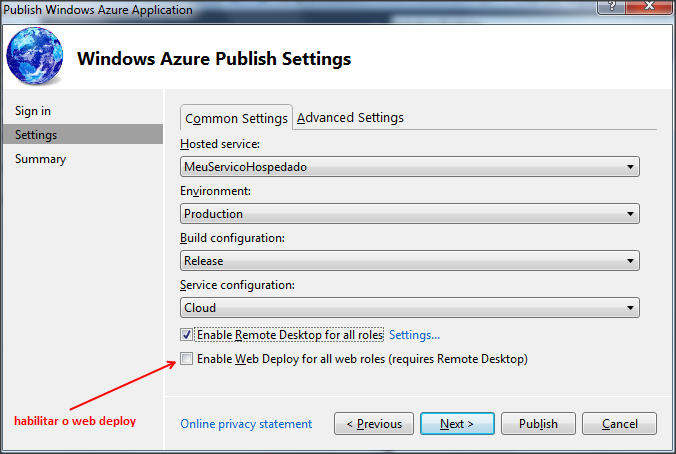
- Click the check box to enable Web Deploy for faster updates of the application on Azure during development.
- Optionally, change some of the other common or advanced settings. Then proceed to the next step of the wizard.
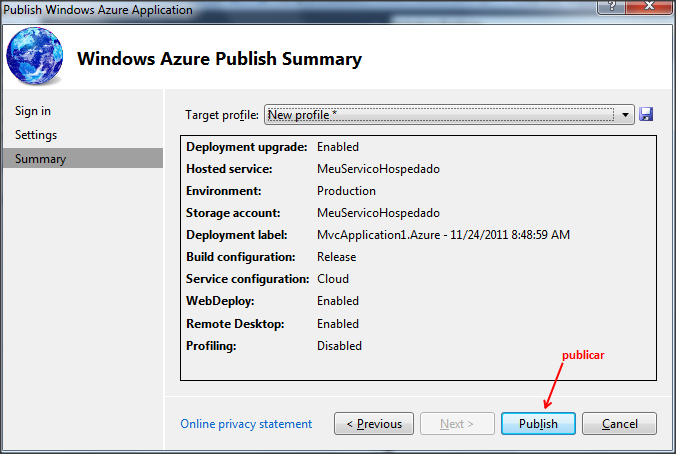
- Check out the publication parameters. If everything is okay, click the "Publish" button to start the publication.
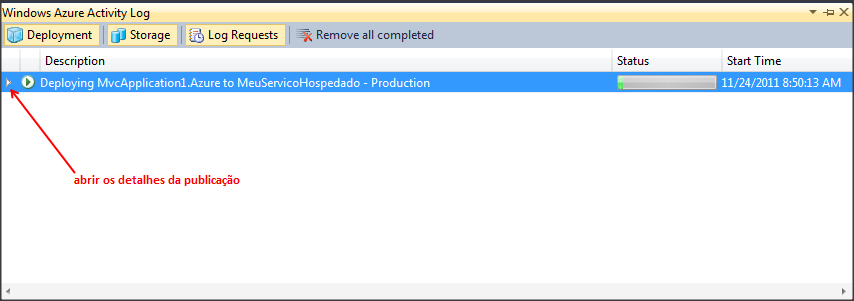
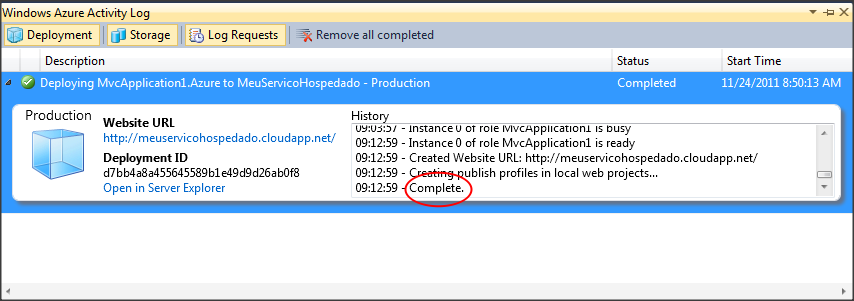
- On the "Windows Azure Activity Log", click the arrow icon to the right to open the list of historic publication.
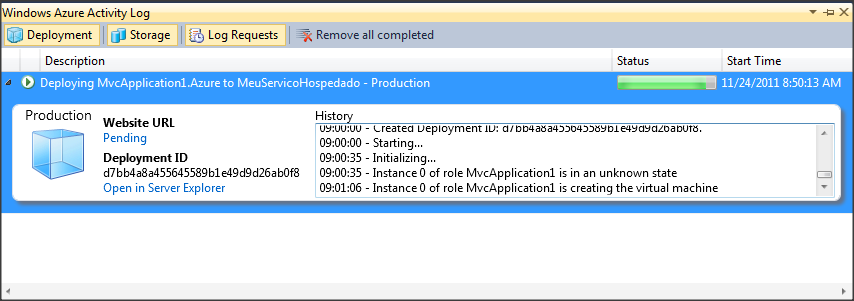
- Follow the progress of the publication. Note: On the date this tutorial was written, the typical duration of a publication is 8 minutes.
- Wait for the publication, which will be indicated by the "Complete" message.
Check publication
In this step you will verify that the application was duly published in Windows Azure and that is in the air and can be accessed via the web.
- Click the right button on the Azure project and activate the command "Browse To Portal".
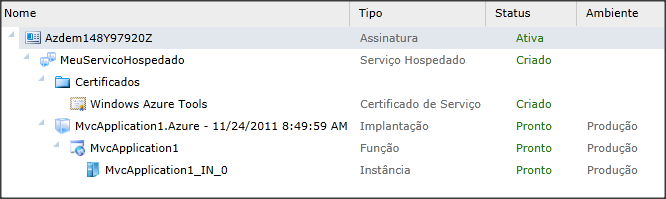
- In hosted services section of the management console, check that the application is ready for use.
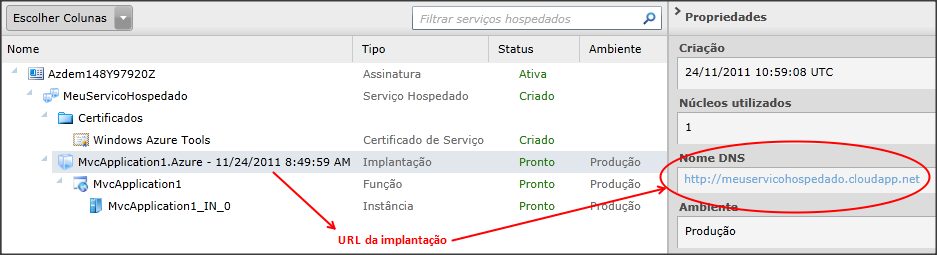
- Click on the deployment and then in your URL indicated in the "DNS Name."
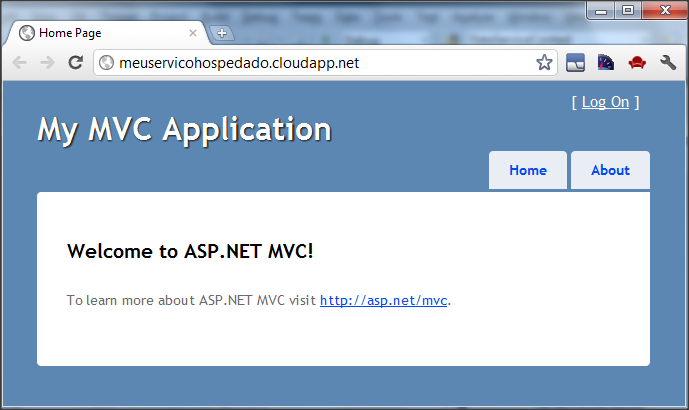
- Your browser will display the application running on Azure environment.

- To avoid unnecessary expense, use the management console to delete the deployment when you finish your tests. Just stop the application is not enough, because the resources are still allocated by Azure.
Review
In this tutorial you learned how to create an Azure from a common web design and how to use the Visual Studio publishing wizard project to publish your application, automating the process of creating certificates, creation of hosted service, configuration, packaging and upload solution. At the end of the process, you learned how to check the success of the publication and operation of the application.
See also
- Windows Azure: How to publish a Project Update Using Visual Studio (en-US)
- Windows Azure: Updating a Project for Web Deploy Using Visual Studio (en-US)
References
- Article originally published in Thinking Azure
- More productivity in the development for Azure SDK 1.6 with
- Channel 9 Episode 65 - New Windows Azure SDK and Tools with Scott Guthrie
- Now Available! Updated Windows Azure SDK & Windows Azure HPC Scheduler SDK
- Publish Windows Azure Application Wizard