iOS SDK(미리 보기)에서 맵에 선 계층 추가
참고 항목
Azure Maps iOS SDK 사용 중지
이제 iOS용 Azure Maps 네이티브 SDK는 더 이상 사용되지 않으며 2025년 3월 31일에 사용 중지됩니다. 서비스 중단을 방지하려면 2025년 3월 31일까지 Azure Maps 웹 SDK로 마이그레이션합니다. 자세한 내용은 Azure Maps iOS SDK 마이그레이션 가이드를 참조하세요.
선 계층은 맵에서 LineString 및 MultiLineString 피처를 경로로 렌더링하는 데 사용할 수 있습니다. 선 계층을 사용하여 Polygon 및 MultiPolygon 기능의 개요를 렌더링할 수도 있습니다. 데이터 원본은 선 계층에 연결되어 렌더링할 데이터를 제공합니다.
팁
기본적으로 선 계층은 다각형의 좌표와 데이터 원본의 선을 렌더링합니다. LineString 지오메트리 기능만 렌더링하도록 계층을 제한하려면 계층의 filter 옵션을 NSPredicate(format: "%@ == \"LineString\"", NSExpression.geometryTypeAZMVariable)로 설정합니다. MultiLineString 기능도 포함하려면 NSCompoundPredicate을 사용합니다.
필수 조건
빠른 시작: iOS 앱 문서 만들기의 단계를 완료해야 합니다. 이 문서의 코드 블록은 ViewController의 viewDidLoad 함수에 삽입할 수 있습니다.
선 계층 추가
다음 코드는 선을 만드는 방법을 보여 줍니다. 데이터 원본에 선을 추가한 다음 LineLayer 클래스를 사용하여 선 계층으로 렌더링합니다.
// Create a data source and add it to the map.
let source = DataSource()
map.sources.add(source)

// Create a list of points.
let points = [
    CLLocationCoordinate2D(latitude: 40.74327, longitude: -73.97234),
    CLLocationCoordinate2D(latitude: 40.75680, longitude: -74.00442)
]

// Create a Polyline geometry and add it to the data source.
source.add(geometry: Polyline(points))

// Create a line layer and add it to the map.
let layer = LineLayer(source: source, options: [
    .strokeWidth(5),
    .strokeColor(.blue)
])
map.layers.addLayer(layer)
다음 스크린샷은 선 계층에서 선을 렌더링하는 위의 코드를 보여 줍니다.

데이터 기반 선 스타일
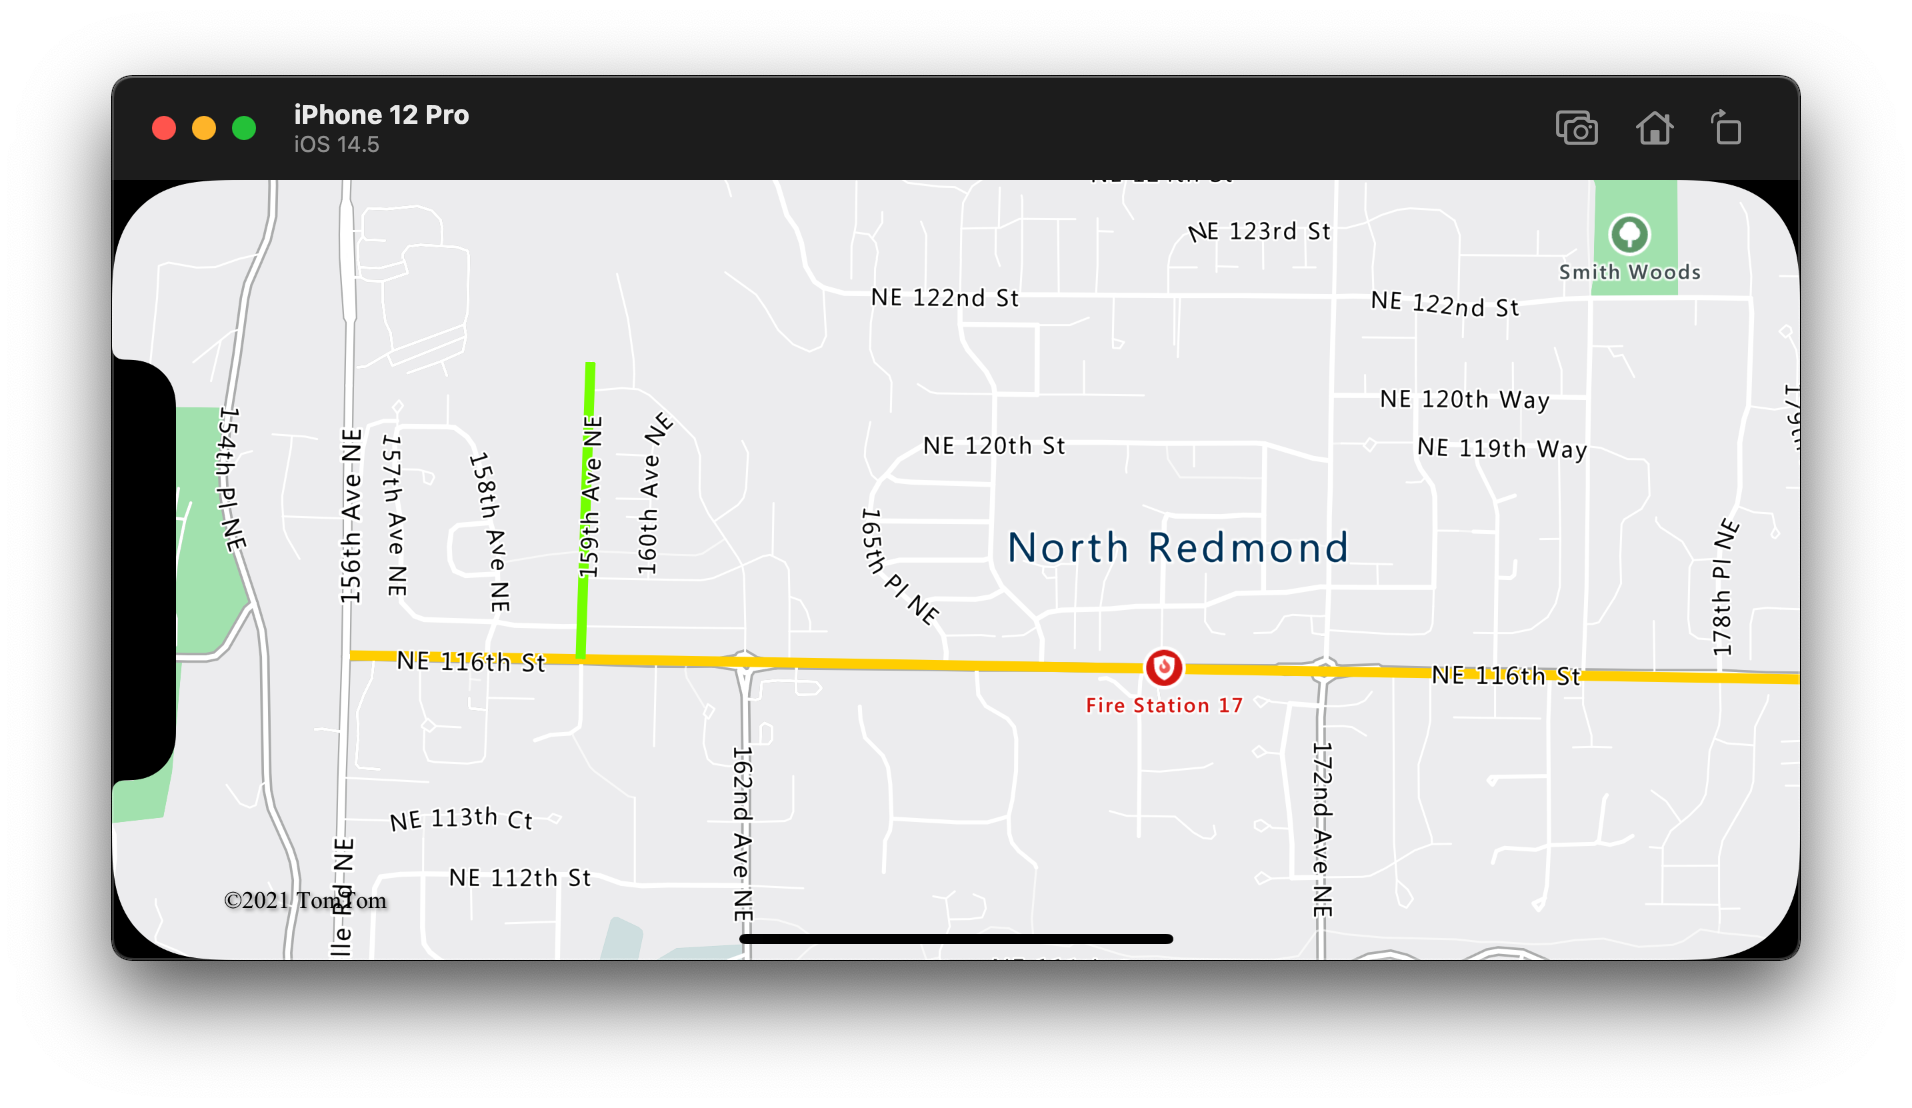
다음 코드는 두 선 기능을 만들고 속도 제한 값을 각 선에 속성으로 추가합니다. 선 계층은 속도 제한 값에 따라 선의 데이터 기반 스타일 식 색을 사용합니다. 선 데이터가 도로에 따라 오버레이되므로 다음 코드는 도로 레이블이 계속 표시되도록 레이블 계층 아래에 선 계층을 추가합니다.
// Create a data source and add it to the map.
let source = DataSource()
map.sources.add(source)

// Create a line feature.
let feature = Feature(Polyline([
    CLLocationCoordinate2D(latitude: 47.704033, longitude: -122.131821),
    CLLocationCoordinate2D(latitude: 47.703678, longitude: -122.099919)
]))

// Add a property to the feature.
feature.addProperty("speedLimitMph", value: 35)

// Add the feature to the data source.
source.add(feature: feature)

// Create a second line feature.
let feature2 = Feature(Polyline([
    CLLocationCoordinate2D(latitude: 47.708265, longitude: -122.126662),
    CLLocationCoordinate2D(latitude: 47.703980, longitude: -122.126877)
]))

// Add a property to the second feature.
feature2.addProperty("speedLimitMph", value: 15)

// Add the second feature to the data source.
source.add(feature: feature2)

// Create a line layer and add it to the map.
let stops: [Int: UIColor] = [
    0: .green,
    30: .yellow,
    60: .red
]
let colorExpression = NSExpression(
    forAZMInterpolating: NSExpression(forKeyPath: "speedLimitMph"),
    curveType: .linear,
    parameters: nil,
    stops: NSExpression(forConstantValue: stops)
)

let layer = LineLayer(source: source, options: [
    .strokeWidth(5),
    .strokeColor(from: colorExpression)
])

map.layers.insertLayer(layer, below: "labels")
다음 스크린샷은 선 기능의 속성을 기반으로 데이터 기반 스타일 식에서 검색된 색으로 선 계층의 두 선을 렌더링하는 위의 코드를 보여 줍니다.

선에 스트로크 그라데이션 추가
선에 단일 스트로크 색을 적용할 수 있습니다. 색 그라데이션으로 선을 채워서 한 선분에서 다음 선분으로의 전환을 표시할 수도 있습니다. 예를 들어 선 그라데이션을 사용하여 시간 및 거리에 따른 변경이나 연결된 개체 선의 다른 온도를 나타낼 수 있습니다. 이 기능을 선에 적용하려면 데이터 원본에 lineMetrics 옵션이 true(으)로 설정된 다음 색 그라데이션 식을 선의 strokeGradient 옵션에 전달할 수 있어야 합니다. 스트로크 그라데이션 식은 계산된 선 메트릭을 식에 노출하는 NSExpression.lineProgressAZMVariable 데이터 식을 참조해야 합니다.
// Create a data source and add it to the map.
let source = DataSource(options: [
    // Enable line metrics on the data source. This is needed to enable support for strokeGradient.
    .lineMetrics(true)
])
map.sources.add(source)

// Create a line and add it to the data source.
source.add(geometry: Polyline([
    CLLocationCoordinate2D(latitude: 47.63208, longitude: -122.18822),
    CLLocationCoordinate2D(latitude: 47.63196, longitude: -122.18204),
    CLLocationCoordinate2D(latitude: 47.62976, longitude: -122.17243),
    CLLocationCoordinate2D(latitude: 47.63023, longitude: -122.16419),
    CLLocationCoordinate2D(latitude: 47.62942, longitude: -122.15852),
    CLLocationCoordinate2D(latitude: 47.62988, longitude: -122.15183),
    CLLocationCoordinate2D(latitude: 47.63451, longitude: -122.14256),
    CLLocationCoordinate2D(latitude: 47.64041, longitude: -122.13483),
    CLLocationCoordinate2D(latitude: 47.64422, longitude: -122.13466),
    CLLocationCoordinate2D(latitude: 47.65440, longitude: -122.13844),
    CLLocationCoordinate2D(latitude: 47.66515, longitude: -122.13277),
    CLLocationCoordinate2D(latitude: 47.66712, longitude: -122.12779),
    CLLocationCoordinate2D(latitude: 47.66712, longitude: -122.11595),
    CLLocationCoordinate2D(latitude: 47.66735, longitude: -122.11063),
    CLLocationCoordinate2D(latitude: 47.67035, longitude: -122.10668),
    CLLocationCoordinate2D(latitude: 47.67498, longitude: -122.10565)
]))

// Create a line layer and add it to the map.
let stops: [Double: UIColor] = [
    0: .blue,
    0.1: UIColor(red: 0.25, green: 0.41, blue: 1, alpha: 1), // Royal Blue
    0.3: .cyan,
    0.5: UIColor(red: 0, green: 1, blue: 0, alpha: 1), // Lime
    0.7: .yellow,
    1: .red
]
let colorExpression = NSExpression(
    forAZMInterpolating: NSExpression.lineProgressAZMVariable,
    curveType: .linear,
    parameters: nil,
    stops: NSExpression(forConstantValue: stops)
)

map.layers.addLayer(LineLayer(source: source, options: [
    .strokeWidth(5),
    .strokeGradient(from: colorExpression)
]))
다음 스크린샷은 그라데이션 스트로크 색을 사용하여 렌더링된 선을 표시하는 위의 코드를 보여줍니다.

선을 따라 기호 추가
이 샘플에서는 맵의 선을 따라 화살표 아이콘을 추가하는 방법을 보여 줍니다. 기호 계층을 사용하는 경우 symbolPlacement 옵션을 .line(으)로 설정합니다. 이 옵션은 선을 따라 기호를 렌더링하고 아이콘을 회전합니다(0도 = 오른쪽).
// Create a data source and add it to the map.
let source = DataSource()
map.sources.add(source)

// Load a image of an arrow into the map image sprite and call it "arrow-icon".
map.images.add(UIImage(named: "purple-arrow-right")!, withID: "arrow-icon")

// Create a line and add it to the data source.
source.add(geometry: Polyline([
    CLLocationCoordinate2D(latitude: 47.63208, longitude: -122.18822),
    CLLocationCoordinate2D(latitude: 47.63196, longitude: -122.18204),
    CLLocationCoordinate2D(latitude: 47.62976, longitude: -122.17243),
    CLLocationCoordinate2D(latitude: 47.63023, longitude: -122.16419),
    CLLocationCoordinate2D(latitude: 47.62942, longitude: -122.15852),
    CLLocationCoordinate2D(latitude: 47.62988, longitude: -122.15183),
    CLLocationCoordinate2D(latitude: 47.63451, longitude: -122.14256),
    CLLocationCoordinate2D(latitude: 47.64041, longitude: -122.13483),
    CLLocationCoordinate2D(latitude: 47.64422, longitude: -122.13466),
    CLLocationCoordinate2D(latitude: 47.65440, longitude: -122.13844),
    CLLocationCoordinate2D(latitude: 47.66515, longitude: -122.13277),
    CLLocationCoordinate2D(latitude: 47.66712, longitude: -122.12779),
    CLLocationCoordinate2D(latitude: 47.66712, longitude: -122.11595),
    CLLocationCoordinate2D(latitude: 47.66735, longitude: -122.11063),
    CLLocationCoordinate2D(latitude: 47.67035, longitude: -122.10668),
    CLLocationCoordinate2D(latitude: 47.67498, longitude: -122.10565)
]))

// Create a line layer and add it to the map.
map.layers.addLayer(LineLayer(source: source, options: [
    .strokeWidth(5),
    .strokeColor(.purple)
]))

// Create a symbol layer and add it to the map.
map.layers.addLayer(SymbolLayer(source: source, options: [
    // Space symbols out along line.
    .symbolPlacement(.line),

    // Spread the symbols out 100 points apart.
    .symbolSpacing(100),

    // Use the arrow icon as the symbol.
    .iconImage("arrow-icon"),

    // Allow icons to overlap so that they aren't hidden if they collide with other map elements.
    .iconAllowOverlap(true),

    // Center the symbol icon.
    .iconAnchor(.center),

    // Scale the icon size.
    .iconSize(0.8)
]))
이 샘플의 경우 다음 이미지가 앱의 자산 폴더에 로드됩니다.
 |
|---|
purple-arrow-right.png |
다음 스크린샷은 화살표 아이콘이 표시된 줄을 표시하는 위의 코드를 보여 줍니다.

추가 정보
맵에 추가할 더 많은 코드 예제를 보려면 다음 문서를 참조하세요.