자습서: Azure Databricks와 Azure Key Vault를 사용하여 Azure Blob Storage에 액세스
이 자습서에서는 Azure Key Vault에 저장된 비밀을 사용하여 Azure Databricks에서 Azure Blob Storage에 액세스하는 방법을 알아봅니다.
이 자습서에서는 다음을 하는 방법을 알아볼 수 있습니다.
- Azure CLI를 사용하여 스토리지 계정 및 Blob 컨테이너 만들기
- Key Vault 만들기 및 비밀 설정
- Azure Databricks 작업 영역 만들기 및 Key Vault 비밀 범위 추가
- Azure Databricks 작업 영역에서 Blob 컨테이너에 액세스
필수 조건
Azure 구독이 없는 경우 시작하기 전에 체험 계정을 만듭니다.
이 자습서를 시작하기 전에 Azure CLI를 설치해야 합니다.
Azure CLI를 사용하여 스토리지 계정 및 Blob 컨테이너 만들기
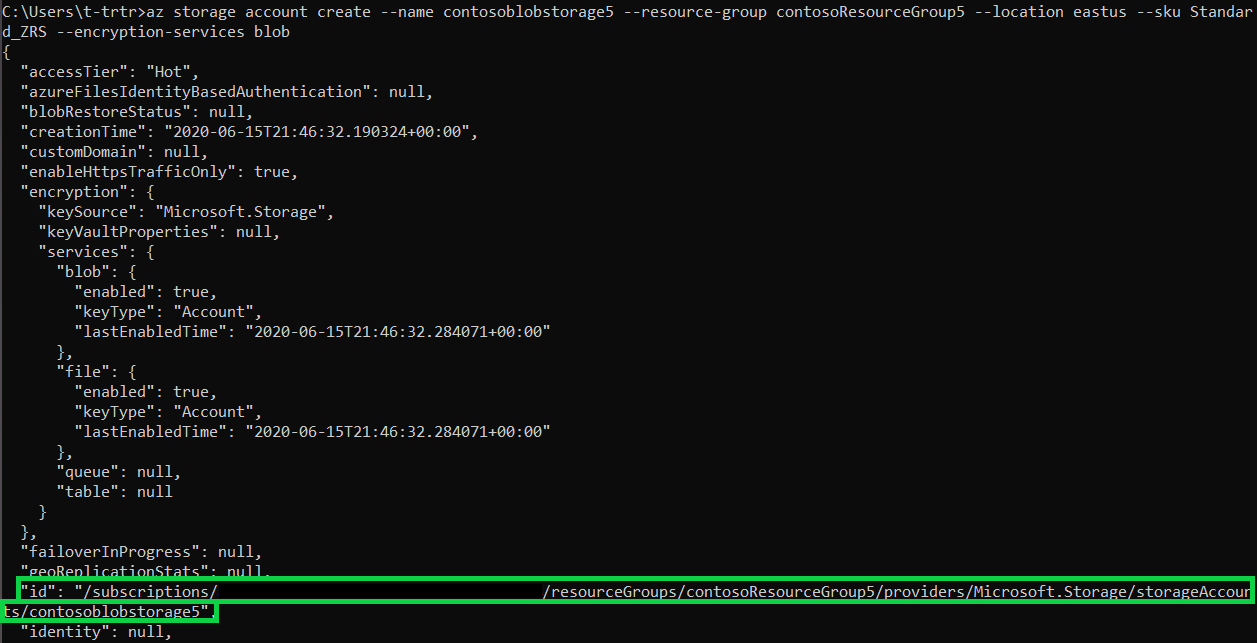
Blob을 사용하려면 먼저 범용 스토리지 계정을 만들어야 합니다. 리소스 그룹이 없는 경우 명령을 실행하기 전에 하나를 만듭니다. 다음 명령은 스토리지 컨테이너의 메타데이터를 만들고 표시합니다. ID를 복사합니다.
az storage account create --name contosoblobstorage5 --resource-group contosoResourceGroup --location eastus --sku Standard_ZRS --encryption-services blob
Blob을 업로드하는 컨테이너를 만들려면 먼저 스스로에게 Storage Blob Data Contributor 역할을 할당해야 합니다. 이 예제에서는 이전에 만든 스토리지 계정에 역할이 할당됩니다.
az role assignment create --role "Storage Blob Data Contributor" --assignee t-trtr@microsoft.com --scope "/subscriptions/{subscription-id}/resourceGroups/contosoResourceGroup5/providers/Microsoft.Storage/storageAccounts/contosoblobstorage5
이제 스토리지 계정에 역할을 할당했으므로 Blob에 대한 컨테이너를 만들 수 있습니다.
az storage container create --account-name contosoblobstorage5 --name contosocontainer5 --auth-mode login
컨테이너를 만든 후에는 해당 컨테이너에 Blob(선택한 파일)을 업로드할 수 있습니다. 이 예제에서는 helloworld로 .txt 파일을 업로드합니다.
az storage blob upload --account-name contosoblobstorage5 --container-name contosocontainer5 --name helloworld --file helloworld.txt --auth-mode login
컨테이너에 있는 Blob을 나열하여 컨테이너에 있는지 확인합니다.
az storage blob list --account-name contosoblobstorage5 --container-name contosocontainer5 --output table --auth-mode login

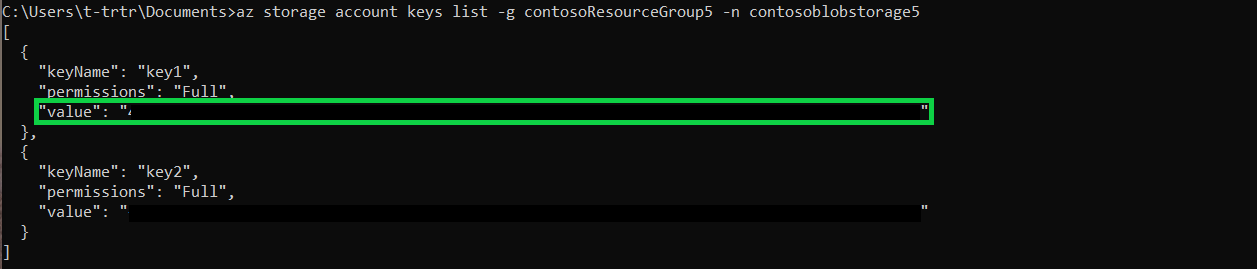
다음 명령을 사용하여 스토리지 컨테이너의 key1 값을 가져옵니다. 값을 복사합니다.
az storage account keys list -g contosoResourceGroup5 -n contosoblobstorage5
Key Vault 만들기 및 비밀 설정
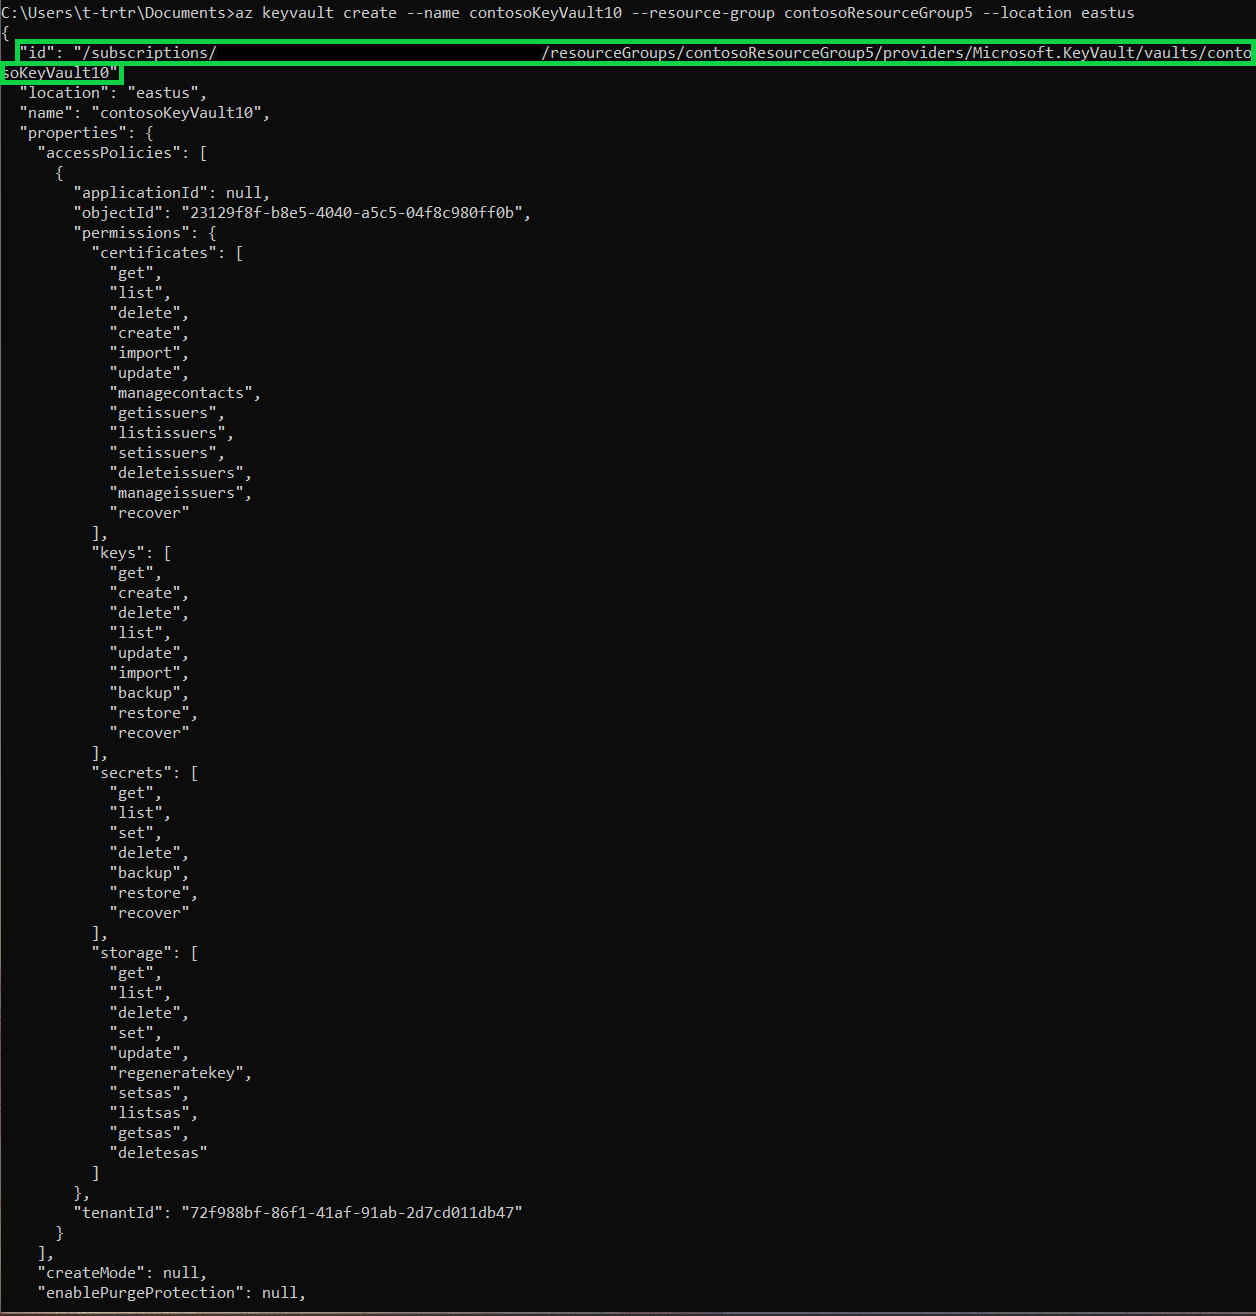
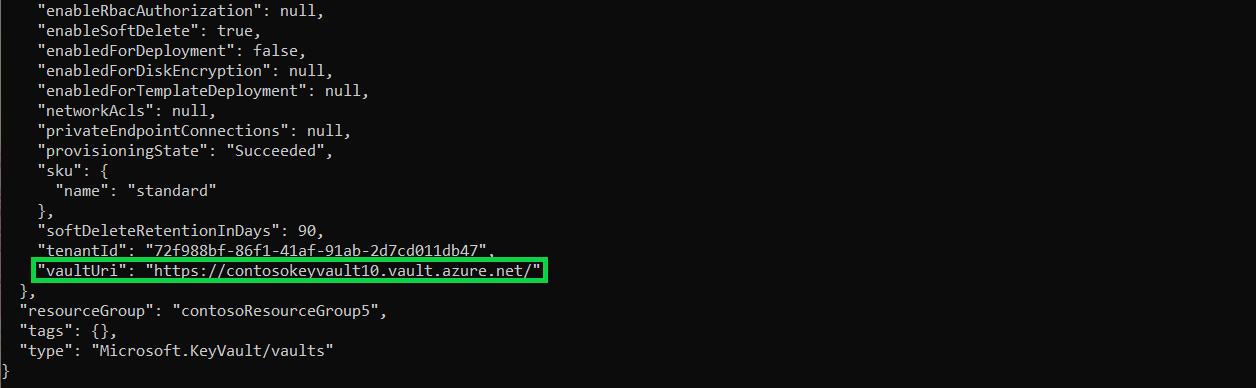
다음 명령을 사용하여 Key Vault를 만듭니다. 이 명령은 Key Vault의 메타데이터도 표시합니다. ID및 vaultUri를 복사합니다.
az keyvault create --name contosoKeyVault10 --resource-group contosoResourceGroup5 --location eastus
비밀을 만들려면 다음 명령을 사용합니다. 비밀 값을 스토리지 계정의 key1 값으로 설정합니다.
az keyvault secret set --vault-name contosoKeyVault10 --name storageKey --value "value of your key1"
Azure Databricks 작업 영역 만들기 및 Key Vault 비밀 범위 추가
이 섹션은 명령줄을 통해 완료할 수 없습니다. Azure Portal에 액세스할 때 필요합니다.
- Azure Databricks 리소스 만들기
- 작업 영역 시작
- Key Vault 지원 비밀 범위 만들기
Azure Databricks 작업 영역에서 Blob 컨테이너에 액세스
이 섹션은 명령줄을 통해 완료할 수 없습니다. Azure Databricks 작업 영역을 사용하여 다음 작업을 수행해야 합니다.
- 새 클러스터 만들기
- 새 Notebook 만들기
- Python 스크립트에서 해당 필드 입력
- Python 스크립트 실행
dbutils.fs.mount(
source = "wasbs://<your-container-name>@<your-storage-account-name>.blob.core.windows.net",
mount_point = "/mnt/<mount-name>",
extra_configs = {"<conf-key>":dbutils.secrets.get(scope = "<scope-name>", key = "<key-name>")})

df = spark.read.text("/mnt/<mount-name>/<file-name>")

df.show()
다음 단계
Key Vault를 복구할 수 있는지 확인합니다.