Getting started with Mobile SDK
Onboarding Clarity is free and easy. If you're new to Clarity, start by signing up.
Follow the steps to sign up and start using Clarity right away.
Sign up for Clarity
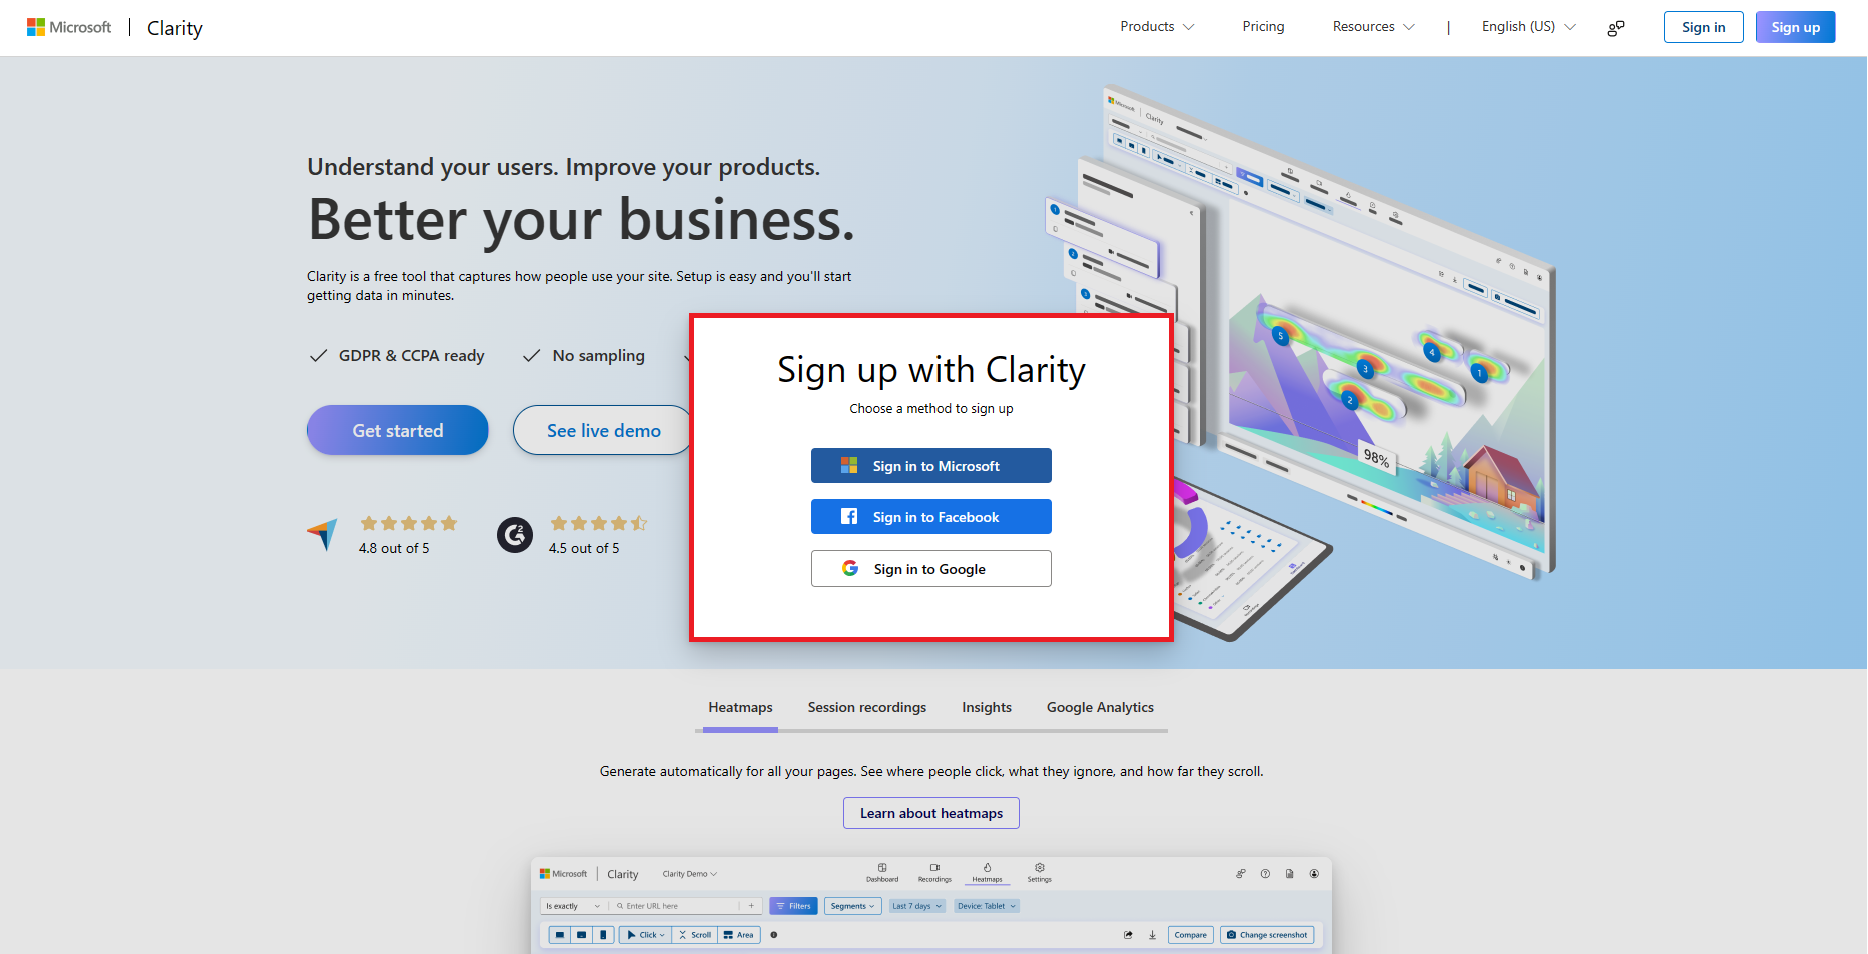
Go to https://clarity.microsoft.com/ and select Sign up.

Choose a sign-up method and follow the steps on the screen.
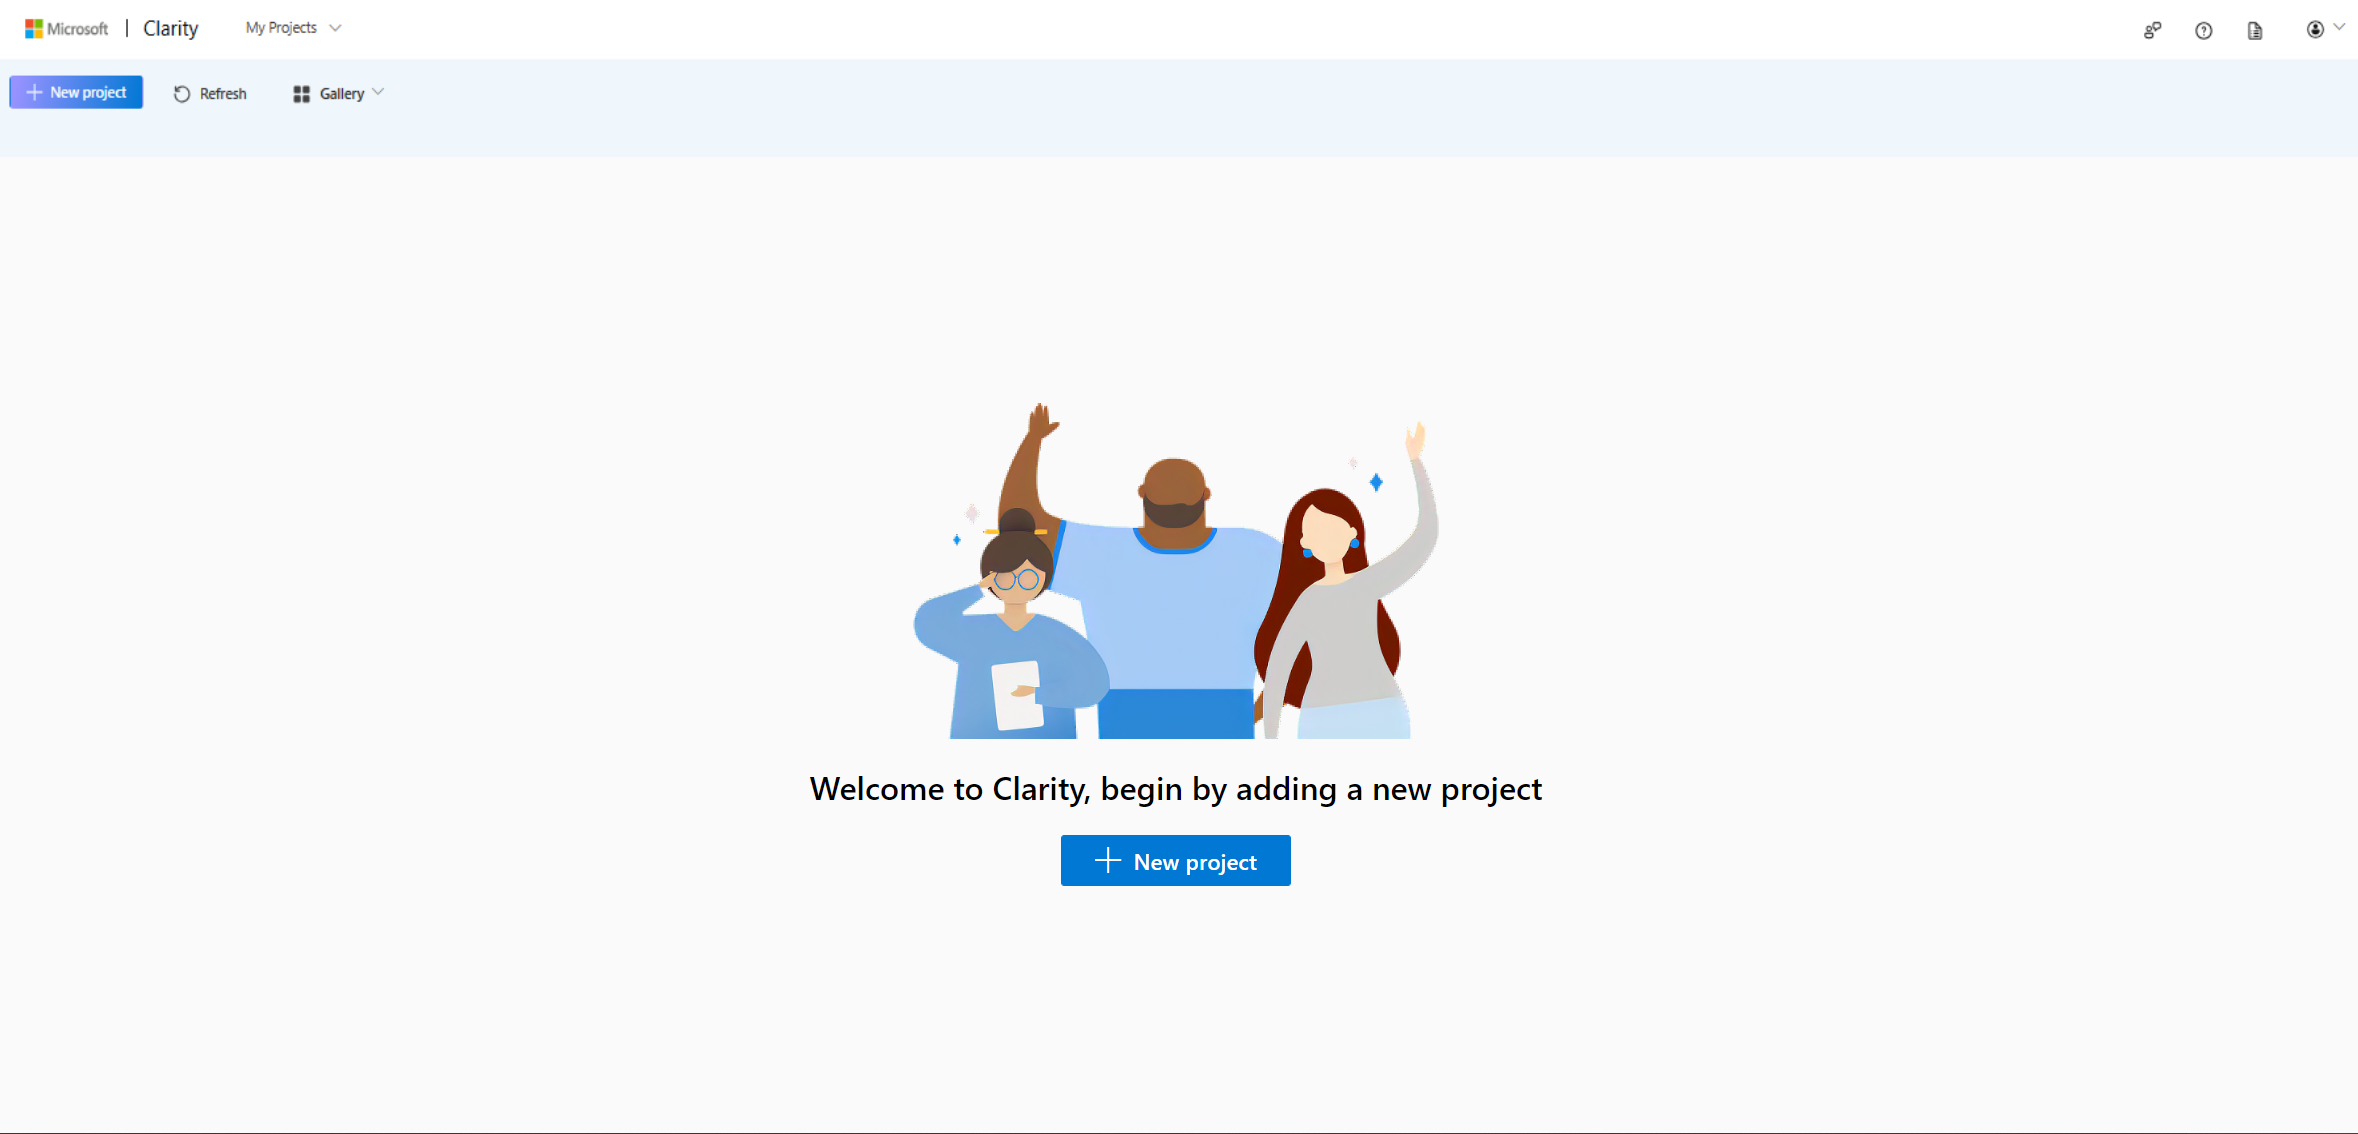
On successful sign-in, you can view the Projects page.
Add a new project
Sign in to your Clarity account.
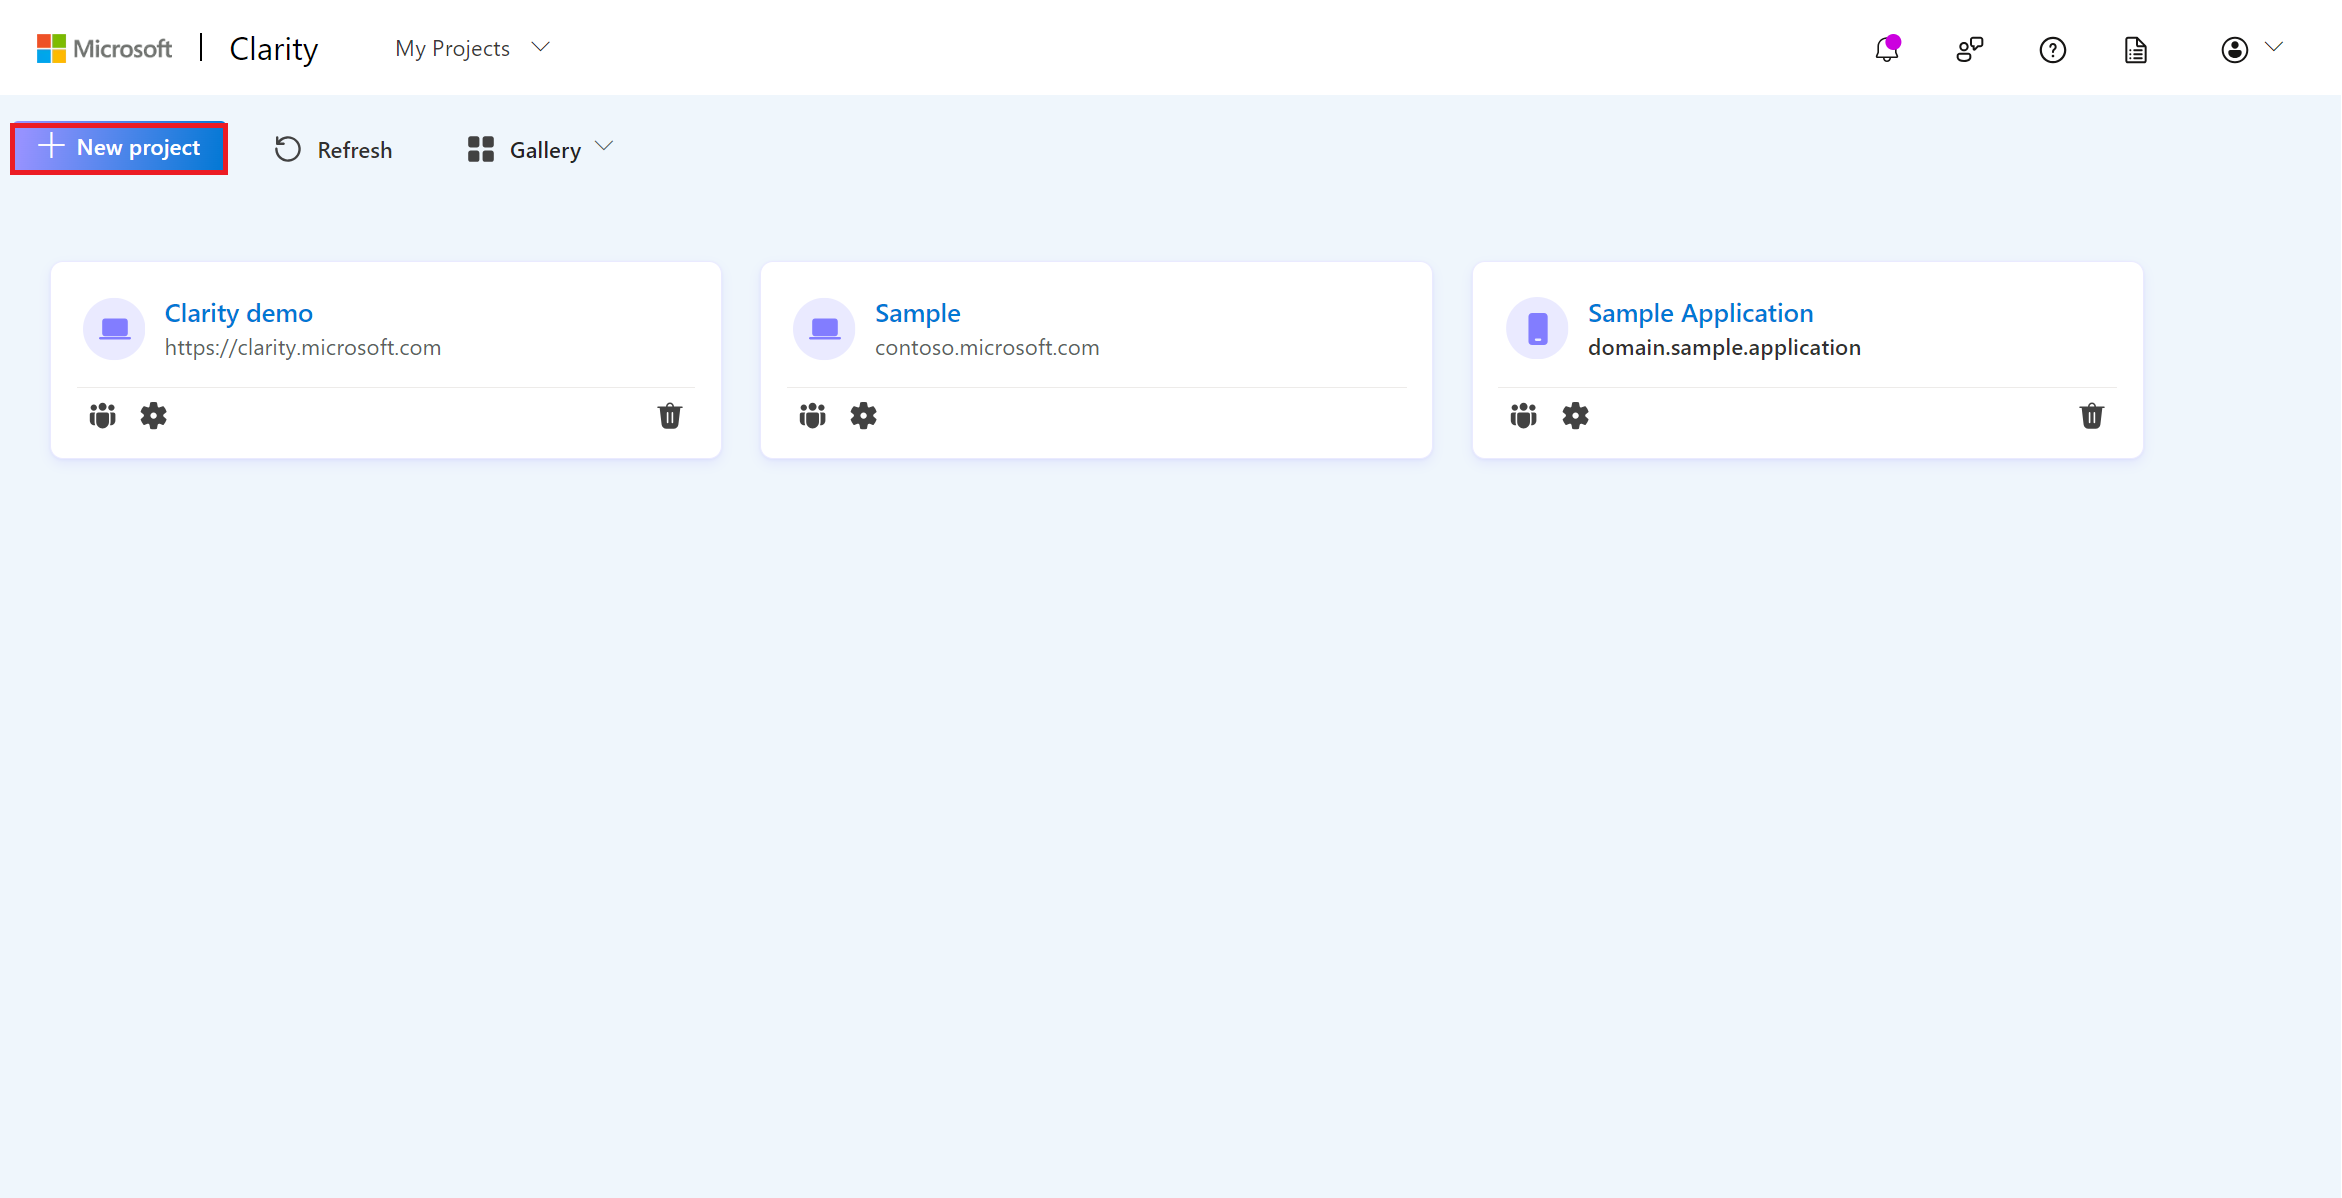
Select New project to start adding a project.
Go to the Mobile tab. Enter the Name and App details. Select Add new project once done.
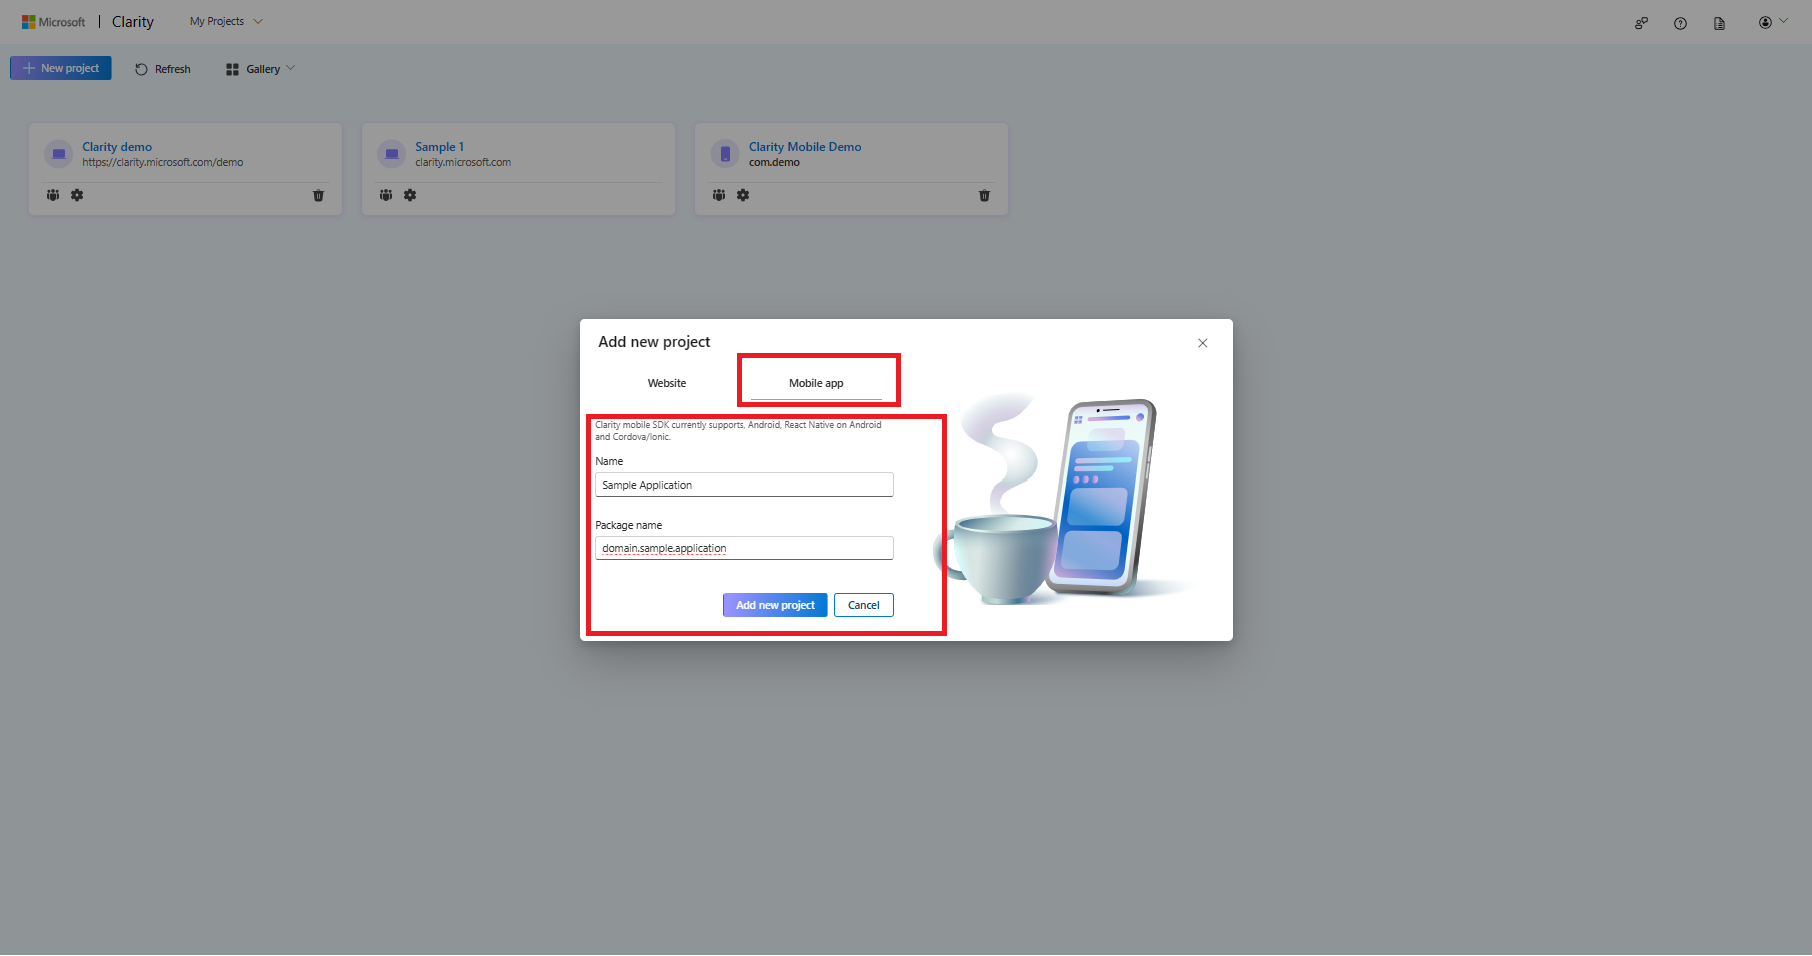
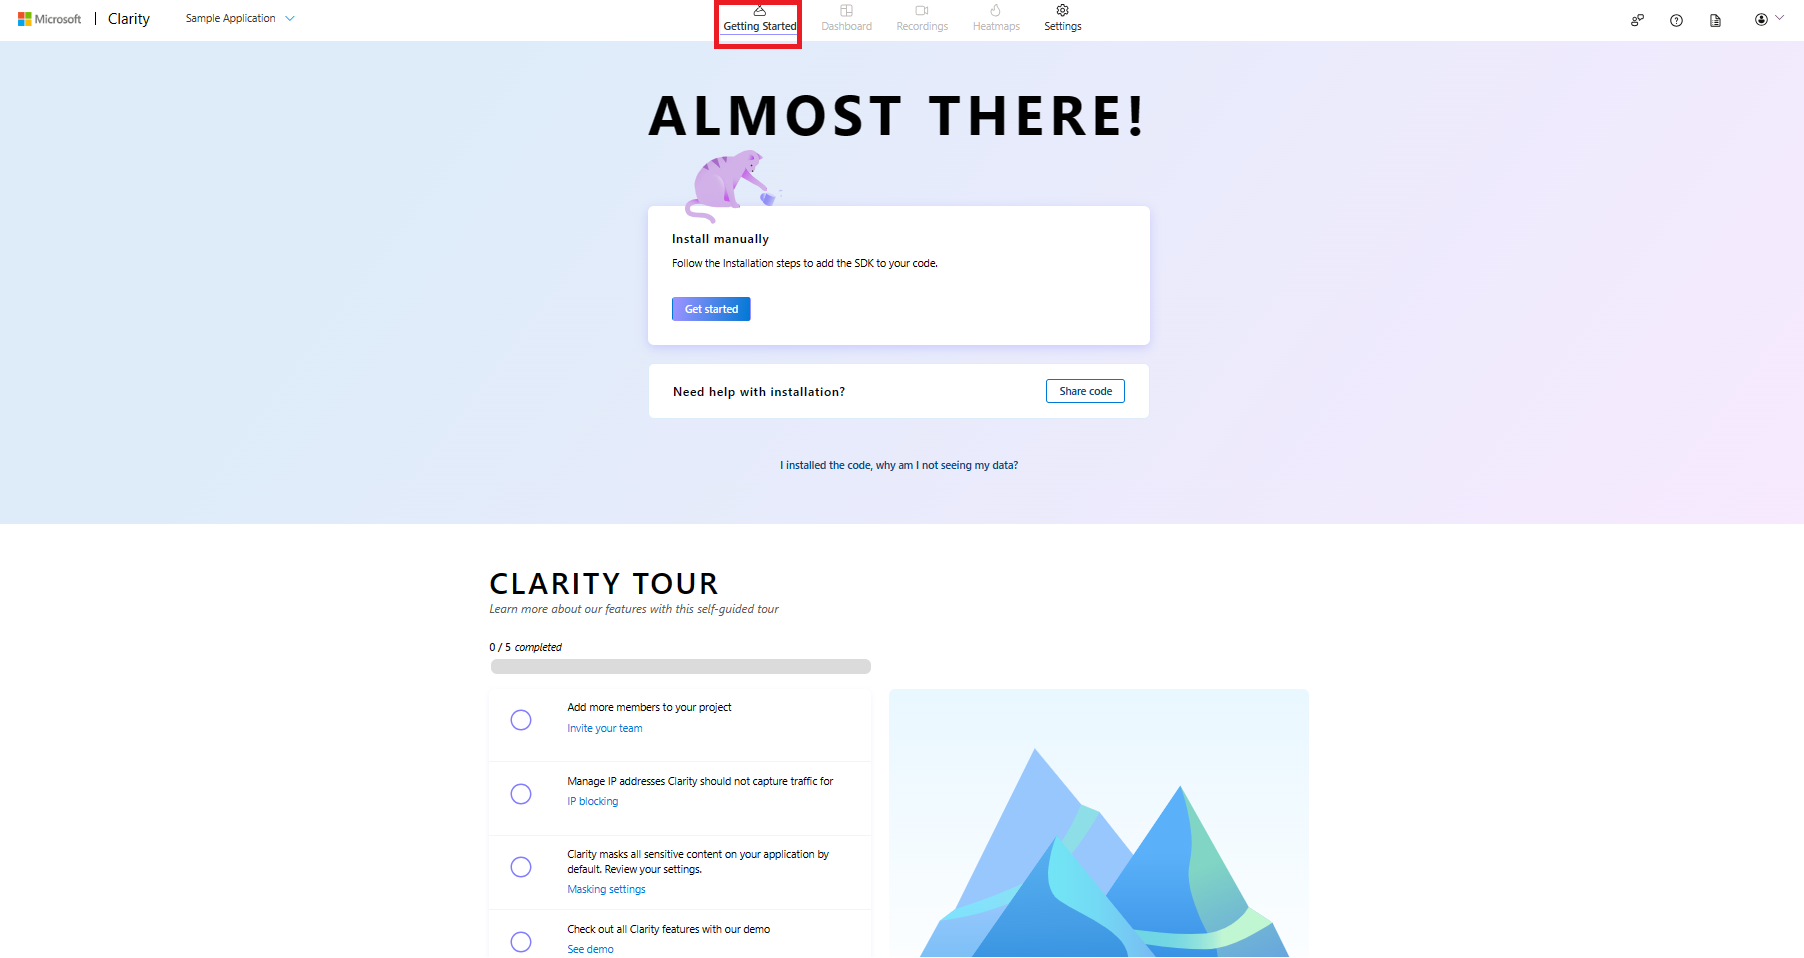
You're now redirected to Getting Started. Integrate Clarity in your app's code according to your framework. Learn more about Clarity's Installation.
Clarity tour
Note
Clarity tour is available in Settings even after you finish the setup process.
Scroll down to view a checklist of self-guided tour, which helps to explore our features while you finish the setup.
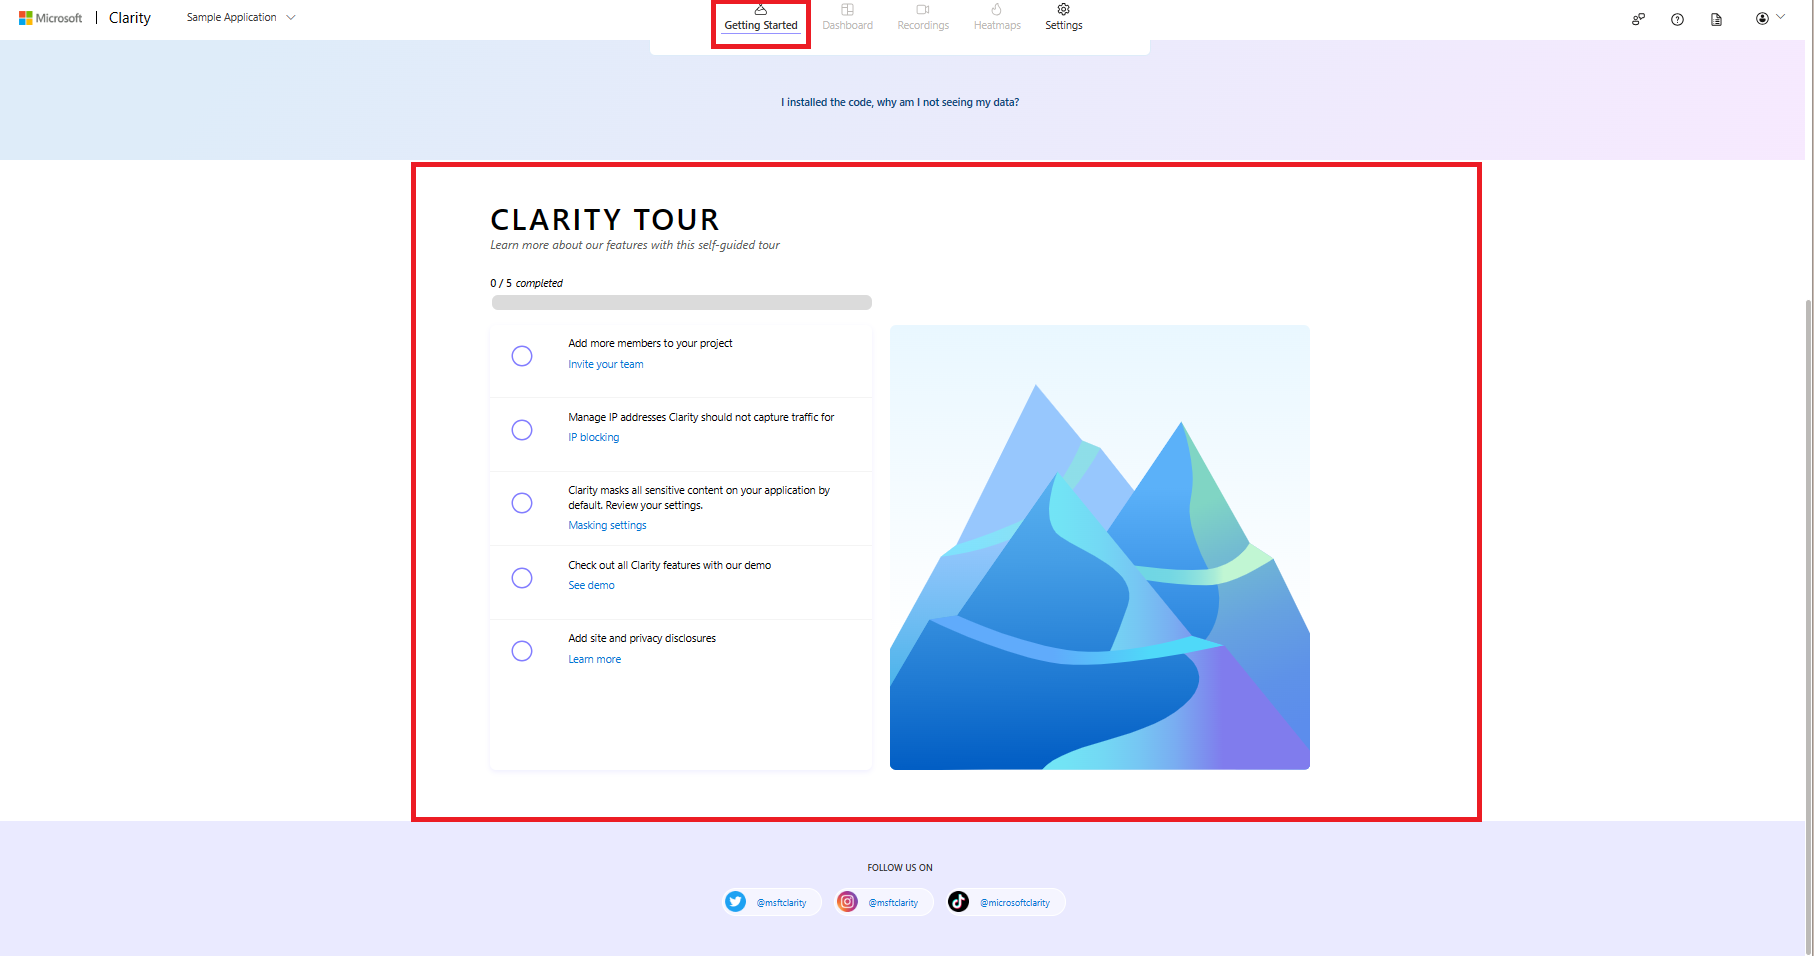
You can also view the tour later. Go to Settings -> Clarity tour.

View projects
Important
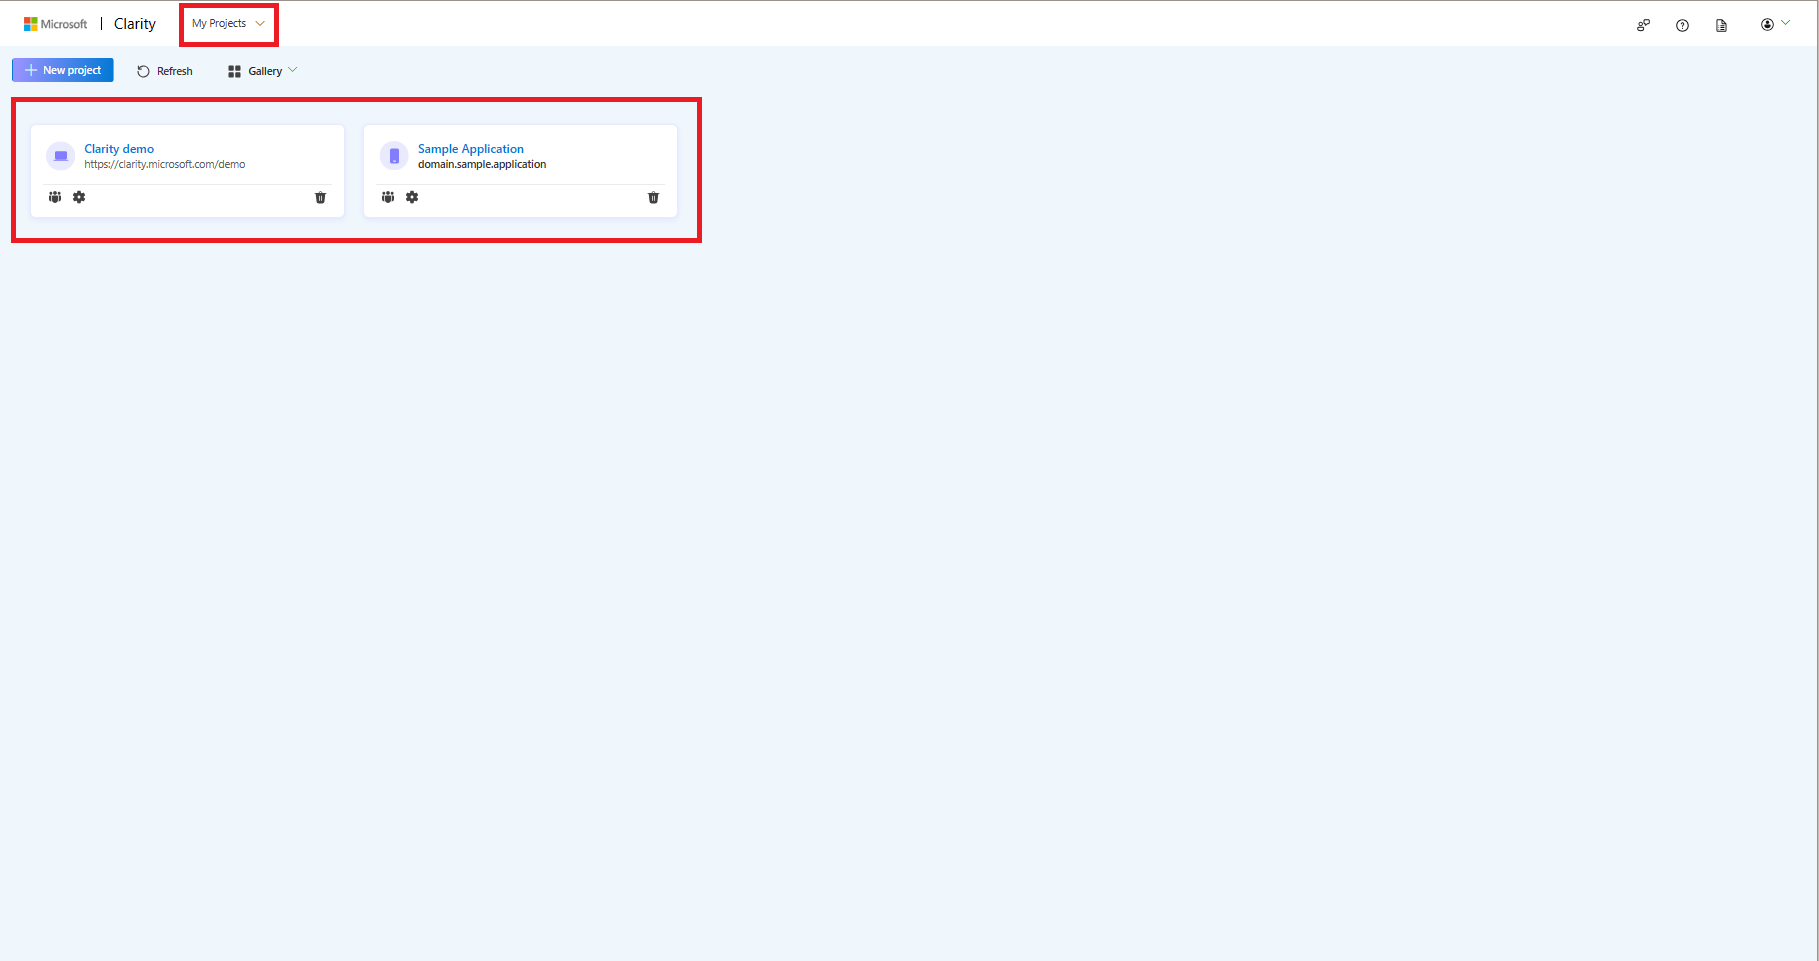
You can view your mobile and web projects (if any) on the same dashboard. You will find an icon indicating the type of project in your projects Gallery.
You can view all your projects on the Projects page. You can also access the projects through the My Projects dropdown menu.
Once the project is successfully added, you're the Admin with permission to manage the project settings. Check Team management to know more.
Project management
Once you create a project, go to the Settings tab to manage your project and team.
Note
You can only modify project settings if you are an Admin of the project.
Overview
You can rename the project and change the application category in the overview section.
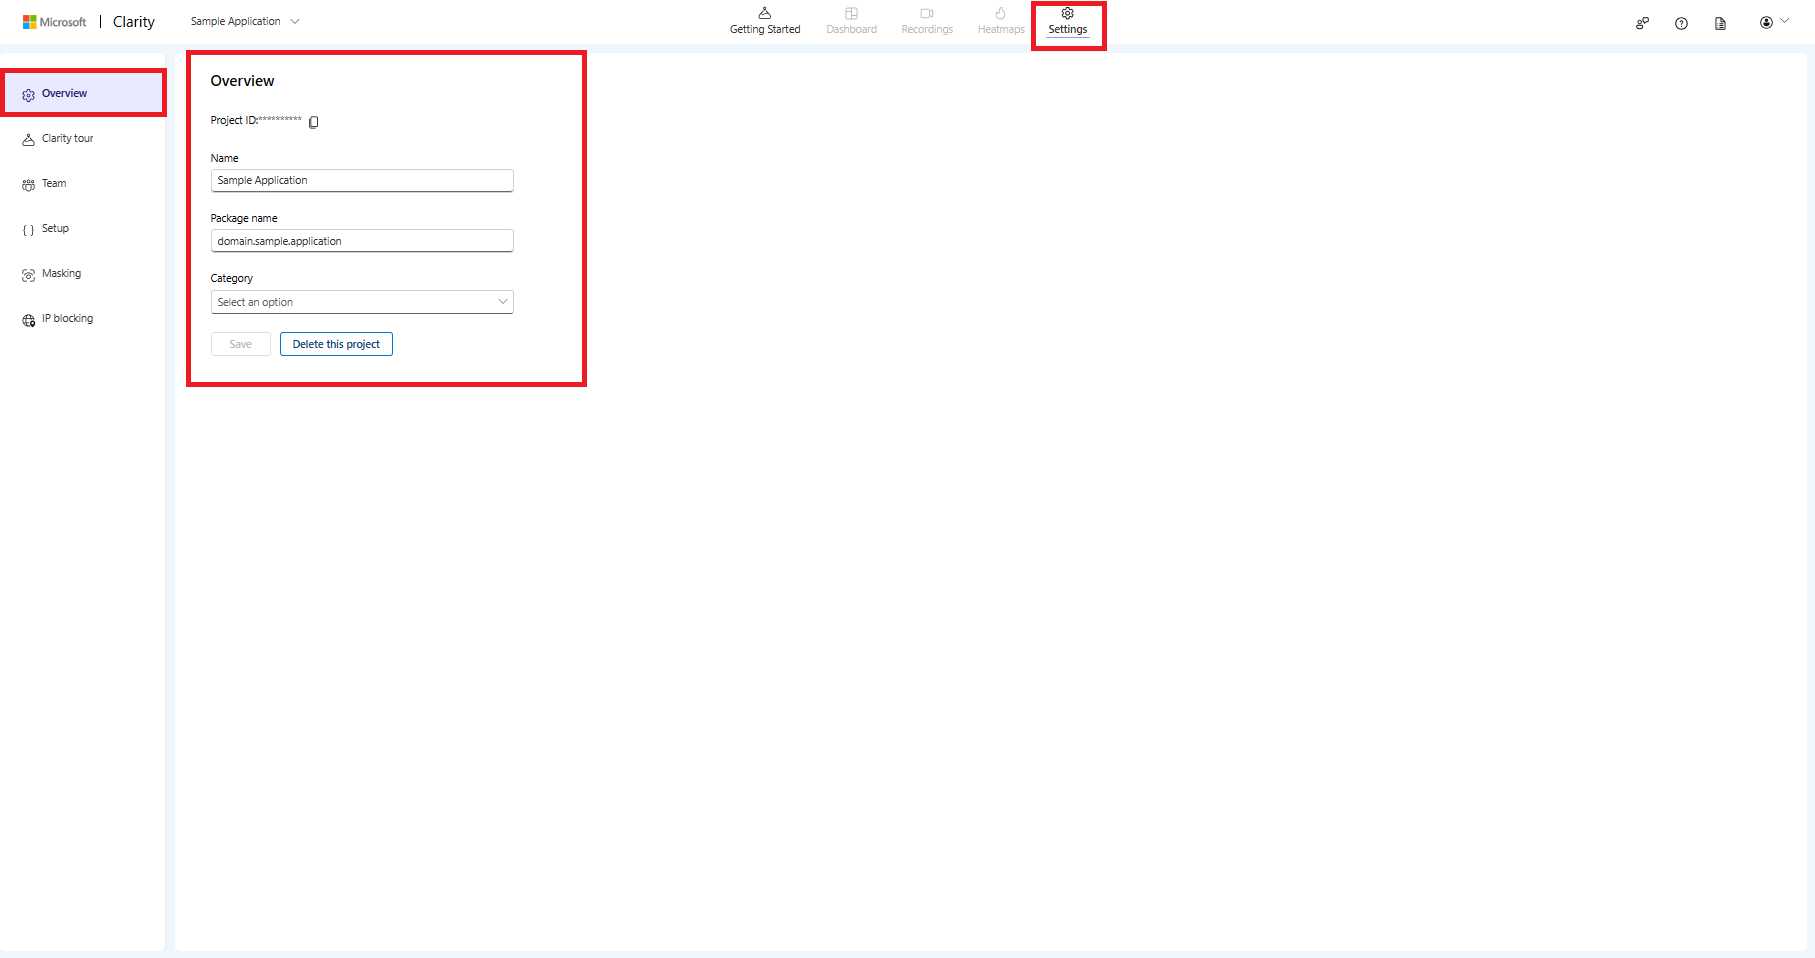 You can also find the Project ID here.
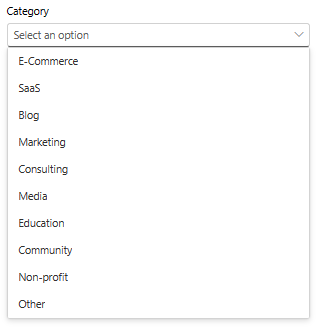
Application category
The available options under the Category are:
Delete a project
Warning
- You can delete a project only if you are an Admin of the project.
- Once you delete a project, you will not be able to recover any data associated with that project.
- Deleting a project will remove it completely for all team members. You will not be able to undo this action.
You can delete a project in two ways:
Delete Project under Settings
Warning
- You can delete a project only if you are an Admin of the project.
- Once you delete a project, you will not be able to recover any data associated with that project.
- Deleting a project will remove it completely for all team members. You will not be able to undo this action.
- Go to the Settings tab and select Overview.
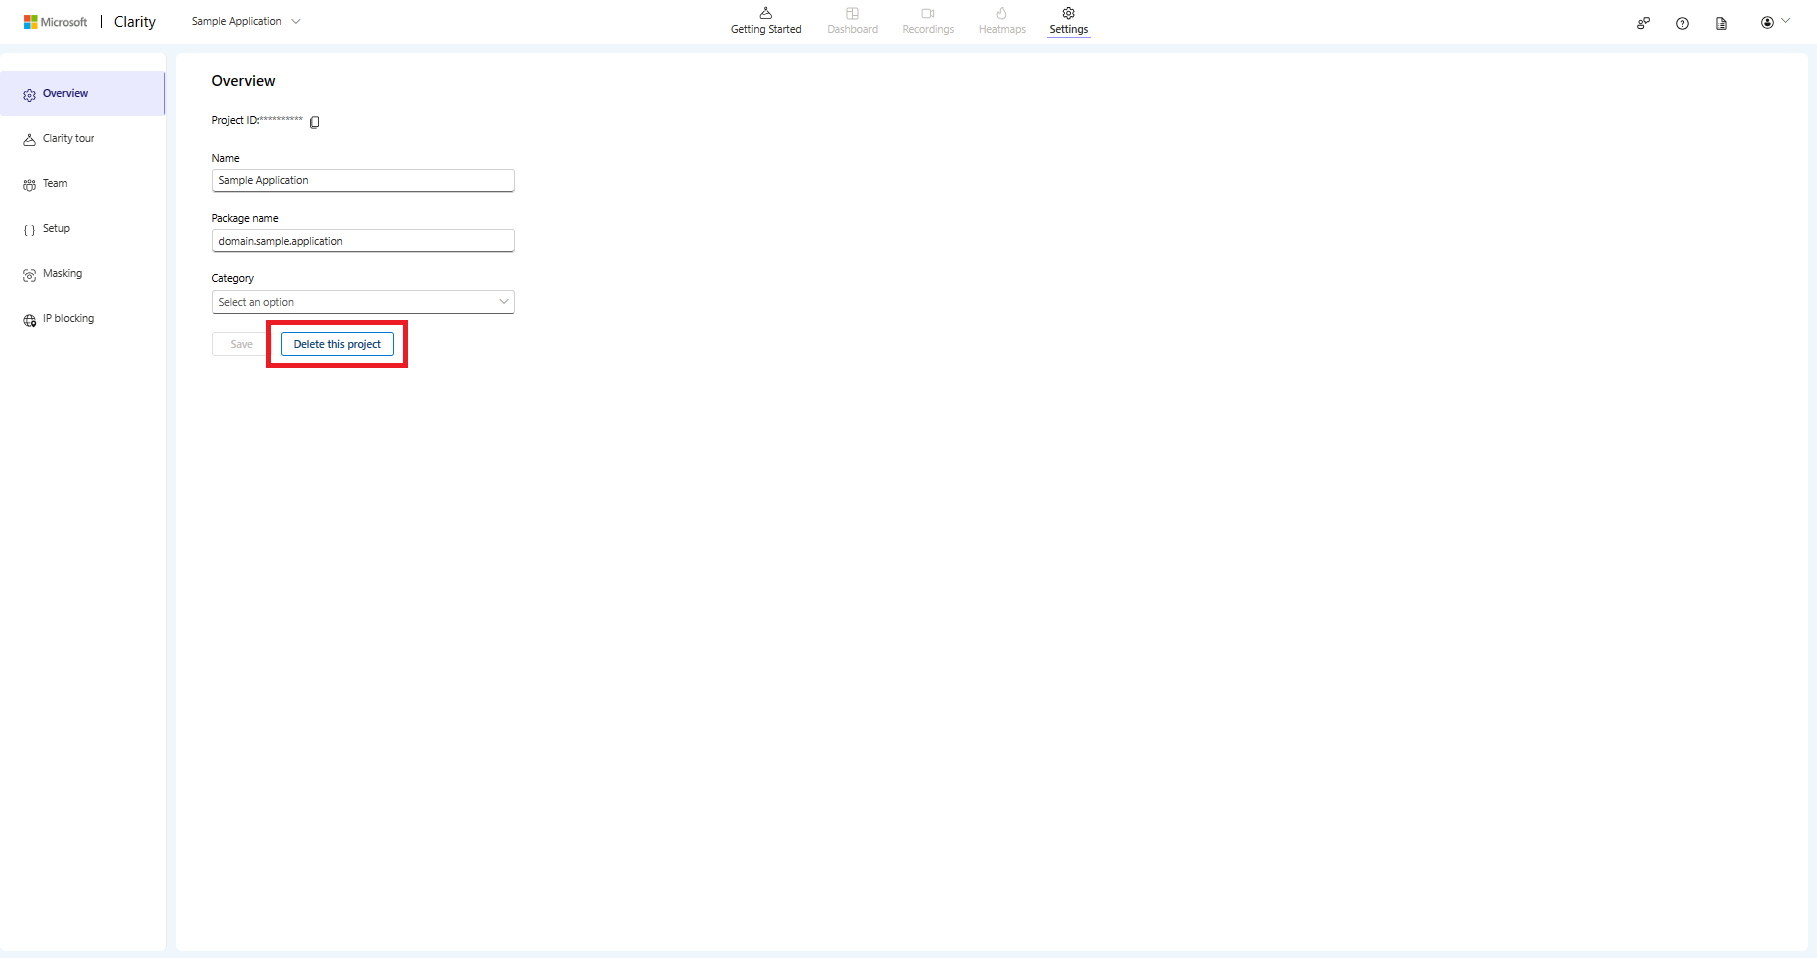
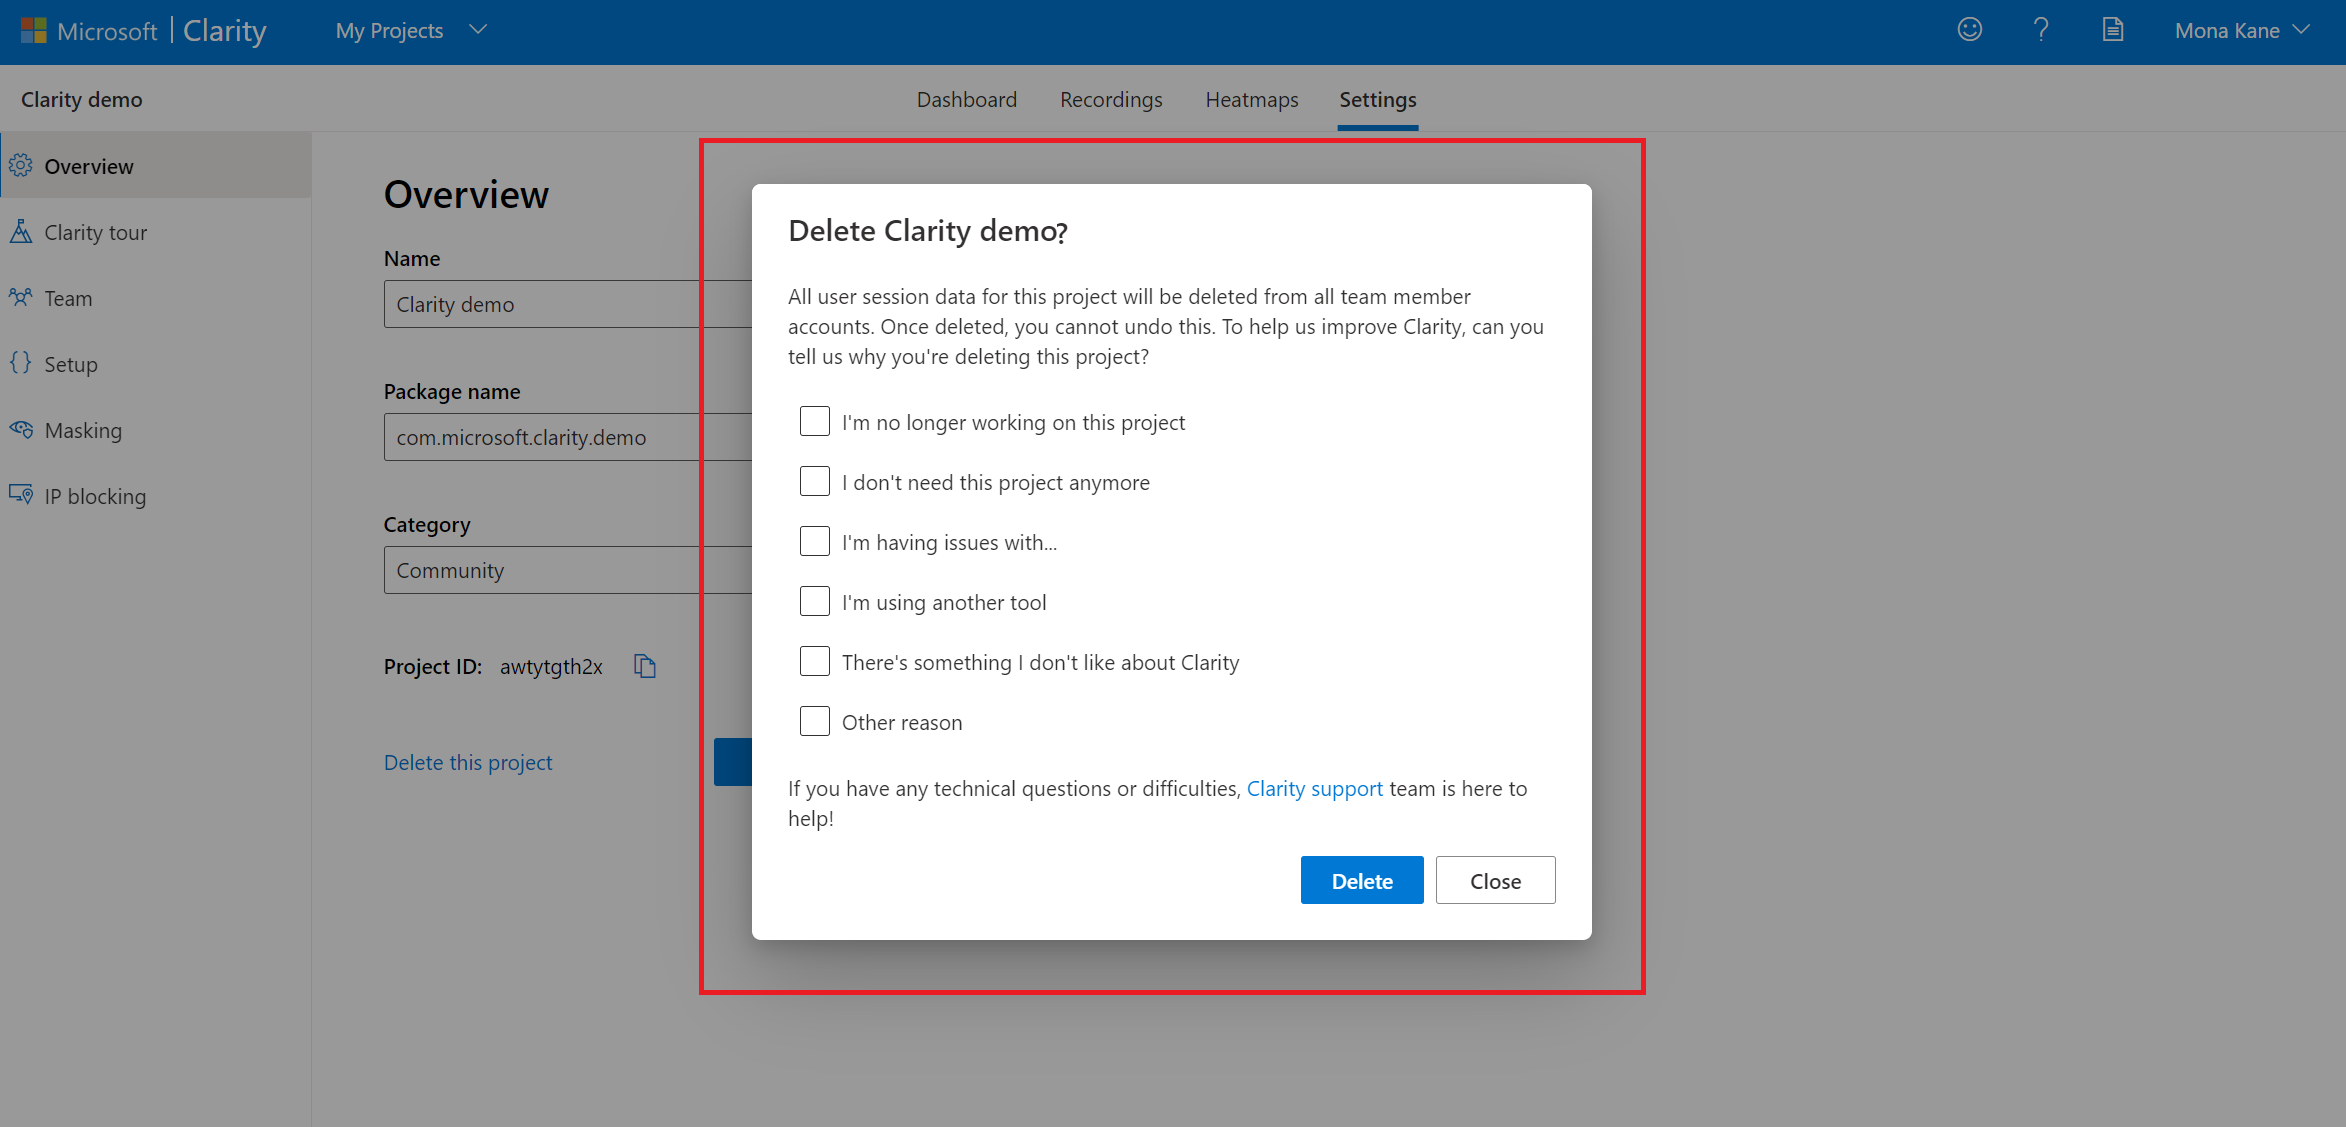
- Select Delete this project. Select your feedback and confirm Delete on the pop-up window.
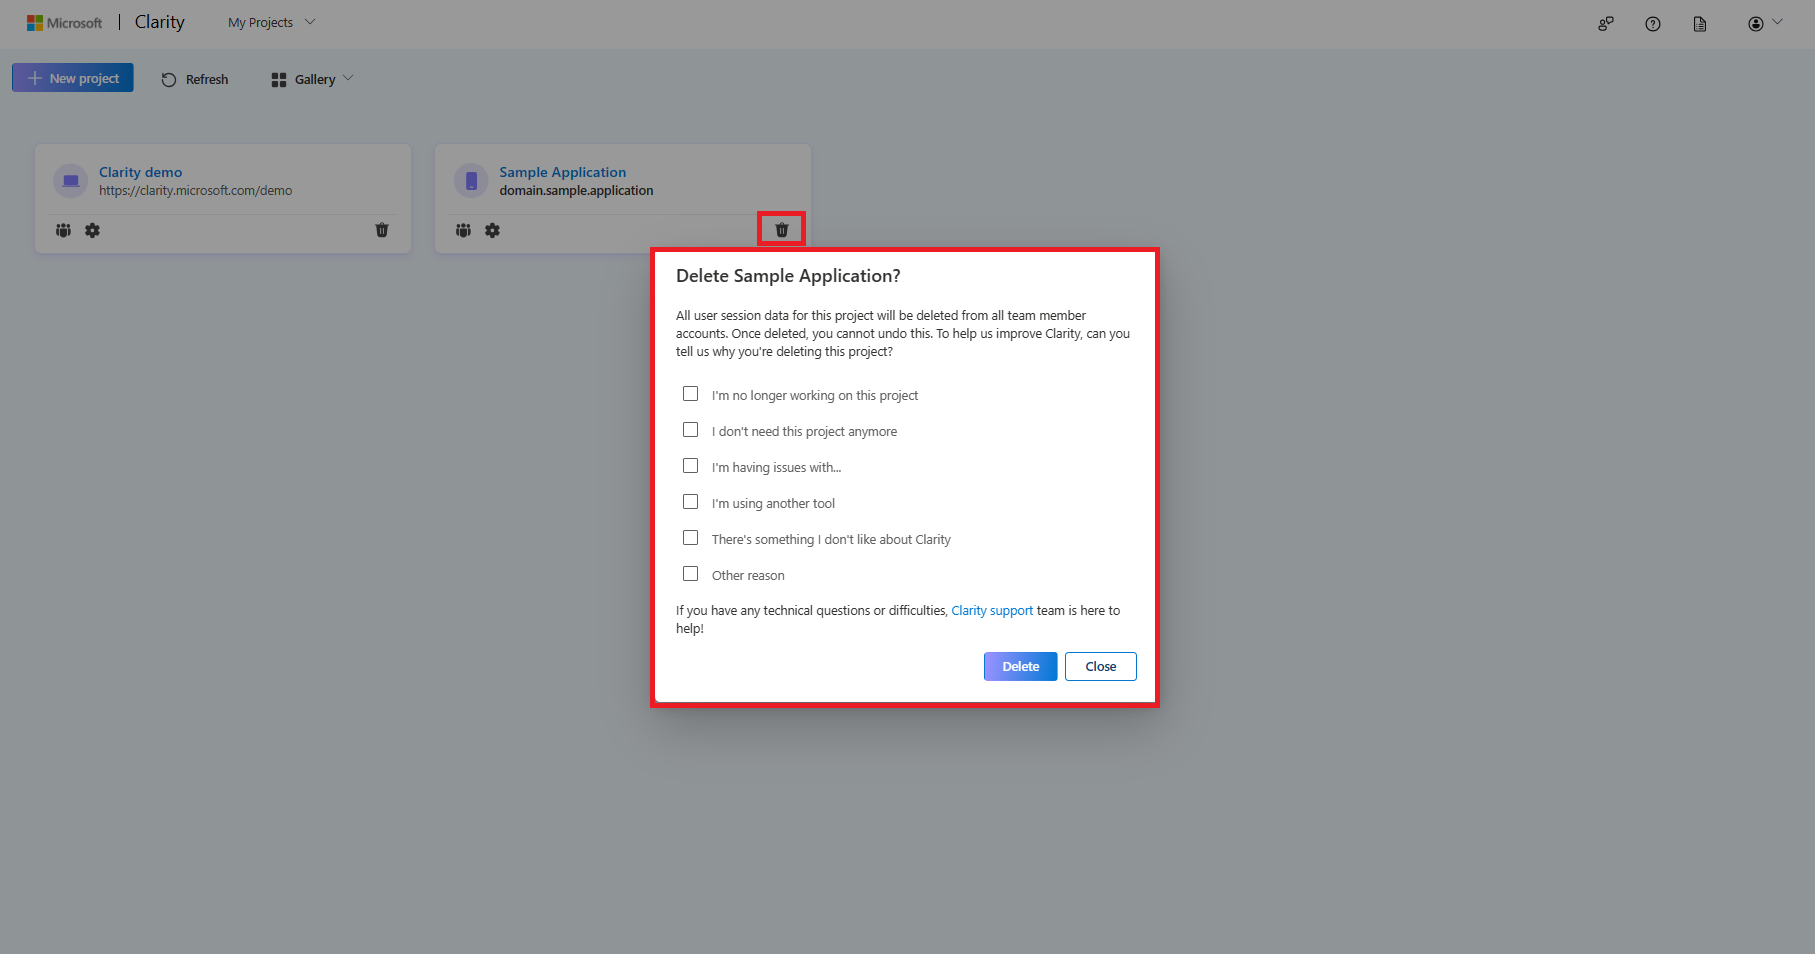
Delete Project on the Projects Page
You can also delete the project on the Projects page. Select the Delete icon on the project. Confirm Yes, delete on the pop-up window.
FAQ
For more answers, refer to FAQ.