Note
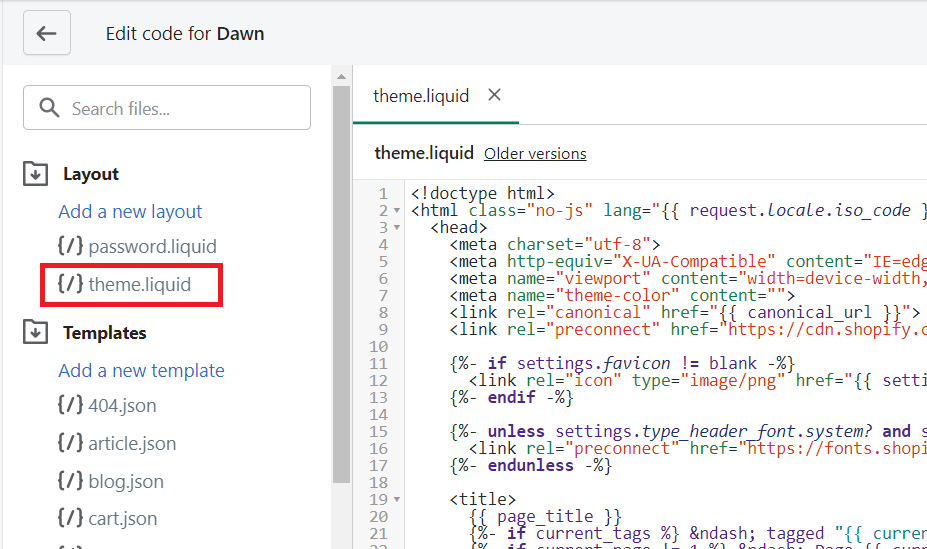
- If Clarity was installed by editing your
theme.liquidfile and adding your tracking code, the new Shopify App automatically migrates you without any code changes. - For Shopify Plus accounts, the checkout and post-checkout pages are now tracked in Clarity through Shopify's Pixel.
Set up Clarity on Shopify - new installation
Step 1
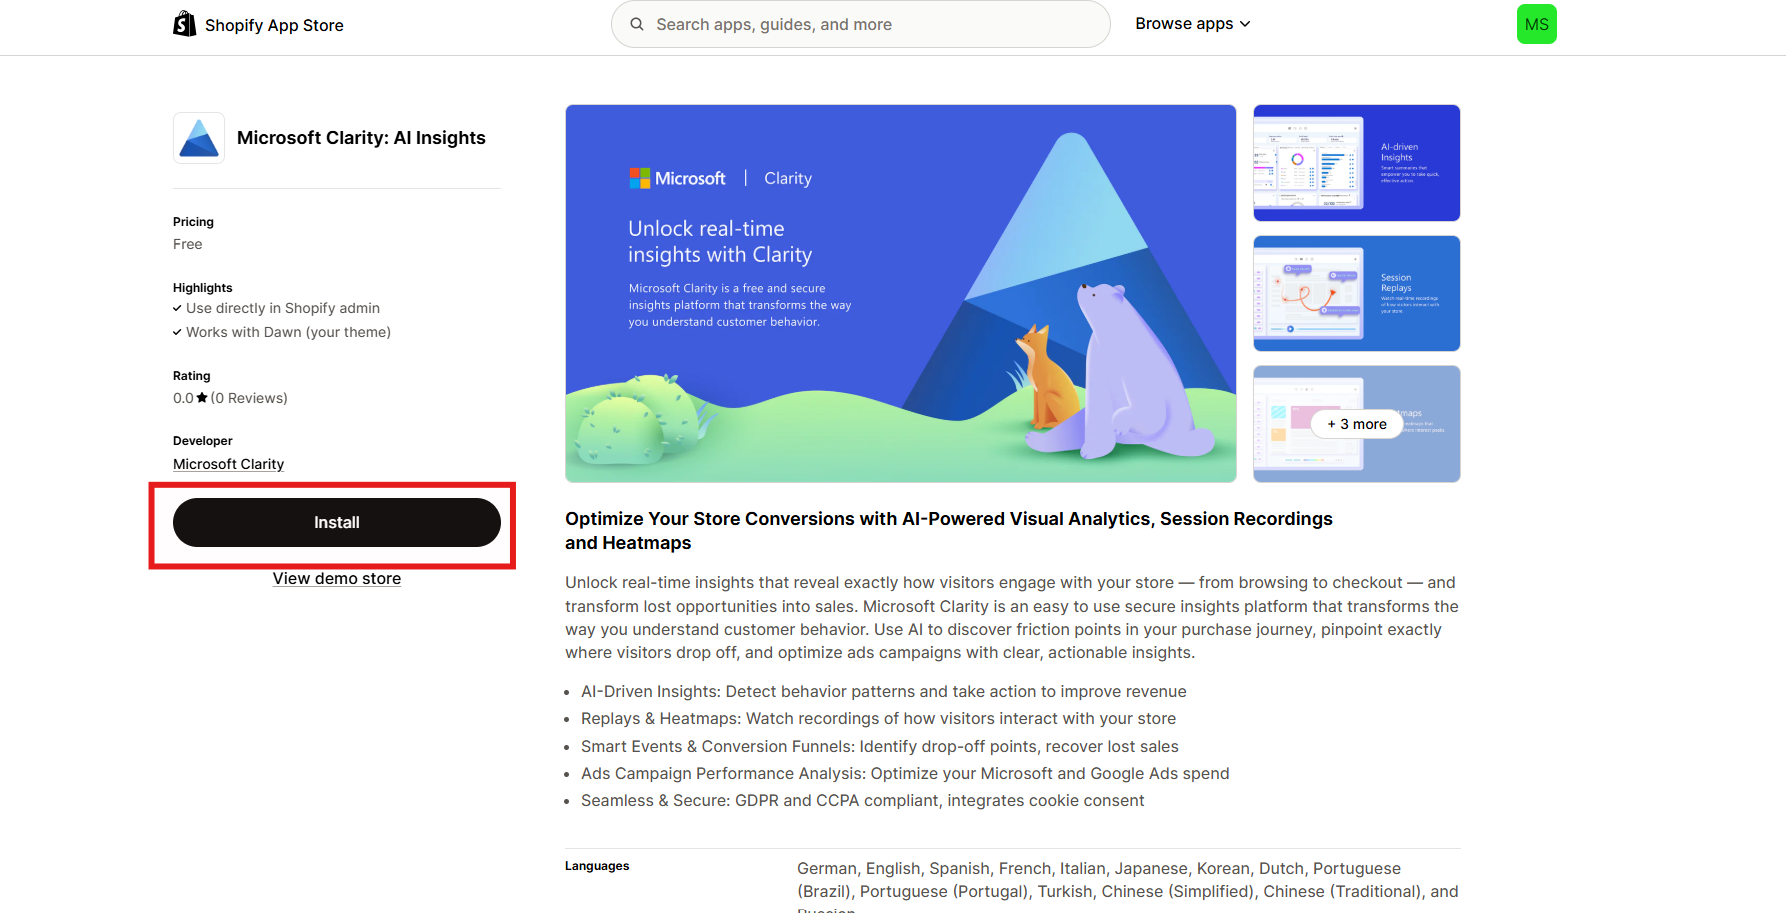
Sign in to Shopify and go to the Shopify App Store. Search and select Microsoft Clarity: AI Insights listing -> Install.
Step 2
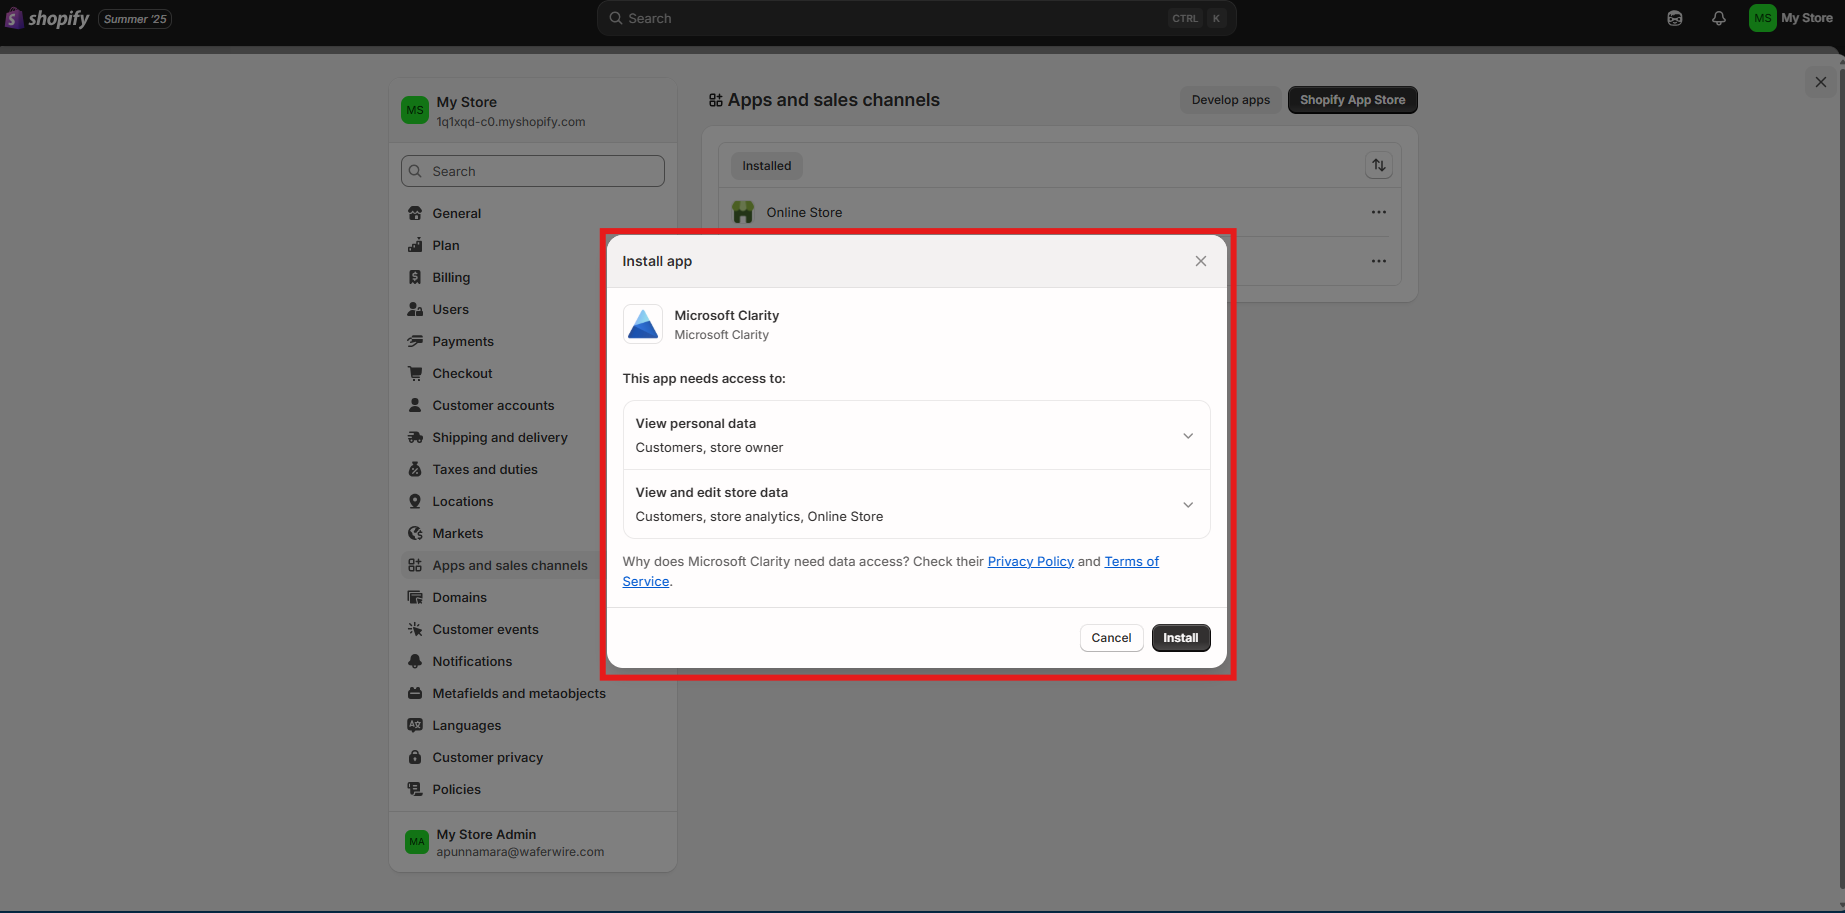
On the pop-up window, review the data access permissions and select Install.
Step 3
Note
If you already manually pre-installed Clarity, go to the pre installed set up.
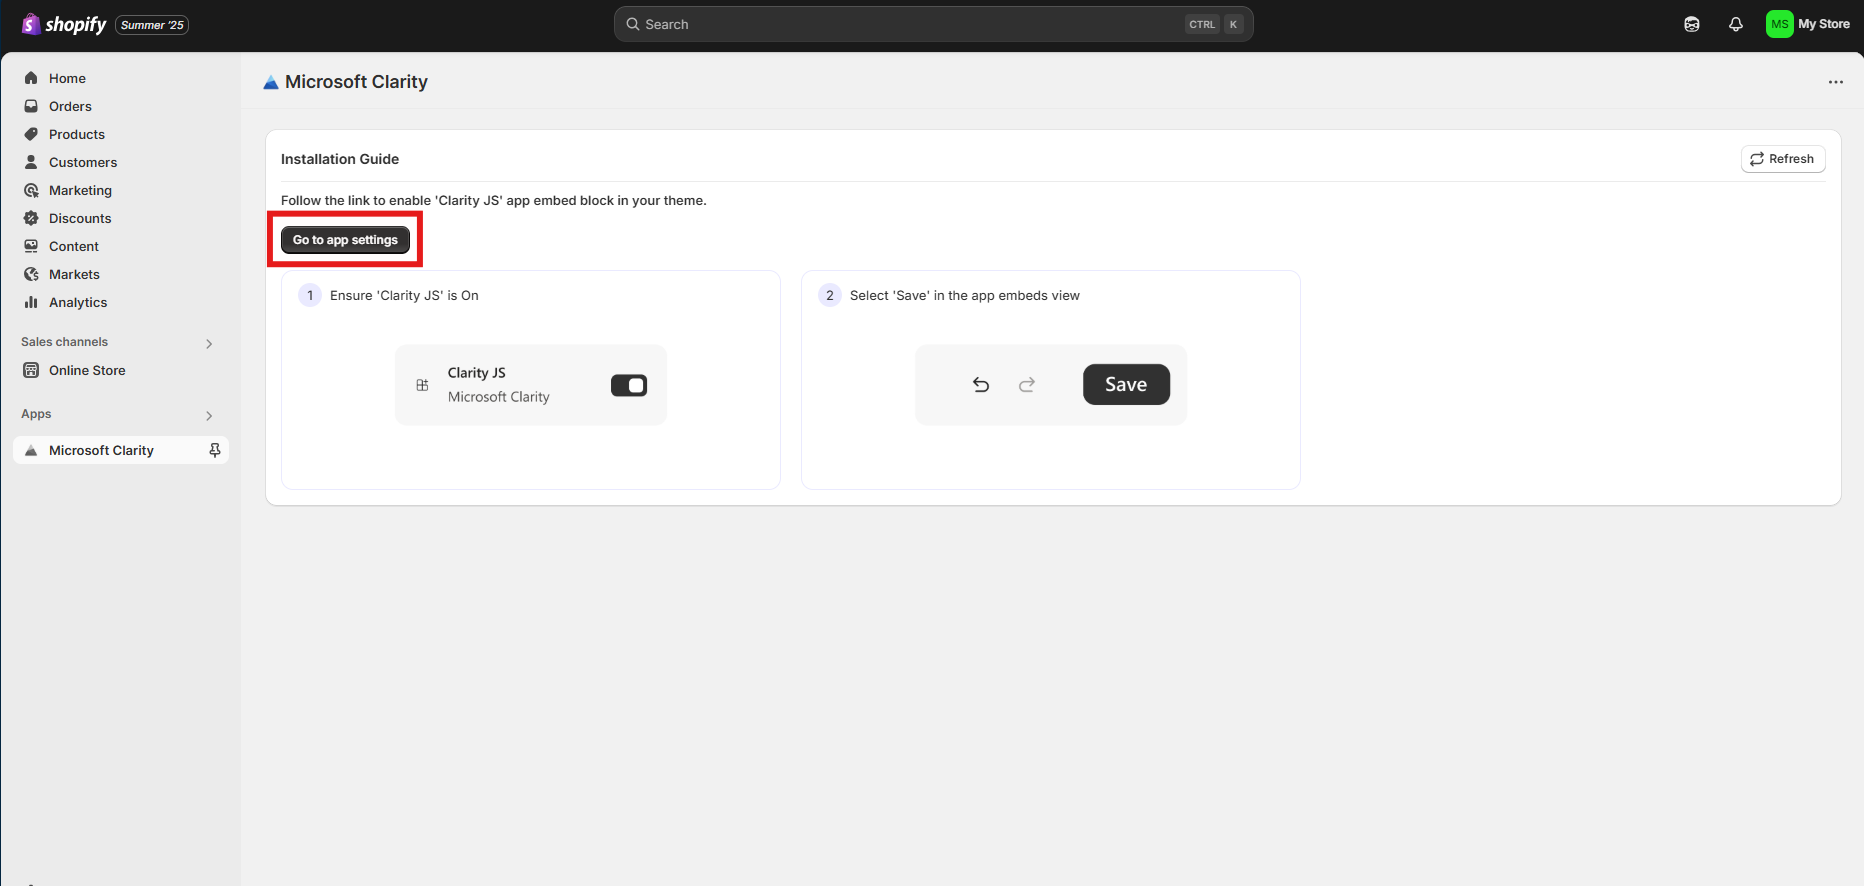
If this is your first time installing Clarity, activate the Clarity JS to get started. Select Go to app settings and a new tab opens.
Step 4
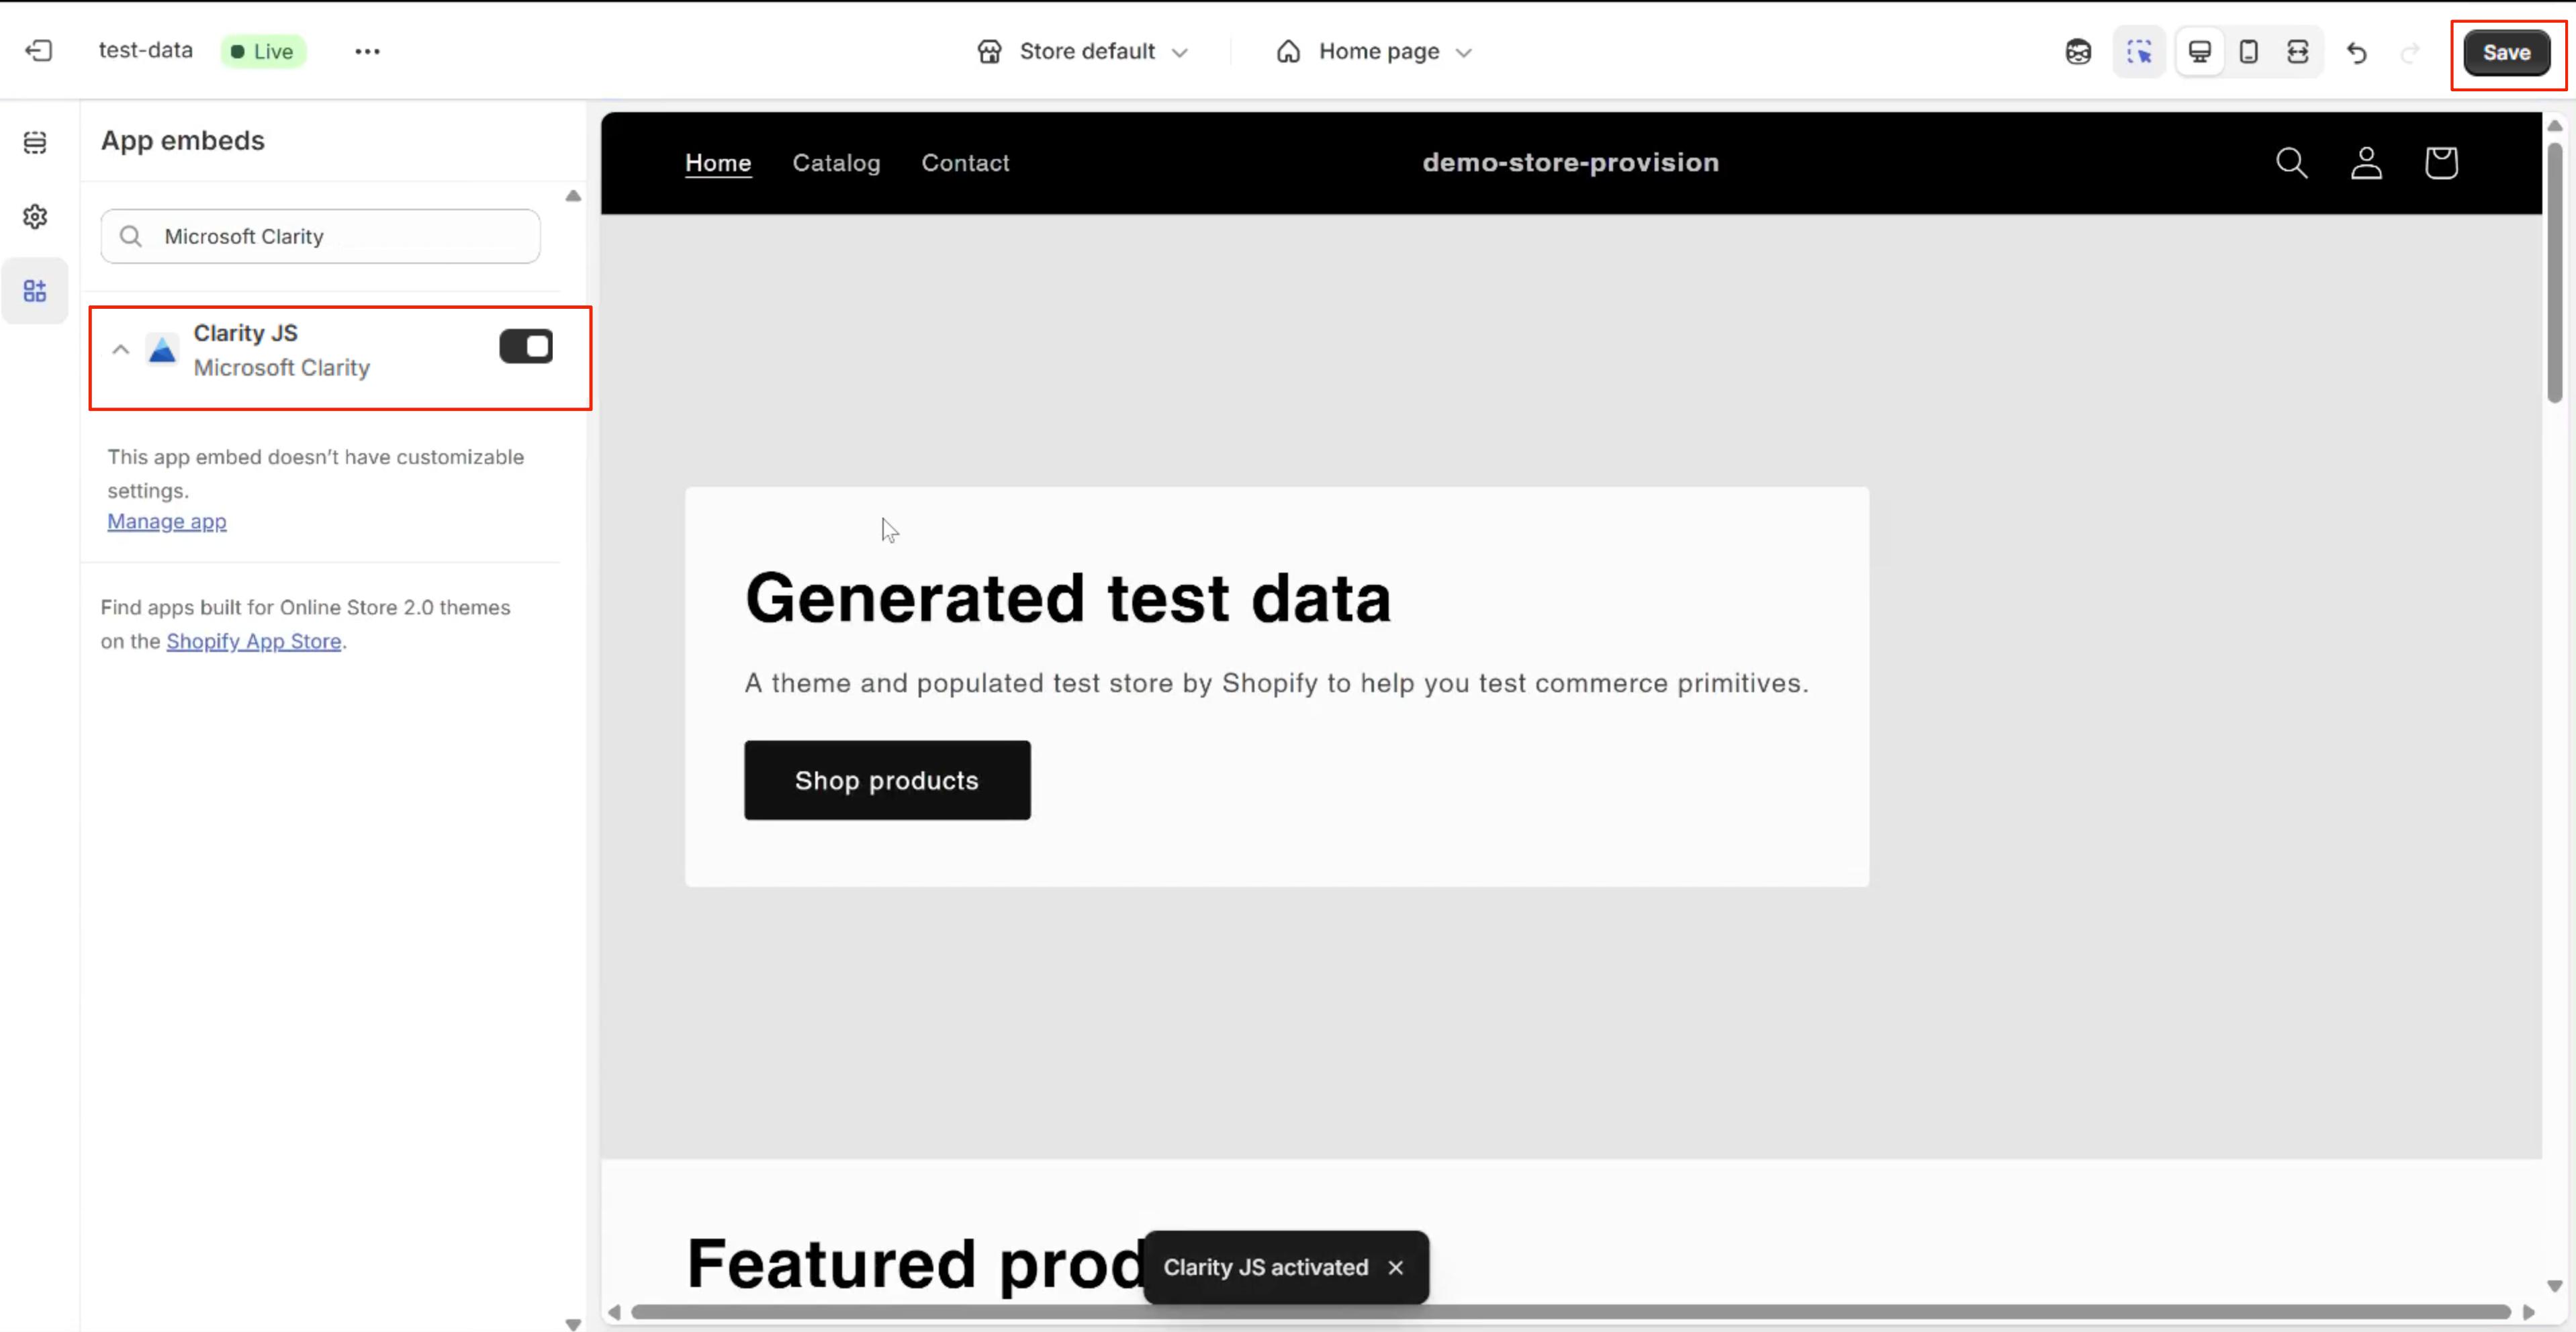
On the new tab, ensure that the Clarity JS is toggled on, and select Save. Close this tab and return to the installation page.
Step 5
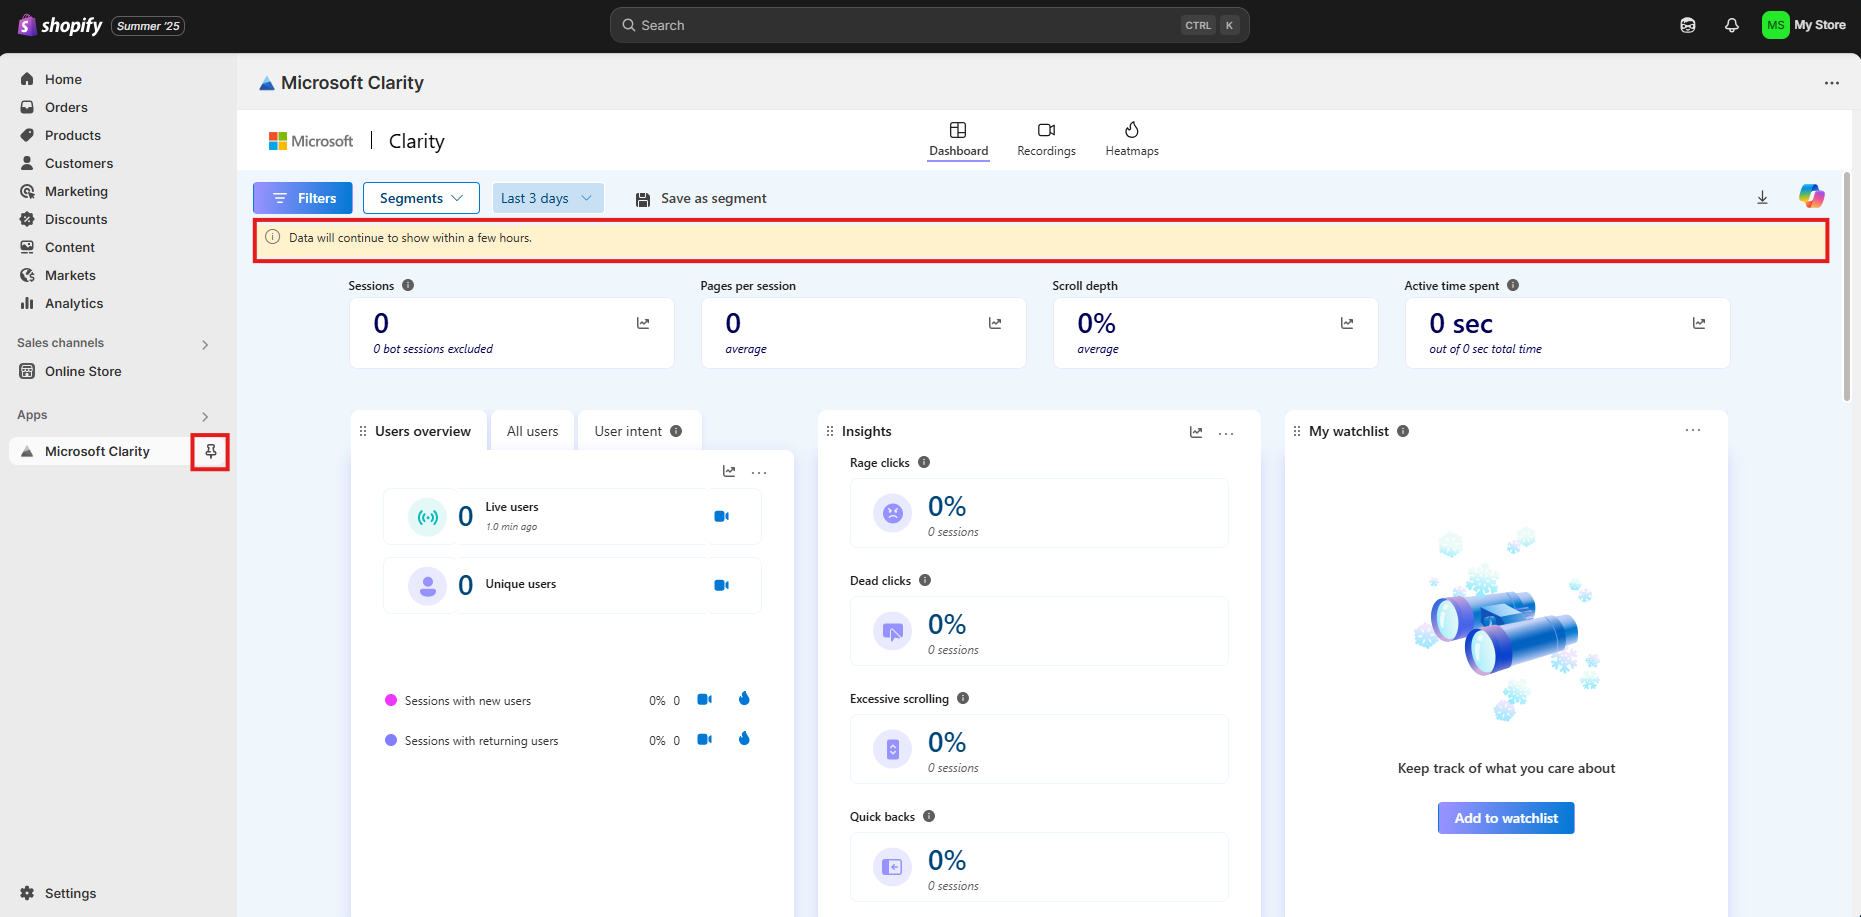
The dashboard should refresh automatically. If it doesn't update the view, select Refresh.
Step 6
Clarity is now successfully installed. Allow a few hours for your dashboard to populate with data. For quick access, consider pinning the app to your side panel.
Clarity Setup for Shopify with Pre-Installed Snippet
Step 1
Note
If you're installing Microsoft Clarity from the beginning, refer new installation.
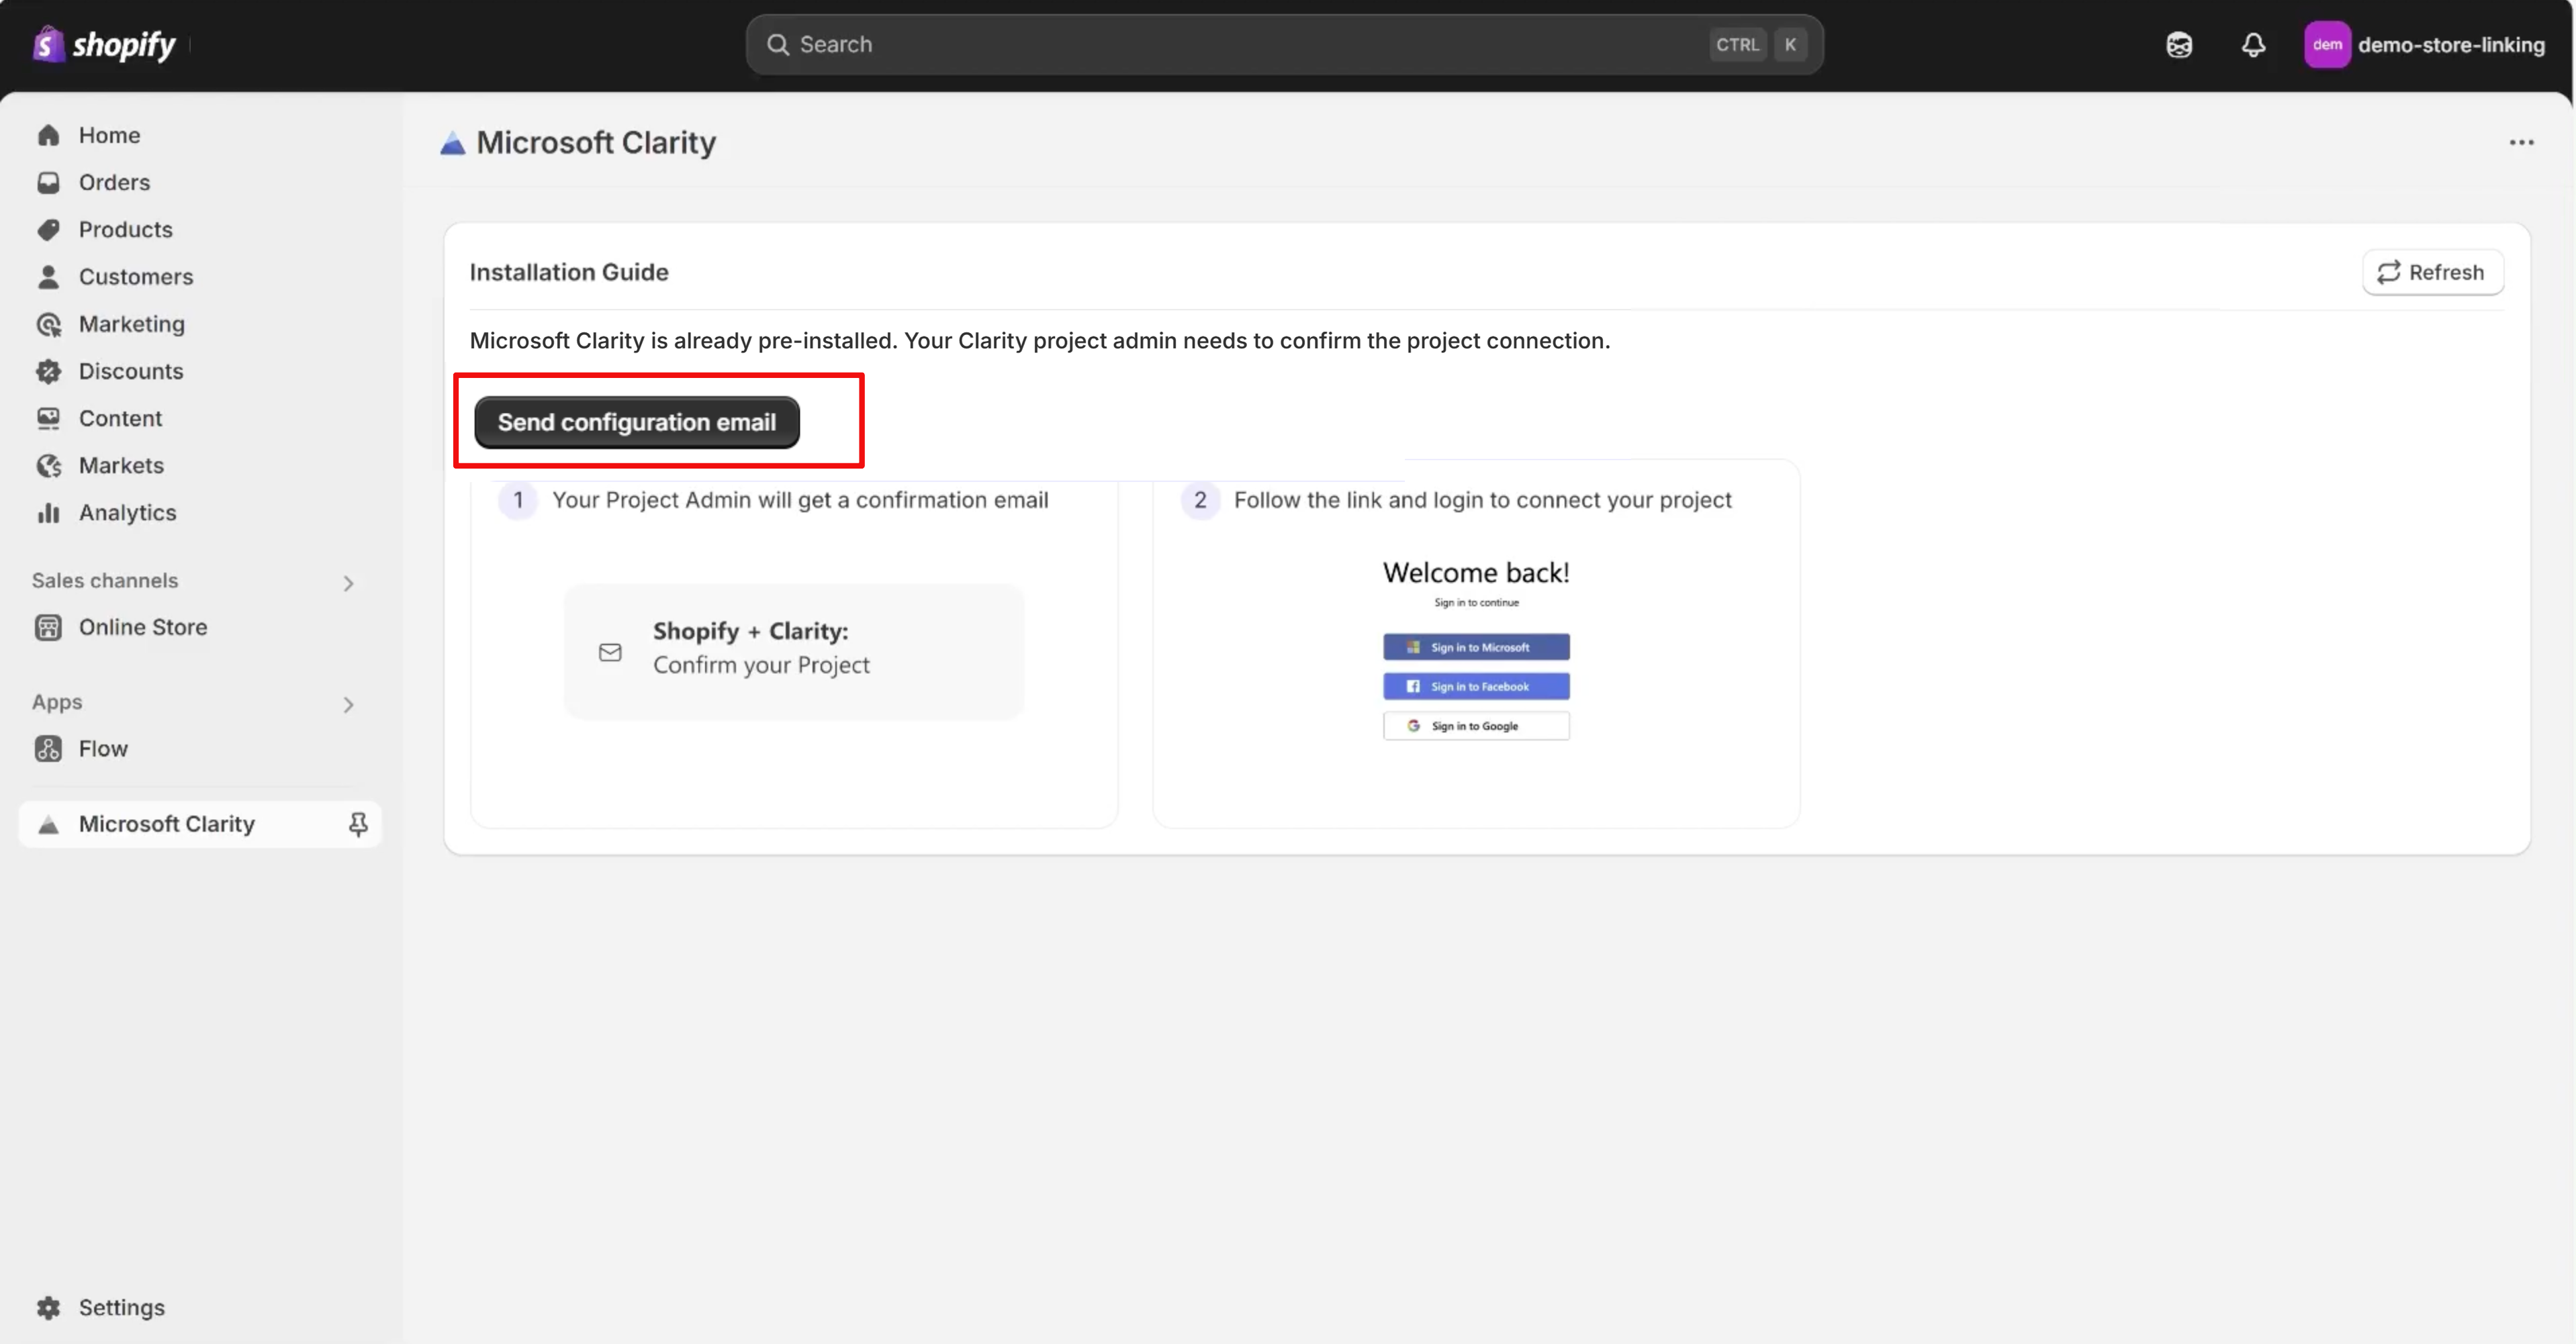
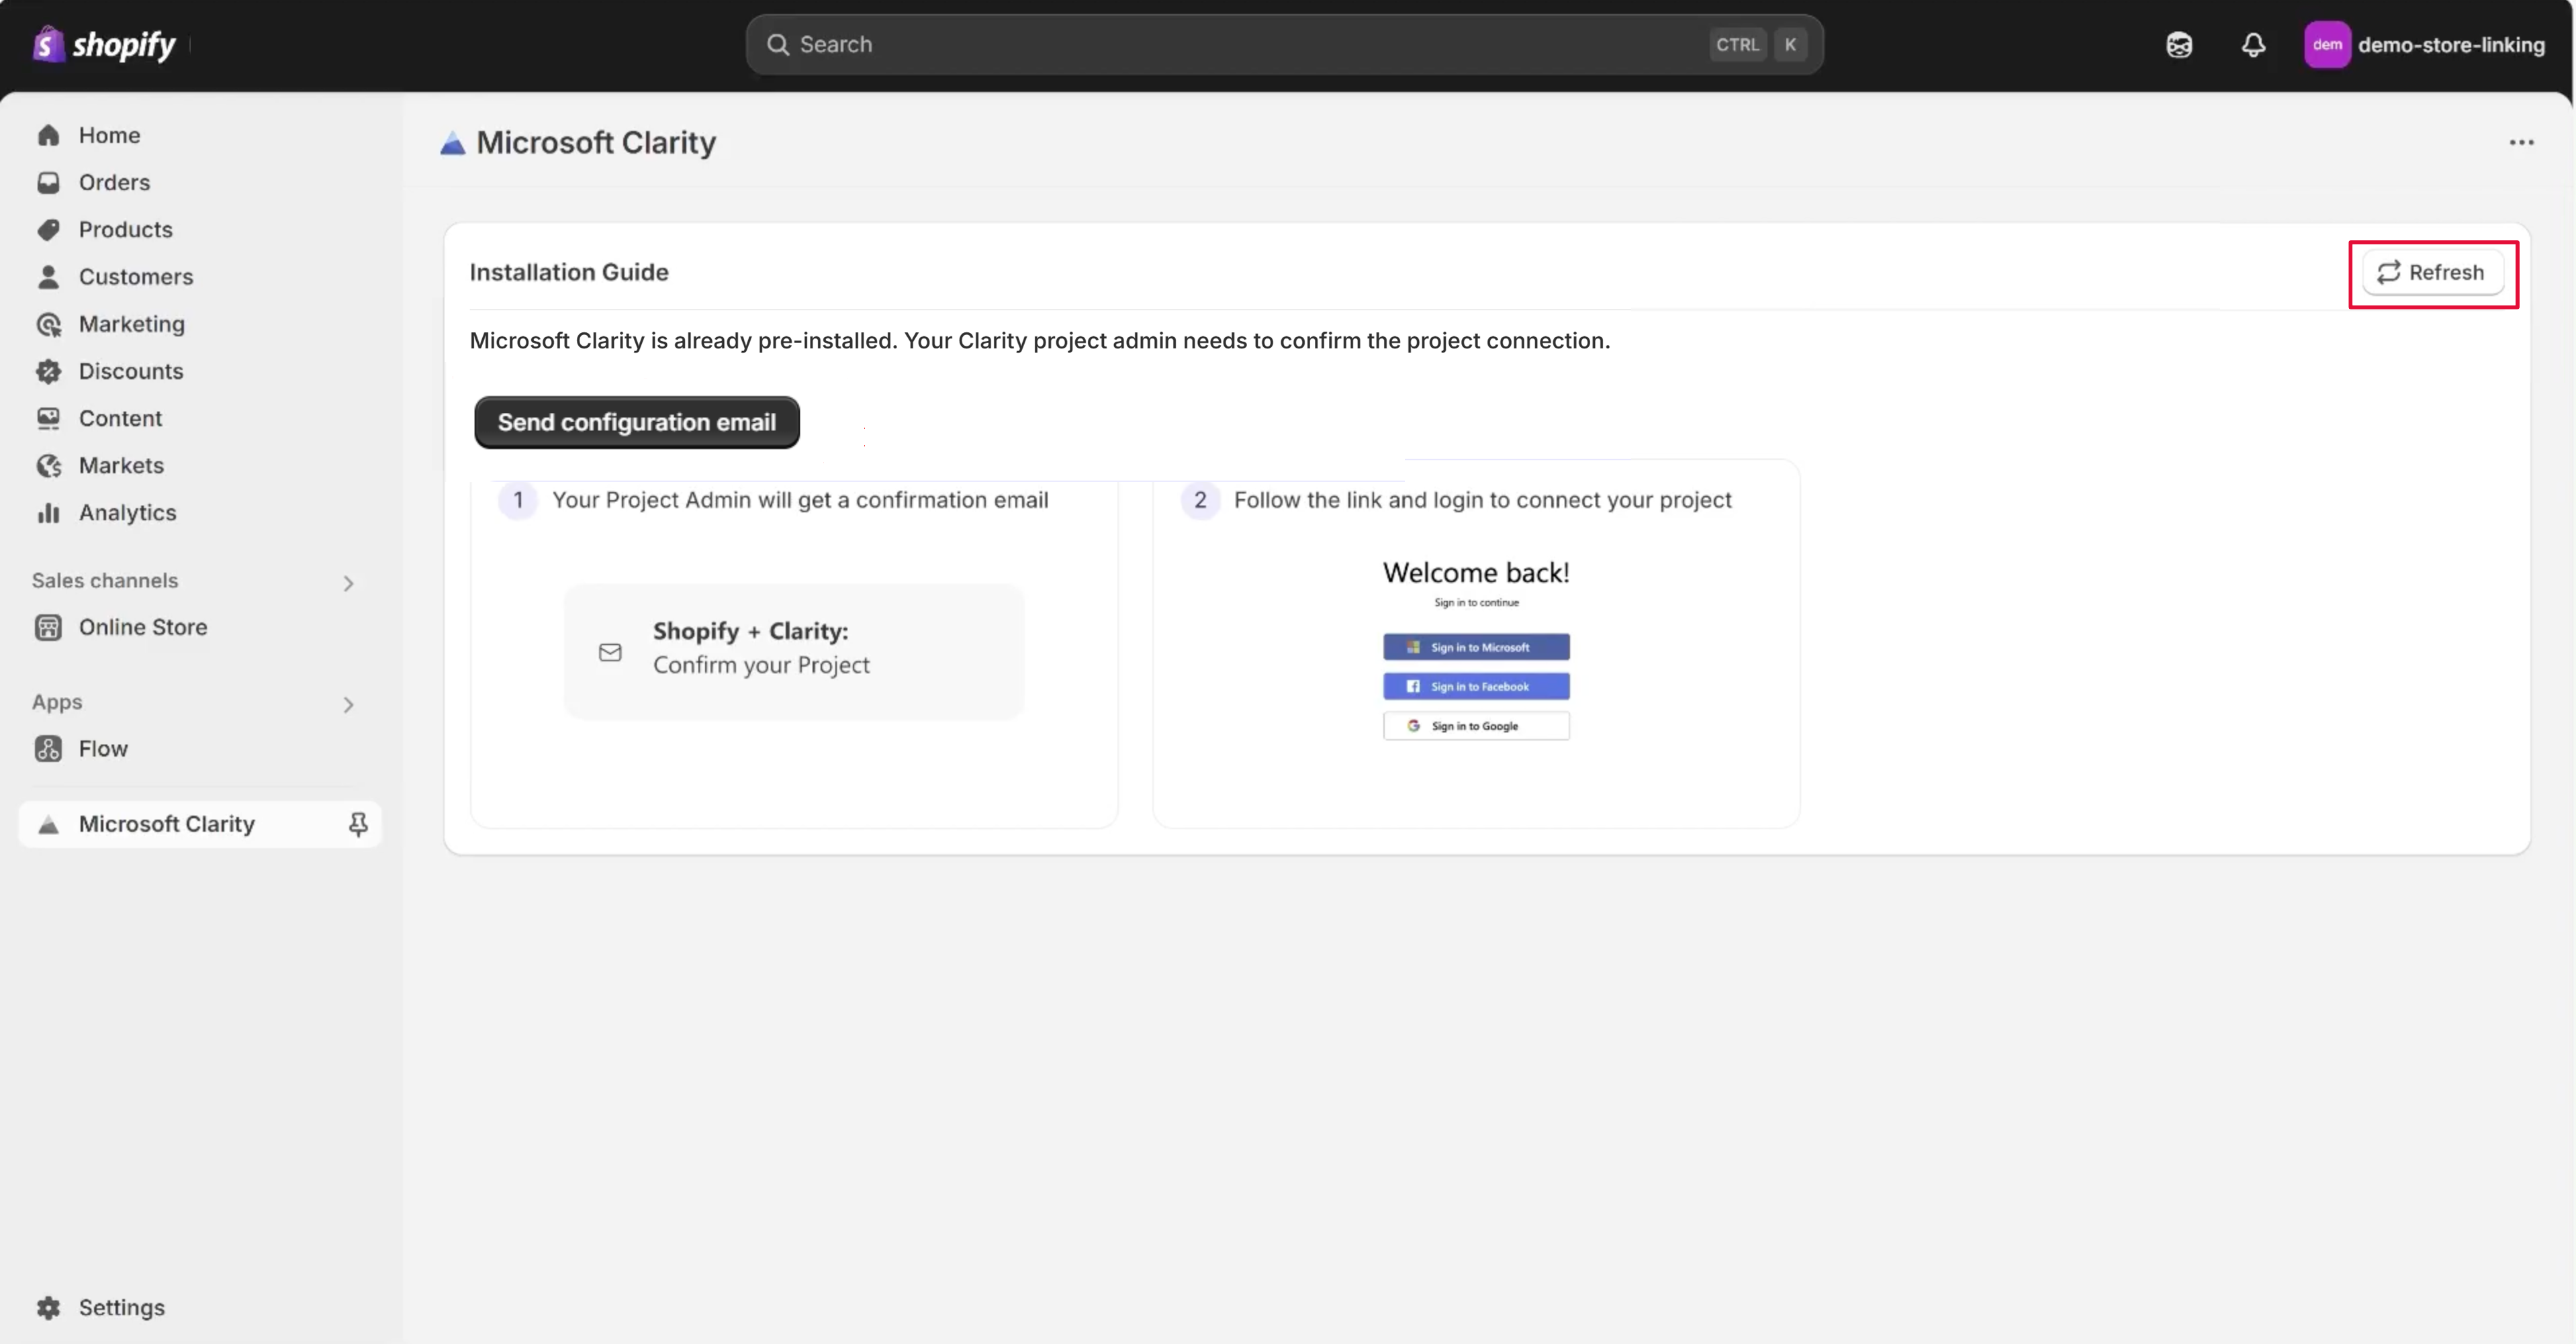
If you previously installed Clarity prior to the app, you need to connect your existing project. Select Connect Project and an email is sent to the project admin.
Step 2
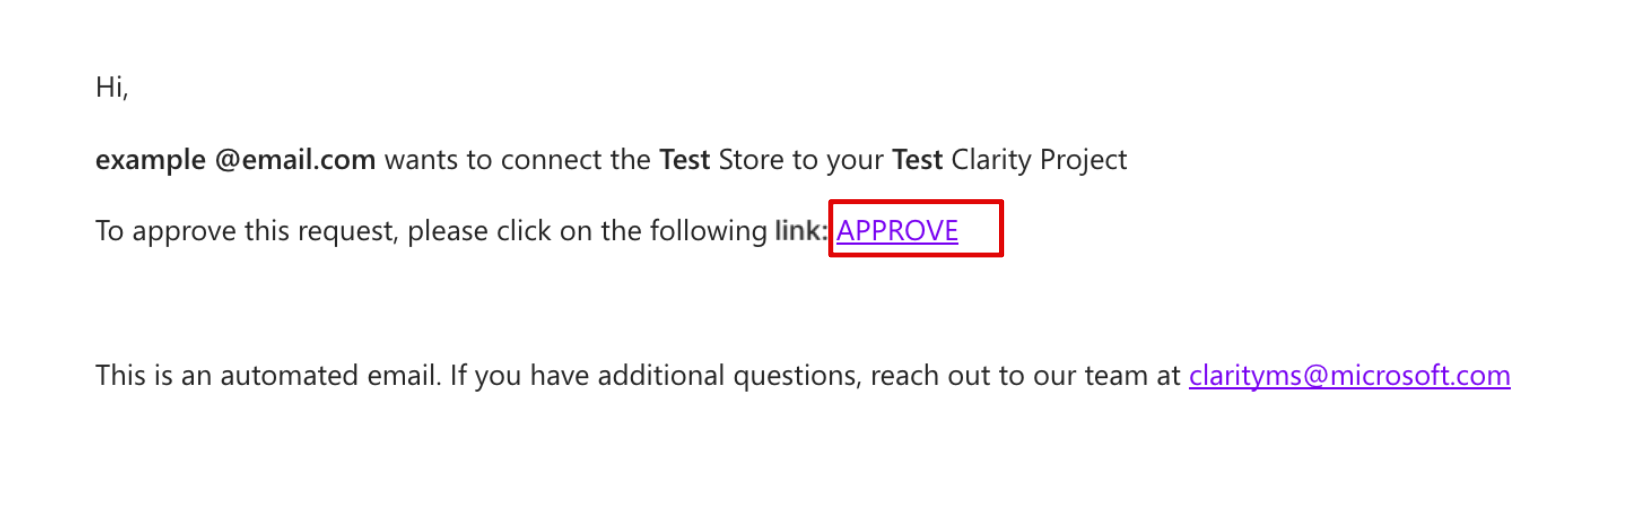
Follow the link on the email and sign-in to Clarity to connect the project.
Step 3
Go back to the installation page. The dashboard should refresh automatically. If it doesn't update the view, select Refresh.
Step 4
Clarity is now successfully installed. Allow a few hours for your dashboard to populate with data. For quick access, consider pinning the app to your side panel.
FAQ
For more answers, refer to Setup FAQ.