팀 탐색기의 프로젝트에 연결
팀 탐색기는 Visual Studio 2019 이하를 TFVC(Team Foundation 버전 제어) 리포지토리에 연결하고 Azure DevOps Services 또는 온-프레미스 Azure DevOps Server(이전에는 TFS(Team Foundation Server)로 알려짐)에 호스트된 프로젝트에 연결합니다. 소스 코드, 작업 항목 및 빌드를 관리할 수 있습니다.
중요
Visual Studio 2019 버전 16.8 릴리스에서는 Git 버전 제어 환경이 기본적으로 설정되어 있습니다. 팀 탐색기와 어떤 차이가 있는 자세히 알아보려면 Git와 팀 탐색기 비교 페이지를 참조하세요.
하지만 Visual Studio 2019에서 팀 탐색기를 계속 사용하려면 도구>옵션>환경>미리 보기 기능으로 이동한 다음, 새 Git 사용자 환경 확인란을 토글합니다. (이 옵션은 Visual Studio 2022 이상에서 사용할 수 없습니다.)
팀 탐색기 사용하여 프로젝트에 연결하는 방법은 사용 중인 Visual Studio 2019의 버전에 따라 다릅니다.
Visual Studio 2019 버전 16.8 이상에서
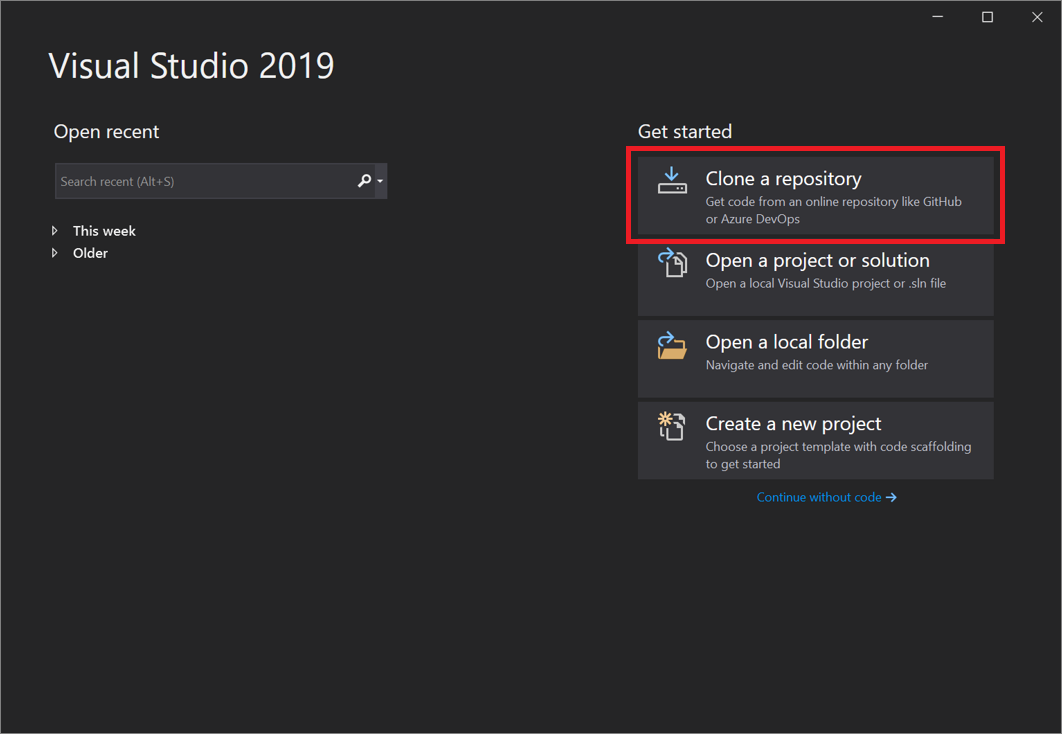
Visual Studio 2019를 엽니다.
시작 창에서 리포지토리 복제를 선택합니다.
리포지토리 찾아보기 섹션에서 Azure DevOps를 선택합니다.

로그인 창이 표시되면 계정에 로그인합니다.
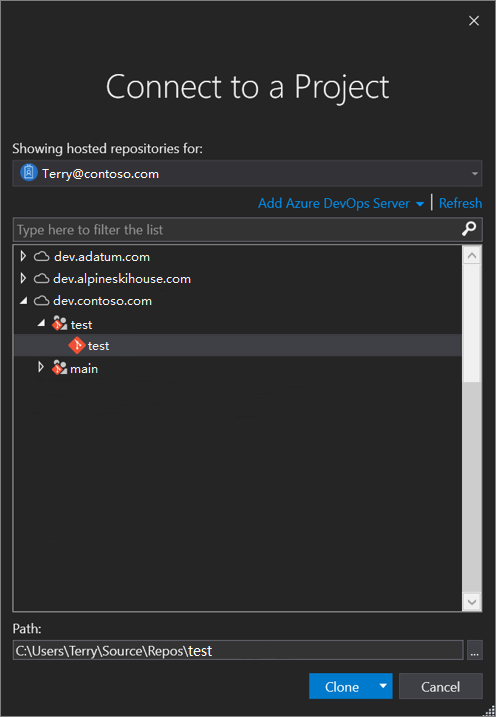
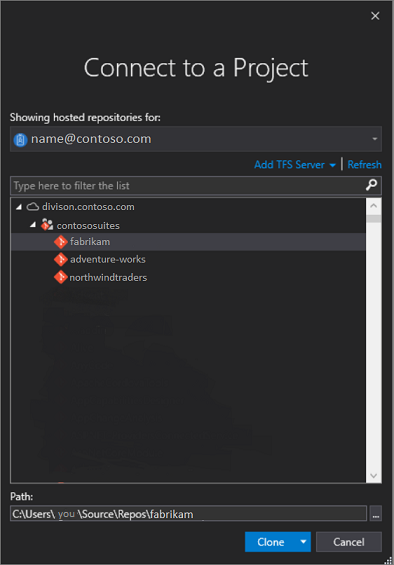
프로젝트에 연결 대화 상자에서 연결할 리포지토리를 선택한 후 복제를 선택합니다.
팁
연결할 리포지토리의 미리 채워진 목록이 표시되지 않으면 Azure DevOps Server 추가를 선택하여 서버 URL을 입력합니다. 또는 기존 Azure DevOps Server를 추가하거나 Azure DevOps 계정을 만들 수 있는 링크를 포함하는 “서버를 찾을 수 없음” 프롬프트가 표시될 수 있습니다.
그런 다음, Visual Studio에서 폴더 및 파일을 표시하는 솔루션 탐색기를 엽니다.
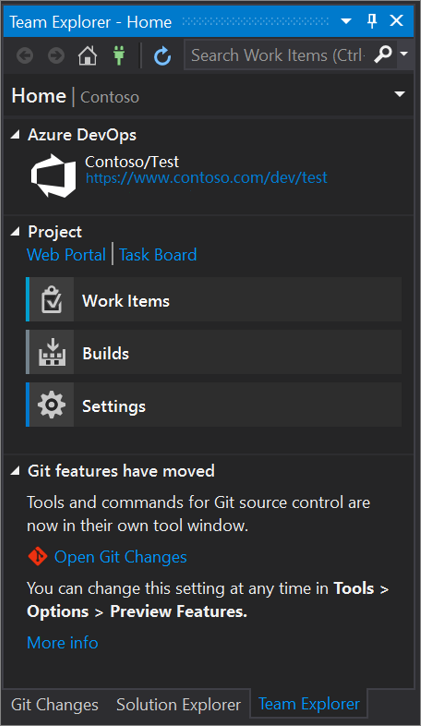
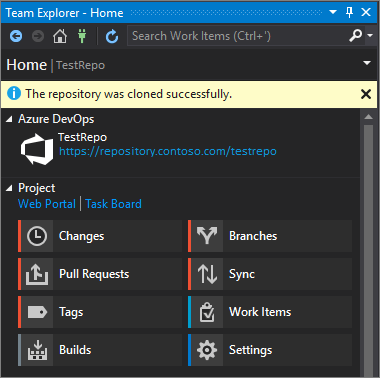
팀 탐색기 탭을 선택하여 Azure DevOps 작업을 확인합니다.
Visual Studio 2019 버전 16.7 이하에서
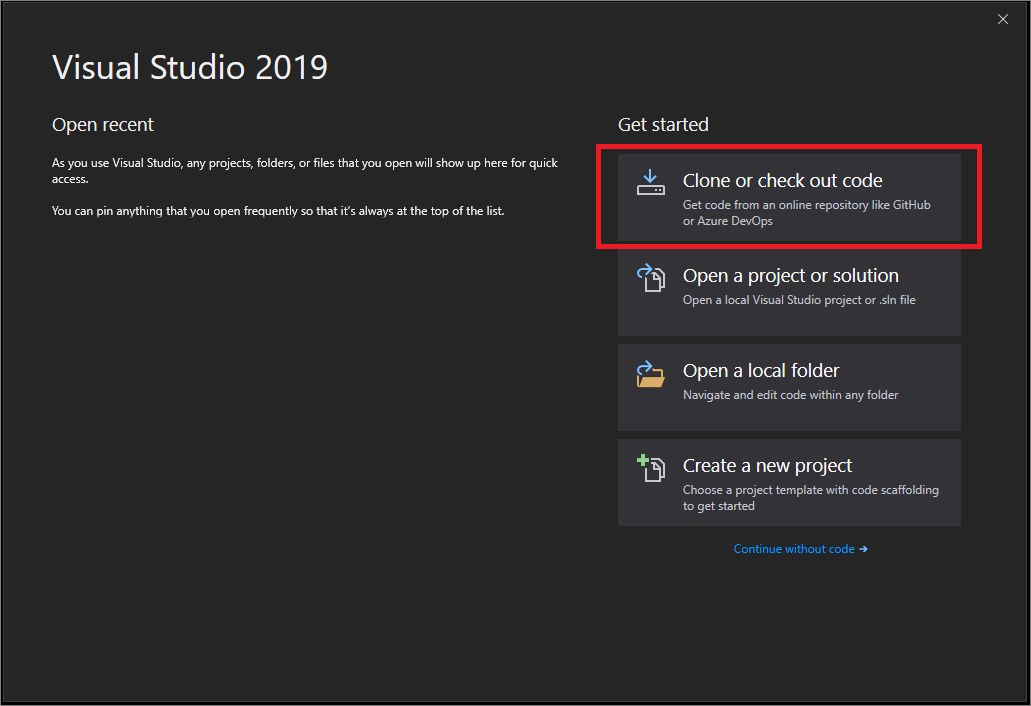
Visual Studio 2019를 엽니다.
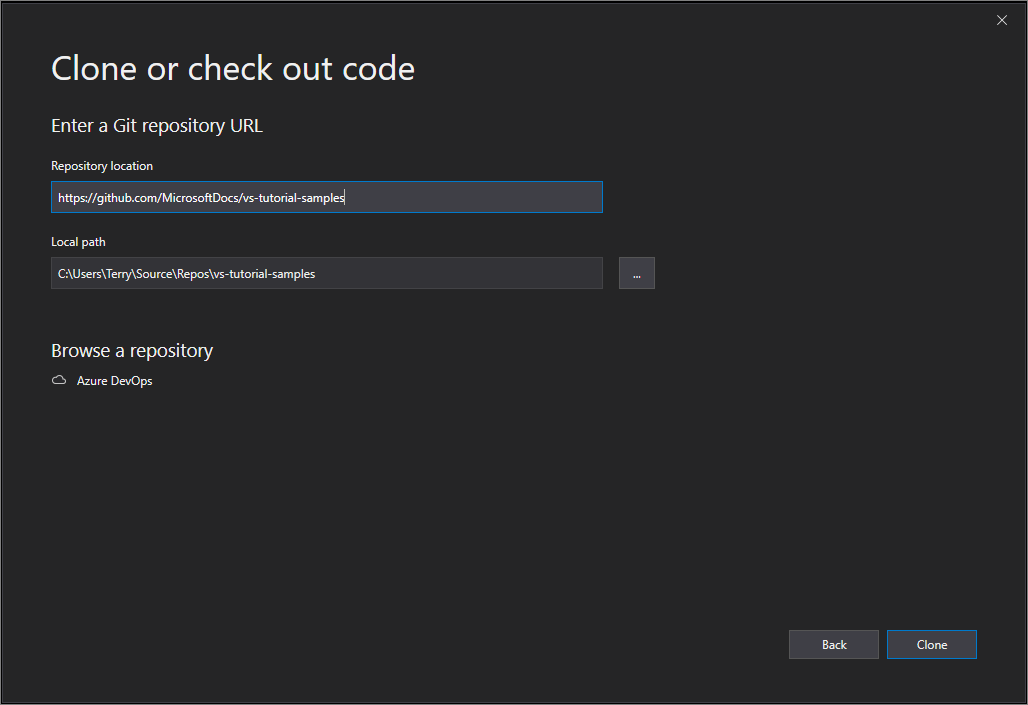
시작 창에서 코드 복제 또는 체크 아웃을 선택합니다.
리포지토리 찾아보기 섹션에서 Azure DevOps를 선택합니다.
로그인 창이 표시되면 계정에 로그인합니다.
프로젝트에 연결 대화 상자에서 연결할 리포지토리를 선택한 후 복제를 선택합니다.
참고 항목
목록 상자에 표시되는 내용은 액세스 권한이 있는 Azure DevOps 리포지토리에 따라 달라집니다.
Visual Studio는 팀 탐색기를 열고 복제가 완료되면 알림을 표시합니다.
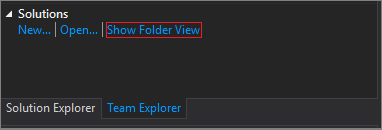
폴더 및 파일을 보려면 폴더 뷰 표시 링크를 선택합니다.
Visual Studio에서 솔루션 탐색기를 엽니다.
솔루션 및 폴더 링크를 선택하여 열려는 솔루션 파일(특히 .sln 파일)을 검색합니다.
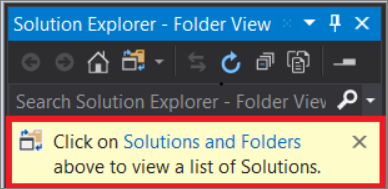
리포지토리에 솔루션 파일이 없는 경우 ‘솔루션을 찾을 수 없음’ 메시지가 나타납니다. 하지만 폴더 메뉴의 어떤 파일이든 두 번 클릭하면 Visual Studio 코드 편집기에서 열 수 있습니다.
관련 콘텐츠
학습을 계속하려면 다음 리소스를 살펴보세요.
피드백
출시 예정: 2024년 내내 콘텐츠에 대한 피드백 메커니즘으로 GitHub 문제를 단계적으로 폐지하고 이를 새로운 피드백 시스템으로 바꿀 예정입니다. 자세한 내용은 다음을 참조하세요. https://aka.ms/ContentUserFeedback
다음에 대한 사용자 의견 제출 및 보기