Notiz
Zougrëff op dës Säit erfuerdert Autorisatioun. Dir kënnt probéieren, Iech unzemellen oder Verzeechnesser ze änneren.
Zougrëff op dës Säit erfuerdert Autorisatioun. Dir kënnt probéieren, Verzeechnesser ze änneren.
Applies to: ✔️ Windows VMs
The Azure PowerShell module is used to create and manage Azure resources from the PowerShell command line or in scripts. This quickstart shows you how to use the Azure PowerShell module to deploy a virtual machine (VM) in Azure that runs Windows Server 2016. You also bring Remote Desktop Portal (RDP) to the VM and install the IIS web server, to show the VM in action.
If you don't have an Azure subscription, create a free account before you begin.
Launch Azure Cloud Shell
The Azure Cloud Shell is a free interactive shell you can use to run the steps in this article. It has common Azure tools preinstalled and configured to use with your account.
To open the Cloud Shell, just select Open Cloudshell from the upper right corner of a code block. You can also launch Cloud Shell in a separate browser tab by going to https://shell.azure.com/powershell. Select Copy to copy the code blocks, paste them into the Cloud Shell, and press enter to run the them.
Create resource group
Create an Azure resource group with New-AzResourceGroup. A resource group is a logical container into which Azure resources are deployed and managed.
New-AzResourceGroup -Name 'myResourceGroup' -Location 'centralus'
Create virtual machine
Create a VM with New-AzVM. Provide names for each of the resources and the New-AzVM cmdlet creates if they don't already exist.
When prompted, provide a username and password to be used as the sign-in credentials for the VM:
New-AzVm `
    -ResourceGroupName 'myResourceGroup' `
    -Name 'myVM' `
    -Location 'centralus' `
    -Image 'MicrosoftWindowsServer:WindowsServer:2022-datacenter-azure-edition:latest' `
    -VirtualNetworkName 'myVnet' `
    -SubnetName 'mySubnet' `
    -SecurityGroupName 'myNetworkSecurityGroup' `
    -PublicIpAddressName 'myPublicIpAddress' `
    -OpenPorts 80,3389
Cost information isn't presented during the virtual machine creation process for PowerShell like it is for the Azure portal. If you want to learn more about how cost works for virtual machines, see the Cost optimization Overview page.
Install web server
To see your VM in action, install the IIS web server. Open a PowerShell prompt on the VM and run the following command:
Invoke-AzVMRunCommand -ResourceGroupName 'myResourceGroup' -VMName 'myVM' -CommandId 'RunPowerShellScript' -ScriptString 'Install-WindowsFeature -Name Web-Server -IncludeManagementTools'
The -ScriptString parameter requires version 4.27.0 or later of the Az.Compute module.
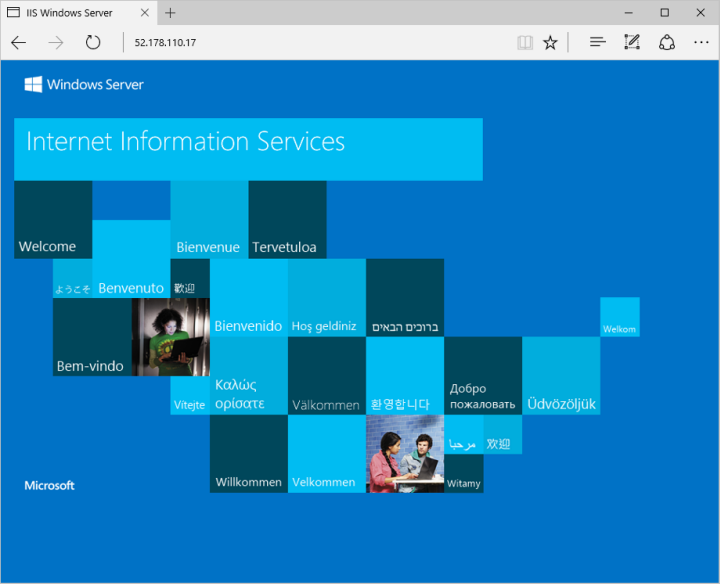
View the web server in action
With IIS installed and port 80 now open on your VM from the Internet, use a web browser of your choice to view the default IIS welcome page. Use the public IP address of the VM that you created. The following example shows the default IIS web site:
Clean up resources
When no longer needed, you can use the Remove-AzResourceGroup cmdlet to remove the resource group, VM, and all related resources:
Remove-AzResourceGroup -Name 'myResourceGroup'
Next steps
In this quickstart, you deployed a simple virtual machine, opened a network port for web traffic, and installed a basic web server. To learn more about Azure virtual machines, continue to the tutorial for Windows VMs.