Exercise - Update the flow
In this exercise, you add two actions to the False branch.
Note
To complete the exercises, you'll need to use a few files. Download the App in a Day files for use in this module. The file folders that are in this download include:
- Completed modules with instructions - Package files to import the completed exercise steps.
- Machine-Order-Data.xlsx - File used in the exercises.
Section 1: Add actions
To add actions, follow these steps:
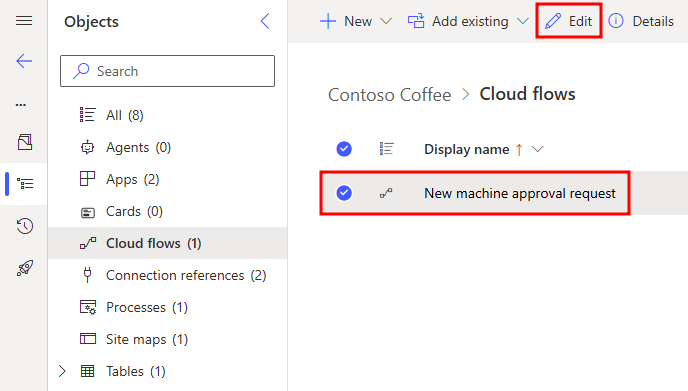
If you don't already have the flow open, from Power Automate, select your Contoso Coffee solution, select your flow, and select Edit from the upper ribbon to open it in Edit mode.
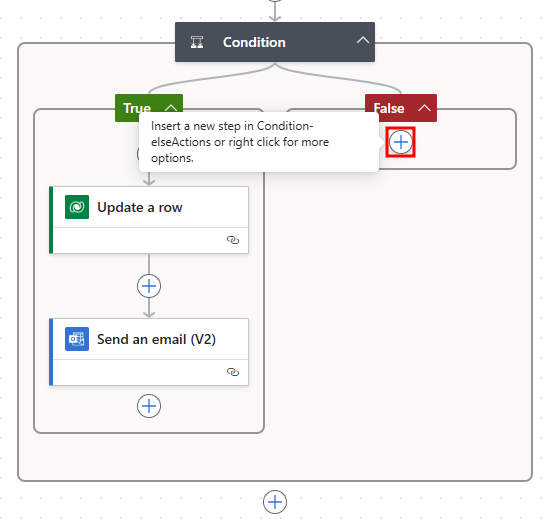
In the False branch of your Condition, select the + icon to open the Add an action pane.
Search for
Update a rowand select Update a row (Dataverse).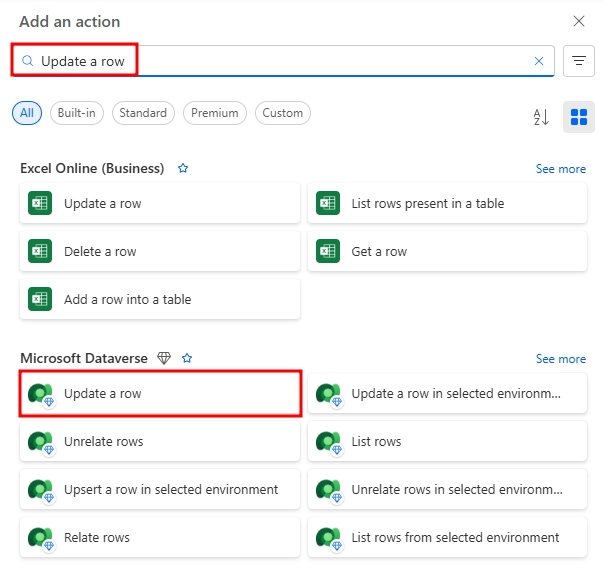
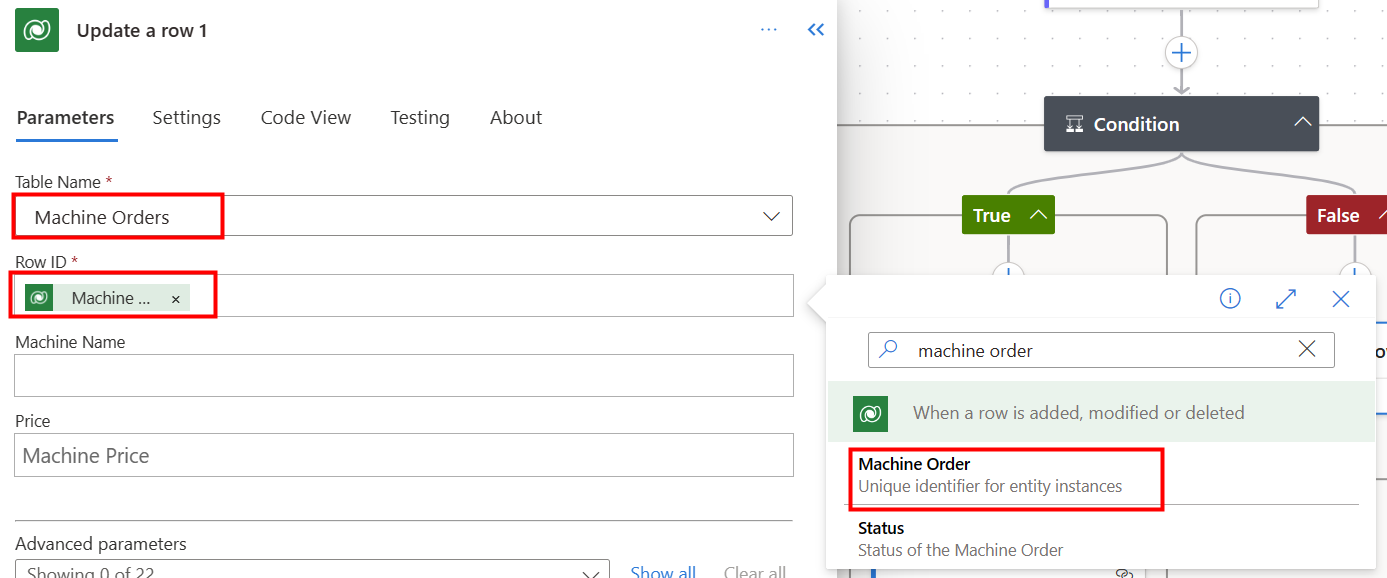
Select Machine Orders from the Table name dropdown menu, and select Machine Order for Row ID.
Select Show all next to Advanced Parameters.
Select Reject for the Approval Status.

In the False branch of your Condition, select the + icon to open the Add an action pane.
Search for
send emailand then select Send an email (V2) - Office 365 Outlook.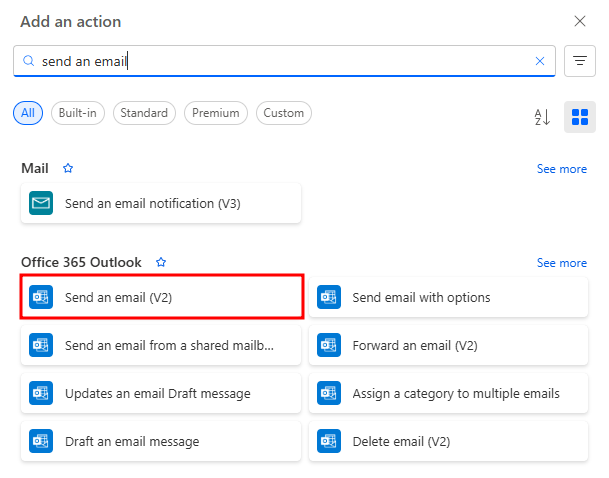
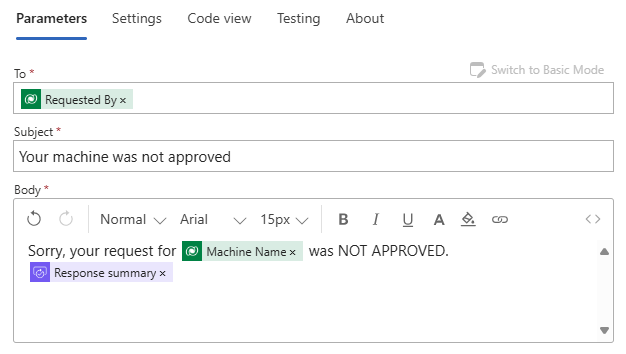
Switch to Advanced mode above the To field, and then select the To field and choose Requested By from the Dynamic content pane, under the When a row is added, modified or deleted section.
Enter
Your machine was not approvedin the Subject field.Type
Sorry, your request forin the body, and then select Machine Name from the Dynamic content pane, below the When row is added, modified or deleted section.Type
was NOT APPROVED.after the machine name.Hit Return to move to the next line of the body. Select Response summary from the Dynamic content pane, under the Start and wait for an approval section.
The email should now resemble the following image.
Save the flow.


Section 2: Test the updated flow
To test the updated flow, follow these steps:
Run the Machine Ordering canvas app.
Select a machine, hit compare, and submit the machine request.
You should receive an email with options to Approve or Reject the request. Select Reject this time and then enter some comments, such as
Machine no longer available. When you're finished, select Submit.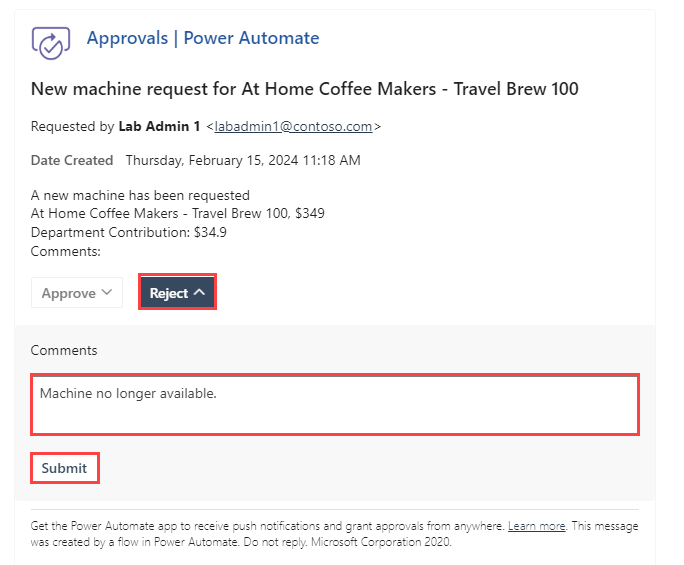
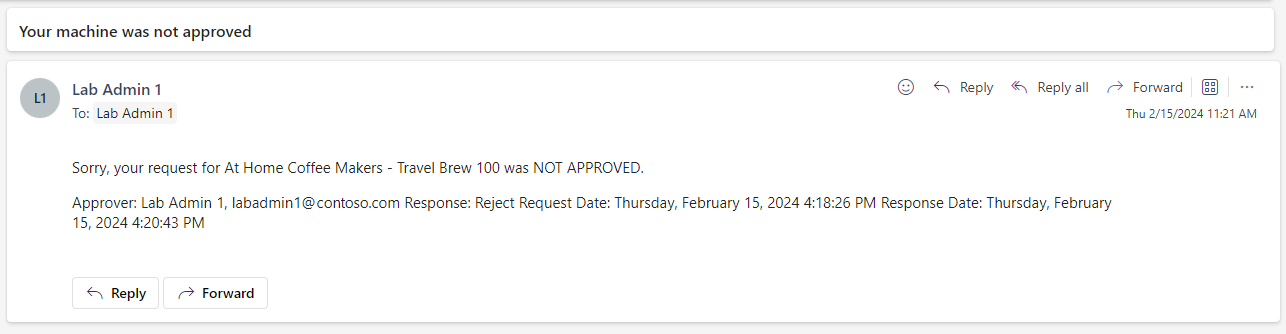
Confirm that the requestor receives an email informing them that their machine approval request was rejected.
Go to Make Power Apps, select Apps, and choose the Machine Procurement application, and select Play from the tool bar.

Active Machine Orders should now show the Approval Status column.


Section 3: Go to the approval center
To access the approval center, follow these steps:
Use the Machine Ordering app to submit a few more approval requests.
Go to Power Automate, make sure that you're in the correct environment, and then sign in with your lab credentials if prompted.
In the left-hand pane, select Approvals.

All pending approval requests should be visible in the Received section.
Approve or reject a request from this screen. The details are displayed in the right pane, where you can Add a comment and Confirm.
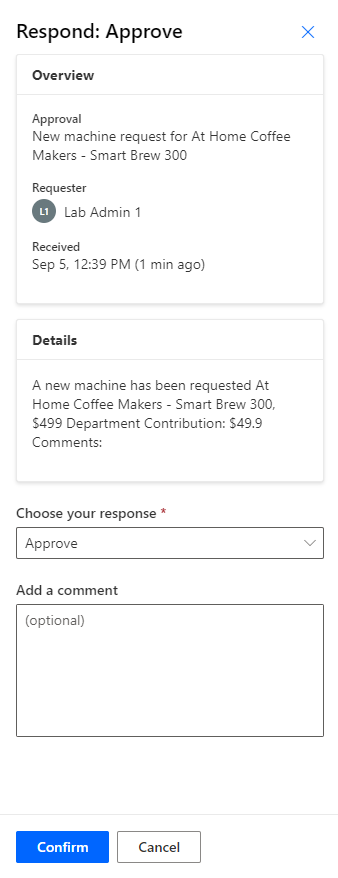
The request is no longer visible because it already processed.
Note
All approval requests that are sent to the current signed-in user will be visible in the approval center, including approvals that are sent from any app or flow.
You can also use the approval center to view all requests that you sent and are awaiting response from the approver. Select the Sent tab in the upper part of the screen to view all requests that you sent.
Open the Power Automate mobile app on your mobile device.
Sign in and switch to the environment where the flow is deployed.
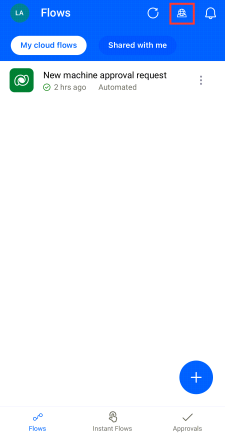
Select Approvals in the bottom right and view all pending approvals.
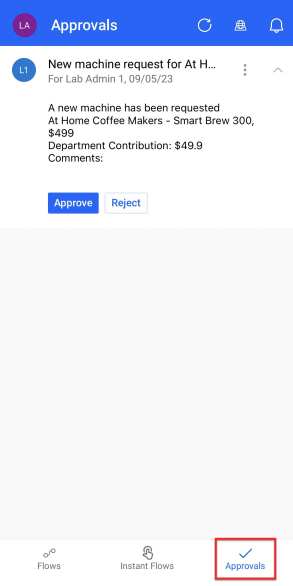
You can quickly approve or reject these pending requests from this screen.
If you have push notifications turned on and you're signed in to the flow mobile app, when you receive a new approval request, it triggers a push notification on your phone. Try out this functionality.


Congratulations, you successfully completed this lab. You created your Power Apps application and flow, and you connected them to a Microsoft Dataverse table. Now, you're ready to build your own apps and workflows.