Create backup policies
To use Microsoft 365 Backup for SharePoint, Exchange, or OneDrive, you need to create a backup policy for each product. A policy represents the backup plan defined by admins for protecting the Microsoft 365 data of an organization.
A policy contains details of what data (SharePoint sites, Exchange mailboxes, and OneDrive accounts) to protect. Although you see the retention period and backup frequency (which defines the restore point objective), those settings aren't currently variable or modifiable.
You can create more than one backup policy for each product (SharePoint, Exchange, and OneDrive) with a limit of 100 policies per product. This allows you to segregate your data by logical partitions such as department, geography, and so on for ease of management and administration. Note that any SharePoint site, Exchange mailbox, or OneDrive account can be part of one backup policy only.
Note
You can also use PowerShell cmdlets to perform these operations by following these steps:
- Go to the Microsoft 365 Backup Storage Graph APIs documentation for the specific action you want to perform—for example, creating a SharePoint policy.
- Scroll to the Example request section and select the PowerShell tab.
- Install the Microsoft.Graph.BackupRestore module as shown in the example.
- Run the provided PowerShell command in an Admin PowerShell session to execute the desired action.
Select the SharePoint, Exchange, or OneDrive tab for steps to create a backup policy for that product.
Follow these steps to set up a backup policy for SharePoint sites using Microsoft 365 Backup.
Go to the Microsoft 365 admin center.
Select Settings.
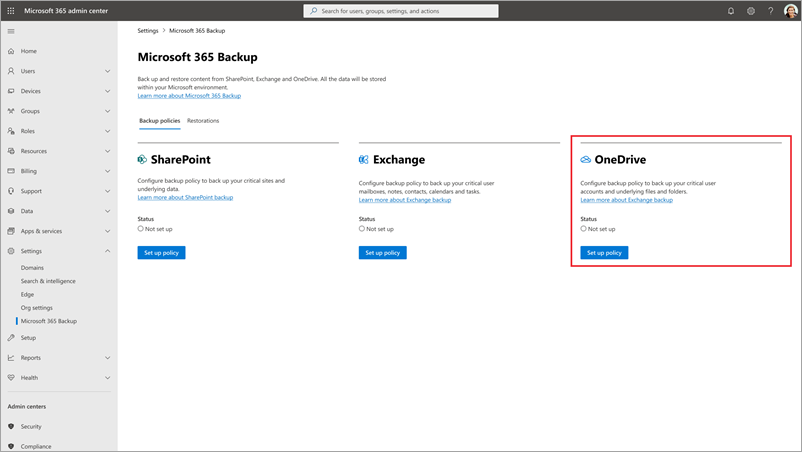
Select Microsoft 365 Backup from the list of products.
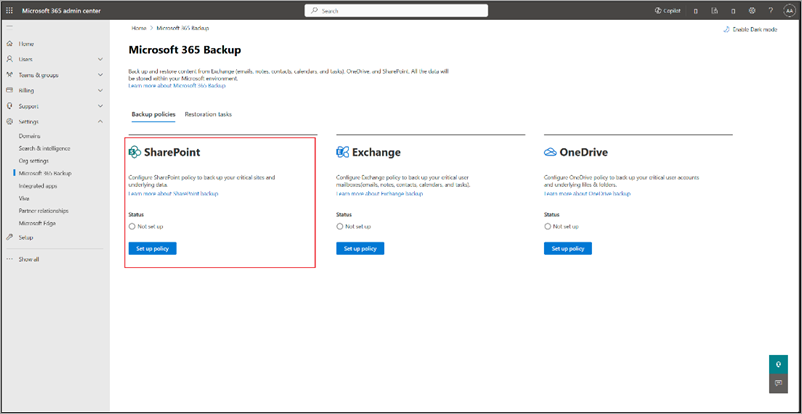
On the Microsoft 365 Backup page, in the SharePoint section, select Set up policy.
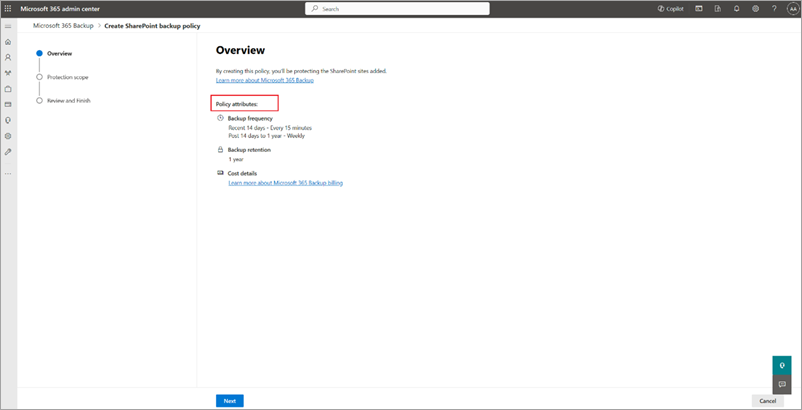
On the Overview page, review the backup features for SharePoint, and then select Next.
On the Choose selection method page, you can set up SharePoint sites using any or all three ways. A protection scope is the scope of user accounts within OneDrive that you want to protect with Microsoft 365 Backup.
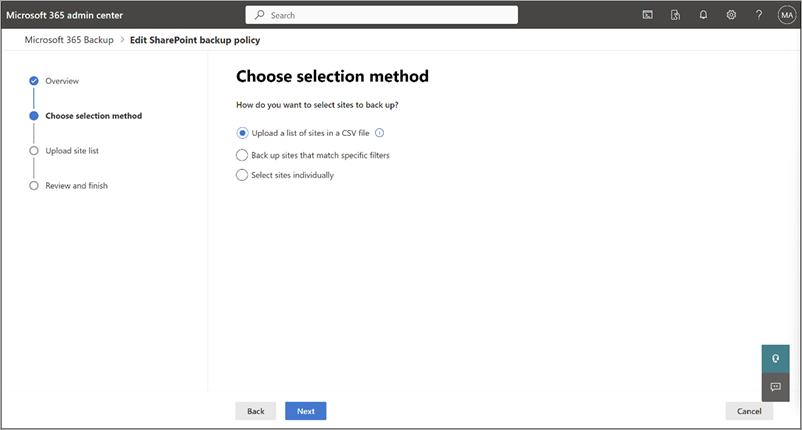
a. Under Upload a list of sites in a CSV file, you can upload a list of accounts to back up via a CSV file.
The CSV upload feature for bulk addition of sites or user accounts in the backup policy creation workflow can accommodate a maximum of 50,000 entries per CSV file.
b. Under Back up sites that match specific filters, you can select Site name or URL contains or Site last modified, or both.
The rule-based feature for bulk addition of sites in the backup policy creation workflow allows you to add up to 10 site names or URLs at a time. Each keyword can have a minimum of three characters and maximum of 255 characters.
Note
The site last modified feature is in preview.
c. Under Select sites individually, you can search and select sites you want to add to a backup policy.
Select Next to move to the Backup Settings page, where you can provide a name for your policy.
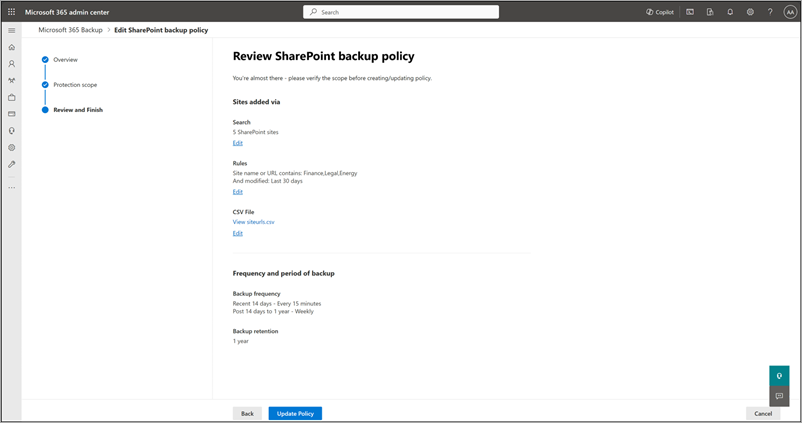
On the Review SharePoint backup policy page, review the information to make sure it's how you want it, and then select Create policy (or Update policy if it's an update).
The backup policy for SharePoint is created.
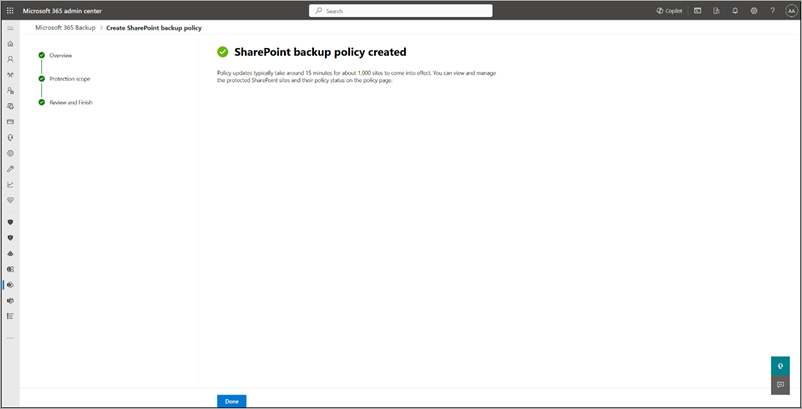
Once the sites are added to a backup policy, it might take up to 15 minutes per 1,000 sites for restore points to become available for restore.
Follow these steps to set up a backup policy for Exchange mailboxes sites using Microsoft 365 Backup.
Go to the Microsoft 365 admin center.
Select Settings.
Select Microsoft 365 Backup from the list of products.
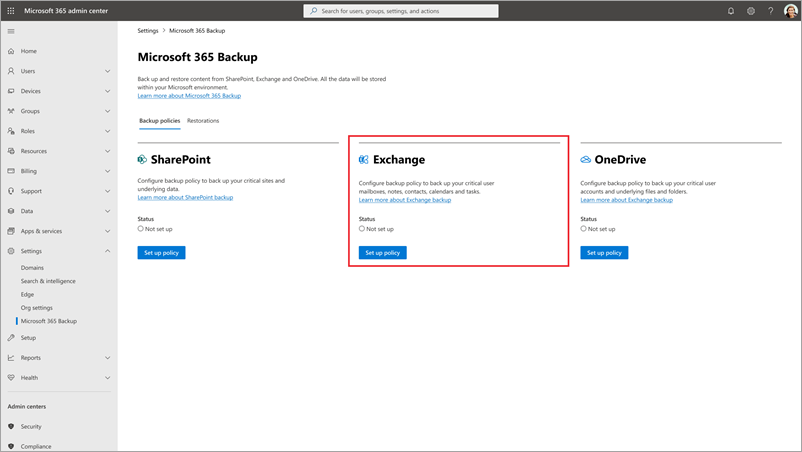
On the Microsoft 365 Backup page, in the Exchange section, select Set up policy.
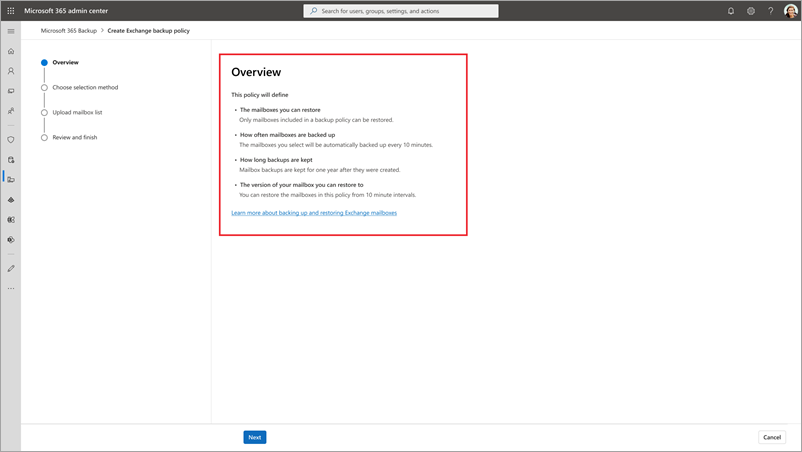
On the Overview page, review the backup policy attributes for Exchange, and then select Next.
On the Choose selection method page, you can select shared or user mailboxes using any of the four available methods. Other Exchange recipient types, such as room mailboxes, aren't supported at this time. A protection scope is the scope of mailboxes within Exchange that you want to protect with Microsoft 365 Backup.
Note
Adding a mailbox to the backup policy backs up the primary and archive mailboxes.
Adding a mailbox might temporarily fail if the mailbox setup isn't yet complete. For example, if you recently created the user, licensed the user, or migrated the mailbox from on premises, you might see a transient failure while the mailbox is still being set up.
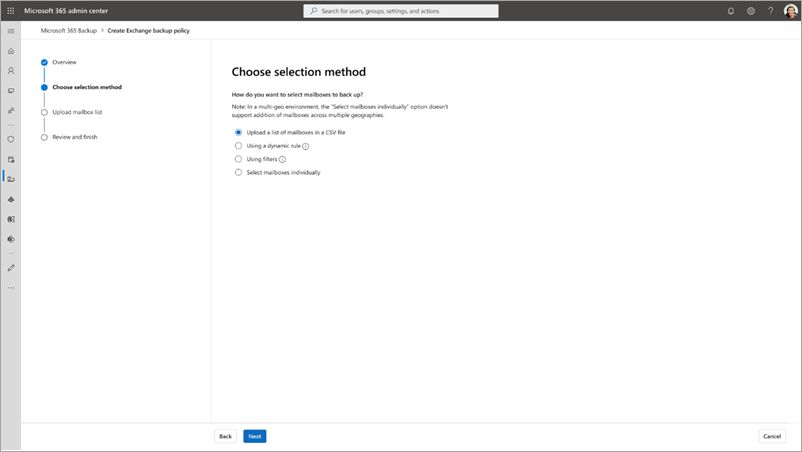
a. Under Upload a list of mailboxes in a CSV file, you can upload a list of accounts to back up via a CSV file.
The CSV upload feature for bulk addition of mailboxes in the backup policy creation workflow can accommodate a maximum of 50,000 entries per CSV file.
b. Under Using a dynamic rule, you can select Distribution lists or Security groups, or both. With dynamic rules, any changes to membership in the selected distribution lists and security groups are automatically reevaluated daily, ensuring the backup policy reflects those membership changes regularly.
For example, if a user is added to a distribution list included in the dynamic rule, that user is included in the backup policy within a day. After that, Microsoft 365 Backup will create restore points for that user. If a user that was previously in the included distribution list is removed from that list, then they're removed from the backup policy within 24 hours. The user's existing backups remain restorable until they expire based on their retention period. However, new backups aren't taken until the user is re-added to the included distribution list or manually re-added through a static addition.
Note
The dynamic rule feature is in preview.
c. Under Using filters, you can select Distribution lists or Security groups, or both. The distribution list and security group are flattened when added, meaning the policy doesn't update dynamically if the groups or distribution list are updated later.
Note
Members of security groups that are shared mailboxes are currently not added. You'll need to add shared mailboxes manually.
The rule-based feature for bulk addition of mailboxes via security groups or distribution lists can accommodate a maximum of three groups at a time. These rules are static and applied one time only. That is, the security groups or distribution lists are flattened at the time of adding to the backup configuration policy. For example, groups or lists don't dynamically update in the system if users are added or removed from the original security group.
Note
The site last modified feature is in preview.
d. Under Select mailboxes individually, you can search and select mailboxes you want to add to a backup policy.
Note
Hybrid deployments, where a user's primary mailbox resides on premises while their archive is migrated to Exchange Online, aren't supported.
Select Next to move to the Backup Settings page, where you can provide a name for your policy.
On the Review Exchange backup policy page, review the information to make sure it's how you want it, and then select Create policy (or Update policy if it's an update).
The backup policy for Exchange is created.

Once the mailboxes are added to a backup policy, it might take up to 15 minutes per 1,000 mailboxes for restore points to become available for restore.
Follow these steps to set up a backup policy for OneDrive accounts using Microsoft 365 Backup.
Go to the Microsoft 365 admin center.
Select Settings.
Select Microsoft 365 Backup from the list of products.
On the Microsoft 365 Backup page, in the OneDrive section, select Set up policy.
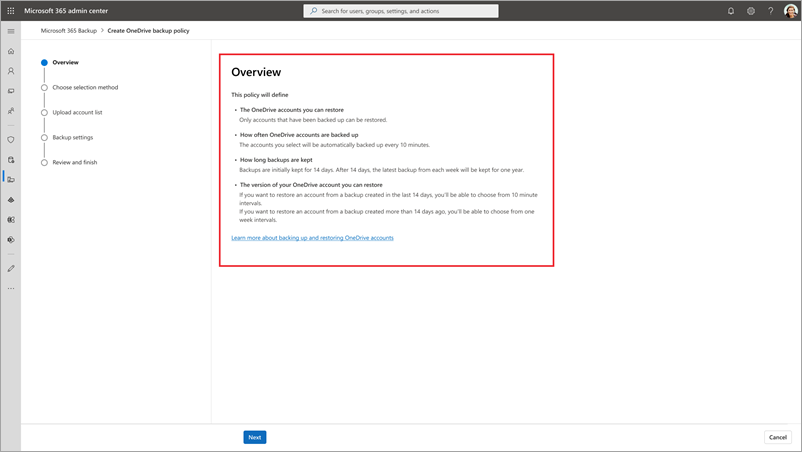
On the Overview page, review the backup policy attributes for OneDrive, and then select Next.
On the Choose selection method page, you can select OneDrive user accounts using any of the four available methods. A protection scope is the scope of user accounts within OneDrive that you want to protect with Microsoft 365 Backup.
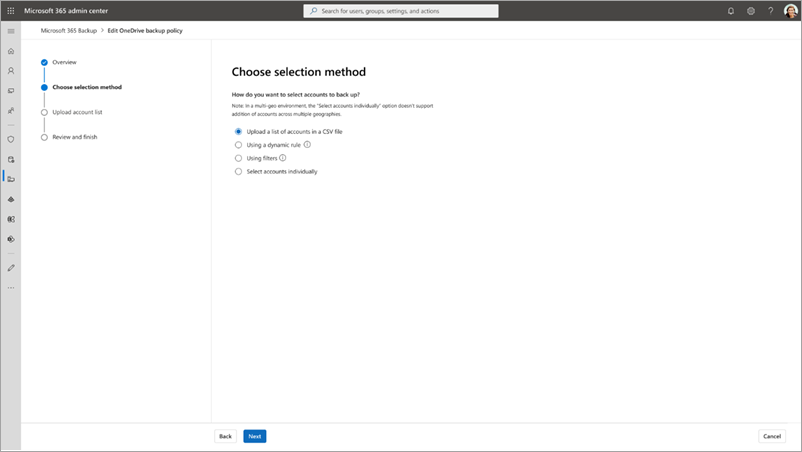
a. Under Upload a list of accounts in a CSV file, you can upload a list of accounts to back up via a CSV file.
The CSV upload feature for bulk addition of sites or user accounts in the backup policy creation workflow can accommodate a maximum of 50,000 entries per CSV file.
b. Under Using a dynamic rule, you can select Distribution lists or Security groups, or both. With dynamic rules, any changes to membership in the selected distribution lists and security groups are automatically reevaluated daily, ensuring the backup policy reflects those membership changes regularly.
For example, if a user is added to a distribution list included in the dynamic rule, that user is included in the backup policy within a day. After that, Microsoft 365 Backup will create restore points for that user. If a user that was previously in the included distribution list is removed from that list, then they're removed from the backup policy within 24 hours. The user's existing backups remain restorable until they expire based on their retention period. However, new backups aren't taken until the user is re-added to the included distribution list or manually re-added through a static addition.
Note
The dynamic rule feature is in preview.
c. Under Using filters, you can select Distribution lists or Security groups, or both. The distribution list and security group are flattened when added, meaning the policy doesn't update dynamically if the groups or distribution list members are updated later.
The rule-based feature for bulk addition of user accounts via security groups or distribution lists can accommodate a maximum of three groups at a time. These rules are static and applied one time only. That is, the security groups or distribution lists are flattened at the time of adding to the backup configuration policy. For example, groups or lists aren't dynamically updated in the system if users are added or removed from the original security group.
d. Under Select accounts individually, you can search and select accounts you want to add to a backup policy.
Select Next to move to the Backup Settings page, where you can provide a name for your policy.
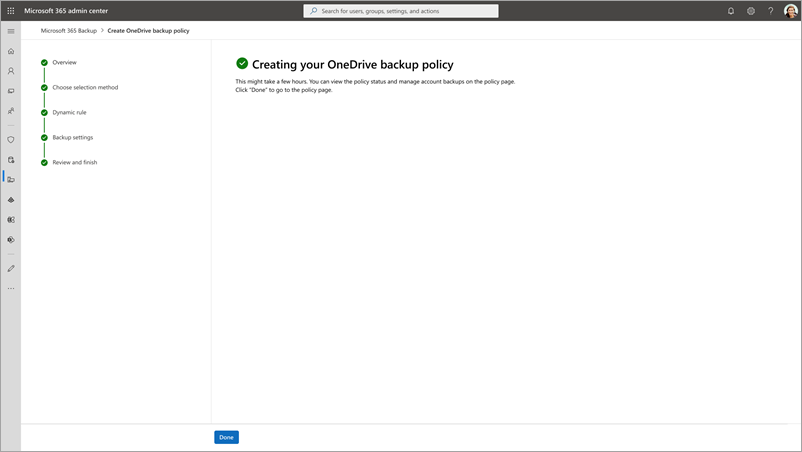
On the Review OneDrive backup policy page, review the information to make sure it's how you want it, and then select Create policy (or Update policy if it's an update).
The backup policy for OneDrive is created.
Once the sites are added to a backup policy, it might take 15 to 25 minutes per 1,000 sites for restore points to become available for restore.
View and edit backup policies
You can edit the scope of OneDrive accounts, SharePoint sites, and Exchange mailboxes associated with a backup policy. As part of edit, you can either add new accounts, sites, or mailboxes to or remove them from backup. Removing accounts, sites, and mailboxes from Microsoft 365 Backup doesn't mean existing backups aren't deleted, rather it means additional backups aren't taken.
Select the SharePoint, Exchange, or OneDrive tab for steps to view and edit backup policies for that product.
Follow these steps to view and edit backup policies in SharePoint.
In the Microsoft 365 admin center, on the Microsoft 365 Backup page, select the Backup policies tab to view the list of all backup policies created in your organization. You can filter the list of policies by SharePoint Service to view the list of all SharePoint backup policies created in your organization. To edit any specific policy, select that policy and then select View details.
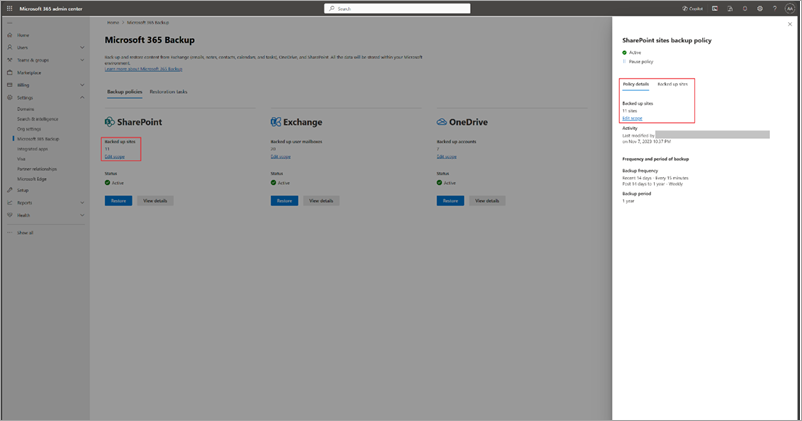
On the policy specific panel, on the Policy details tab, in the Scope area, select Edit.
You can either add new sites to or remove sites from an existing SharePoint backup policy.
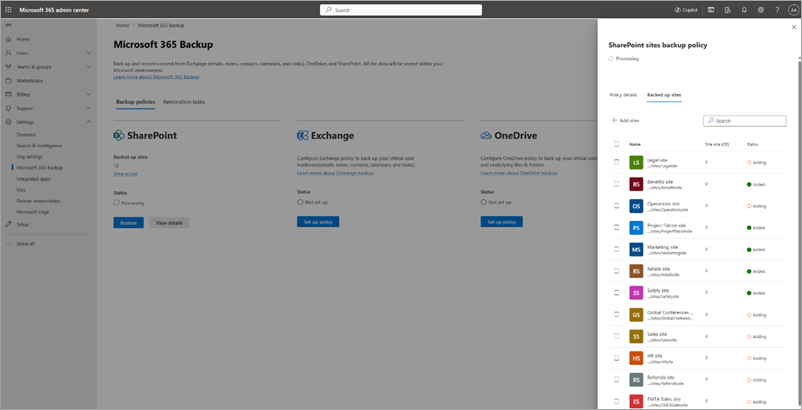
a. To add new sites, on the Included sites tab, select + Add sites.
b. Select sites by any method as discussed in the creation section. Once you add sites to the list, follow the prompts to update the policy.
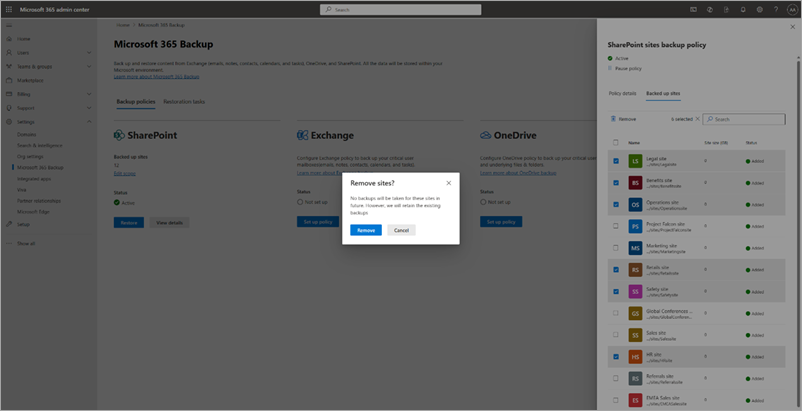
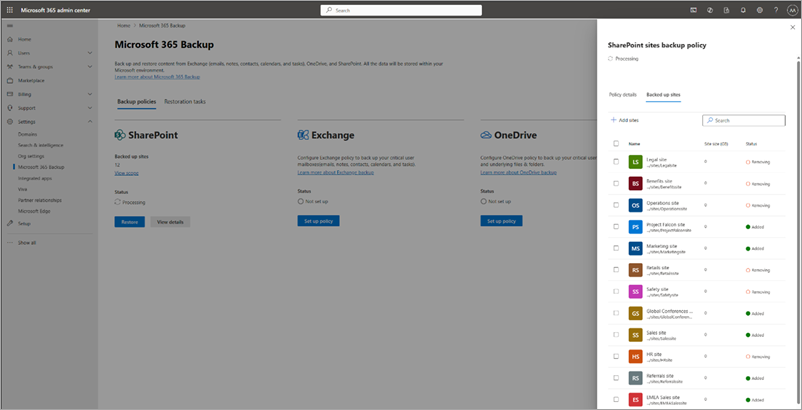
c. To remove sites from existing SharePoint backup policy, on the Included sites tab, select the relevant sites, and then select Remove. Once you're done with your changes, follow the prompts to remove the sites. The removed sites are moved to the Removed Items tab under the Backup policies tab.
Once you make your changes, follow the prompts to update the policy.
Note
Removing sites from backup policy means no future backups are taken for those removed sites. Existing backups for the removed sites aren't deleted and will be charged.
Follow these steps to view and edit backup policies for Exchange.
- In the Microsoft 365 admin center, on the Microsoft 365 Backup page, select the Backup policies tab to view the list of all backup policies created in your organization. You can filter the list of policies by Exchange Service to view the list of all Exchange Online backup policies created in your organization. To edit any specific policy, select that policy and then select View details.
You can either add new mailboxes to or remove mailboxes from the existing Exchange backup policy.
a. To add new shared or user mailboxes, use the following method:
On the policy specific panel, on the Policy details tab, in the Scope area, select Edit.
To add new mailboxes, on the Included sites tab, select + Add mailboxes.
Select the mailboxes by using any of the four available methods as discussed in the creation section. Once you add mailboxes to the list, follow the prompts to update the policy.

b. To remove user mailboxes from existing backup policy, on the Included mailboxes tab, select the user mailboxes from the list, and select Remove.
Mailboxes added to a backup policy through a dynamic rule can't be individually removed. To exclude these mailboxes from the backup policy, you must modify the rule conditions. For example, if User A is part of Distribution List P, removing User A from the list excludes them from the policy. Alternatively, removing the entire distribution list from the rule removes all mailboxes that were added through that list from the backup policy.

The removed mailboxes are moved to the Removed Items tab under the Backup policies tab.
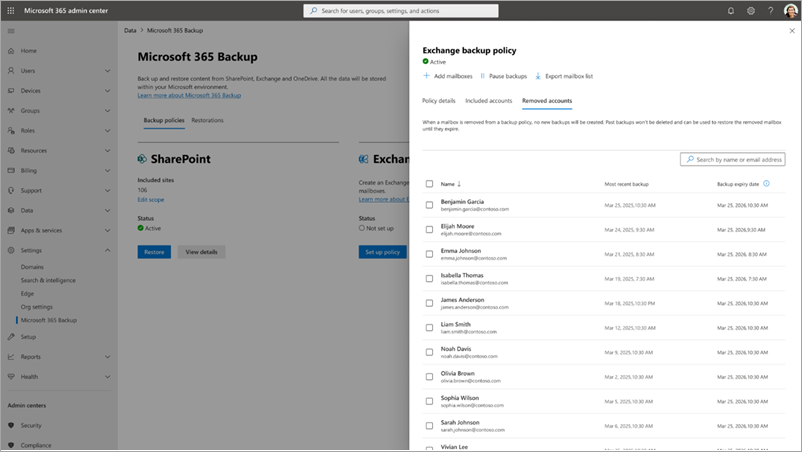
Note
Removing mailboxes from backup policy means no future backups are taken for those removed mailboxes. Existing backups for those mailboxes aren't deleted and will be charged.
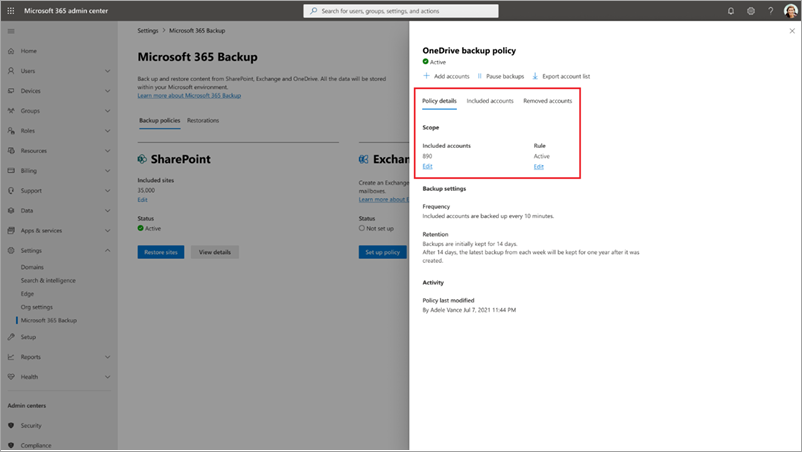
Follow these steps to view and edit backup policies for OneDrive.
- In the Microsoft 365 admin center, on the Microsoft 365 Backup page, select the Backup policies tab to view the list of all backup policies created in your organization. You can filter the list of policies by OneDrive Service to view the list of all OneDrive backup policies created in your organization. To edit any specific policy, select that policy and then select View details.
You can either add new accounts to or remove accounts from an existing OneDrive backup policy.
a. To add new accounts, use the following method:
On the policy specific panel, on the Policy details tab, in the Scope area, select Edit.
To add new accounts, on the Included accounts tab, select + Add accounts.
Select the accounts by using any of the four available methods as discussed in the creation section. Once you add accounts to the list, follow the prompts to update the policy.
b. To remove accounts from existing backup policy, on the Included accounts tab, select the accounts from the list, and then select Remove. Once you make your changes, follow the prompts to remove the accounts.
Accounts added to a backup policy through a dynamic rule can't be individually removed. To exclude these accounts from the backup policy, you must modify the rule conditions. For example, if User A is part of Distribution List P, removing User A from the list excludes them from the policy. Alternatively, removing the entire distribution list from the rule removes all accounts that were added through that list from the backup policy.
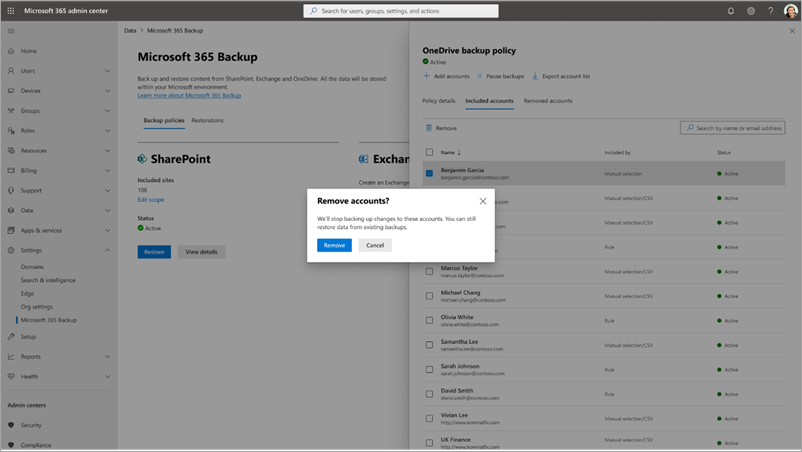
The removed accounts are moved to the Removed Items tab under the Backup policies tab.
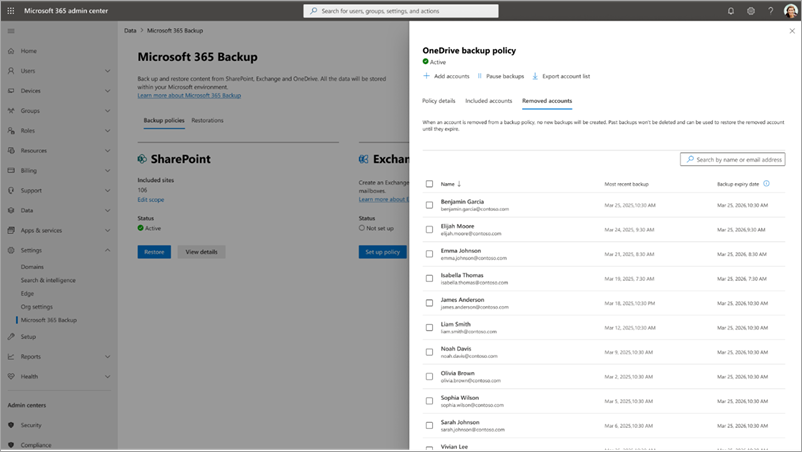
Note
Removing accounts from backup policy means no future backups are taken for those removed accounts. Existing backups for those accounts aren't deleted and will be charged.
Rename a policy
To rename an existing policy, on the Backup policies tab, select the specific policy from the list of policies.
Select Rename. This opens up a new panel where you can specify the new policy name.
Note that policy name can have a maximum of 20 characters only and policy names must be unique.
Select Rename and the new policy name takes effect instantly.
Dynamic rules
Dynamic rules in Microsoft 365 Archive allow administrators to define backup policies based on distribution lists and security group memberships—eliminating the need for manual updates when group memberships change.
Note
The dynamic rule feature is in preview.
Delete a dynamic rule
When deleting a dynamic rule, you have two options that determine how existing accounts are treated in the backup policy.
Delete rule but continue backups
The dynamic rule is converted into a static list. Backup continues for all user accounts that were included through the rule at the time of deletion. However, future changes to the original distribution lists or security groups—such as users being added or removed—are no longer reflected in the backup policy. For example, if a user is added to a previously included group after the rule is deleted, they aren't automatically added to the backup policy.
Delete rule and stop new backups
The dynamic rule is removed, and no new backups are taken for accounts previously included through the rule. Existing backups for these users remain restorable until they expire based on the configured retention period. You can re-enable backup for these users by manually adding them or by creating a new dynamic rule that includes them.
States of backup
| States |
Definition |
| Active |
Protection scope selected under backup policy is being actively backed up. |
| Paused |
No further backups are taken but already taken backups are preserved. |
| Not set up |
No backup policy is set up for this scope. |
| Processing |
A change to backup policy or a restore is in progress. |
Multi-geo environments
Microsoft 365 Backup supports the backup of sites and user accounts from both the central and satellite locations if the multi-geo feature is enabled on your tenant. This means that you can add the sites or user accounts from all geos while creating the backup configuration policy via the CSV file upload method. Adding sites via the site picker, search, or filter rules don't currently support multi-geo. The user interface experiences today only support addition of sites in the tenant's central location.
Most importantly, data in the backups honor the multi-geo residency requirements and keep data in the geo you define for it to live.