Nota
L-aċċess għal din il-paġna jeħtieġ l-awtorizzazzjoni. Tista’ tipprova tidħol jew tibdel id-direttorji.
L-aċċess għal din il-paġna jeħtieġ l-awtorizzazzjoni. Tista’ tipprova tibdel id-direttorji.
You can use Azure Cloud Shell to deploy a Bicep file. Currently you can only deploy a local Bicep file from the Cloud Shell.
You can deploy to any scope. This article shows deploying to a resource group.
In this article, you'll learn how to:
- Upload a Bicep file to Cloud Shell
- Deploy the file using Azure CLI or PowerShell
- Verify your deployment was successful
Deploy local Bicep file
To deploy a local Bicep file, you must first upload your Bicep file to your Cloud Shell session.
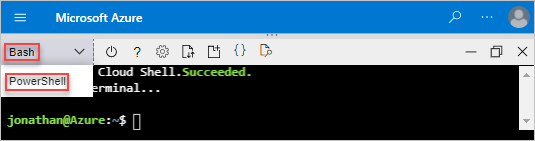
Sign in to the Cloud Shell.
Select either PowerShell or Bash.
Select Upload/Download files, and then select Upload.
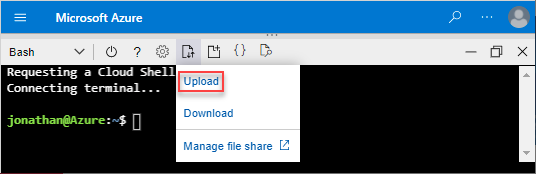
Select the Bicep file you want to upload, and then select Open.
To deploy the Bicep file, use the following commands. These commands create a resource group and deploy your Bicep template to it:
az group create --name ExampleGroup --location "South Central US"
az deployment group create \
  --resource-group ExampleGroup \
  --template-file azuredeploy.bicep \
  --parameters storageAccountType=Standard_GRS
Next steps
Now that you've learned to deploy Bicep files from Cloud Shell, explore these related topics:
- Learn advanced deployment techniques: Deploy resources with Bicep and Azure CLI and Deploy resources with Bicep and Azure PowerShell
- Preview changes before deployment: Bicep deployment what-if operation
- Troubleshoot deployment issues: Review common deployment errors and solutions