Nota
L-aċċess għal din il-paġna jeħtieġ l-awtorizzazzjoni. Tista’ tipprova tidħol jew tibdel id-direttorji.
L-aċċess għal din il-paġna jeħtieġ l-awtorizzazzjoni. Tista’ tipprova tibdel id-direttorji.
Note
The Retail Interest Group by Dynamics 365 Commerce has moved from Yammer to Viva Engage. If you don't have access to the new Viva Engage community, fill out this form (https://aka.ms/JoinD365commerceVivaEngageCommunity) to be added and stay engaged in the latest discussions.
This article describes buy box modules and explains how to add them to site pages in Microsoft Dynamics 365 Commerce.
The term buy box typically refers to the area of a product details page (PDP) that is "above the fold." It hosts all the most important information that a customer needs to make a product purchase. An area that's "above the fold" is visible when the page is first loaded, so users don't have to scroll down to see it.
A buy box module is a special container that hosts all the modules shown in the buy box area of a product details page.
The URL of a product details page includes the product ID. The product ID provides all the information needed to render a buy box module. If you don't provide a product ID, the buy box module doesn't render correctly on a page. Therefore, you can use a buy box module only on pages that have product context. To use it on a page that doesn't have product context (for example, a home page or a marketing page), you must do additional customizations.
The following image shows an example of a buy box module on a product details page.
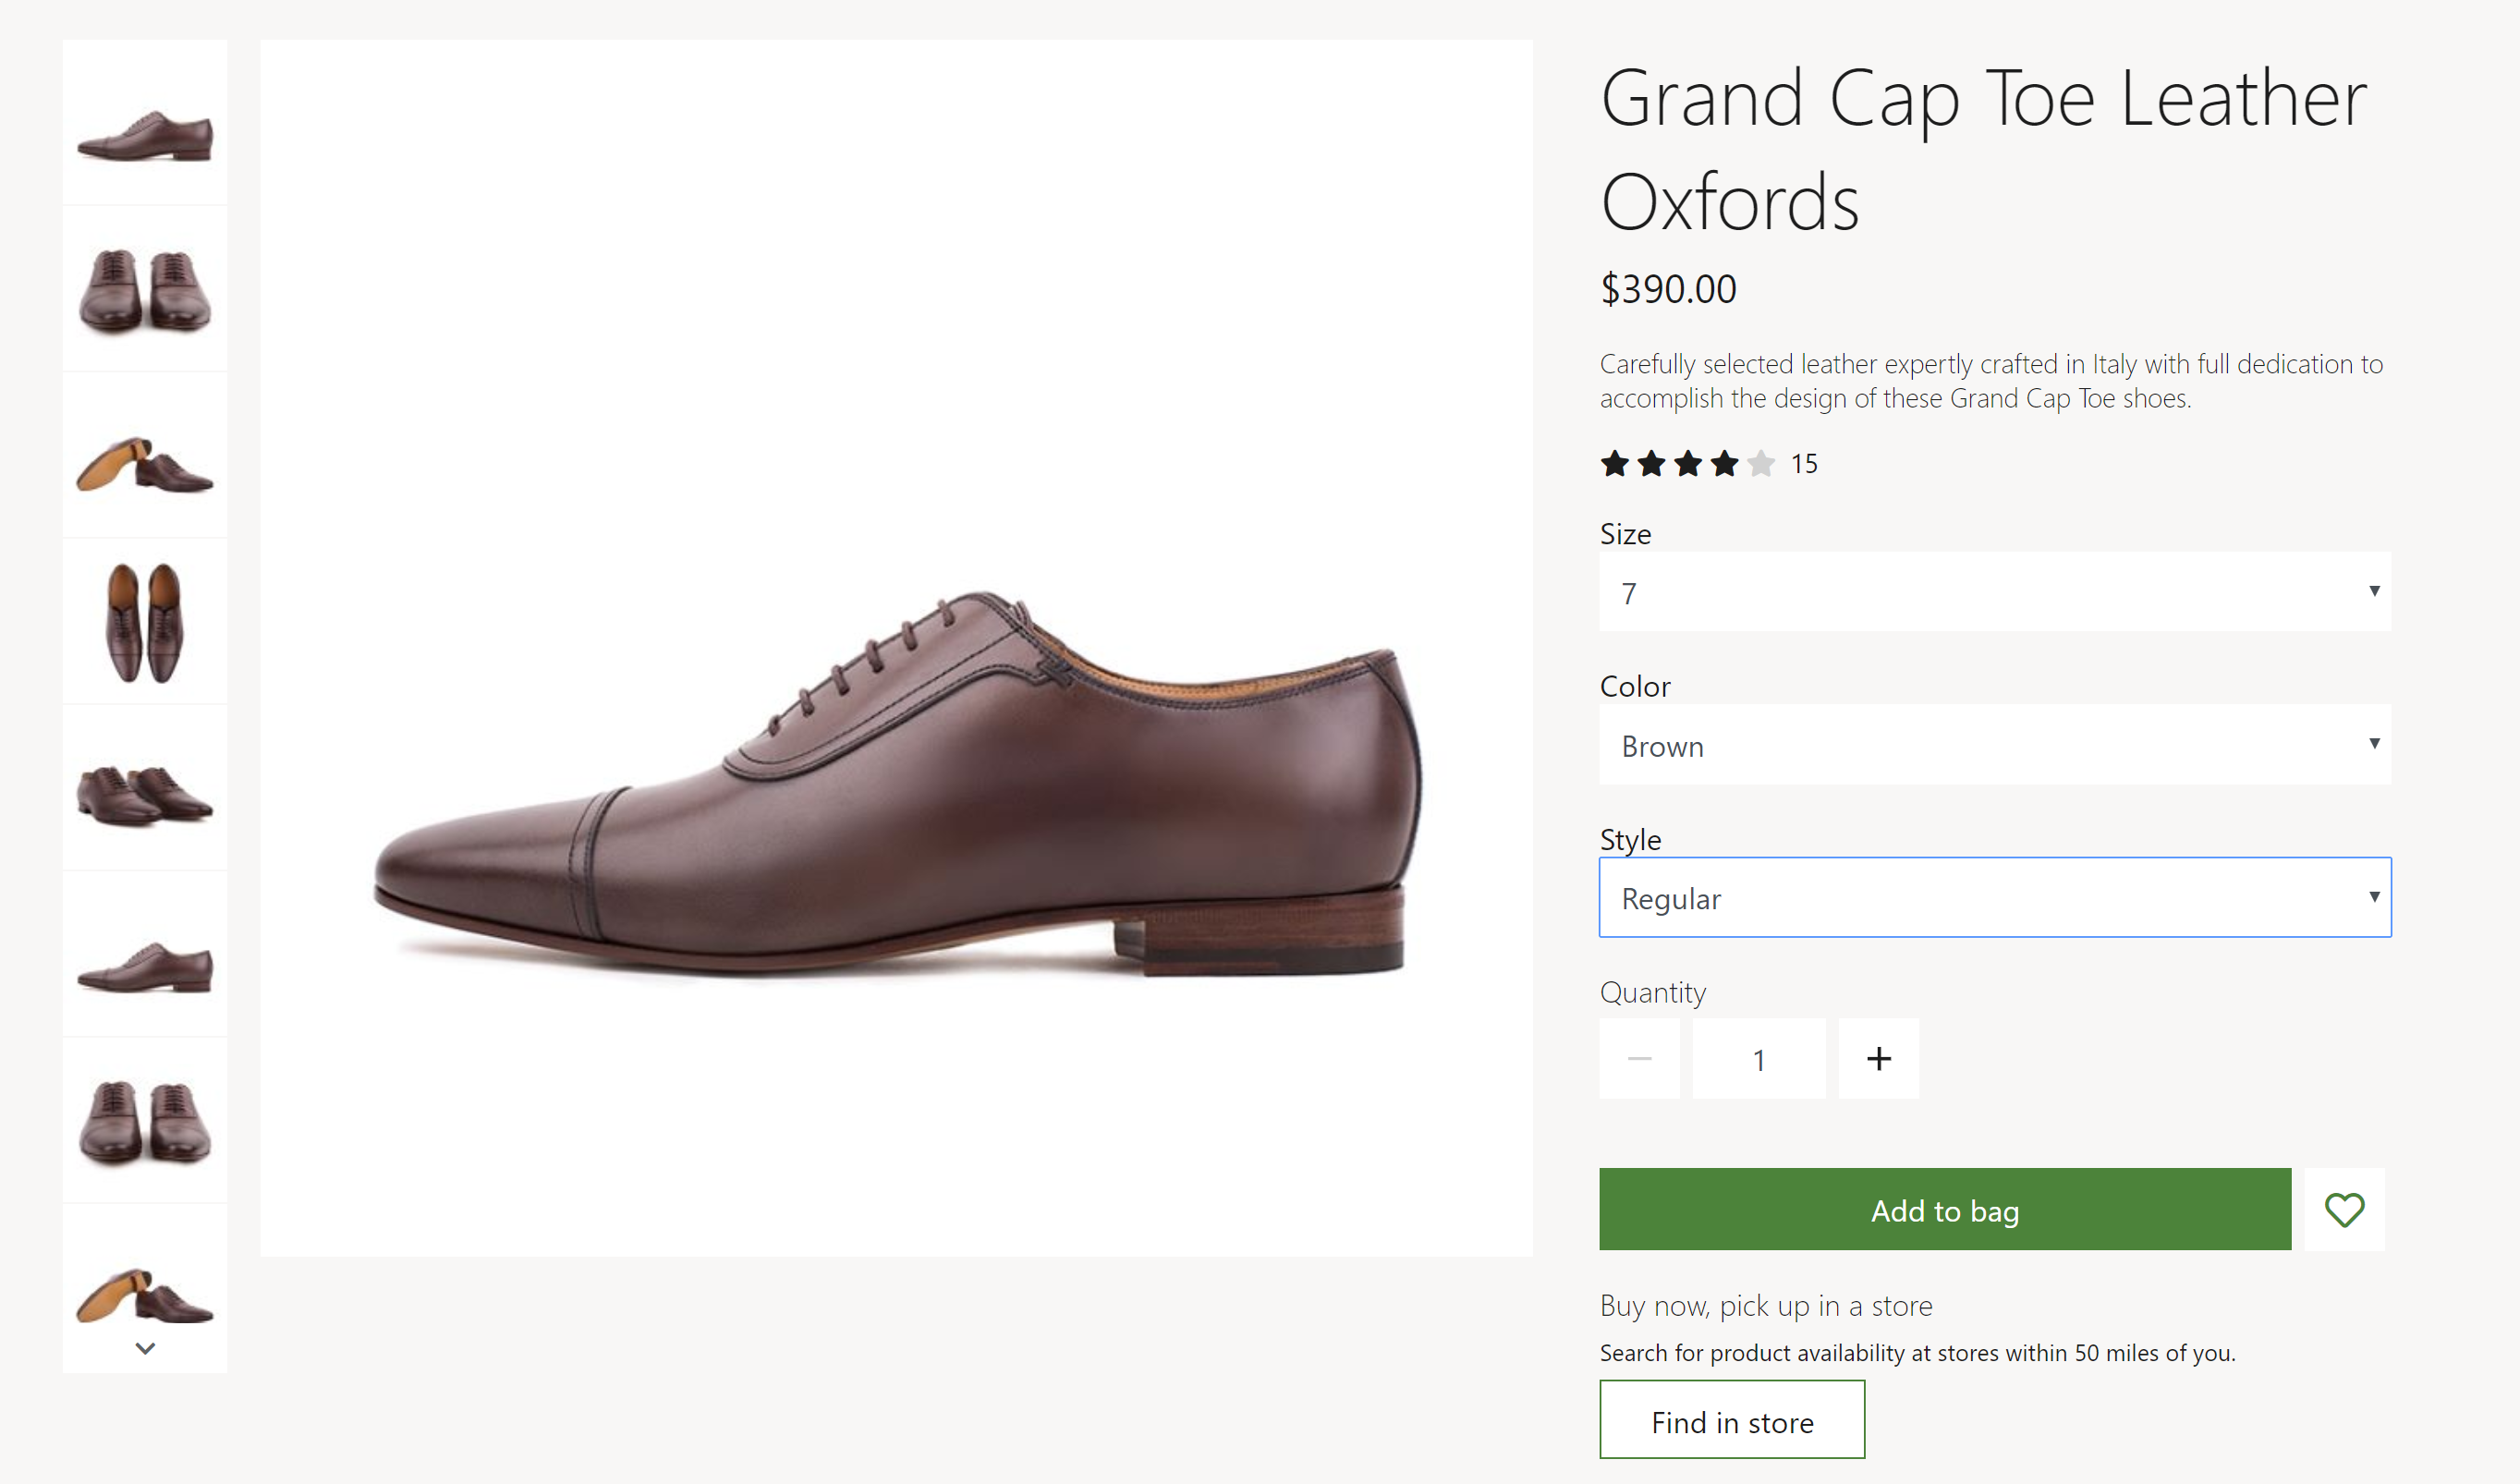
Buy box module properties and slots
On a product details page, a buy box divides into two regions: a media region on the left and a content region on the right. By default, the ratio of the width of the media region column to the width of the content region column is 2:1. On mobile devices, the two regions stack so that one region appears below the other region. You can use themes to customize the column widths and stacking rank.
A buy box module renders the title, description, price, and ratings of a product. It also lets customers select product variants that have different product attributes, such as size, style, and color. When a customer selects a product variant, the module updates other properties in the buy box (for example, the product description and images) to reflect the variant information.
A quantity selector is provided, so that customers can specify the quantity of items to purchase. The site settings define the maximum quantity that a customer can purchase.
From the buy box, customers can also perform actions such as adding a product to the cart, adding a product to their wishlist, and selecting a pickup location. These actions can be performed on a product or a product variant. To add a product to a wishlist, the customer must be signed in.
You can use themes to remove or change the order of buy box product properties and action controls.
Module properties
Heading tag – This property defines the heading tag for the product title. If the buy box is at the top of the page, set this property to h1 to meet accessibility standards.
Enable "shop similar looks" recommendations - This property allows the buy box to show links to products that look similar to the currently viewed item. This feature is available in Commerce release 10.0.13 and later.
Modules that you can use in a buy box module
- Media gallery – Use this module to showcase images of a product on a product details page. For more information about this module, see Media gallery module.
- Store selector – Use this module to show a list of nearby stores where an item is available for pickup. It lets users enter a location to find stores that are nearby. For more information about this module, see Store selector module.
- Social share - Add this module to the buy box to allow users to share product information on social media. For more information, see Social share module.
Buy box module settings
You can configure the following buy box module settings at Site Settings > Extensions:
- Cart line quantity limit – Use this property to specify the maximum number of each item that can be added to the cart. For example, a retailer might decide that only 10 of each product can be sold in a single transaction.
- Inventory – For information about how to apply inventory settings, see Apply inventory settings.
- Add product to cart – For information about how to apply Add product to cart settings, see Add product to cart settings.
Buy box module definition extensions in the Adventure Works theme
The buy box module that the Adventure Works theme provides has a module definition extension that supports implementation of a product specifications module within an accordion module in a PDP buy box. To showcase product specification attributes in a PDP buy box, add a product specification module to the accordion module slot in the buy box slot.
Important
The Adventure Works theme is available as of the Dynamics 365 Commerce version 10.0.20 release.
Commerce Scale Unit interaction
The buy box module gets product information by using Commerce Scale Unit application programming interfaces (APIs). It uses the product ID from the product details page to get all the product information.
Add a buy box module to a page
To add a buy box module to a new page and set the required properties, follow these steps:
- Go to Fragments, and select New to create a new fragment.
- In the New fragment dialog box, select the Buy box module.
- Under Fragment name, enter the name Buy box fragment, and then select OK.
- In the Media Gallery slot of the buy box module, select the ellipsis (...), and then select Add module.
- In the Select modules dialog box, select the Media gallery module, and then select OK.
- In the Store selector slot of the buy box module, select the ellipsis (...), and then select Add module.
- In the Select modules dialog box, select the Store selector module, and then select OK.
- Select Save, select Finish editing to check in the fragment, and then select Publish to publish it.
- Go to Templates, and select New to create a new template.
- In the New template dialog box, under Template name, enter PDP template, and then select OK.
- In the Body slot, select the ellipsis (...), and then select Add module.
- In the Select modules dialog box, select the Default Page module, and then select OK.
- In the Main slot of the default page, select the ellipsis (...), and then select Add fragment.
- In the Select a fragment dialog box, select the Buy box fragment fragment that you created, and then select OK.
- Select Save, select Finish editing to check in the template, and then select Publish to publish it.
- Go to Pages, and select New to create a new page.
- In the Create a new page dialog box, under Page name, enter a PDP page, and then select Next.
- Under Choose a template, select PDP template, and then select Next.
- Under Choose a layout, select a page layout (for example, Flexible layout), and then select Next.
- Under Review and finish, review the page configuration. If you need to edit the page information, select Back. If the page information is correct, select Create page.
- In the Main slot of the new page, select the ellipsis (...), and then select Add fragment.
- In the Select a fragment dialog box, select the Buy box fragment fragment that you created, and then select OK.
- Save and preview the page. Add the ?productid=<product id> query string parameter to the URL of the preview page. In that way, the product context is used to load and render the preview page.
- Select Save, select Finish editing to check in the page, and then select Publish to publish it. A buy box should appear on the product details page.