Nota
L-aċċess għal din il-paġna jeħtieġ l-awtorizzazzjoni. Tista’ tipprova tidħol jew tibdel id-direttorji.
L-aċċess għal din il-paġna jeħtieġ l-awtorizzazzjoni. Tista’ tipprova tibdel id-direttorji.
Note
The Retail Interest Group by Dynamics 365 Commerce has moved from Yammer to Viva Engage. If you don't have access to the new Viva Engage community, fill out this form (https://aka.ms/JoinD365commerceVivaEngageCommunity) to be added and stay engaged in the latest discussions.
This article describes the site picker module and how to add it to site pages in Microsoft Dynamics 365 Commerce.
When a business has different sites across markets, regions, and locales, site users need an easy way to switch between sites and select their preferred shopping site. To accommodate this scenario, the site picker module lets users browse across multiple sites. A site picker is also recommended when you implement geo detection and redirection for your e-commerce site, so that customers have a way to override the site preference that they indicate by using the country/region picker module.
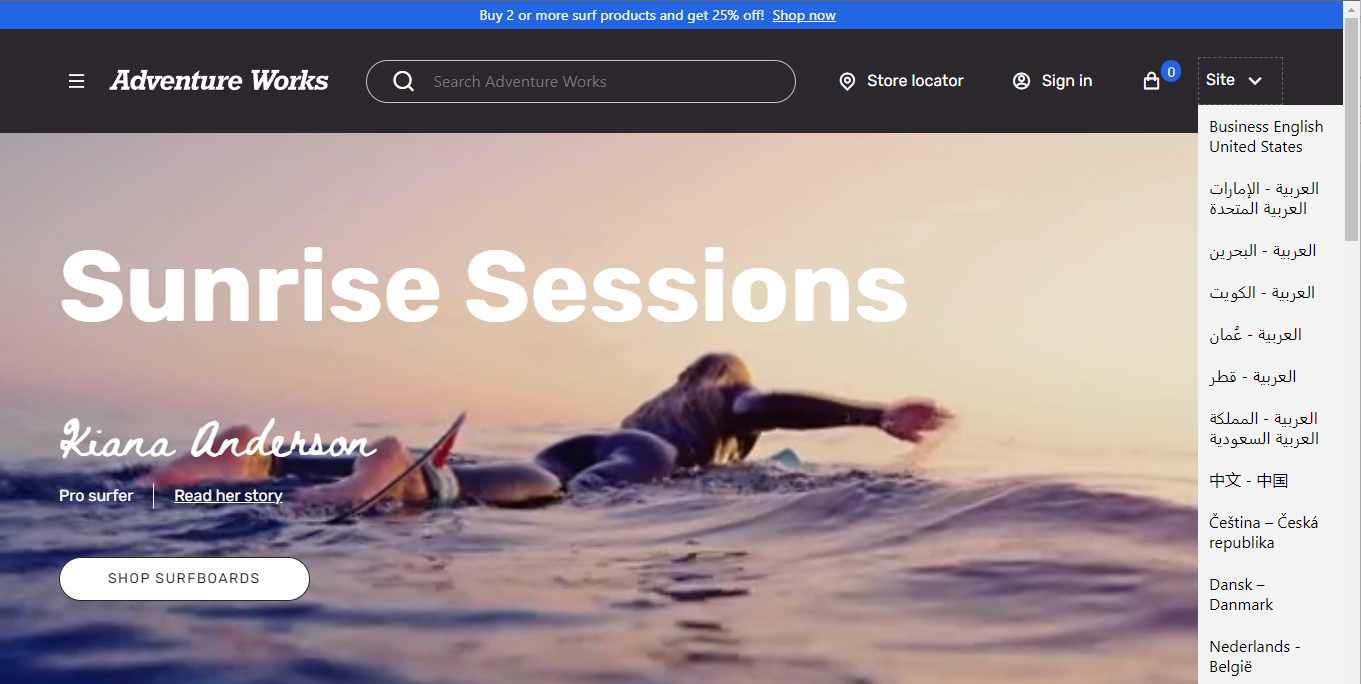
You must configure the site picker module with the list of sites (markets, regions, or locales) that site users can browse. The following illustration shows an example of a site picker module that is featured in the header of a site page.
Site picker module properties
| Property name | Value | Description |
|---|---|---|
| Heading | Text | The heading for the module. |
| Site options | Name, Image, URL | This property specifies a name, a link to the site's home page, and an optional image to show for each site that you include in the module. The image can be a flag, or some representation of a market, region, or locale. |
Add a site picker module to a page
Add the site picker module to the Site picker slot of the header module. After you add a site picker module, you can define the module heading and site options. Generally, a header module is contained in a header fragment that can be shared across e-commerce pages for a site.
To add the site picker module to a header module, follow these steps:
- In the Site picker slot of the header fragment's header module, select the ellipsis (...), and then select Add Module.
- In the Select modules dialog box, add a Site picker module, and then select OK.
- In the Site picker properties pane, select Add site options list. An editable Site options list option appears.
- Select Site options list. The Site options list dialog box appears.
- Under Site name, enter the site name text that appears in the site picker drop-down list.
- Under Site redirect URL, select Add a link. The Add a link flyout pane appears.
- In the Add a link flyout pane, select Custom page, and then select Next.
- From the site URL list, select the URL with the path you created when adding the channel to the site (for example,
www.adventure-works.com/fr-ca), and then select Apply. - Select OK.
- Select Save, and then select Finish editing.
- Select Publish to publish the page.
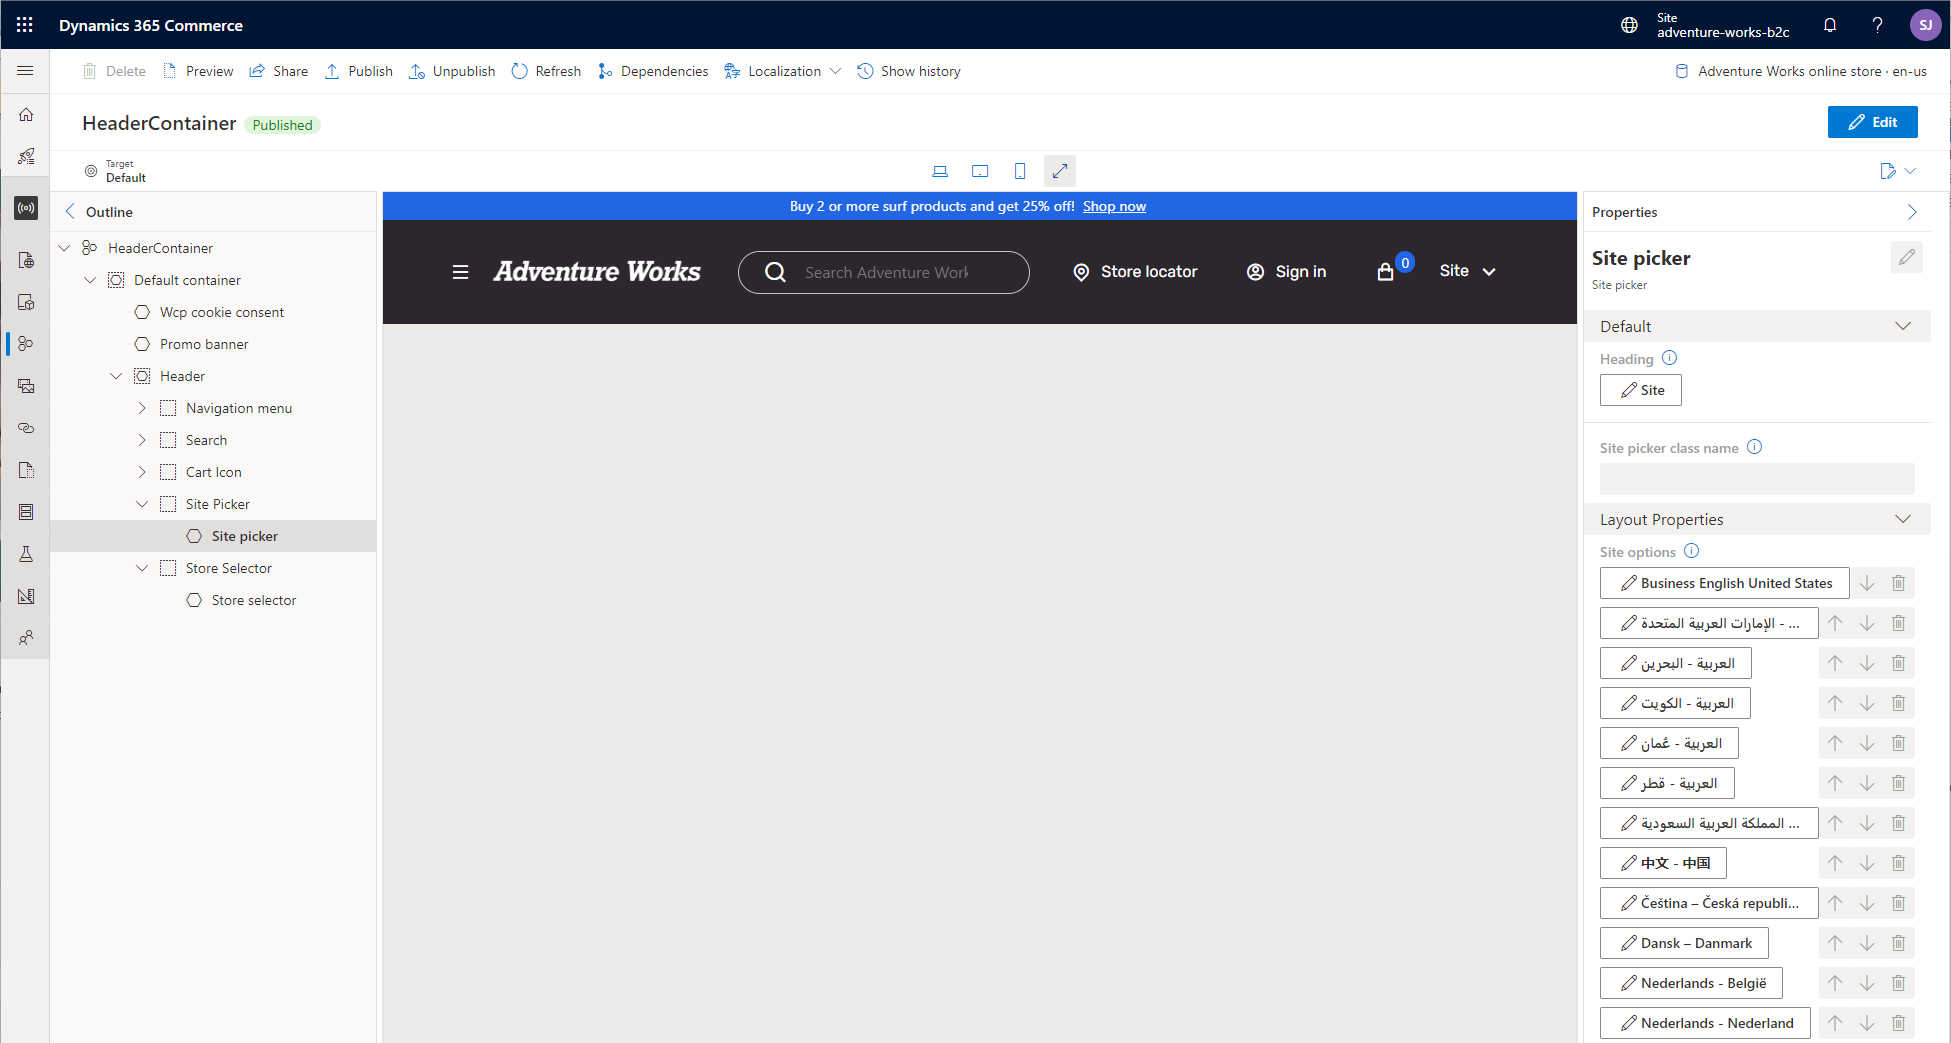
In the following example, the site picker module is added to the Site picker slot of a header module. The header module is contained in a header fragment that is named HeaderContainer.