Manage audio filters
Important
Functionality described in this article is currently in public preview. This preview version is provided without a service-level agreement, and we don't recommend it for production workloads. Certain features might not be supported or might have constrained capabilities. For more information, see Supplemental Terms of Use for Microsoft Azure Previews.
Learn how to manage audio processing features with the Azure Communication Services SDKS. You learn how to apply different audio features before and during calls using audio filters.
Currently, there are five different filters available to control.
Analog Automatic gain control
Analog automatic gain control is a filter available before a call. By default, this filter is enabled.
Digital Automatic gain control
Digital automatic gain control is a filter available before a call. By default, this filter is enabled.
Music Mode
Music mode is a filter available before and during a call. Learn more about music mode here. Note that music mode only works in 1:1 calls on native platforms and group calls. Currently, music mode doesn't work in 1:1 calls between native and web. By default, music mode is disabled.
Echo cancellation
Echo cancellation is a filter available before and during a call. You can only toggle echo cancellation only if music mode is enabled. By default, this filter is enabled.
Noise suppression
Noise suppression is a filter available before and during a call. The currently available modes are Off, Auto, Low, and High. By default, this feature is set to High mode.
Prerequisites
- An Azure account with an active subscription. Create an account for free
- A deployed Communication Services resource. Create a Communication Services resource
- A user access token to enable the calling client. For more information, see Create and manage access tokens.
- Optional: Complete the quickstart to add voice calling to your application
Install the SDK
Locate your project-level build.gradle file and add mavenCentral() to the list of repositories under buildscript and allprojects:
buildscript {
    repositories {
    ...
        mavenCentral()
    ...
    }
}
allprojects {
    repositories {
    ...
        mavenCentral()
    ...
    }
}
Then, in your module-level build.gradle file, add the following lines to the dependencies section:
dependencies {
    ...
    implementation 'com.azure.android:azure-communication-calling:1.0.0'
    ...
}
Initialize the required objects
To create a CallAgent instance, you have to call the createCallAgent method on a CallClient instance. This call asynchronously returns a CallAgent instance object.
The createCallAgent method takes CommunicationUserCredential as an argument, which encapsulates an access token.
To access DeviceManager, you must create a callAgent instance first. Then you can use the CallClient.getDeviceManager method to get DeviceManager.
String userToken = '<user token>';
CallClient callClient = new CallClient();
CommunicationTokenCredential tokenCredential = new CommunicationTokenCredential(userToken);
android.content.Context appContext = this.getApplicationContext(); // From within an activity, for instance
CallAgent callAgent = callClient.createCallAgent(appContext, tokenCredential).get();
DeviceManager deviceManager = callClient.getDeviceManager(appContext).get();
To set a display name for the caller, use this alternative method:
String userToken = '<user token>';
CallClient callClient = new CallClient();
CommunicationTokenCredential tokenCredential = new CommunicationTokenCredential(userToken);
android.content.Context appContext = this.getApplicationContext(); // From within an activity, for instance
CallAgentOptions callAgentOptions = new CallAgentOptions();
callAgentOptions.setDisplayName("Alice Bob");
DeviceManager deviceManager = callClient.getDeviceManager(appContext).get();
CallAgent callAgent = callClient.createCallAgent(appContext, tokenCredential, callAgentOptions).get();
The audio filter feature allows different audio preprocessing options to be applied to outgoing audio. There are two types of audio filters: OutgoingAudioFilters and LiveOutgoingAudioFilters, with OutgoingAudioFilters changing settings before the call starts and LiveOutgoingAudioFilters changing settings while a call is in progress.
You first need to import the Calling SDK and the associated classes:
import com.azure.android.communication.calling.OutgoingAudioOptions;
import com.azure.android.communication.calling.OutgoingAudioFilters;
import com.azure.android.communication.calling.LiveOutgoingAudioFilters;
Before call starts
OutgoingAudioFilters can be applied when a call starts.
Begin by creating a OutgoingAudioFilters and passing it into OutgoingAudioOptions as shown in the following code:
OutgoingAudioOptions outgoingAudioOptions = new OutgoingAudioOptions();
OutgoingAudioFilters filters = new OutgoingAudioFilters();
filters.setNoiseSuppressionMode(NoiseSuppressionMode.HIGH);
filters.setAnalogAutomaticGainControlEnabled(true);
filters.setDigitalAutomaticGainControlEnabled(true);
filters.setMusicModeEnabled(true);
filters.setAcousticEchoCancellationEnabled(true);
outgoingAudioOptions.setAudioFilters(filters);
During the call
LiveOutgoingAudioFilters can be applied after a call has started. You can retrieve this object from the call object once the call has started. To change the setting in LiveOutgoingAudioFilters, set the members inside the class to a valid value and they're applied.
Only a subset of the filters available from OutgoingAudioFilters are available during an active call: music mode, echo cancellation, and noise suppression mode.
LiveOutgoingAudioFilters filters = call.getLiveOutgoingAudioFilters();
filters.setMusicModeEnabled(false);
filters.setAcousticEchoCancellationEnabled(false);
filters.setNoiseSuppressionMode(NoiseSuppressionMode.HIGH);
Set up your system
Create the Xcode project
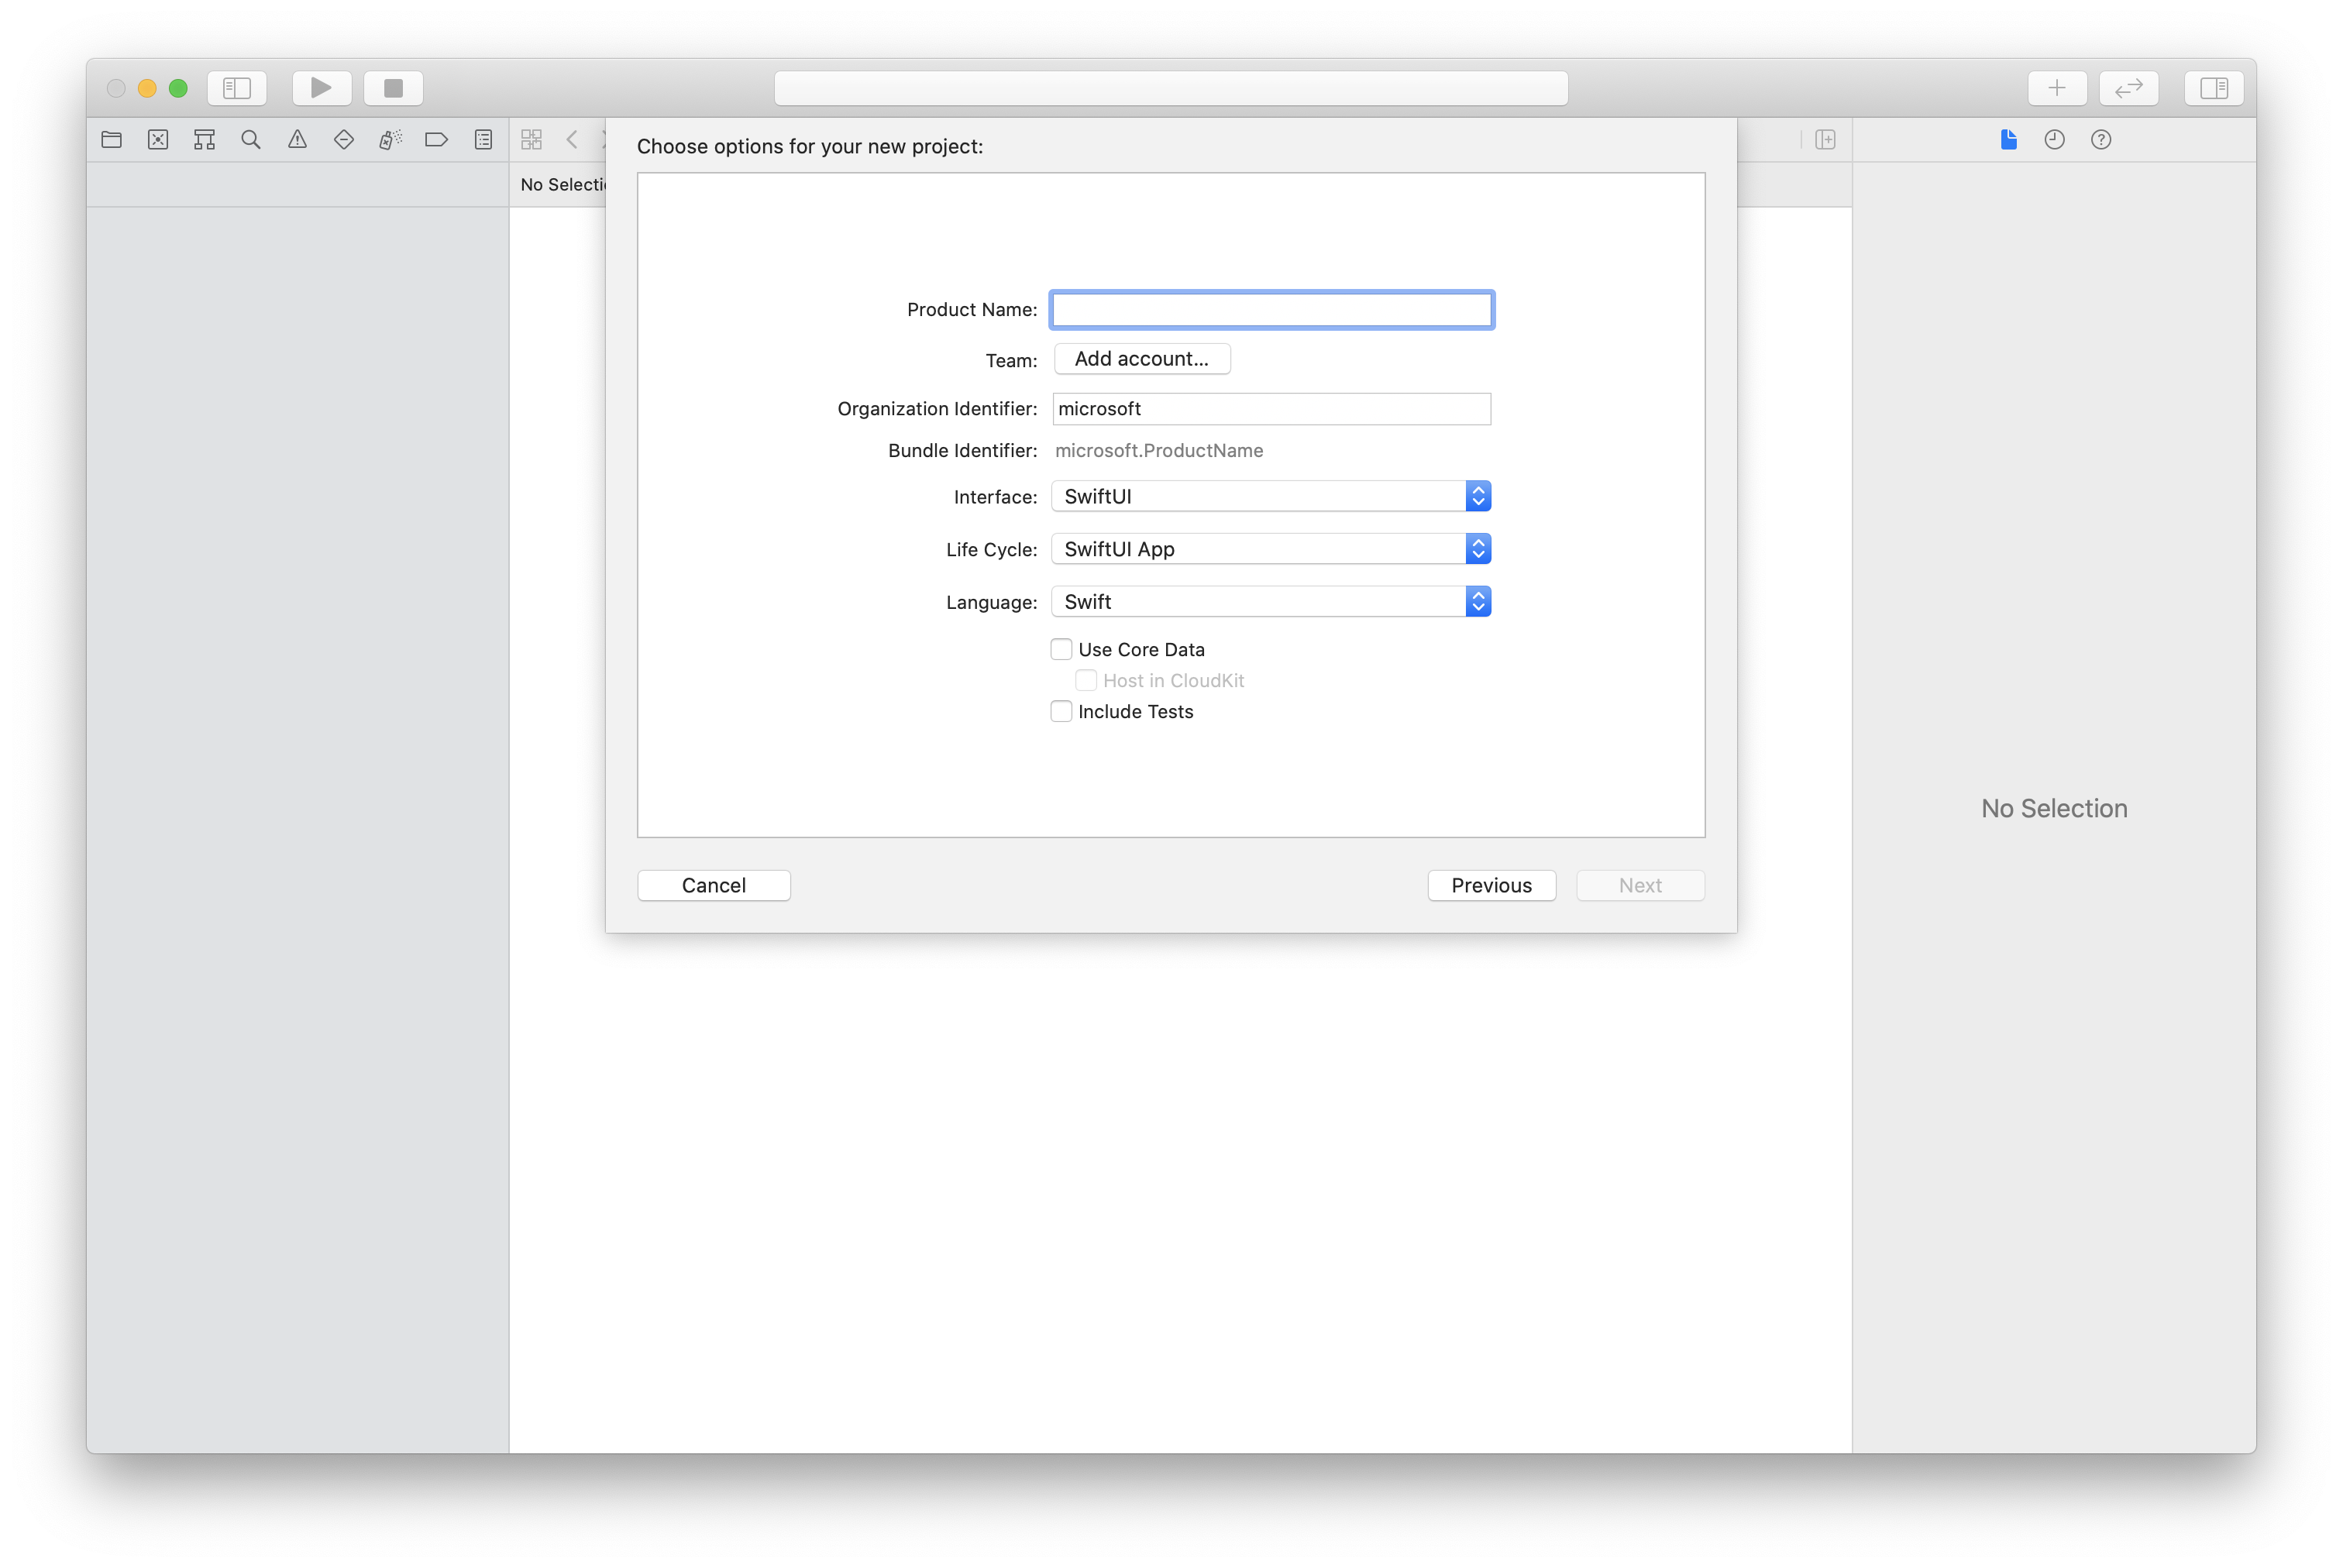
In Xcode, create a new iOS project and select the Single View App template. This quickstart uses the SwiftUI framework, so you should set Language to Swift and set Interface to SwiftUI.
You're not going to create tests during this quickstart. Feel free to clear the Include Tests checkbox.
Install the package and dependencies by using CocoaPods
Create a Podfile for your application, like this example:
platform :ios, '13.0'
use_frameworks!
target 'AzureCommunicationCallingSample' do
    pod 'AzureCommunicationCalling', '~> 1.0.0'
end
Run
pod install.Open
.xcworkspaceby using Xcode.
Request access to the microphone
To access the device's microphone, you need to update your app's information property list by using NSMicrophoneUsageDescription. You set the associated value to a string that will be included in the dialog that the system uses to request access from the user.
Right-click the Info.plist entry of the project tree, and then select Open As > Source Code. Add the following lines in the top-level <dict> section, and then save the file.
<key>NSMicrophoneUsageDescription</key>
<string>Need microphone access for VOIP calling.</string>
Set up the app framework
Open your project's ContentView.swift file. Add an import declaration to the top of the file to import the AzureCommunicationCalling library. In addition, import AVFoundation. You'll need it for audio permission requests in the code.
import AzureCommunicationCalling
import AVFoundation
Initialize CallAgent
To create a CallAgent instance from CallClient, you have to use a callClient.createCallAgent method that asynchronously returns a CallAgent object after it's initialized.
To create a call client, pass a CommunicationTokenCredential object:
import AzureCommunication

let tokenString = "token_string"
var userCredential: CommunicationTokenCredential?
do {
    let options = CommunicationTokenRefreshOptions(initialToken: token, refreshProactively: true, tokenRefresher: self.fetchTokenSync)
    userCredential = try CommunicationTokenCredential(withOptions: options)
} catch {
    updates("Couldn't created Credential object", false)
    initializationDispatchGroup!.leave()
    return
}

// tokenProvider needs to be implemented by Contoso, which fetches a new token
public func fetchTokenSync(then onCompletion: TokenRefreshOnCompletion) {
    let newToken = self.tokenProvider!.fetchNewToken()
    onCompletion(newToken, nil)
}
Pass the CommunicationTokenCredential object that you created to CallClient, and set the display name:
self.callClient = CallClient()
let callAgentOptions = CallAgentOptions()
options.displayName = " iOS Azure Communication Services User"

self.callClient!.createCallAgent(userCredential: userCredential!,
    options: callAgentOptions) { (callAgent, error) in
        if error == nil {
            print("Create agent succeeded")
            self.callAgent = callAgent
        } else {
            print("Create agent failed")
        }
})
The audio filter feature allows different audio preprocessing options to be applied to outgoing audio. There are two types of audio filters: OutgoingAudioFilters and LiveOutgoingAudioFilters, with OutgoingAudioFilters changing settings before the call starts and LiveOutgoingAudioFilters changing settings while a call is in progress.
You first need to import the Calling SDK:
import AzureCommunicationCalling
Before call starts
OutgoingAudioFilters can be applied when a call starts.
Begin by creating a OutgoingAudioFilters and passing it into OutgoingAudioOptions as shown in the following code:
let outgoingAudioOptions = OutgoingAudioOptions()
let filters = OutgoingAudioFilters()
filters.NoiseSuppressionMode = NoiseSuppressionMode.high
filters.analogAutomaticGainControlEnabled = true
filters.digitalAutomaticGainControlEnabled = true
filters.musicModeEnabled = true
filters.acousticEchoCancellationEnabled = true
outgoingAudioOptions.audioFilters = filters
During the call
LiveOutgoingAudioFilters can be applied after a call has started. You can retrieve this object from the call object once the call has started. To change the setting in LiveOutgoingAudioFilters, set the members inside the class to a valid value and they're applied.
Only a subset of the filters available from OutgoingAudioFilters are available during an active call: music mode, echo cancellation, and noise suppression mode.
LiveOutgoingAudioFilters filters = call.liveOutgoingAudioFilters
filters.musicModeEnabled = true
filters.acousticEchoCancellationEnabled = true
filters.NoiseSuppressionMode = NoiseSuppressionMode.high
Set up your system
Create the Visual Studio project
For a UWP app, in Visual Studio 2022, create a new Blank App (Universal Windows) project. After you enter the project name, feel free to choose any Windows SDK later than 10.0.17763.0.
For a WinUI 3 app, create a new project with the Blank App, Packaged (WinUI 3 in Desktop) template to set up a single-page WinUI 3 app. Windows App SDK version 1.3 or later is required.
Install the package and dependencies by using NuGet Package Manager
The Calling SDK APIs and libraries are publicly available via a NuGet package.
The following steps exemplify how to find, download, and install the Calling SDK NuGet package:
- Open NuGet Package Manager by selecting Tools > NuGet Package Manager > Manage NuGet Packages for Solution.
- Select Browse, and then enter
Azure.Communication.Calling.WindowsClientin the search box. - Make sure that the Include prerelease check box is selected.
- Select the
Azure.Communication.Calling.WindowsClientpackage, and then selectAzure.Communication.Calling.WindowsClient1.4.0-beta.1 or a newer version. - Select the checkbox that corresponds to the Communication Services project on the right-side tab.
- Select the Install button.
The audio filter feature allows different audio preprocessing options to be applied to outgoing audio. There are two types of audio filters: OutgoingAudioFilters and LiveOutgoingAudioFilters, with OutgoingAudioFilters changing settings before the call starts and LiveOutgoingAudioFilters changing settings while a call is in progress.
You first need to import the Calling SDK:
using Azure.Communication;
using Azure.Communication.Calling.WindowsClient;
Before call starts
OutgoingAudioFilters can be applied when a call starts.
Begin by creating a OutgoingAudioFilters and passing it into OutgoingAudioOptions as shown in the following code:
var outgoingAudioOptions = new OutgoingAudioOptions();
var filters = new OutgoingAudioFilters()
{
    AnalogAutomaticGainControlEnabled = true,
    DigitalAutomaticGainControlEnabled = true,
    MusicModeEnabled = true,
    AcousticEchoCancellationEnabled = true,
    NoiseSuppressionMode = NoiseSuppressionMode.High
};
outgoingAudioOptions.Filters = filters;
During the call
LiveOutgoingAudioFilters can be applied after a call has started. You can retrieve this object from the call object once the call has started. To change the setting in LiveOutgoingAudioFilters, set the members inside the class to a valid value and they're applied.
Only a subset of the filters available from OutgoingAudioFilters are available during an active call: music mode, echo cancellation, and noise suppression mode.
LiveOutgoingAudioFilters filter = call.LiveOutgoingAudioFilters;
filter.MusicModeEnabled = true;
filter.AcousticEchoCancellationEnabled = true;
filter.NoiseSuppressionMode = NoiseSuppressionMode.Auto;
Next steps
Tilbakemeldinger
Kommer snart: Gjennom 2024 faser vi ut GitHub Issues som tilbakemeldingsmekanisme for innhold, og erstatter det med et nytt system for tilbakemeldinger. Hvis du vil ha mer informasjon, kan du se: https://aka.ms/ContentUserFeedback.
Send inn og vis tilbakemelding for