Manual Installation
Azure CycleCloud can be installed using an ARM template, via Azure Marketplace or using a container in the Azure Container Registry. We recommend installing using the Azure Marketplace image, but for some production situations it may be useful to manually install CycleCloud as outlined below.
Note
The CycleCloud product encompasses many pieces, including node configuration software known as Jetpack, and a installable webserver platform called CycleServer. Because of this, you will find CycleServer referenced in many commands and directory names on the machine where the CycleCloud server is installed.
System Requirements
To install CycleCloud, you must have administrator (root) rights. In addition, your system needs to meet the following minimum requirements:
- A 64-bit Linux distribution
- Java Runtime Environment (version 8)
- At least 8GB of RAM (16GB recommended)
- Four or more CPU cores
- At least 250GB of free disk space
Note
CycleCloud may be installed on physical or virtualized hardware.
SSH Key
The default SSH key used in CycleCloud is /opt/cycle_server/.ssh/cyclecloud.pem. If this does not already exist, it will be automatically generated upon startup (or restart) of CycleCloud.
Installation
To determine what Linux distro you are using, run the following command:
cat /etc/lsb-release
If this file exists, the contents will indicate if it is a Debian-based distro like Ubuntu. If it does not exist, run this command:
cat /etc/redhat-release
If this file exists, the contents will indicate if it is an Enterprise-Linux based distro like RedHat Enterprise Linux or Alma Linux.
Installing on Debian or Ubuntu
First, download the Microsoft signing key and add to Apt's trusted keyring:
sudo apt-get -qq update && sudo apt-get -y -qq install curl gnupg2
sudo mkdir -m 0755 -p /etc/apt/keyrings
curl -fsSL https://packages.microsoft.com/keys/microsoft.asc |
  gpg --dearmor | sudo tee /etc/apt/keyrings/microsoft.gpg > /dev/null
sudo chmod go+r /etc/apt/keyrings/microsoft.gpg
Then, configure Apt to pull from the CycleCloud repository:
echo "deb [signed-by=/etc/apt/keyrings/microsoft.gpg] https://packages.microsoft.com/repos/cyclecloud stable main" |
  sudo tee /etc/apt/sources.list.d/cyclecloud.list > /dev/null
sudo apt-get -qq update
Finally, install CycleCloud with apt:
sudo apt -y install cyclecloud
sudo apt-get -y -q install cyclecloud8
Note
The CycleCloud Apt repository distribution release for Ubuntu family platform uses a floating "stable" moniker. CycleCloud is officially supported on all Ubuntu LTS releases under support by Canonical. The CycleCloud package files are not specific to a version of GLIBC (GNU C Library) or Ubuntu release.
Installing on Enterprise Linux (RHEL) clones
First, configure a cyclecloud.repo file:
cat | sudo tee /etc/yum.repos.d/cyclecloud.repo > /dev/null <<EOF
[cyclecloud]
name=cyclecloud
baseurl=https://packages.microsoft.com/yumrepos/cyclecloud
gpgcheck=1
gpgkey=https://packages.microsoft.com/keys/microsoft.asc
EOF
Finally, install cyclecloud with yum (or dnf):
sudo yum -y install cyclecloud
sudo yum -y -qq install cyclecloud8
Installing from the Microsoft Download center
Download the Azure CycleCloud install file from the Microsoft Download Center and install using a package manager.
For the .rpm install file:
yum install <filename.rpm>
For the .deb install file:
dpkg -i <filename.deb>
Note
You must have write permission to the /opt directory. The CycleCloud installer will create a cycle_server user and unix group, install into the /opt/cycle_server directory by default, and assign cycle_server:cycle_server ownership to the directory.
Once the installer has finished running, you will be provided a link to complete the installation from your browser. Copy the link provided into your web browser and follow the configuration steps.
Insiders Builds
CycleCloud Insiders builds are available for pre-release feature testing. Insiders builds may contain unresolved issues. Note: the Insiders builds are not labeled differently than production builds; they are just early release candidates.
The steps below will add the Insiders repository to provide access to Insiders builds. Once you run this on a machine, installing or upgrading the package will pull the latest from the Insiders repository. There is no need to have both the standard and Insiders repositories added, because the latest Insiders build is either the same as, or newer than, the latest standard build.
Note that these instructions switch to only using Insiders builds. You can switch back by following the above Installation instructions.
Debian/Ubuntu
To install the Insiders build on Debian or Ubuntu, run the following:
echo "deb [signed-by=/etc/apt/keyrings/microsoft.gpg] https://packages.microsoft.com/repos/cyclecloud-insiders stable main" |
  sudo tee /etc/apt/sources.list.d/cyclecloud.list > /dev/null
sudo apt-get -qq update
This is the same as the standard installation steps above but with https://packages.microsoft.com/repos/cyclecloud-insiders/pool/main/c/cyclecloud8/ instead.
Enterprise Linux
To install the Insiders build on Enterprise Linux, run the following:
cat | sudo tee /etc/yum.repos.d/cyclecloud.repo > /dev/null <<EOF
[cyclecloud]
name=cyclecloud
baseurl=https://packages.microsoft.com/yumrepos/cyclecloud-insiders
gpgcheck=1
gpgkey=https://packages.microsoft.com/keys/microsoft.asc
EOF
This is the same as the standard installation steps above but with https://packages.microsoft.com/yumrepos/cyclecloud-insiders/ instead.
Notes on Security
The default installation of CycleCloud uses non-encrypted HTTP running on port 8080. We strongly recommend configuring SSL for all installations.
Do not install CycleCloud on a shared drive, or any drive in which non-admin users have access. Anyone with access to the CycleCloud group will gain access to non-encrypted data. We recommend that non-admin users not be added to this group.
Note
The default CycleCloud configuration may be customized for specific environments using settings in the $CS_HOME/config/cycle_server.properties file.
Configuration
Once installed, you can configure CycleCloud through your web browser. The login screen will load after the webserver has fully initialized, which can take several minutes.
Step 1: Welcome

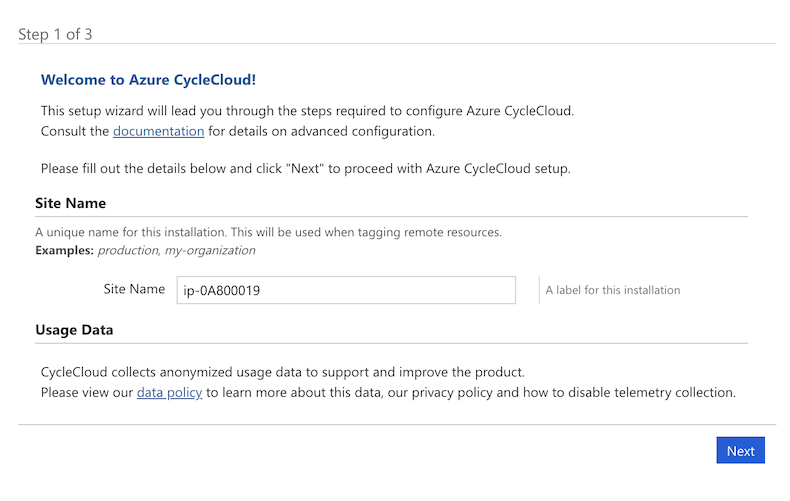
Enter a Site Name then click Next.
Step 2: License Agreement
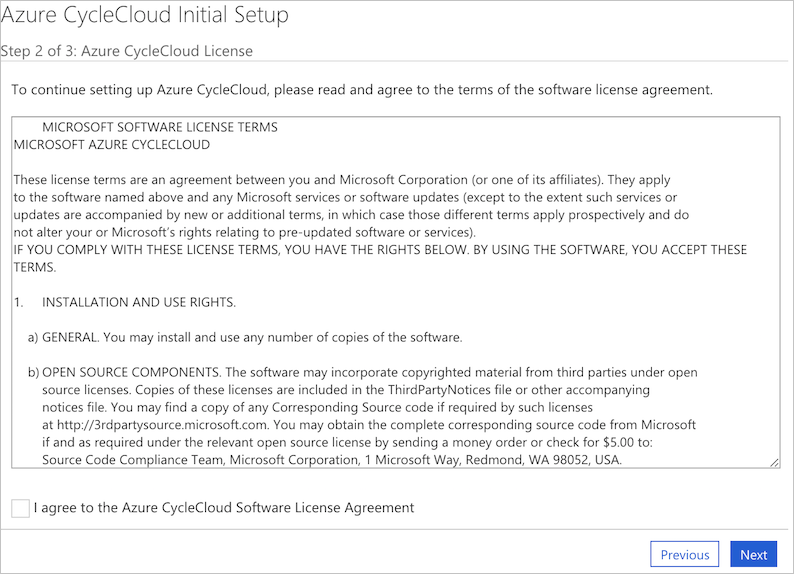
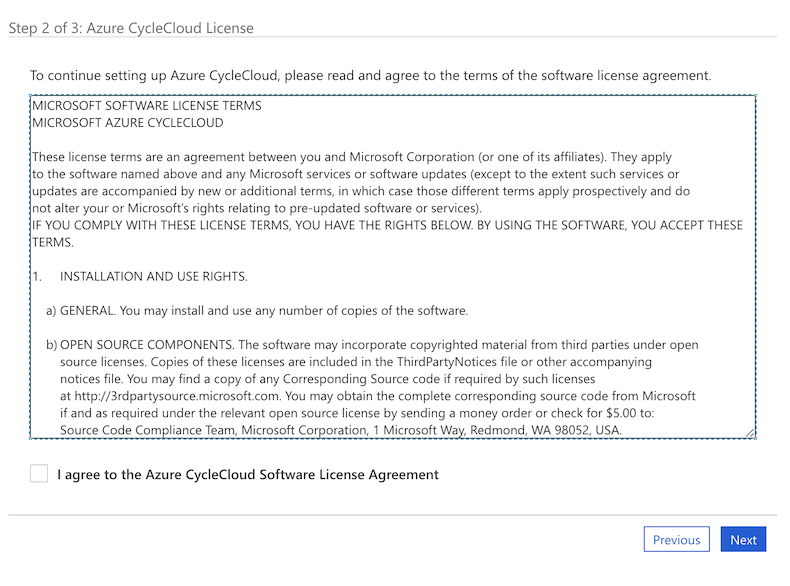
Accept the license agreement and then click Next.
Step 3: Administrator Account
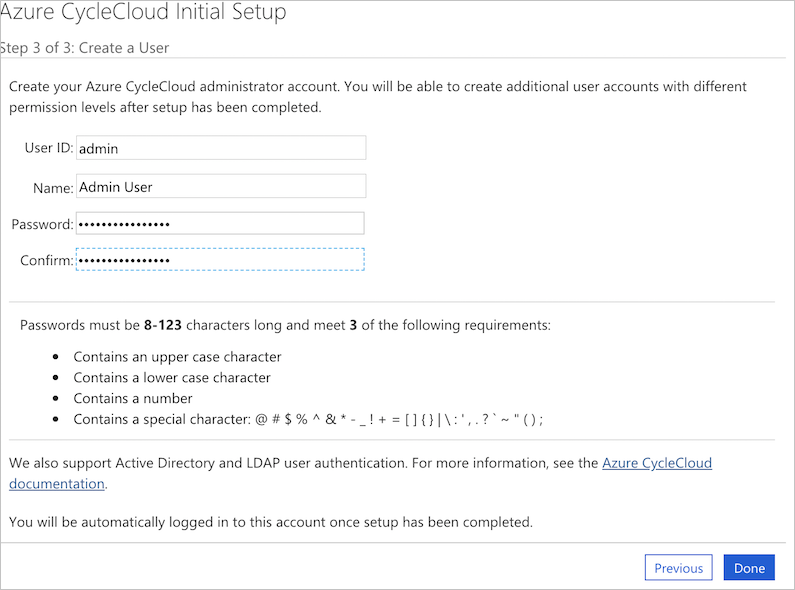
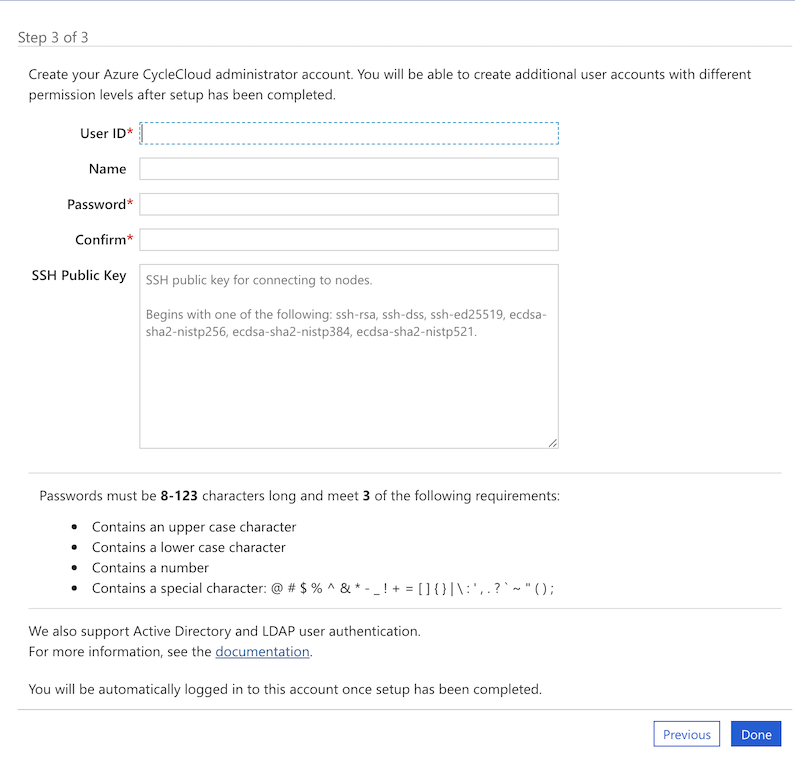
You will now set up the local administrator account for CycleCloud. This account is used to administer the CycleCloud application - it is NOT an operating system account. Enter a User ID, Name and Password, then click Done to continue.
Note
All CycleCloud account passwords must be between 8 and 123 characters long, and meet at least 3 of the following 4 conditions:
- Contain at least one upper case letter
- Contain at least one lower case letter
- Contain at least one number
- Contain at least one special character: @ # $ % ^ & * - _ ! + = [ ] { } | \ : ' , . ?
Step 4: Set Your SSH Key
Once you have set up your administrator account, you can set your SSH public key so that you can easily access any Linux machines started by CycleCloud. To set your SSH public key, go to My Profile under the user menu in the top right and choose Edit Profile. Learn about creating SSH keys here.
Update CycleCloud
See the Update Azure CycleCloud page.