Prepare Azure resources for exporting to Splunk and QRadar
In order to stream Microsoft Defender for Cloud security alerts to IBM QRadar and Splunk, you have to set up resources in Azure, such as Event Hubs and Microsoft Entra ID. Here are the instructions for configuring these resources in the Azure portal, but you can also configure them using a PowerShell script. Make sure you review Stream alerts to QRadar and Splunk before you configure the Azure resources for exporting alerts to QRadar and Splunk.
To configure the Azure resources for QRadar and Splunk in the Azure portal:
Step 1: Create an Event Hubs namespace and event hub with send permissions
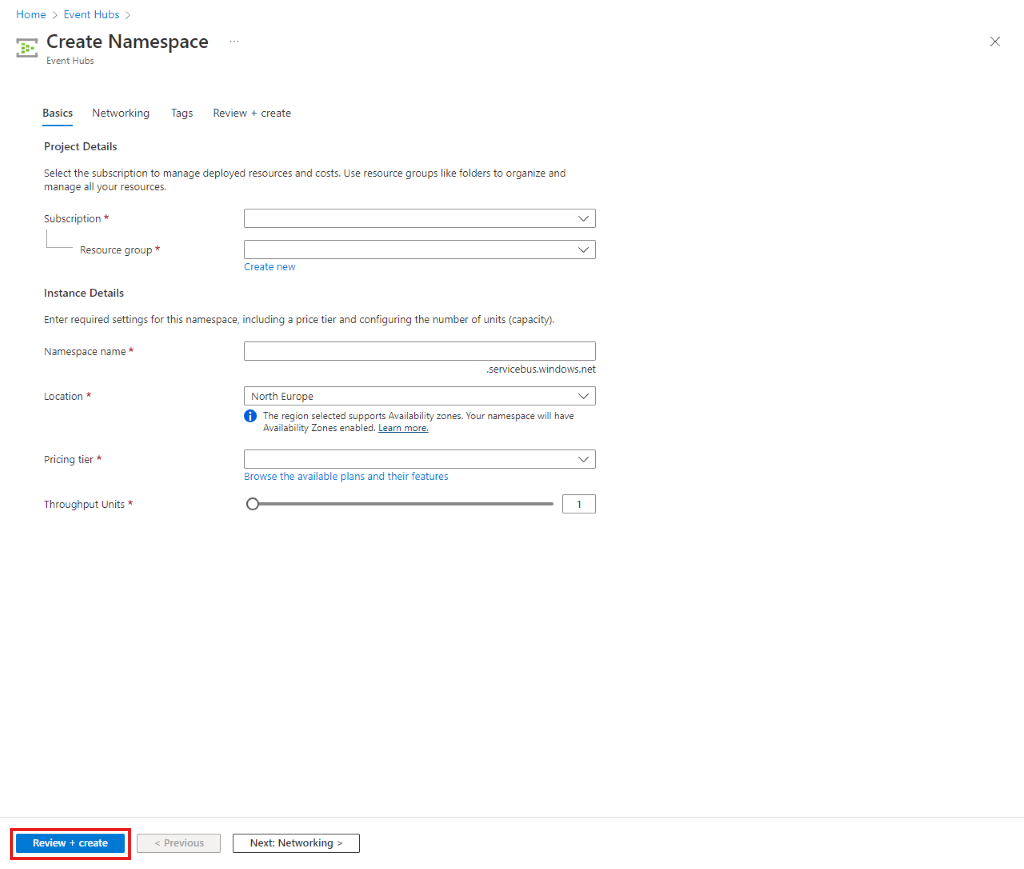
In the Event Hubs service, create an Event Hubs namespace:
- Select Create.
- Enter the details of the namespace, select Review + create, and select Create.
Create an event hub:
- In the namespace that you create, select + Event Hub.
- Enter the details of the event hub, and select Review + create, and select Create.
Create a shared access policy.
- In the Event Hub menu, select the Event Hubs namespace you created.
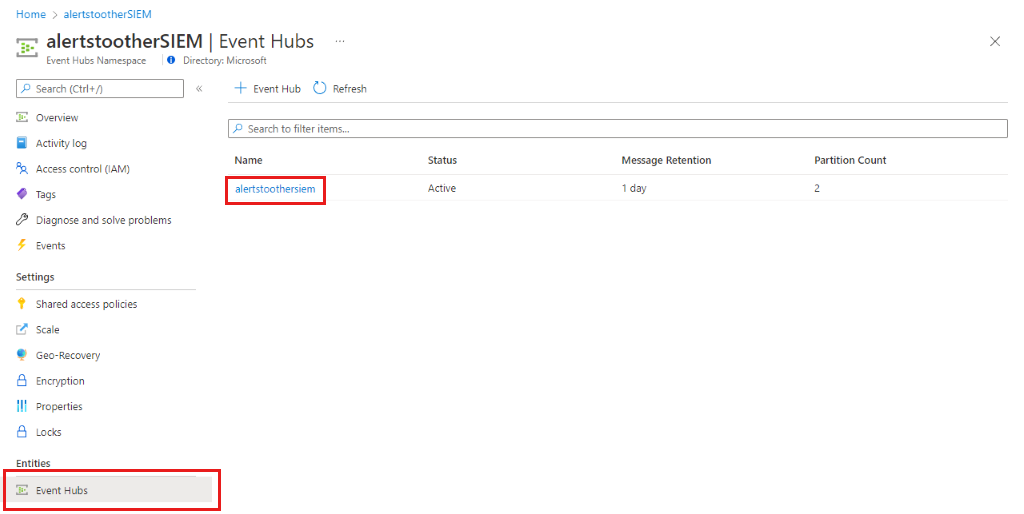
- In the Event Hub namespace menu, select Event Hubs.
- Select the event hub that you just created.
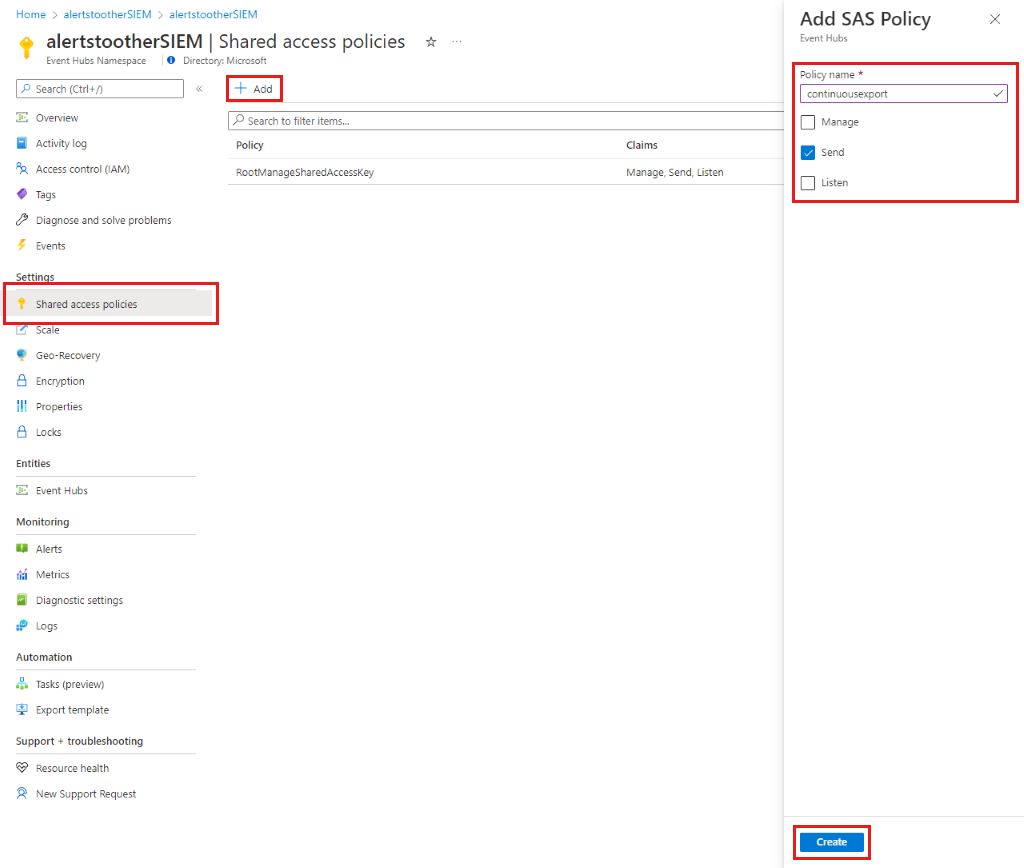
- In the event hub menu, select Shared access policies.
- Select Add, enter a unique policy name, and select Send.
- Select Create to create the policy.


Step 2: For streaming to QRadar SIEM - Create a Listen policy
Select Add, enter a unique policy name, and select Listen.
Select Create to create the policy.
After the listen policy is created, copy the Connection string primary key and save it to use later.


Step 3: Create a consumer group, then copy and save the name to use in the SIEM platform
In the Entities section of the Event Hubs event hub menu, select Event Hubs and select the event hub you created.
Select Consumer group.

Step 4: Enable continuous export for the scope of the alerts
In the Azure search box, search for "policy" and go to the Policy.
In the Policy menu, select Definitions.
Search for "deploy export" and select the Deploy export to Event Hub for Microsoft Defender for Cloud data built-in policy.
Select Assign.
Define the basic policy options:
- In Scope, select the ... to select the scope to apply the policy to.
- Find the root management group (for tenant scope), management group, subscription, or resource group in the scope and select Select.
- To select a tenant root management group level you need to have permissions on tenant level.
- (Optional) In Exclusions you can define specific subscriptions to exclude from the export.
- Enter an assignment name.
- Make sure policy enforcement is enabled.

In the policy parameters:
- Enter the resource group where the automation resource is saved.
- Select resource group location.
- Select the ... next to the Event Hub details and enter the details for the event hub, including:
- Subscription.
- The Event Hubs namespace you created.
- The event hub you created.
- In authorizationrules, select the shared access policy that you created to send alerts.

Select Review and Create and Create to finish the process of defining the continuous export to Event Hubs.
- Notice that when you activate continuous export policy on the tenant (root management group level), it automatically streams your alerts on any new subscription that will be created under this tenant.


Step 5: For streaming alerts to QRadar SIEM - Create a storage account
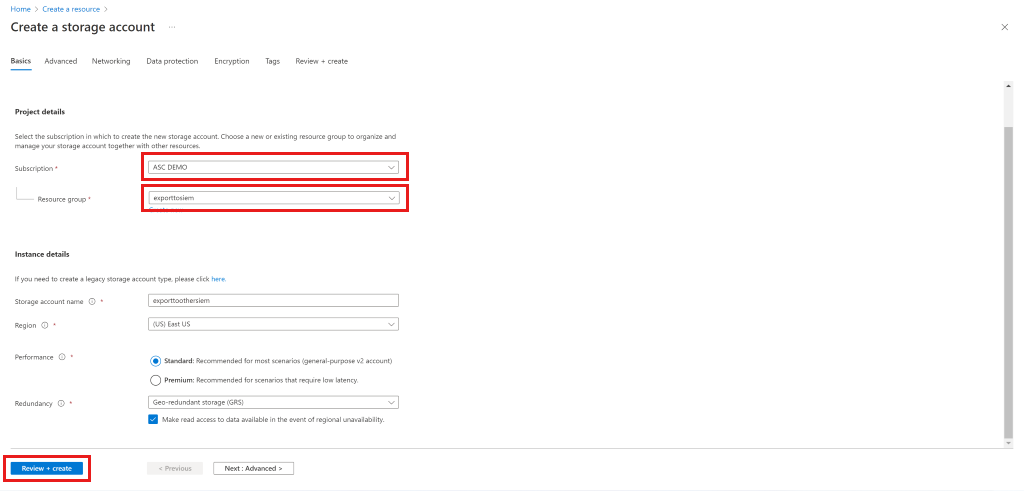
Go to the Azure portal, select Create a resource, and select Storage account. If that option isn't shown, search for "storage account".
Select Create.
Enter the details for the storage account, select Review and Create, and then Create.
After you create your storage account and go to the resource, in the menu select Access Keys.
Select Show keys to see the keys, and copy the connection string of Key 1.


Step 6: For streaming alerts to Splunk SIEM - Create a Microsoft Entra application
In the menu search box, search for "Microsoft Entra ID" and go to Microsoft Entra ID.
Go to the Azure portal, select Create a resource, and select Microsoft Entra ID. If that option isn't shown, search for "active directory".
In the menu, select App registrations.
Select New registration.
Enter a unique name for the application and select Register.

Copy to Clipboard and save the Application (client) ID and Directory (tenant) ID.
Create the client secret for the application:
- In the menu, go to Certificates & secrets.
- Create a password for the application to prove its identity when requesting a token:
- Select New client secret.
- Enter a short description, choose the expiration time of the secret, and select Add.
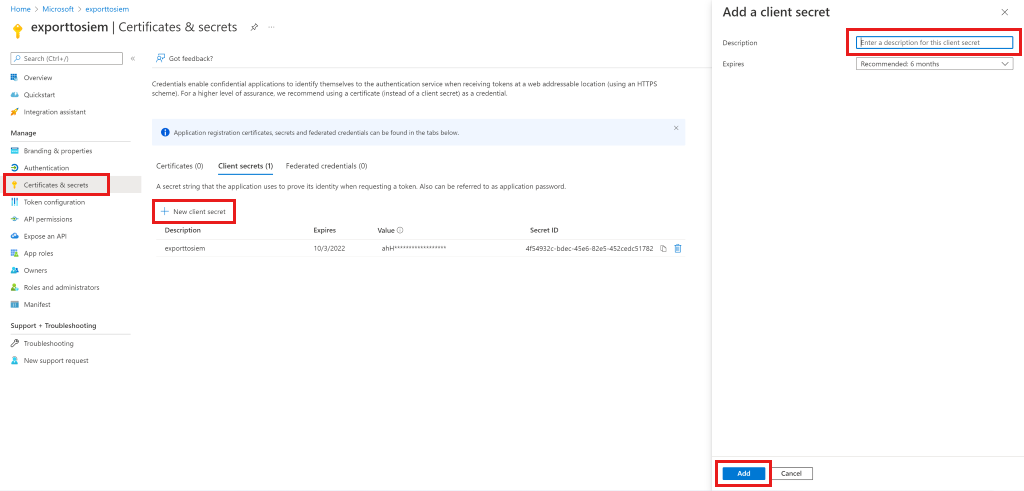
After the secret is created, copy the Secret ID and save it for later use together with the Application ID and Directory (tenant) ID.


Step 7: For streaming alerts to Splunk SIEM - Allow Microsoft Entra ID to read from the event hub
Go to the Event Hubs namespace you created.
In the menu, go to Access control.
Select Add and select Add role assignment.
Select Add role assignment.
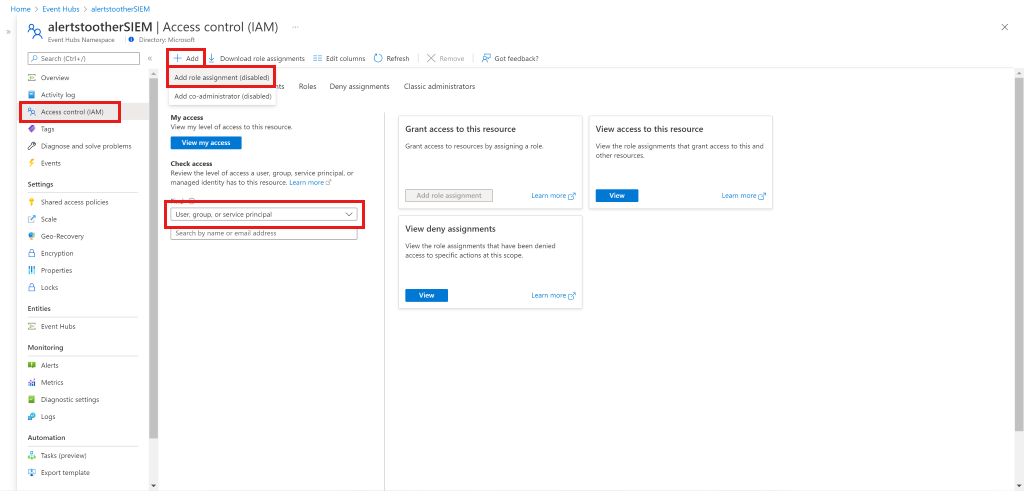
In the Roles tab, search for Azure Event Hubs Data Receiver.
Select Next.
Select Select Members.
Search for the Microsoft Entra application you created before and select it.
Select Close.

To continue setting up export of alerts, install the built-in connectors for the SIEM you're using.