Manage notifications for a team, project, or organization
Azure DevOps Services | Azure DevOps Server 2022 - Azure DevOps Server 2019
You can manage email notifications at team, project, and organization levels when changes occur to work items, code reviews, pull requests, source control files, and builds.
For example, when a high priority work item is assigned to your team's area path, a notification email gets sent to the team. For more information, see Notification types.
Prerequisites
To manage notifications, you must be an administrator for the level you want to manage:
- Team: You must be a Team Administrator to modify subscriptions for a team.
- Project: You must be a member of the Project Administrators group to create or modify subscriptions for a project.
- Organization: You must be a member of the Project Collection Administrators group to create or modify subscriptions for an organization or collection.
If you're not an administrator, get added as one. For more information, see the following articles:
- Add a team administrator
- Change permissions at the project-level
- Change permissions at the organization or collection-level
Note
For on-premises Azure DevOps Server, configure an SMTP server for team members to see the Notifications option from their organization or user profile menu and to receive notifications.
Create an email subscription
A subscription lets you control what your team is notified of and how the team receives those notifications. For more information, see notification types.
Sign in to your organization (
https://dev.azure.com/{yourorganization}).Select Project settings > Notifications.
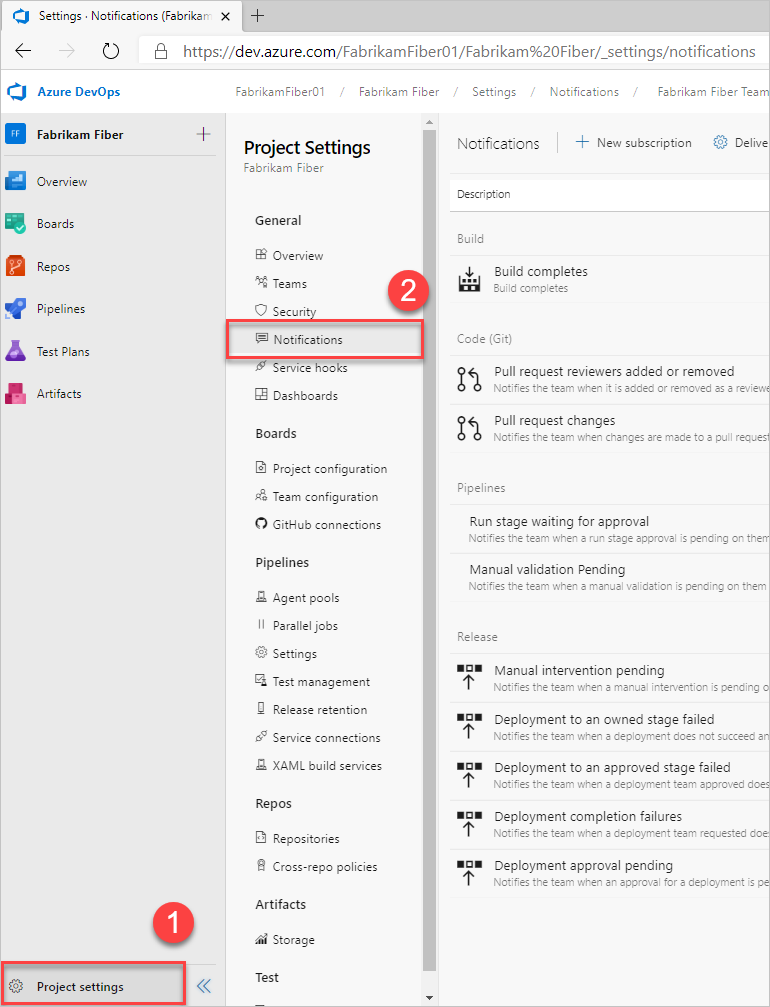
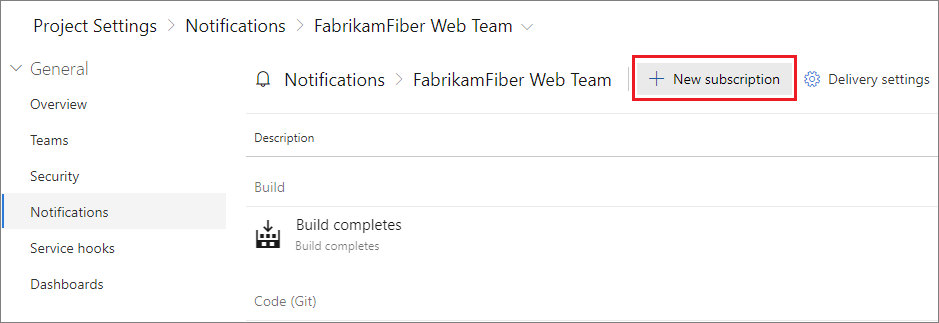
Select New subscription.
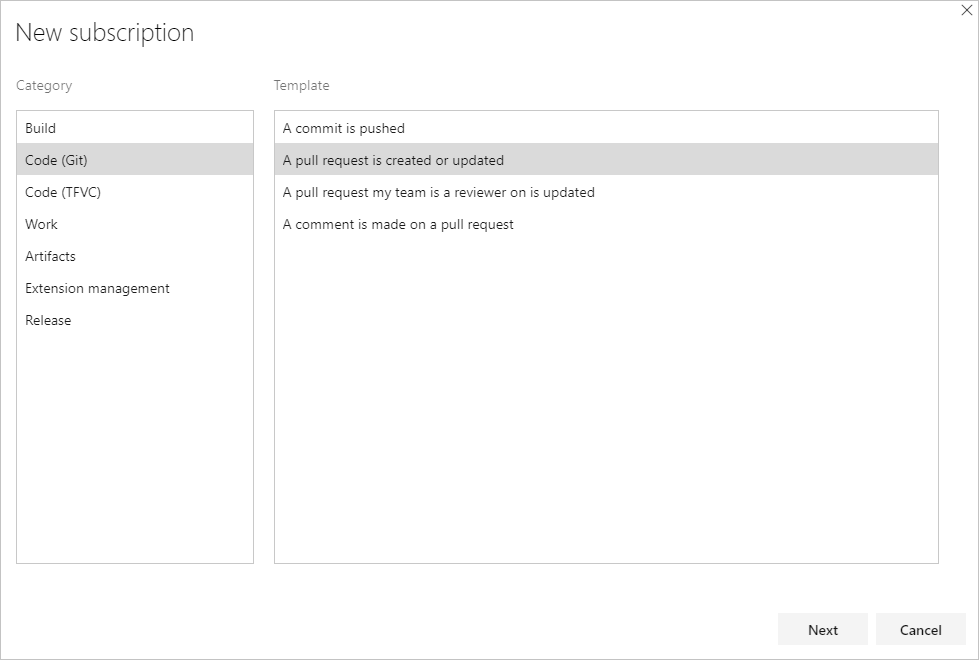
Select the type of activity you want your team to be notified of.
Provide a description to help you identify the subscription later.

Choose which team members should receive a notification:

Choose from one of the following delivery options:
Delivery option Description Team members by role Only certain team members associated with the event are notified. For example, for work item changes, you might only want the current assignee of the work item to receive a notification. Team preference Use the team's default delivery preference. For more information, see Manage delivery settings. Custom email address Send an email to a specified email address. All team members Send an individual email to each member of the team. SOAP Send email notifications to subscribers of SOAP service. For certain activities, when you select Team members by role, you can choose to have the user that initiated the activity receive a notification. This notification is controlled by the Skip initiator checkbox. By default, this box is checked, meaning the user that starts the change isn't notified about it.
Tip
For Team members by role, each role is fairly self-explanatory. However, the following two roles may need some further explanation.
Changed reviewers applies to any reviewer that's added or deleted, as a result of policies defined for the set of files. For example, a push to a pull request (PR) could introduce a change to File1.cs. If there’s a policy which says that Person A needs to review changes to File1.cs, they’d be in the Changed reviewers role for that iteration of the PR.
The Reset reviewers role is related to the “reset votes” policy. For example, the repo has configured the policy, “Reset votes on new pushes”. Person B, who was required on the PR, has already approved this PR. Because of the reset votes policy, their vote has been reset. Thus, she’s in the Reset reviewers role for that iteration.
Choose whether you want to receive notifications about activity in all projects or only a specific project.

Optionally, configure more filter criteria.

Select Finish to save the new subscription.
Sign in to your organization (
https://dev.azure.com/{yourorganization}).Select Project settings > Notifications.
Select New subscription.
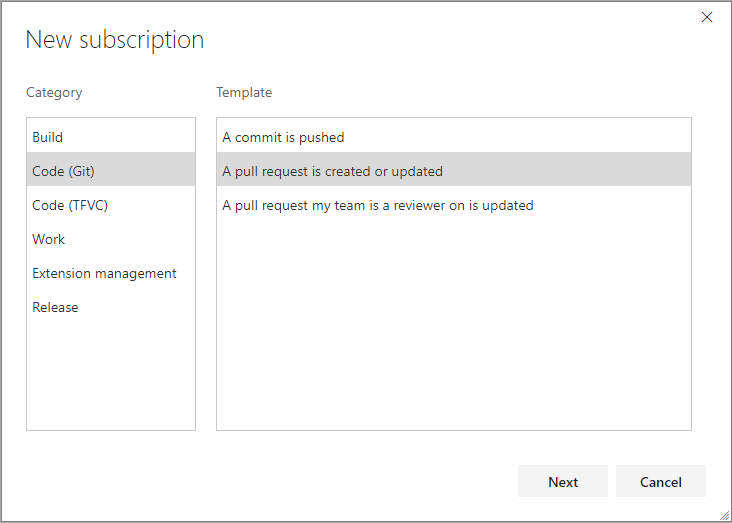
Select the type of activity you want your team to be notified of.
Provide a description to help you identify the subscription later.
Choose which team members should receive a notification:
Choose from one of the following delivery options:
Delivery option Description Team members by role Only certain team members associated with the event are notified. For example, for work item changes, you might only want the current assignee of the work item to receive a notification. Team preference use the team's default delivery preference. For more information, see Manage delivery settings. Custom email address Send an email to a specified email address. All team members Send an individual email to each member of the team. For certain activities, when you select Team members by role, you can choose to have the user that initiated the activity receive a notification. This notification is controlled by the Skip initiator checkbox. By default, this box is checked, meaning the user that starts the change isn't notified about it.
Tip
For Team members by role, each role is fairly self-explanatory. However, the following two roles may need some further explanation. Changed reviewers applies to any reviewer that's added or deleted, as a result of policies defined for the set of files. For example, a push to a pull request (PR) could introduce a change to File1.cs. If there’s a policy which says that Person A needs to review changes to File1.cs, they’d be in the Changed reviewers role for that iteration of the PR. The Reset reviewers role is related to the “reset votes” policy. For example, the repo has configured the policy, “Reset votes on new pushes”. Person B, who was required on the PR, has already approved this PR. Because of the reset votes policy, their vote has been reset. Thus, she’s in the Reset reviewers role for that iteration.
Choose whether you want to receive notifications about activity in all projects or only a specific project.
Optionally, configure more filter criteria.
Select Finish to save the new subscription.
Tip
If you don't want to receive a notification for an event that you initiated, you can turn on the option, Skip initiator. For more information, see Exclude yourself from notification emails for events that you initiate.
Manage global delivery settings
Global notifications apply to all projects defined for an organization or collection. Choose to allow or block delivery of emails for all subscriptions owned by a team or a group. It's a default setting, which applies only if the team or group hasn't explicitly set the option. For more information, see Global notifications.
Tip
We don't support organization-wide notifications. As an alternative, you can provide an email distribution list that goes to your entire organization. Also, you can generate a banner with the az devops banner command that all users see when they sign in.
Tip
You can send an email to all collections in an application tier. See Configure an SMTP server and customize email for alerts and feedback requests. Also, you can generate a banner with the az devops banner command that all users see when they sign in.
Tip
You can send an email to all collections in an application tier. See Configure an SMTP server and customize email for alerts and feedback requests.
Unsubscribe or opt out of a team or out-of-box (OOB) notification subscription
You can choose to not receive notifications for certain team notification subscriptions by opting out.
Sign in to your organization (
https://dev.azure.com/{yourorganization}).Select
 User settings, and then select Notifications from the resulting list.
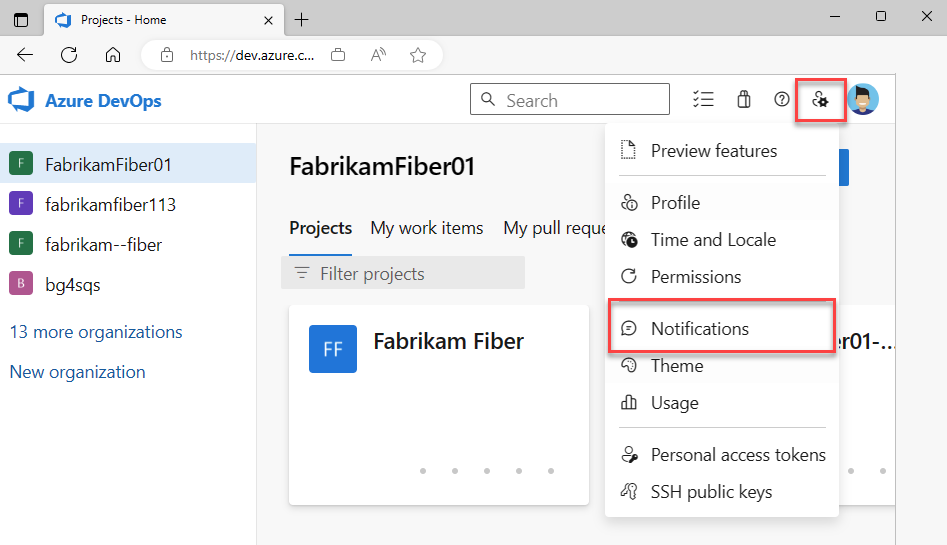
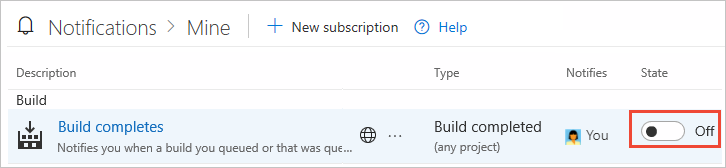
To unsubscribe from any notification, slide the state On/Off indicator to the Off position.
To unsubscribe from any notification, slide the state On/Off indicator to the Off position. For example, here we turn off the "Build completes" notification subscription.
Note
Whether or not you're an administrator, when you move the toggle for a shared team notification subscription in your settings only impacts you and not other team members.
Related articles
Tilbakemeldinger
Kommer snart: Gjennom 2024 faser vi ut GitHub Issues som tilbakemeldingsmekanisme for innhold, og erstatter det med et nytt system for tilbakemeldinger. Hvis du vil ha mer informasjon, kan du se: https://aka.ms/ContentUserFeedback.
Send inn og vis tilbakemelding for