From the Azure portal menu, or from the Home page, select Create a resource.
In the Search box, enter Key Vault.
From the results list, choose Key Vault.
On the Key Vault section, choose Create.
On the Create key vault section provide the following information:
Name: A unique name is required. For this quickstart, we use Contoso-vault2.
Subscription: Choose a subscription.
Under Resource Group, choose Create new and enter a resource group name.
In the Location pull-down menu, choose a location.
Leave the other options to their defaults.
Select Create.
Take note of these two properties:
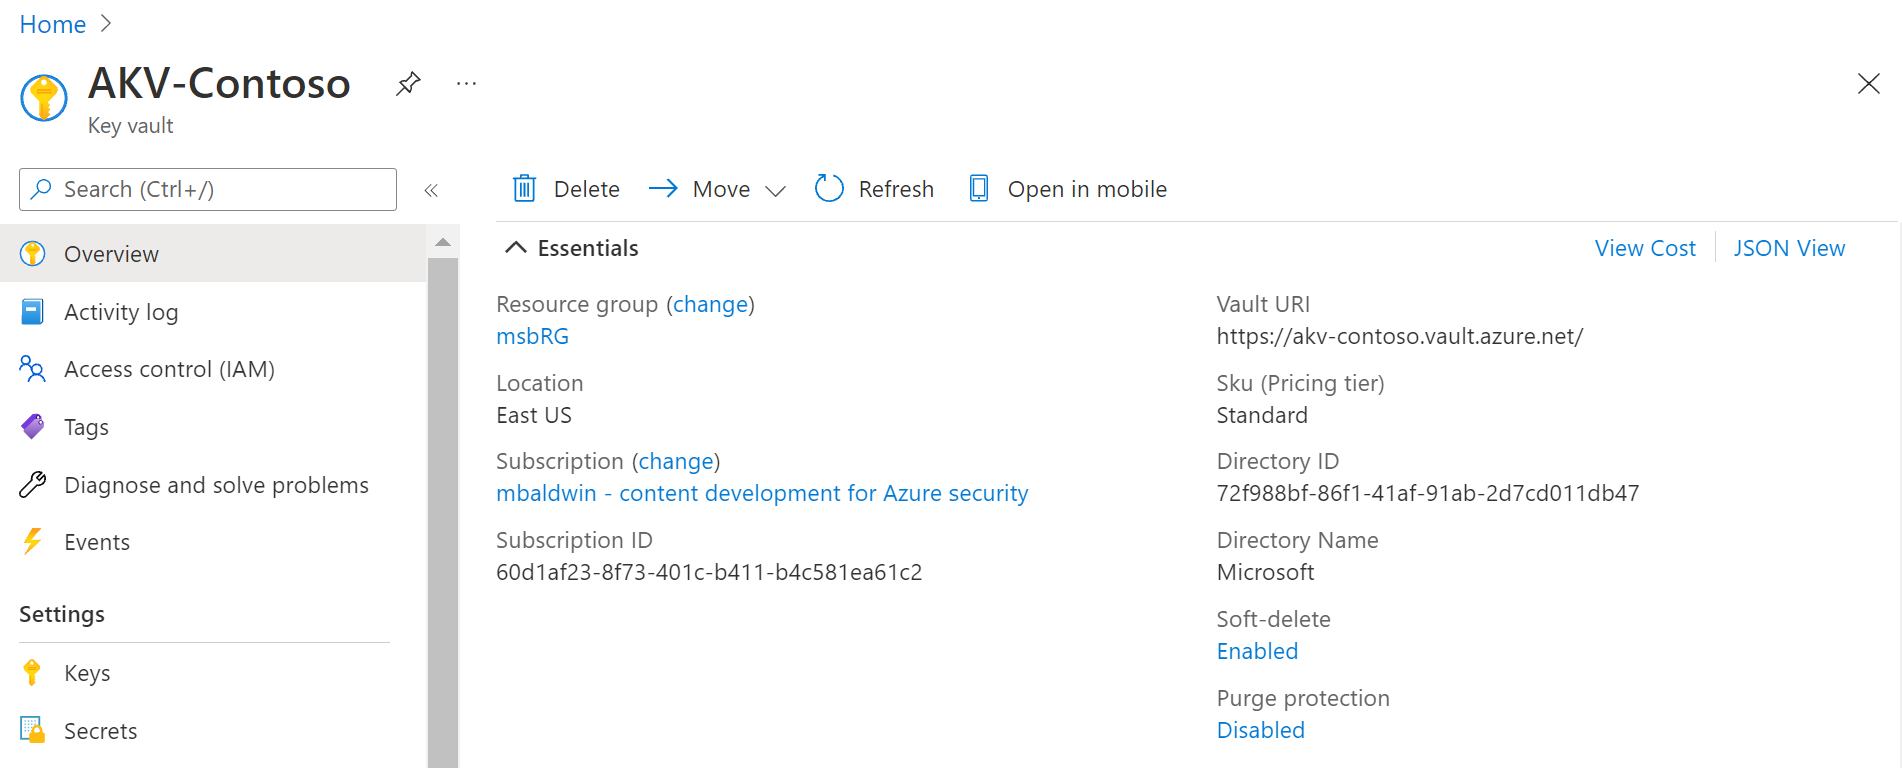
Vault Name: In the example, this is Contoso-Vault2. You'll use this name for other steps.
Vault URI: In the example, the Vault URI is https://contoso-vault2.vault.azure.net/. Applications that use your vault through its REST API must use this URI.
At this point, your Azure account is the only one authorized to perform operations on this new vault.
Clean up resources
Other Key Vault quickstarts and tutorials build upon this quickstart. If you plan to continue on to work with subsequent quickstarts and tutorials, you may wish to leave these resources in place.
When no longer needed, delete the resource group, which deletes the Key Vault and related resources. To delete the resource group through the portal:
Enter the name of your resource group in the Search box at the top of the portal. When you see the resource group used in this quickstart in the search results, select it.
Select Delete resource group.
In the TYPE THE RESOURCE GROUP NAME: box type in the name of the resource group and select Delete.
Next steps
In this quickstart, you created a Key Vault using the Azure portal. To learn more about Key Vault and how to integrate it with your applications, continue on to these articles.