Configure copilot template for store operations
Important
Some or all of this functionality is available as part of a preview release. The content and the functionality are subject to change.
To use AI store operations in Store Operations Assist, you need to complete the following steps:
Configure AI store operations to work in Store Operations Assist admin portal
To add relevant configurations and examples for AI store operations, follow these steps in Store Operations Assist admin portal:
Go to App setup > AI store operations section on the left navigation.
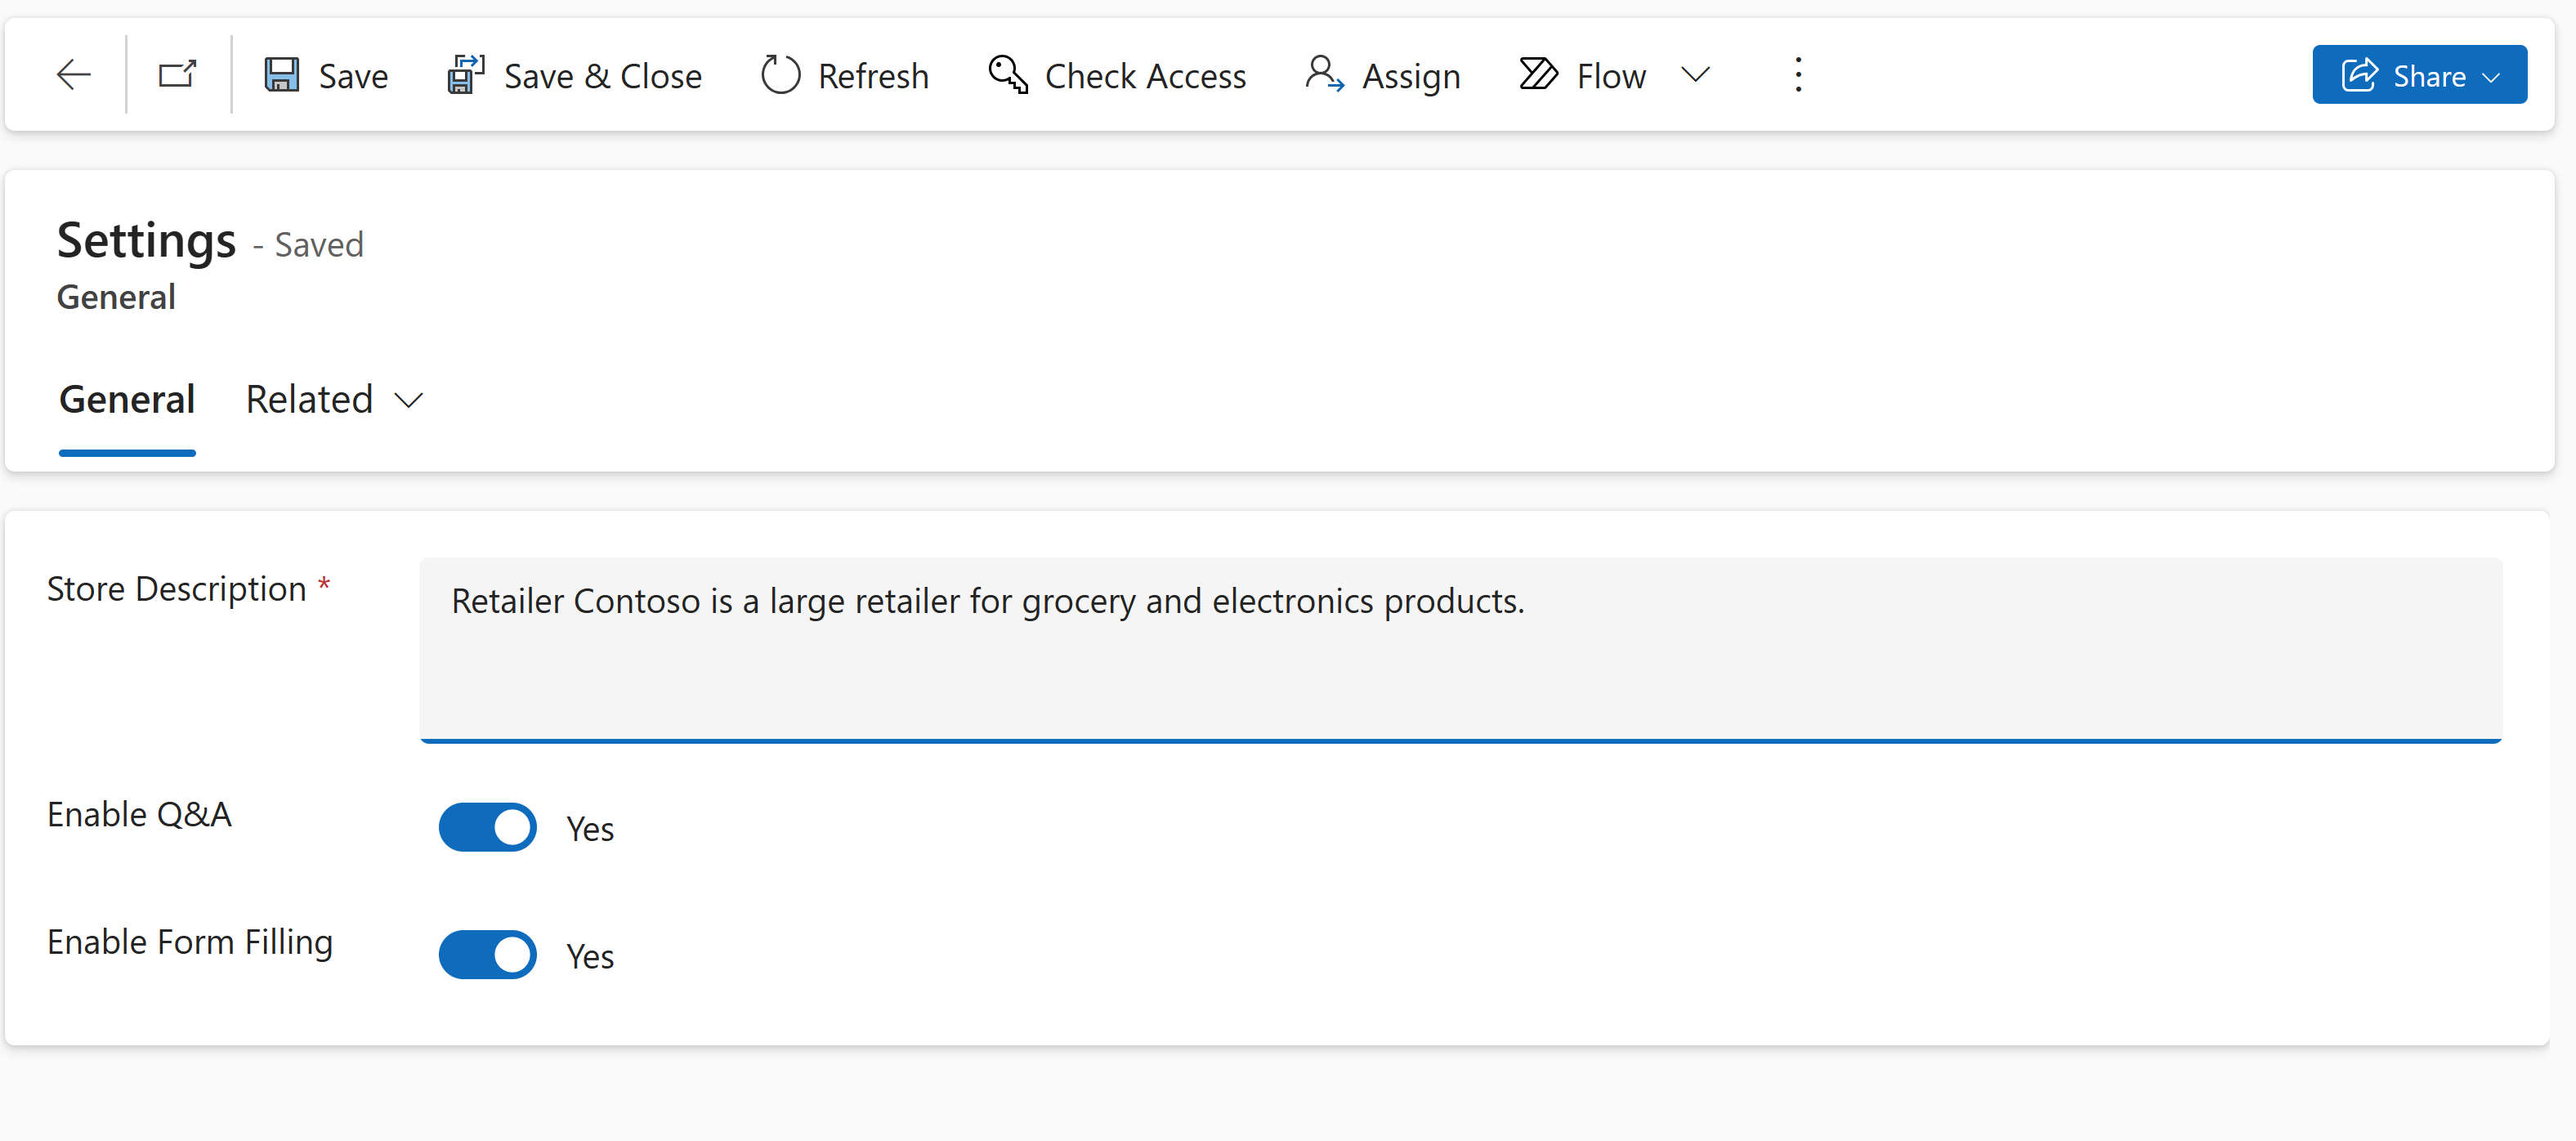
Go to General tab to enable or disable AI store operations features:
Store Description: Provide a description of the organization (retailer).
Enable Q&A: Toggle to enable or disable the Q&A feature.
Enable Form Filling: Toggle to enable or disable the form filling feature.
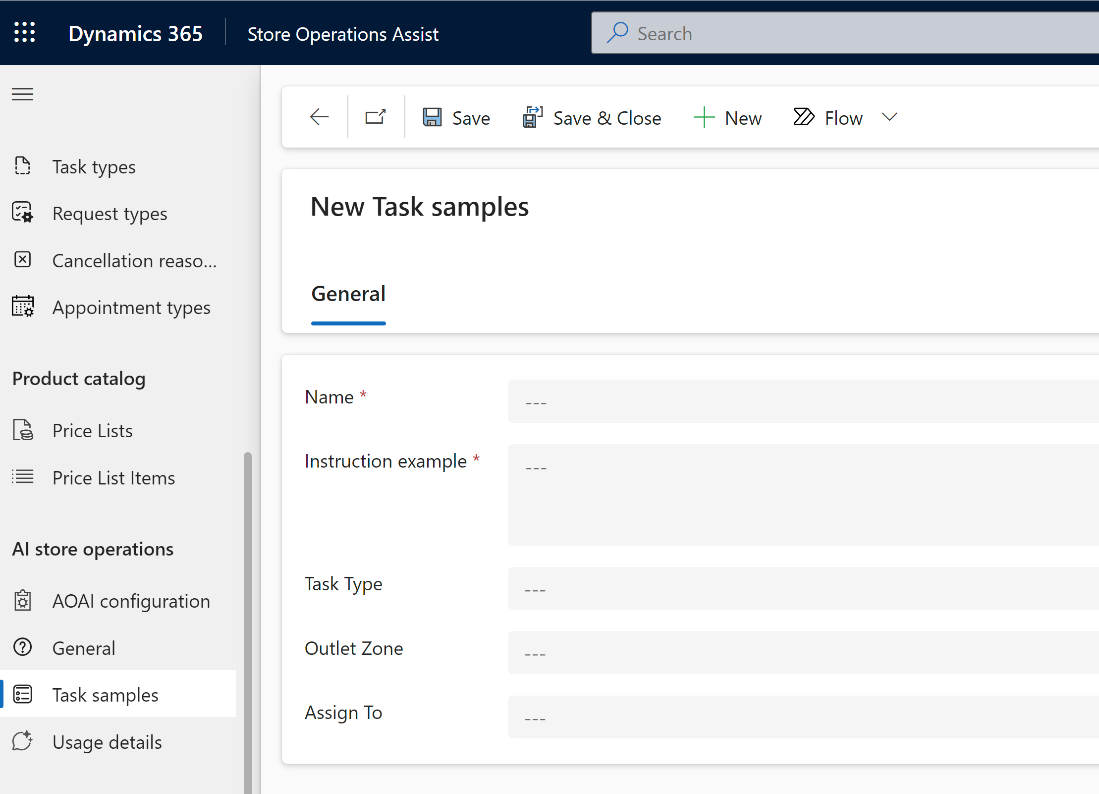
Go to Active Task samples page in Store Operations Assist admin portal setup.
Important
We recommend that you add at least five examples of the retailer so that LLM can provide relevant information (answers /tasks) suitable for the retailer. It's mandatory to create at least one example without which the solution shows errors.
Name: Give a name for the example task.
Instruction example: Enter an example, one that store associates typically ask.
Task type: Choose the task type for the example task.
Outlet Zone: Choose the zone where the task usually happens from the list.
Assign To: Choose the associate or team, which typically manages the example task.
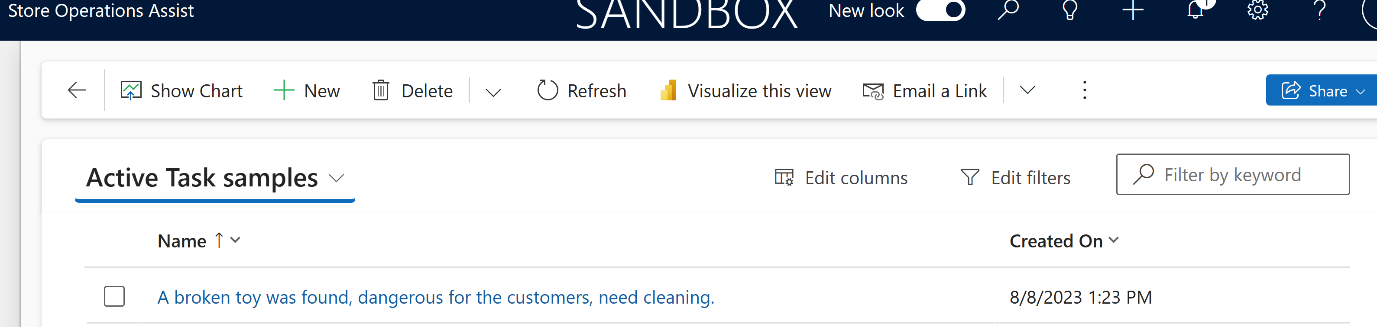
You can see the list of examples that you added as shown:


Link Store Operations Assist with Azure OpenAI accounts
To link Store Operations Assist with Azure OpenAI accounts, follow these steps:
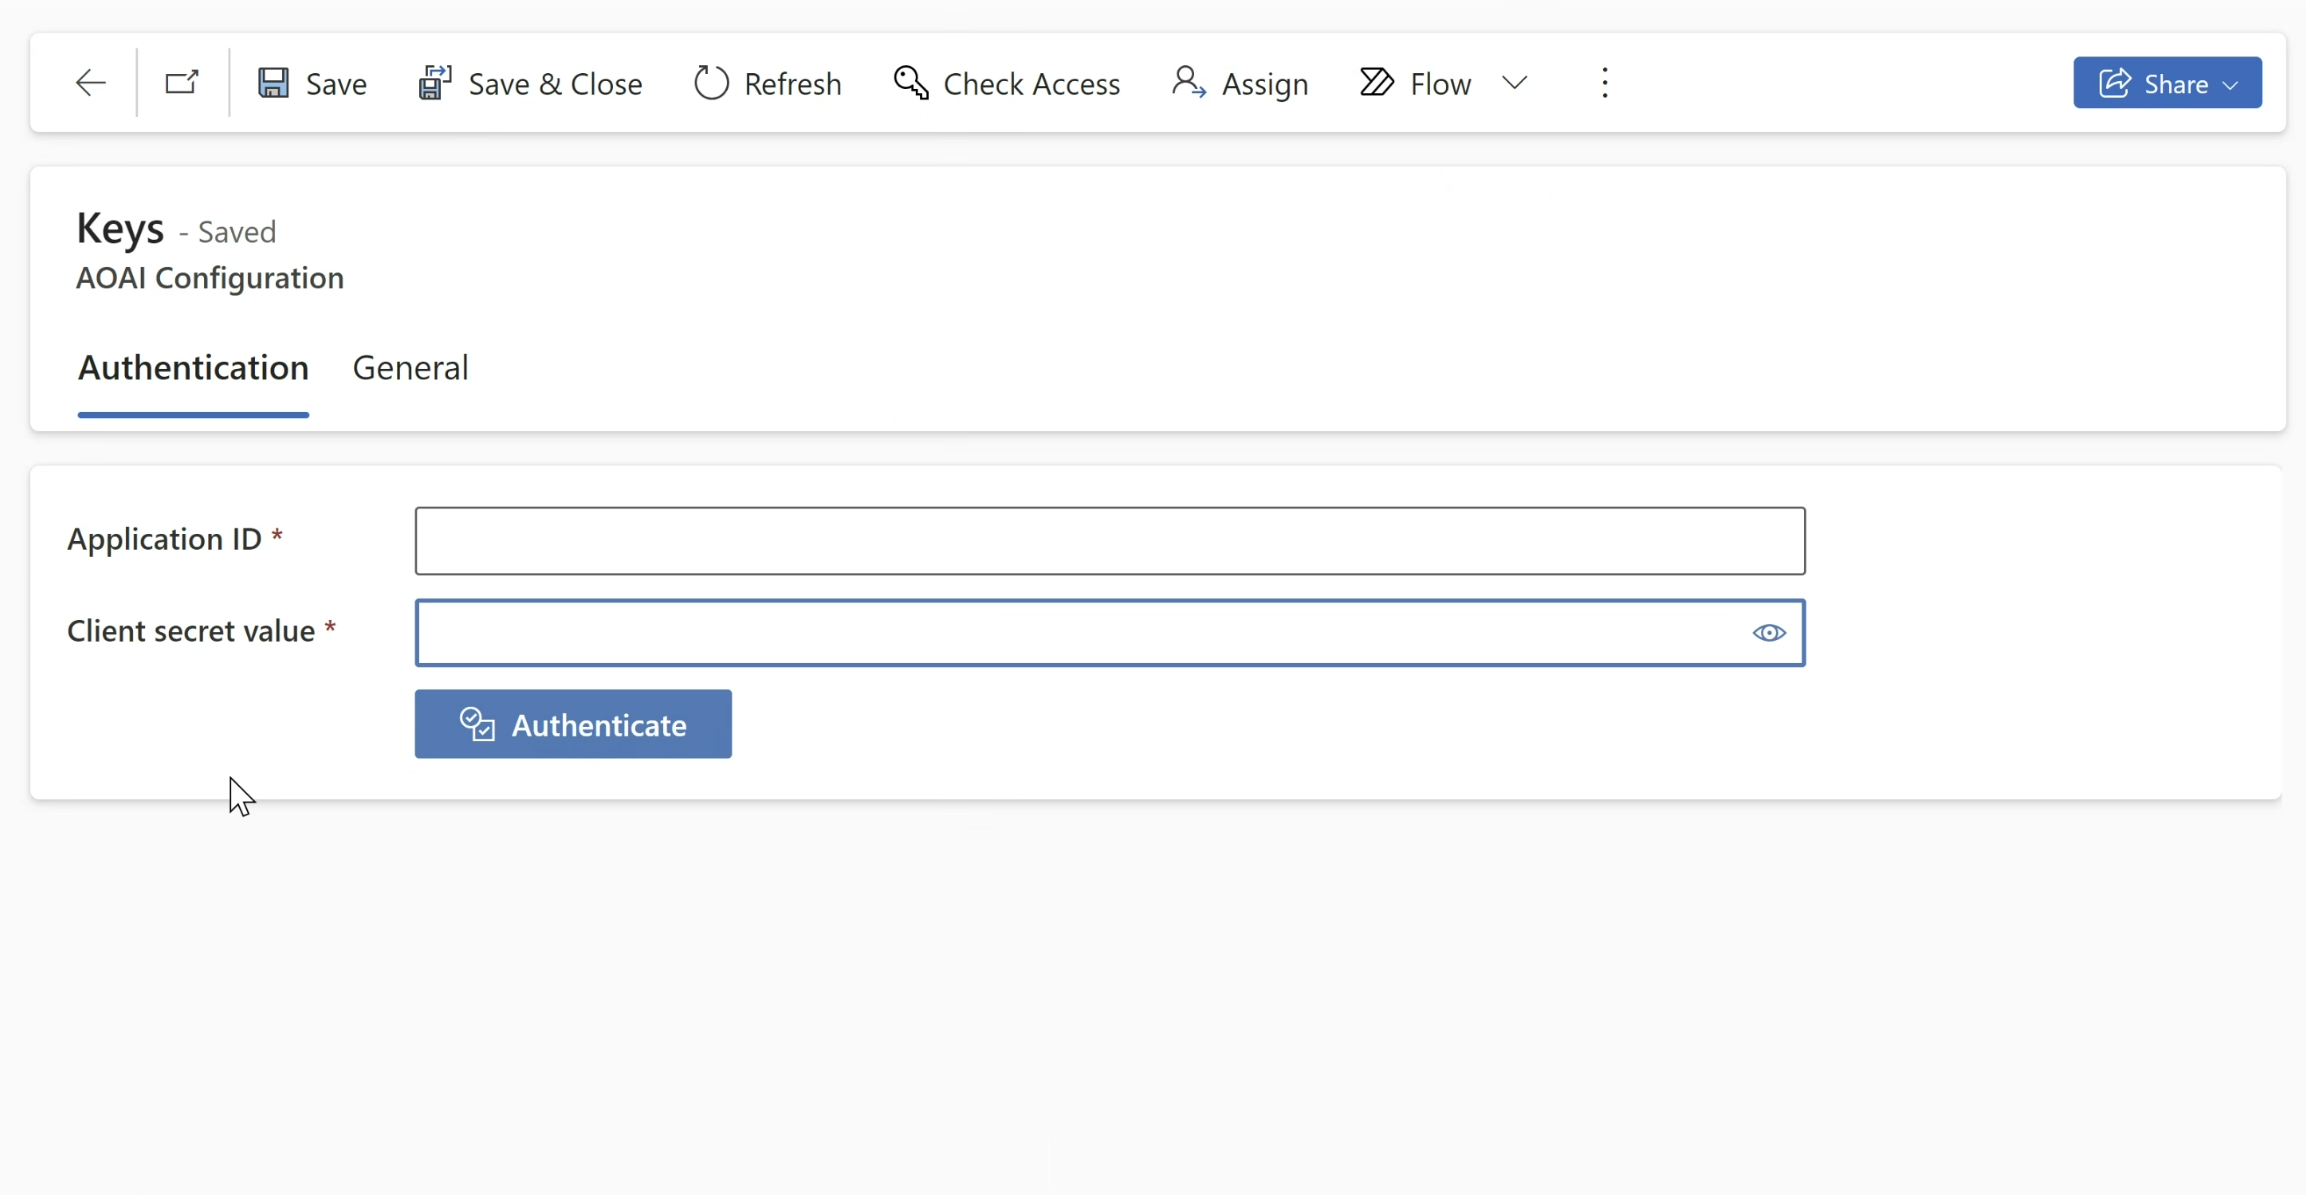
In the left navigation, select Azure OpenAI configuration.
The Authentication tab opens by default. The Application ID and Client secret value created during app registration (Azure portal) are required here. Enter the same information as displayed in Azure portal in Store Operations Assist admin portal for successful authentication. Select Authenticate.
Important
If you are already using AI store operations, you should maintain the same authentication when you upgrade to future releases.
Select the General tab in Azure OpenAI configuration. Fill in the following details:
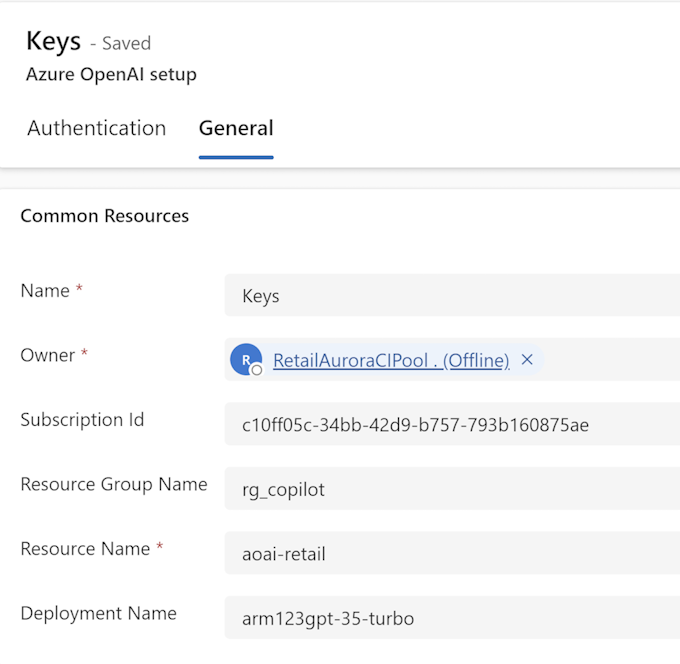
Name: Give a name for this configuration.
Owner: Enter the details of the IT administrator.
Subscription ID: Enter your Azure OpenAI Subscription ID.
Resource Group Name: Provide the name of the resource group created in Azure OpenAI.
Resource Name: Enter the name of the resource created in Azure OpenAI.
Deployment Name: Enter the deployment name from Azure AI studio.
Important
Use the values that you noted down previously while validating the deployment of resources in the Azure portal.
Configure Q&A resources in Azure OpenAI configuration. Fill in the following details:
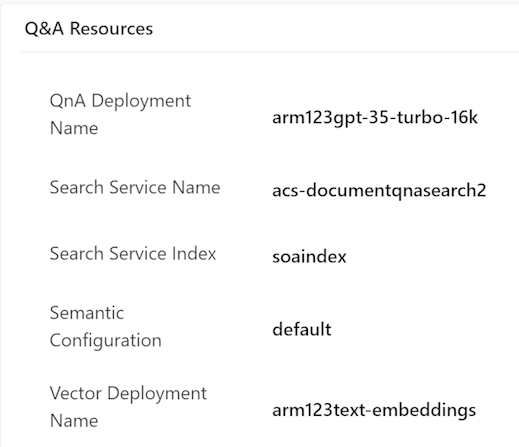
Q&A Deployment Name: Enter the Q&A deployment name from Azure OpenAI portal as shown in the given screenshot (typically name of gpt-35-turbo-16k model).
Search Service Name: Enter the name of your Azure Cognitive Search service name from resource group1.
Search Service Index: Enter the search index name from resource group by searching for the service name.
Semantic Configuration: Choose default.
Vector Deployment Name: Enter the deployment name from Azure OpenAI portal (typically name of embedding model).
Important
Use the values that you noted down previously while validating the deployment of resources in Azure portal and deployment of models in Azure AI Studio.


