Merk
Tilgang til denne siden krever autorisasjon. Du kan prøve å logge på eller endre kataloger.
Tilgang til denne siden krever autorisasjon. Du kan prøve å endre kataloger.
Note
This walkthrough uses sample names and values from a company called Contoso. Replace these with your own. For example:
- Domain controller name - corpdc
- Domain name - contoso
- MIM Service Server name - corpservice
- MIM Sync Server name - corpsync
- SQL Server name - corpsql
- Password - Pass@word1
To install Microsoft Identity Manager 2016 components, first set up the installation package.
Sign in as contoso\miminstall to the server you are using for identity management synchronization server corpsync.
Unpack the MIM installation package or mount the MIM image DVD. If you do not have this DVD, see Microsoft Identity Manager licensing and downloads.
Install MIM 2016 SP1 or later Synchronization Service
In the unpacked MIM installation folder, navigate to the Synchronization Service folder.
Run the MIM Synchronization Service installer. Follow the guidelines of the installer and complete the installation.
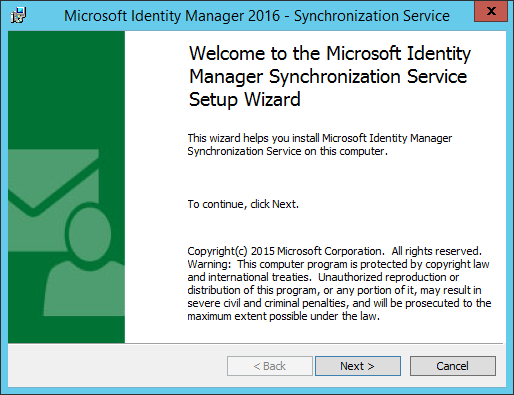
In the welcome screen – click Next.
Review the license terms and click Next to accept them.
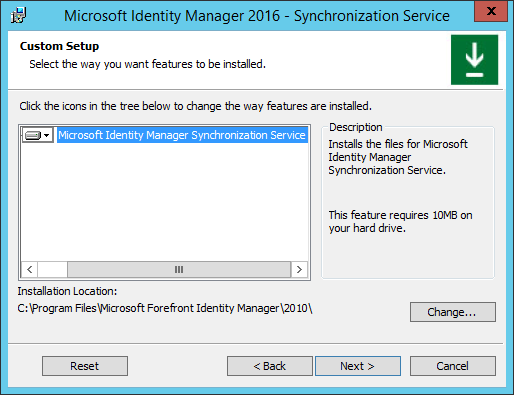
On the Custom Setup screen click Next.
In the Sync Service database configuration screen, select:
The SQL Server is located on: A Remote machine called corpsql.contoso.com.
The SQL Server instance is: The default instance
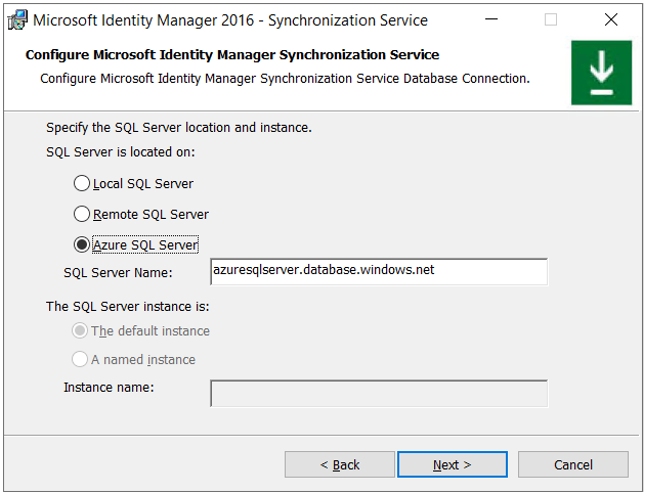
- MIM 2016 SP2 and later: Configure the MIM Synchronization Service Database name
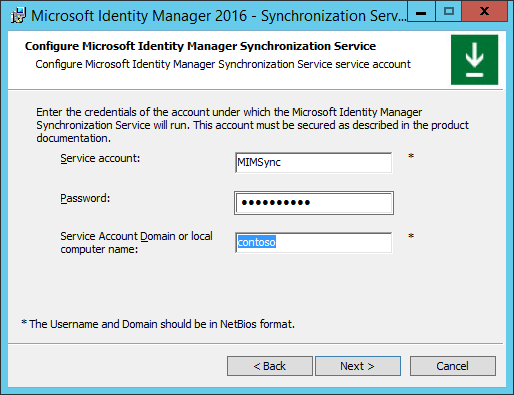
Configure the Sync Service Account according to the account you created earlier:
Service account: MIMSync
Password: Pass@word1
Service Account Domain or local computer name: contoso
Note
MIM 2016 SP2 and later: for Group Managed Service Accounts, ensure the $ character is at the end of the Service Account Name, e.g. MIMSync$, and leave the Password field empty.
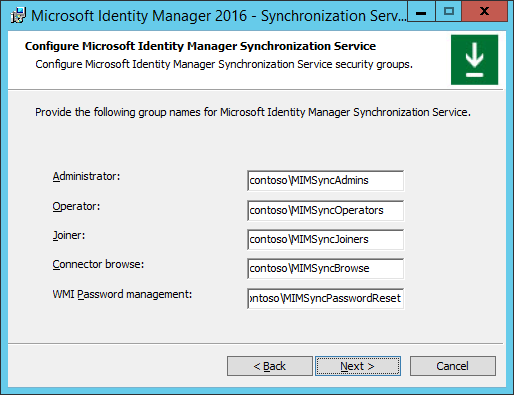
Provide MIM Sync Service installer with the relevant security groups:
Administrator = contoso\MIMSyncAdmins
Operator= contoso\MIMSyncOperators
Joiner = contoso\MIMSyncJoiners
Connector Browse = contoso\MIMSyncBrowse
WMI Password Management= contoso\MIMSyncPasswordReset
In the security settings screen, check Enable firewall rules for inbound RPC communications, and click Next.
Click Install to begin the installation of MIM Sync Service.
A warning concerning the MIM Sync service account may appear – click OK.
MIM Sync Service will install.
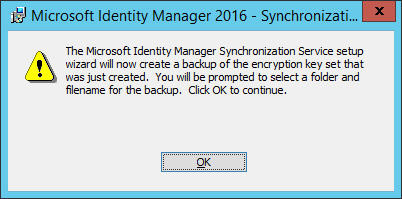
A notice on creating a backup for the encryption key appears – click OK, then select a folder to store the encryption key backup.
When the installer successfully completes the installation, click Finish.
You need to sign out and sign in for the group membership changes to take effect. Click Yes to sign out.