Merk
Tilgang til denne siden krever autorisasjon. Du kan prøve å logge på eller endre kataloger.
Tilgang til denne siden krever autorisasjon. Du kan prøve å endre kataloger.
In the first tutorial, you'll start out with a new Unreal project and enable the HoloLens plugin, create and light a level, and add chess pieces. You'll be using our pre-made assets for all 3D objects and materials, so don't worry about modeling anything yourself. By the end of this tutorial, you'll have a blank canvas that's ready for mixed reality.
Important
Make sure you have all the prerequisites from the Getting Started page.
Objectives
- Configuring an Unreal project for HoloLens development
- Importing assets and setting up a scene
- Creating Actors and script-level events with blueprints
Creating a new Unreal project
The first thing you need is a project to work with. If you're a first-time Unreal developer, you'll need to download supporting files from the Epic Launcher.
Launch Unreal Engine
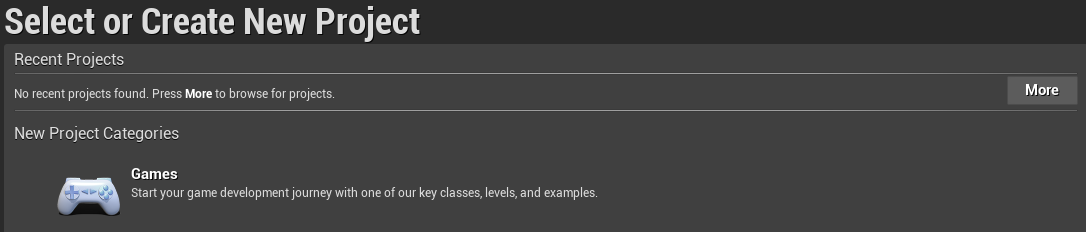
Select Games in New Project Categories and click Next.
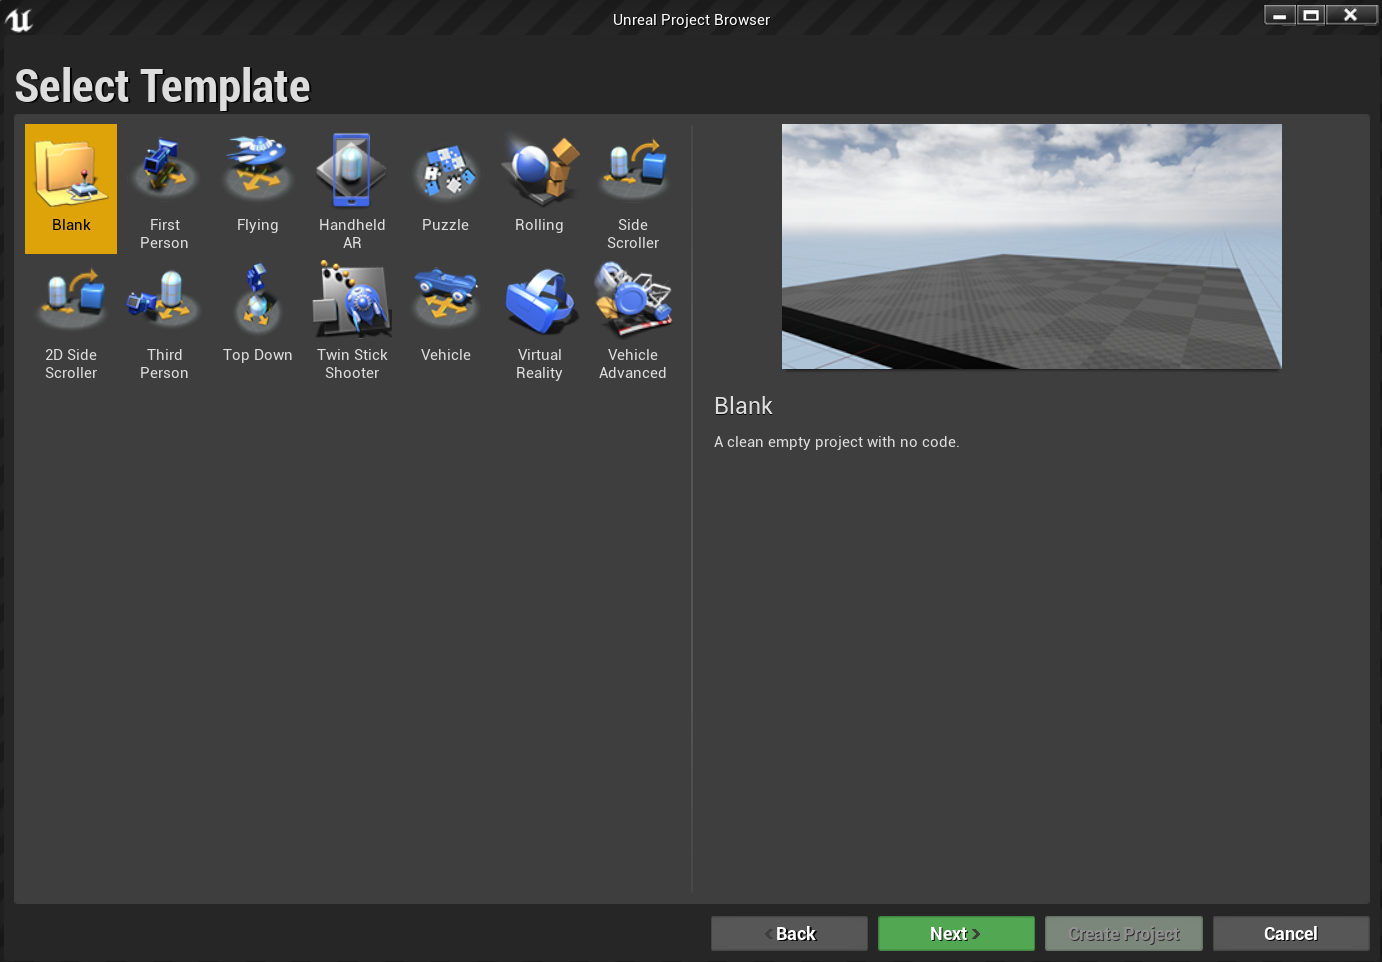
- Select the Blank Template and click Next.
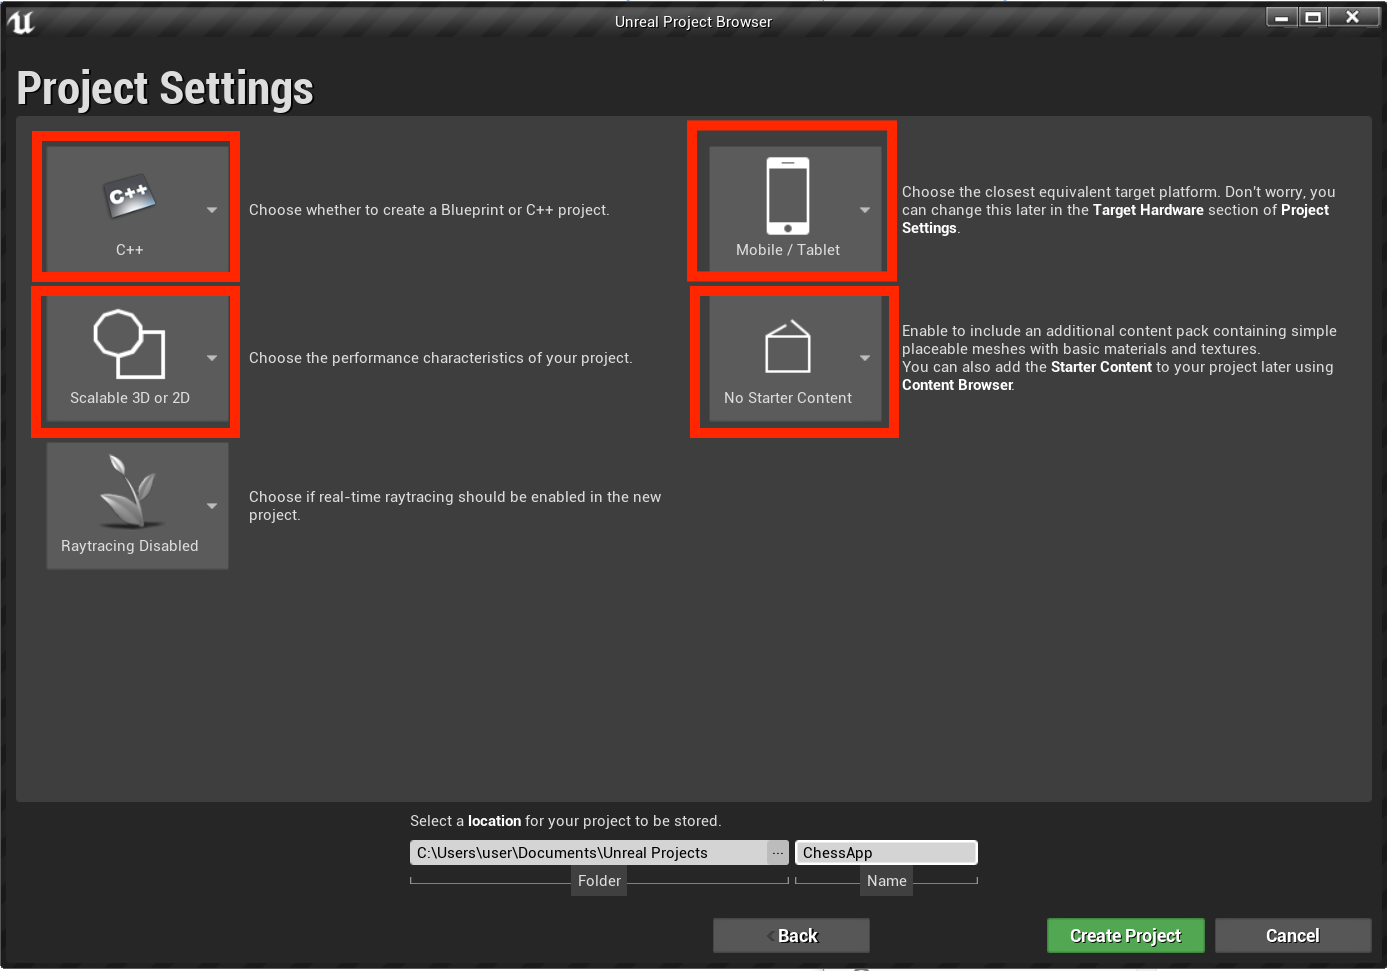
- Set C++, Scalable 3D or 2D, Mobile/Tablet, and No Starter Content as your Project Settings, then choose a save location and click Create Project.
Note
You must select a C++ project rather than a Blueprint project in order to build the UX Tools plugin, which you'll be setting up later on in section 4.
The project should open up automatically in the Unreal editor, which means you're ready for the next section.
Enabling required plugins
In order to use the features available via Microsoft's mixed reality platform, you'll first need to install and enable the Microsoft OpenXR plugin. To learn more about the plugin, you can check out the project on GitHub.
- Open the Epic Games Launcher. Navigate to Unreal Engine Marketplace and search for "Microsoft OpenXR". Install the plugin to your engine.

- Back in the Unreal editor, go to Project Settings > Plugins and search for "Microsoft OpenXR". Ensure the plugin is enabled and restart the editor if prompted.
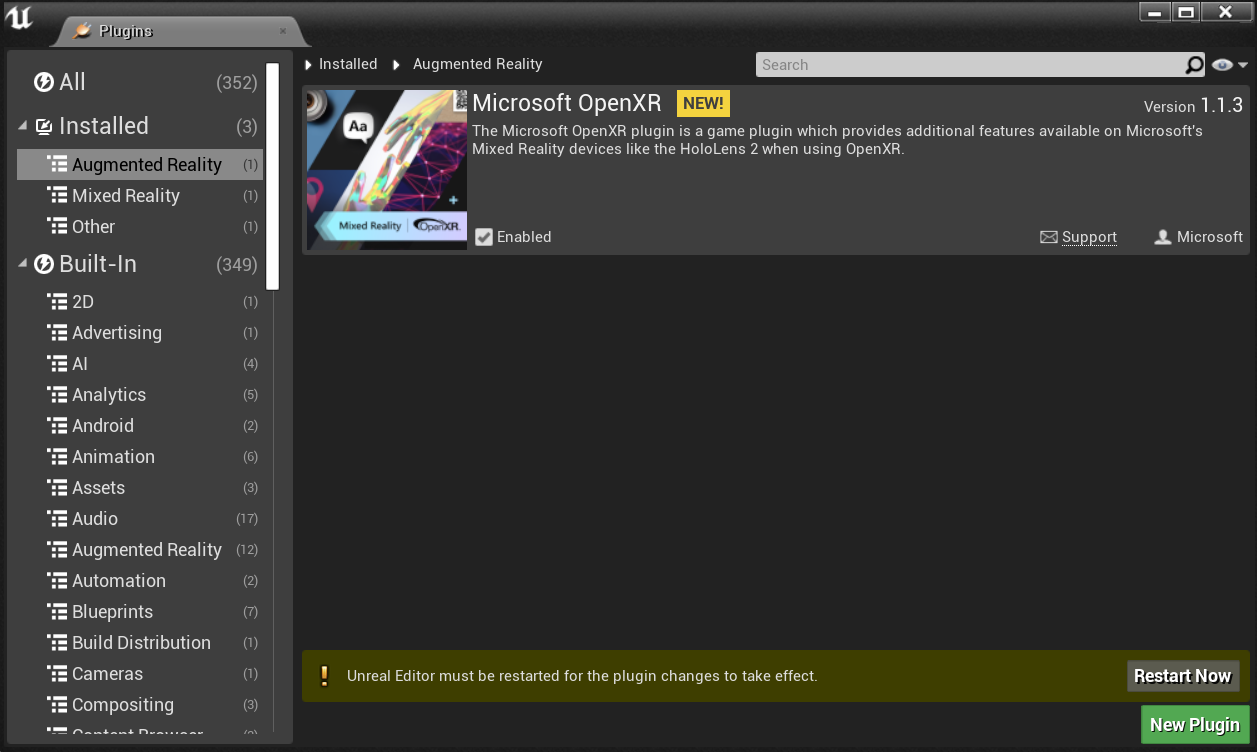
Enabling the Microsoft OpenXR plugin will automatically enable all the other plugins required for mixed reality development. Note that the "Microsoft Windows Mixed Reality" plugin must be disabled in order to use OpenXR.
Creating a level
Your next task is to create a player setup with a starting point and a cube for reference and scale.
Select File > New Level and choose Empty Level. The default scene in the viewport should now be empty.
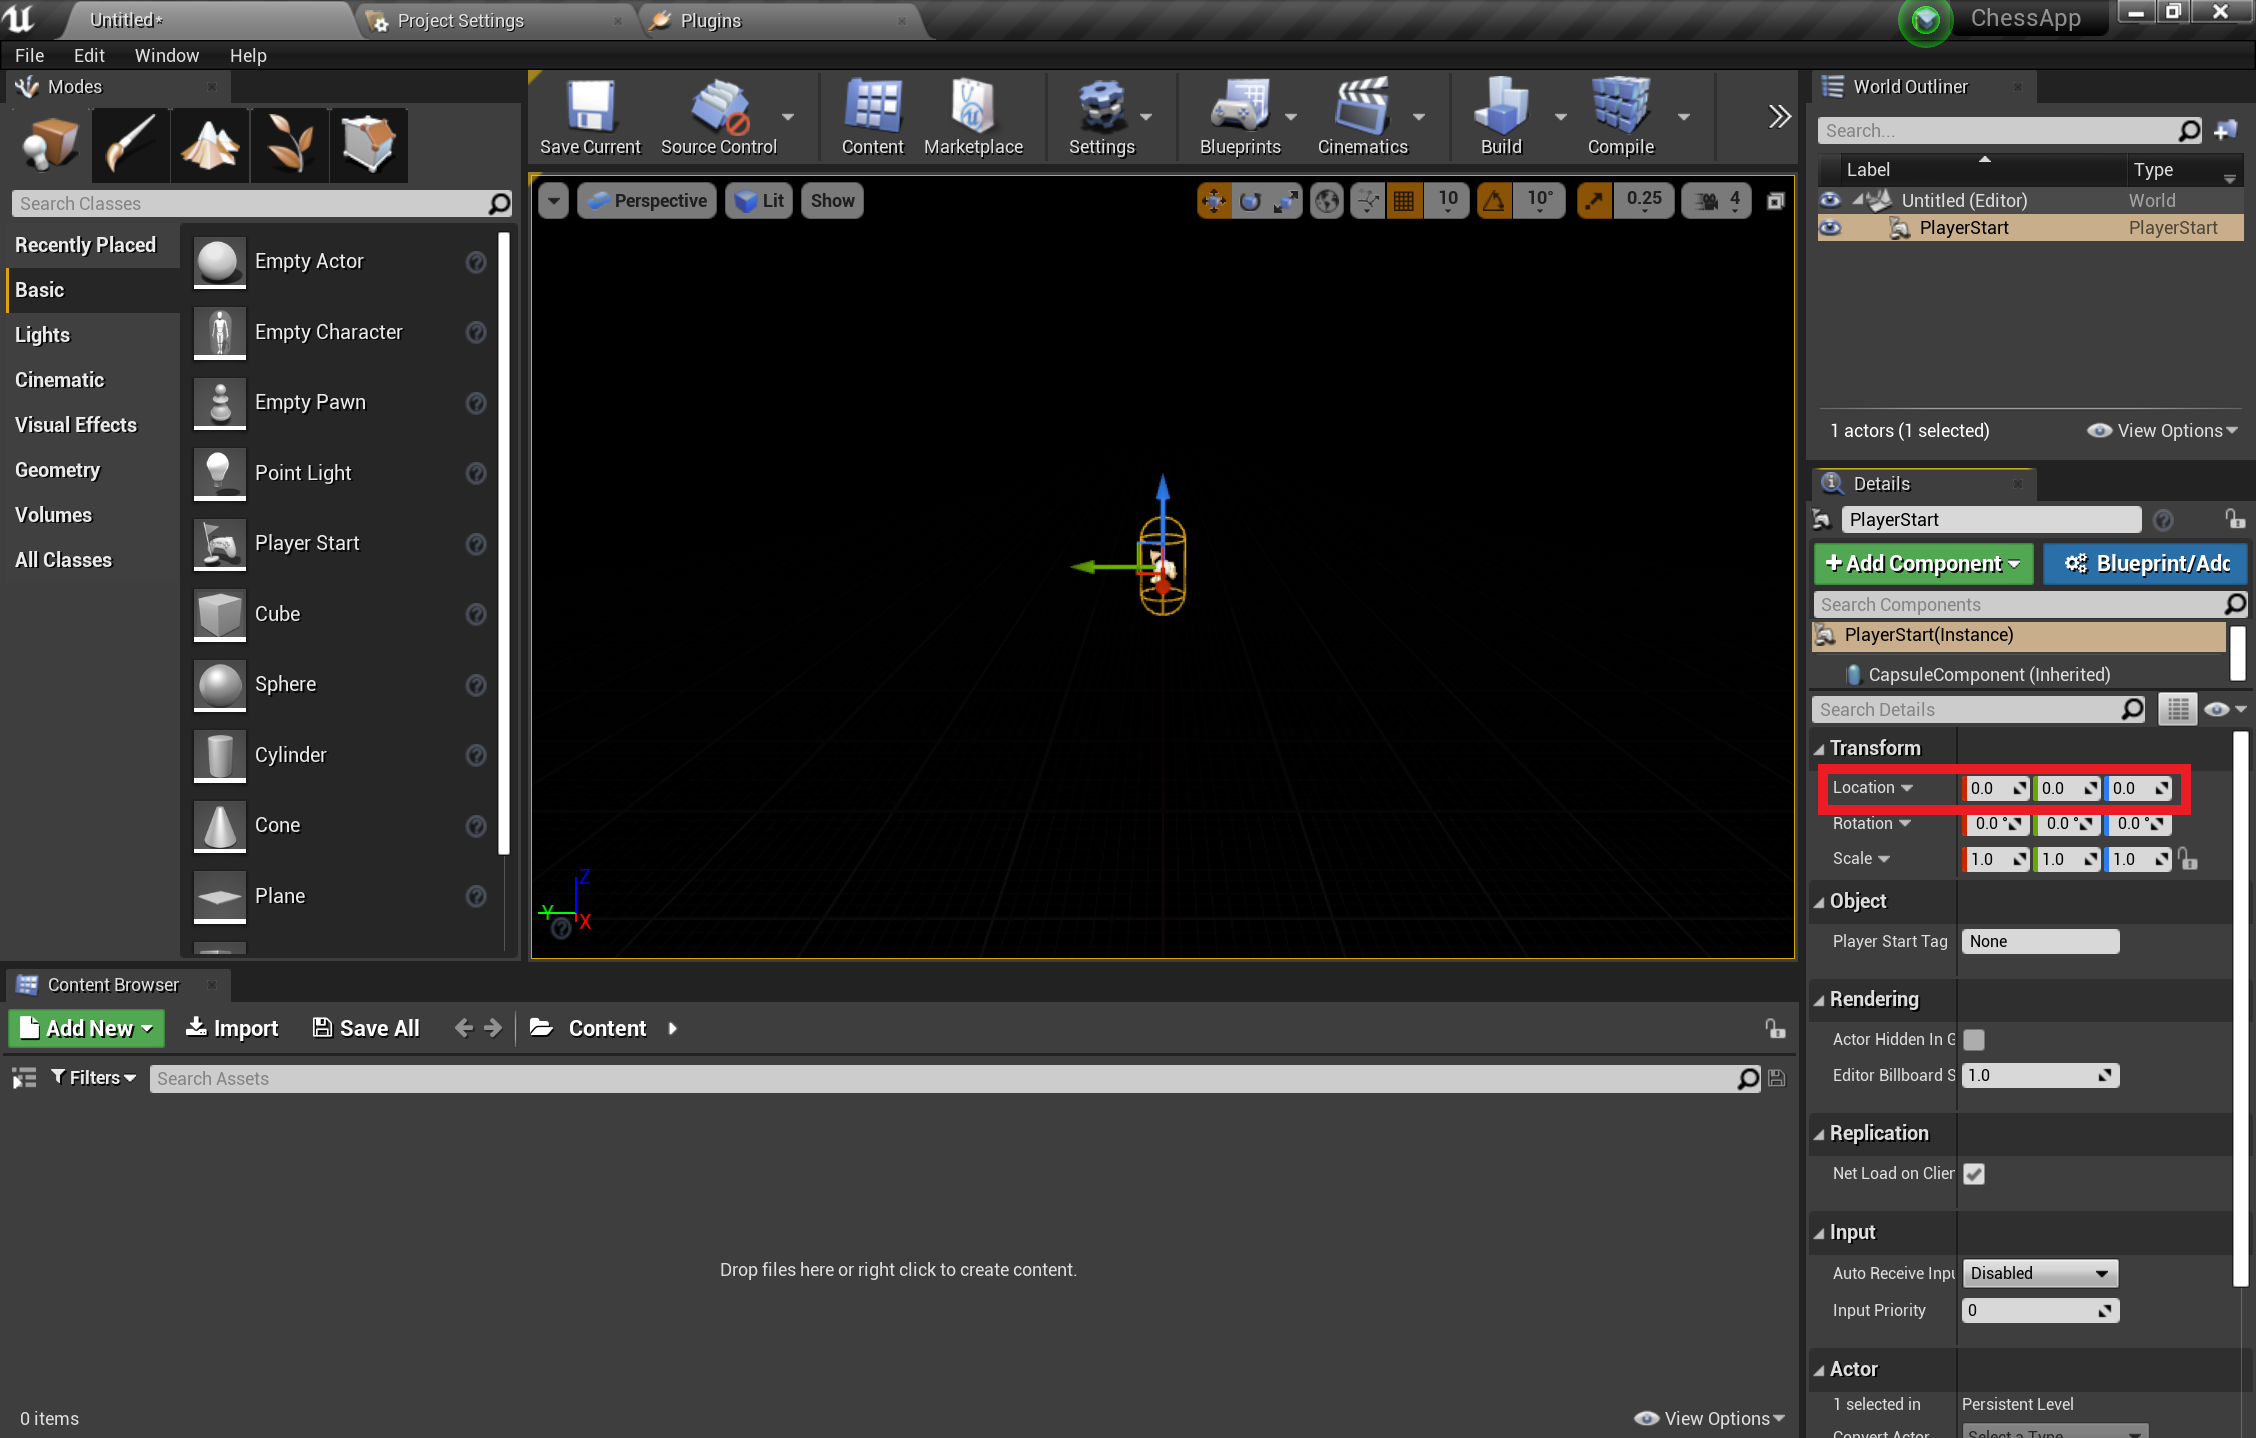
Select Basic from the Modes tab and drag PlayerStart into the scene.
- Set Location to X = 0, Y = 0, and Z = 0 in the Details tab to set the user at the center of the scene when the app starts up.
- Drag a Cube from the Basic tab into the scene.
- Set Location to X = 50, Y = 0, and Z = 0. to position the cube 50 cm away from the player at start time.
- Change Scale to X = 0.2, Y = 0.2, and Z = 0.2 to shrink the cube down.
You can't see the cube unless you add a light to your scene, which is your last task before testing the scene.
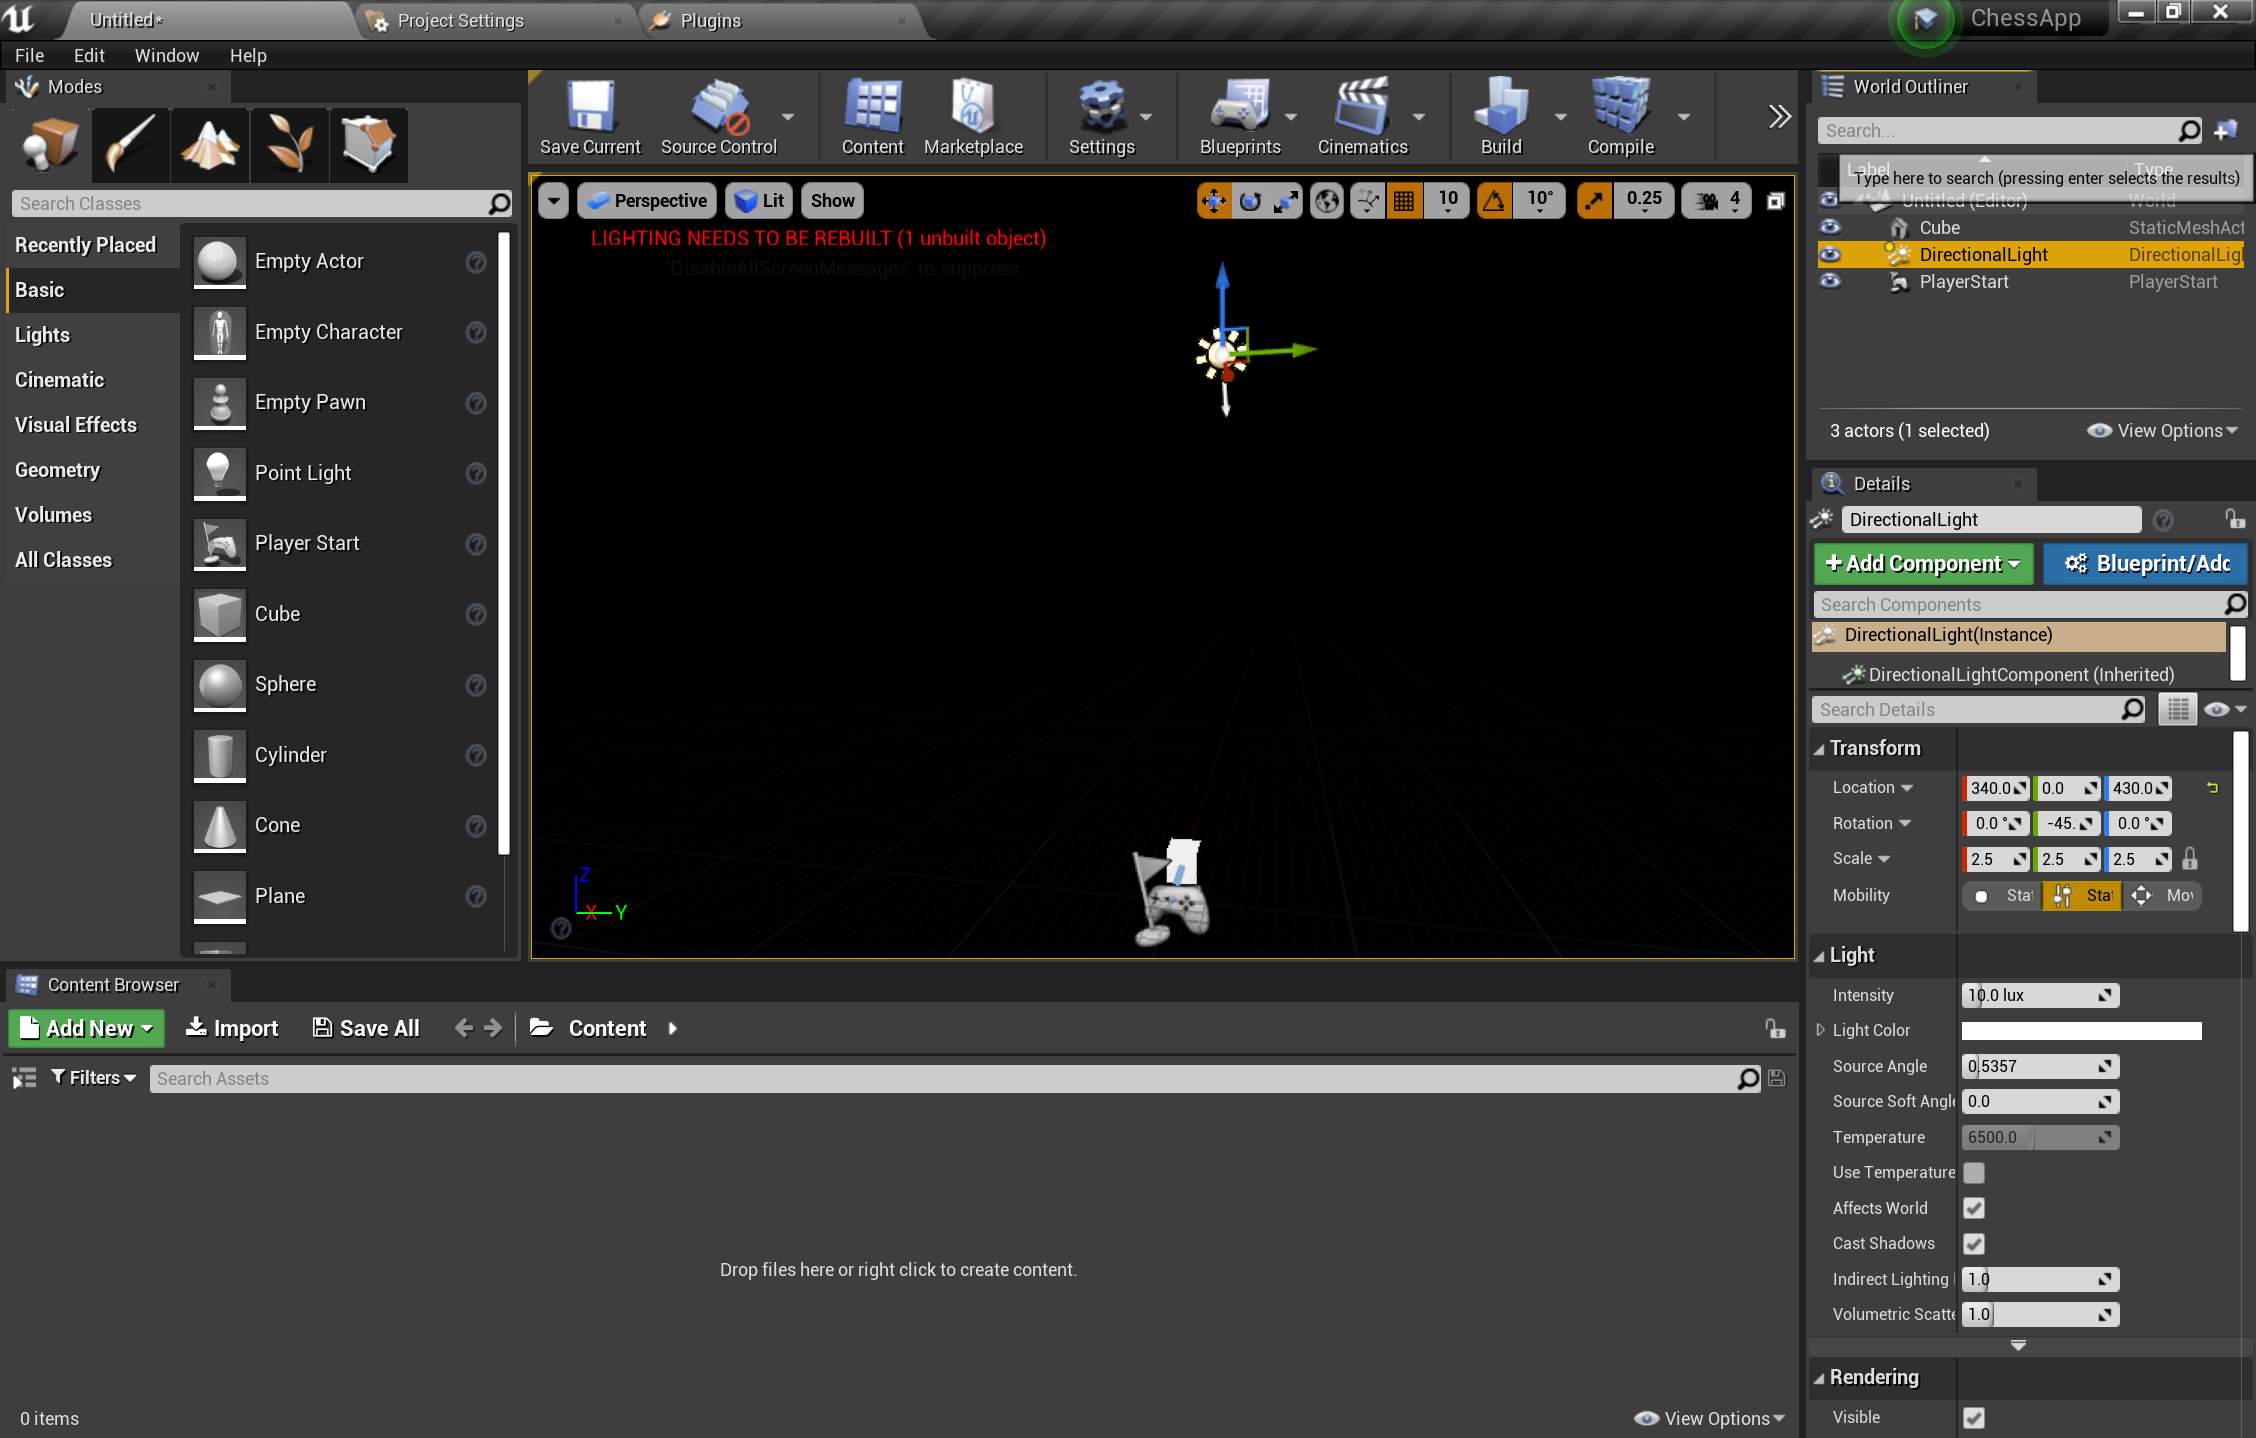
- Switch to the Lights tab in the Modes panel and drag a Directional Light into the scene. Position the light above PlayerStart so you can see it.
- Go to File > Save Current, name your level Main, and select Save.
With the scene set, press Play in the toolbar to see your cube in action! When you're finished admiring your work, press Esc to stop the application.

Now that the scene is set up, you can start adding in the chess board and piece to round out the application environment.
Importing assets
The scene is looking a bit empty at the moment, but you'll fix that by importing the ready-made assets into the project.
Select Add New > New Folder from the Content Browser and name it ChessAssets.
- Double-click the new folder where you'll import the 3D assets.
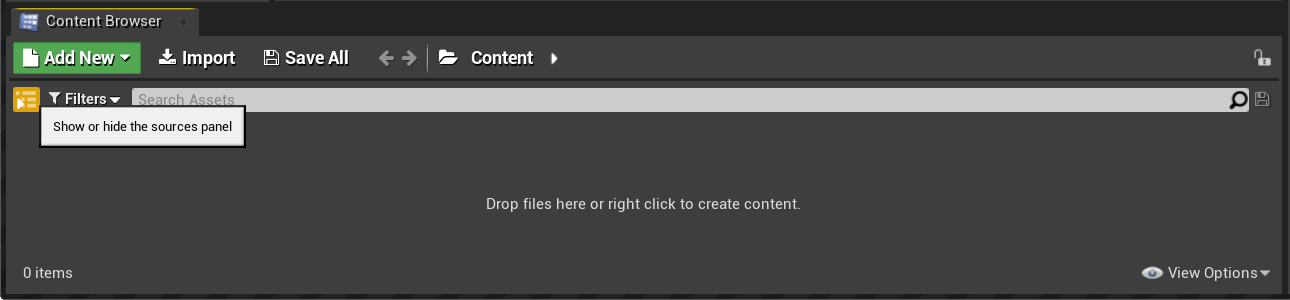
Select Import from the Content Browser, select all the items in the unzipped assets folder and click Open.
- Assets include the 3D object meshes for the chess board and pieces in FBX format and texture maps in TGA format that you'll use to for materials.
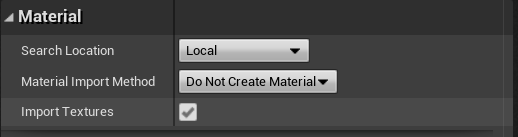
When the FBX Import Options window pops up, expand the Material section and change Material Import Method to Do Not Create Material.
- Select Import All.
That's all you need to do for the assets. Your next set of tasks is to create the building blocks of the application with blueprints.
Adding blueprints
- Select Add New > New Folder in the Content Browser and name it Blueprints.
Note
If you're new to blueprints, they're special assets that provide a node-based interface for creating new types of Actors and script level events.
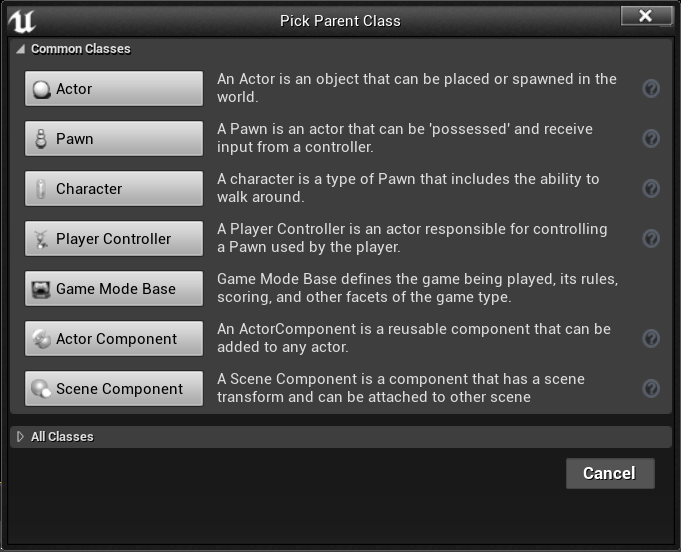
- Double-click into the Blueprints folder, then right-click and select Blueprint Class.
- Select Actor and name the blueprint Board.
The new Board blueprint now shows up in the Blueprints folder as seen in the following screenshot.
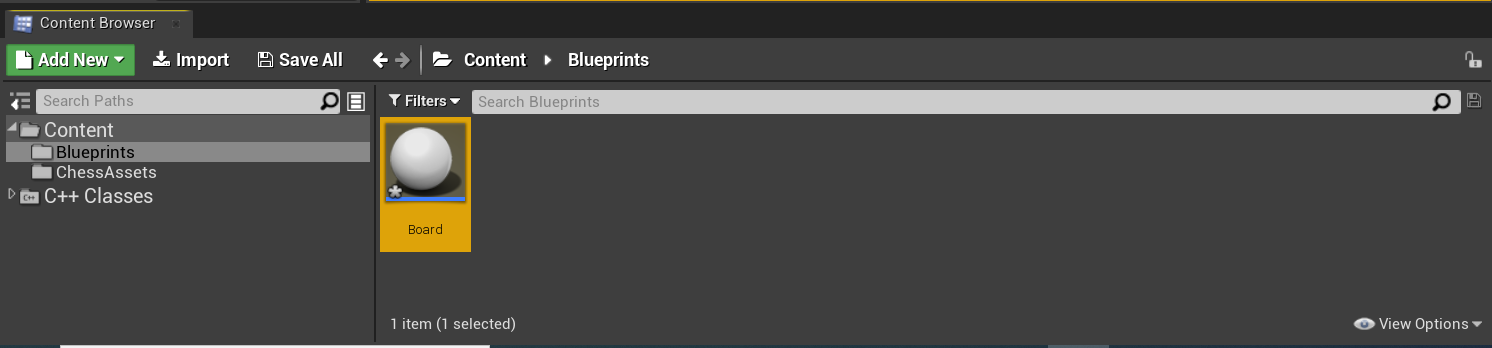
You're all set to start adding materials to the created objects.
Working with materials
The objects you've created are default grey, which isn't much fun to look at. Adding materials and meshes to your objects is the last set of tasks in this tutorial.
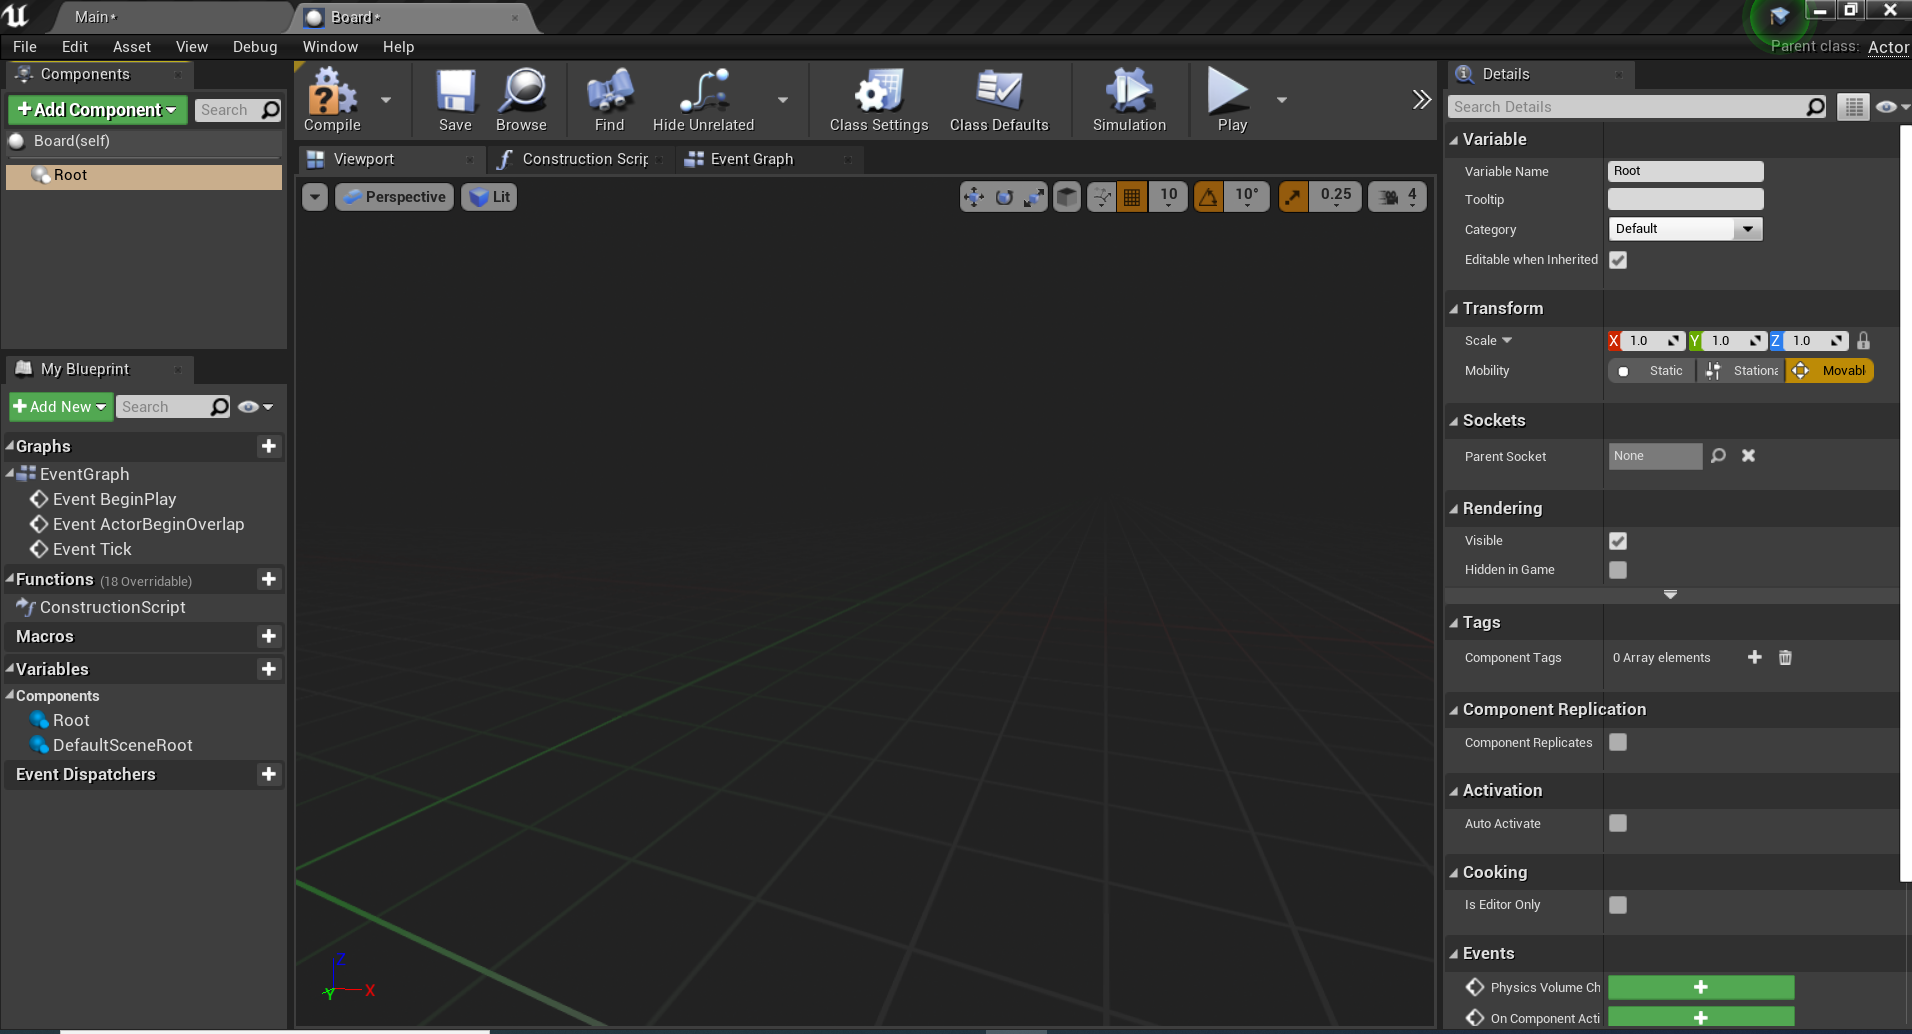
Double-click Board to open the blueprint editor.
Select Add Component > Scene from the Components panel and name it Root. Notice that Root shows up as a child of DefaultSceneRoot in the screenshot below:

- Click-and-drag Root onto DefaultSceneRoot to replace it and get rid of the sphere in the viewport.
- Select Add Component > Static Mesh from the Components panel and name it SM_Board. It will appear as a child object under Root.
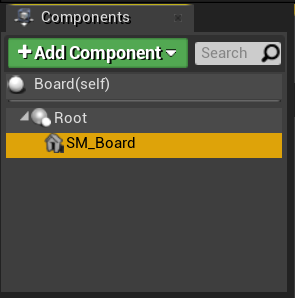
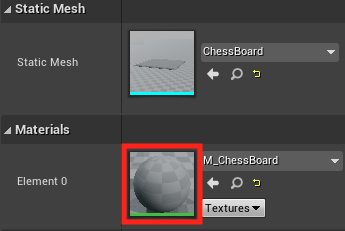
- Select SM_Board, scroll down to the Static Mesh section of the Details panel, and select ChessBoard from the dropdown.

- Still in the Details panel, expand the Materials section and select Create New Asset > Material from the dropdown.
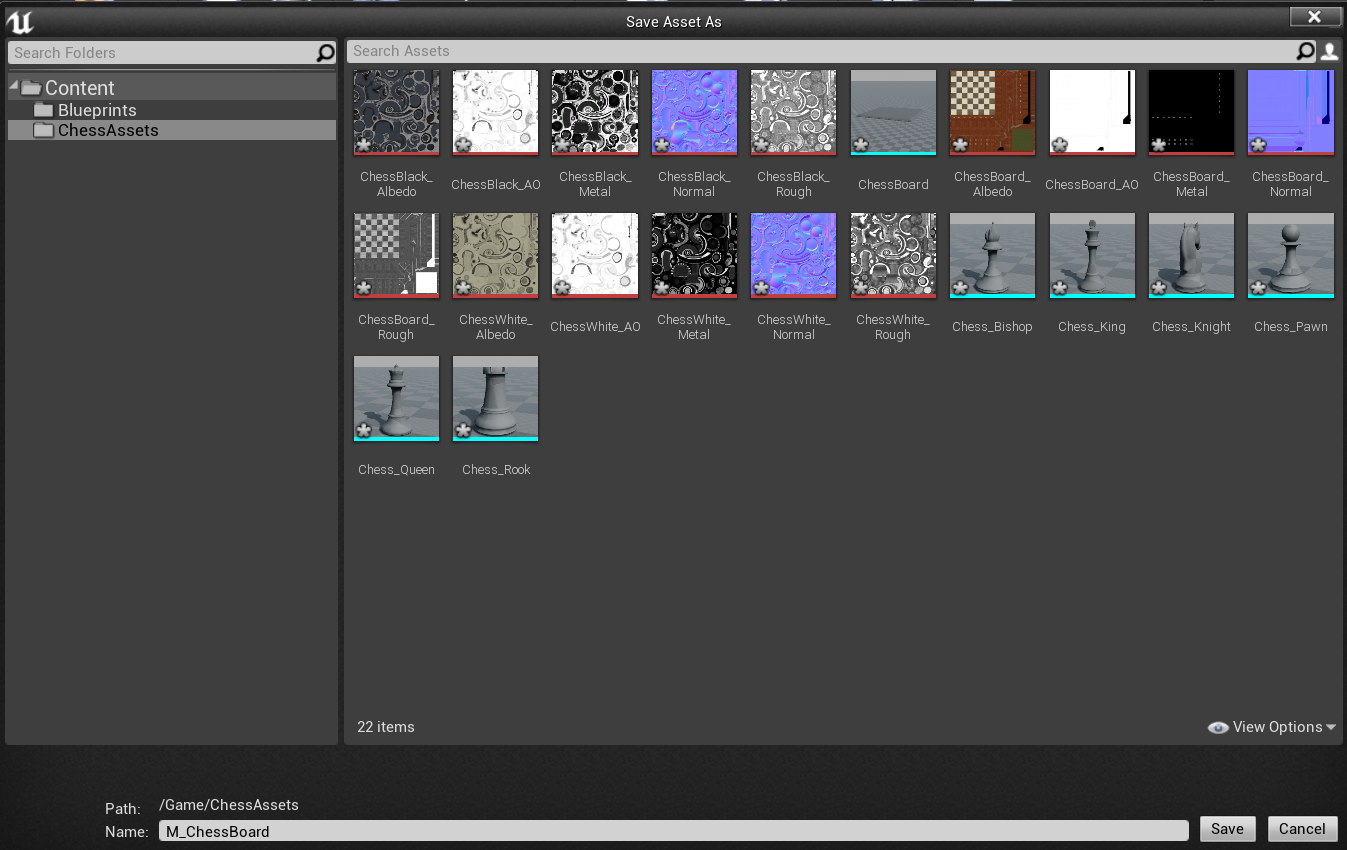
- Name the material M_ChessBoard and save it to the ChessAssets folder.
- Double-click the M_ChessBoard material imaged to open the Material Editor.
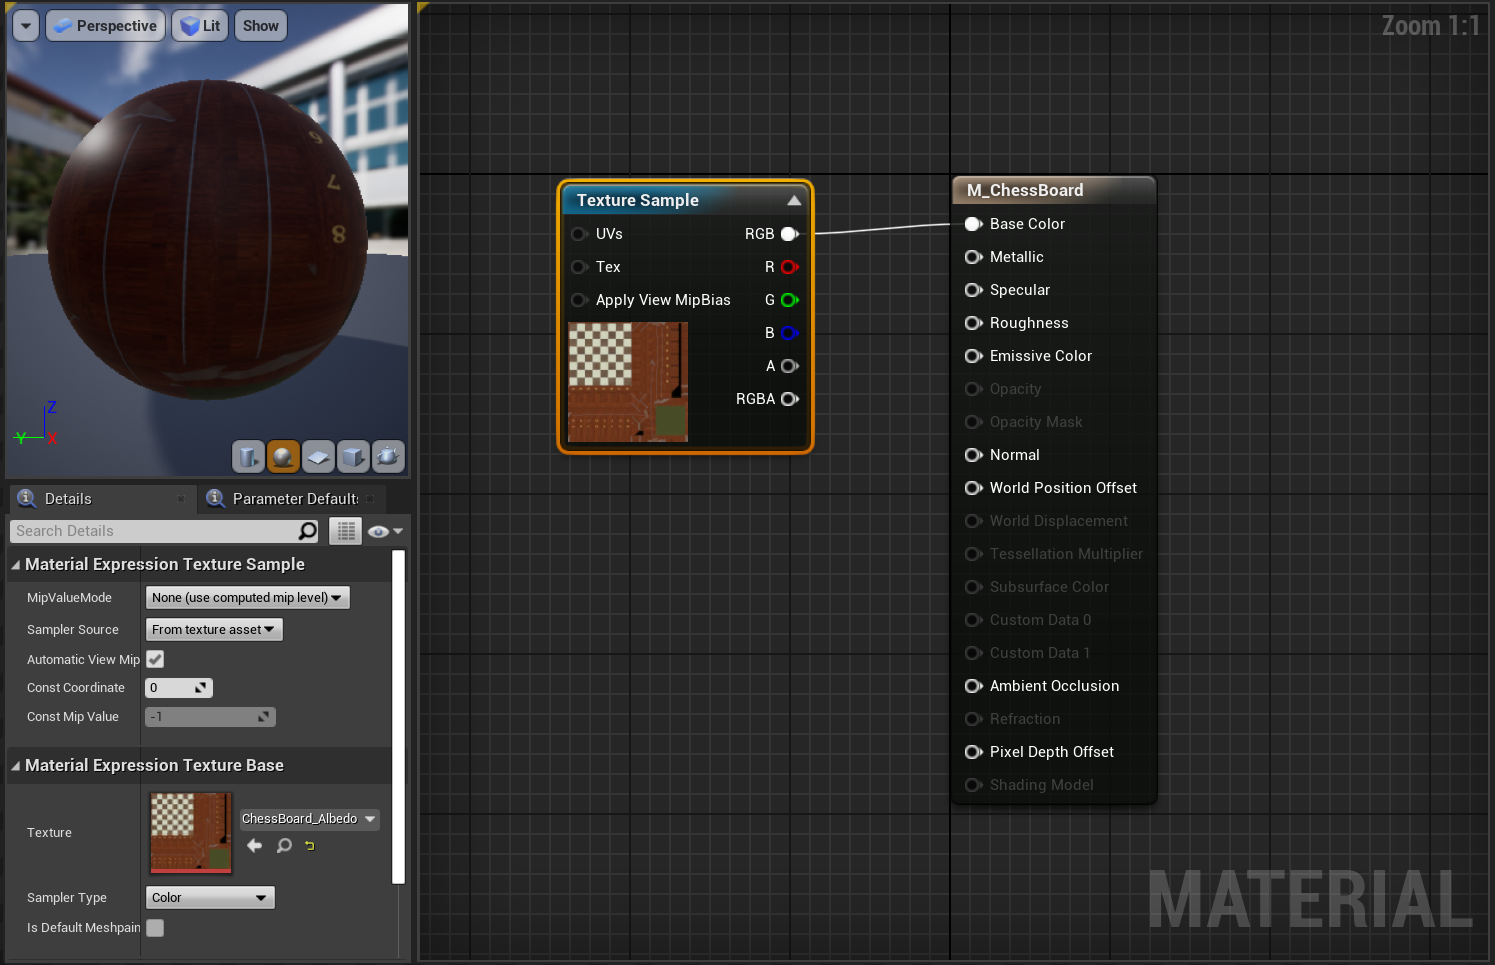
- In the Material Editor, right-click and search for Texture Sample.
- Expand the Material Expression Texture Base section in the Details panel and set Texture to ChessBoard_Albedo.
- Drag the RGB output pin to the Base Color pin of M_ChessBoard.
- Repeat the previous step 4 more times to create four more Texture Sample nodes with the following settings:
- Set Texture to ChessBoard_AO and link the RGB to the Ambient Occlusion pin.
- Set Texture to ChessBoard_Metal and link the RGB to the Metallic pin.
- Set Texture to ChessBoard_Normal and link the RGB to the Normal pin.
- Set Texture to ChessBoard_Rough and link the RGB to the Roughness pin.
- Click Save.
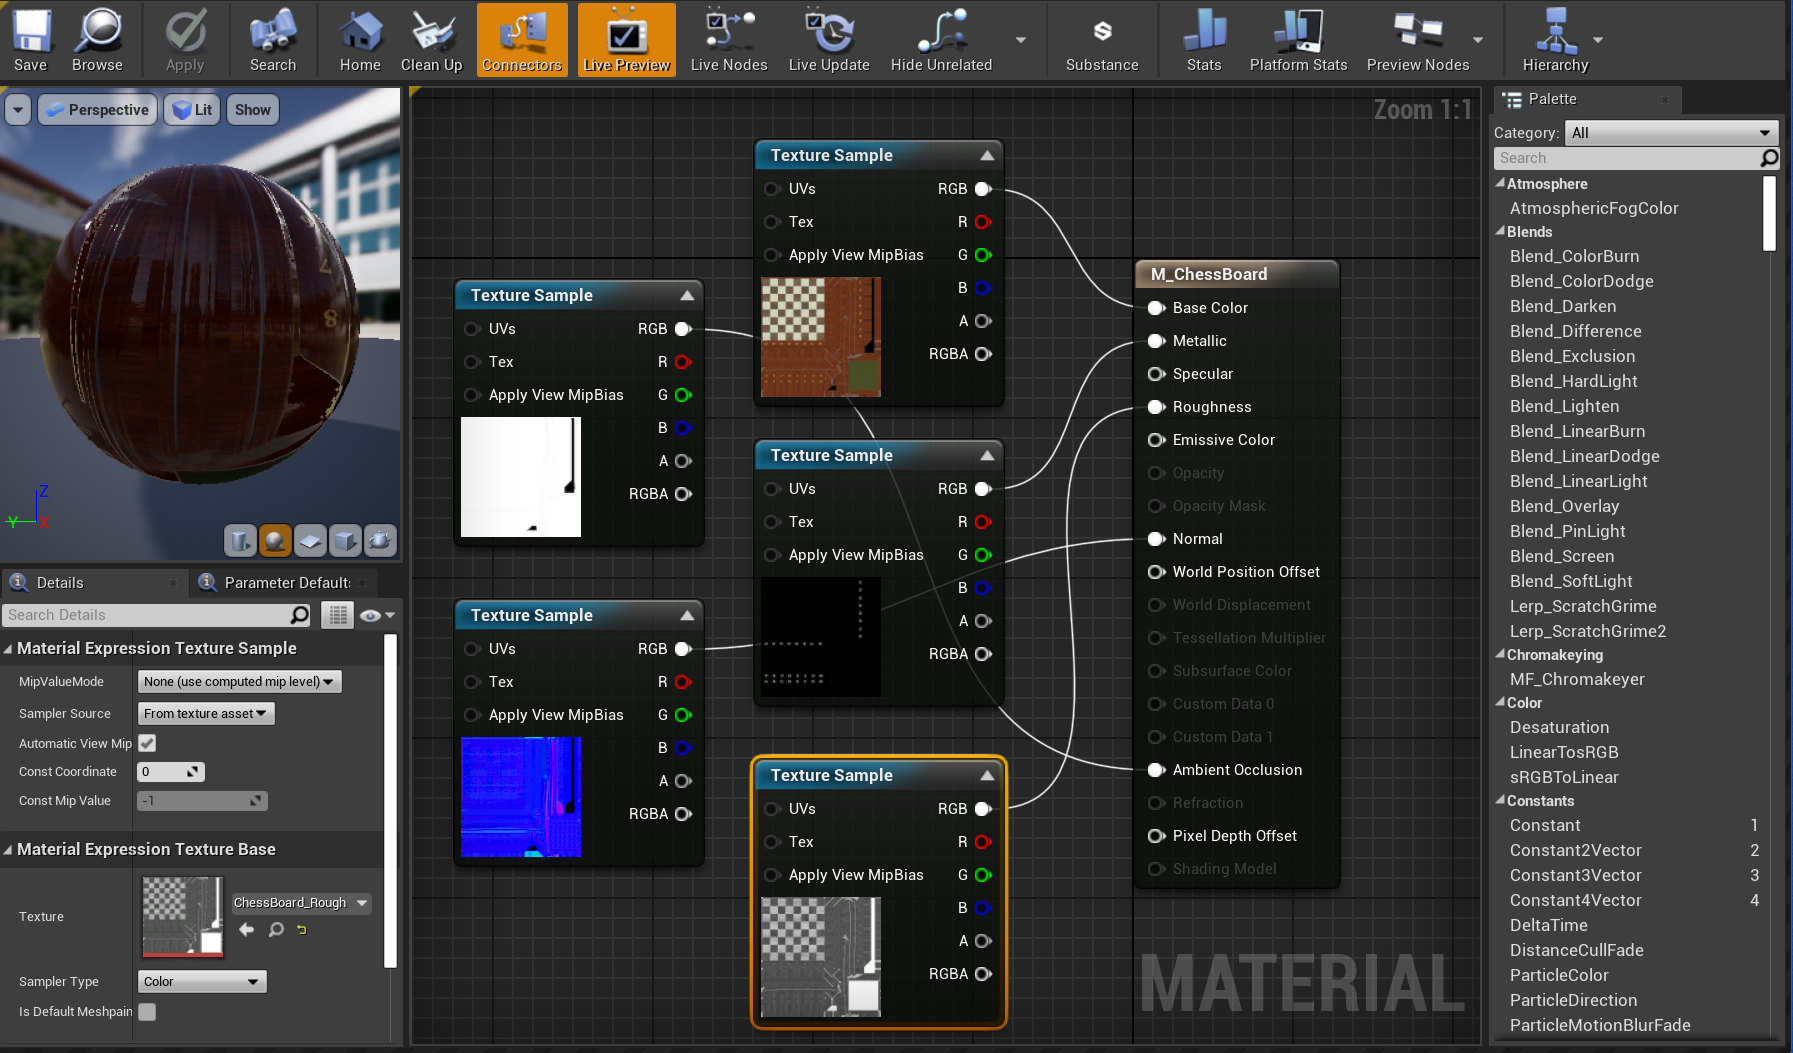
Make sure your material setup looks like the above screenshot before continuing.
Populating the scene
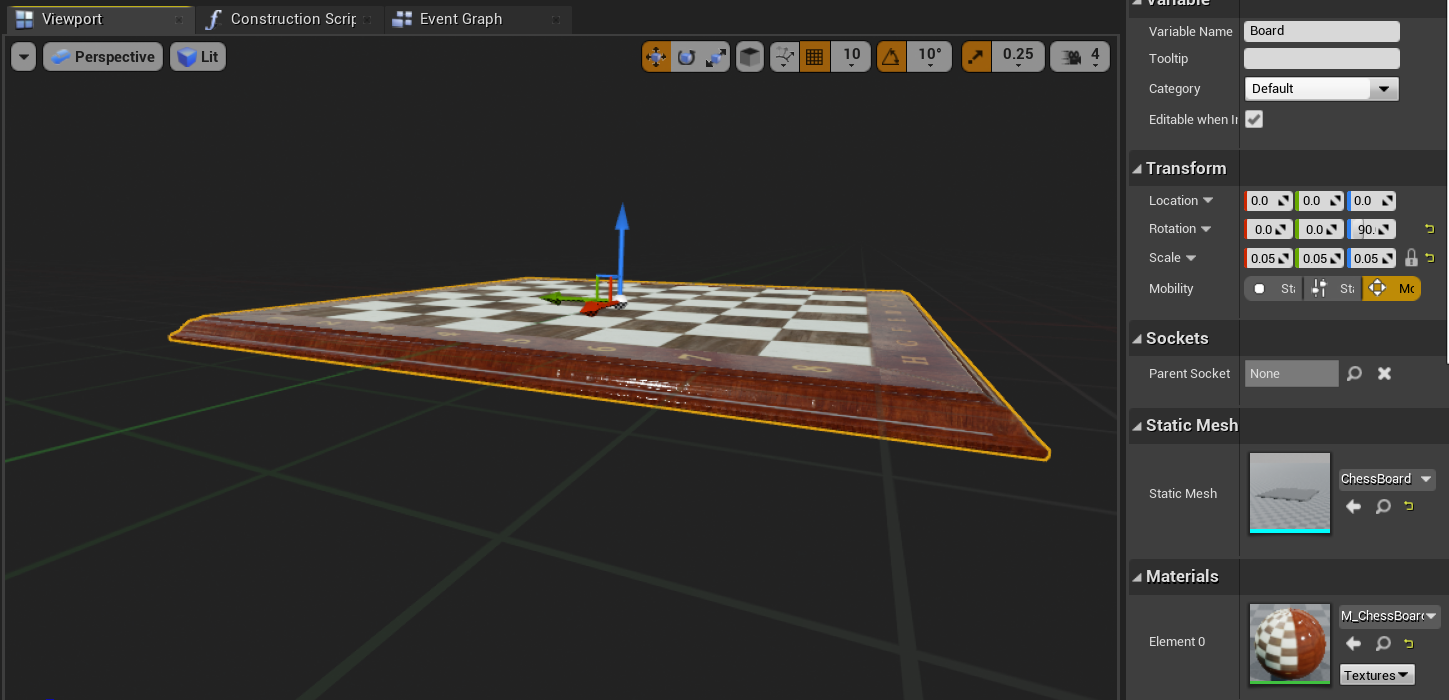
If you go back to the Board blueprint, you'll see that the material you just created has been applied. All that's left is setting up the scene! First, change the following properties to make sure the board is a reasonable size and angled correctly when it's placed in the scene:
- Set Scale to (0.05, 0.05, 0.05) and Z Rotation to 90.
- Click Compile in the top toolbar, then Save and return to the Main window.
Right-click Cube > Edit > Delete and drag Board from the Content Browser into the viewport.
- Set Location to X = 80, Y = 0, and Z = -20.
Select the Play button to view your new board in the level. Press Esc to return to the editor.
Now you'll follow the same steps to create a chess piece as you did with the board:
Go to the Blueprints folder, right-click, and select Blueprint Class and choose Actor. Name the actor WhiteKing.
Double-click WhiteKing to open it in the Blueprint Editor, select Add Component > Scene and name it Root.
- Drag-and-drop Root onto DefaultSceneRoot to replace it.
Click Add Component > Static Mesh and name it SM_King.
- Set Static Mesh to Chess_King and Material to a new Material called M_ChessWhite in the Details panel.
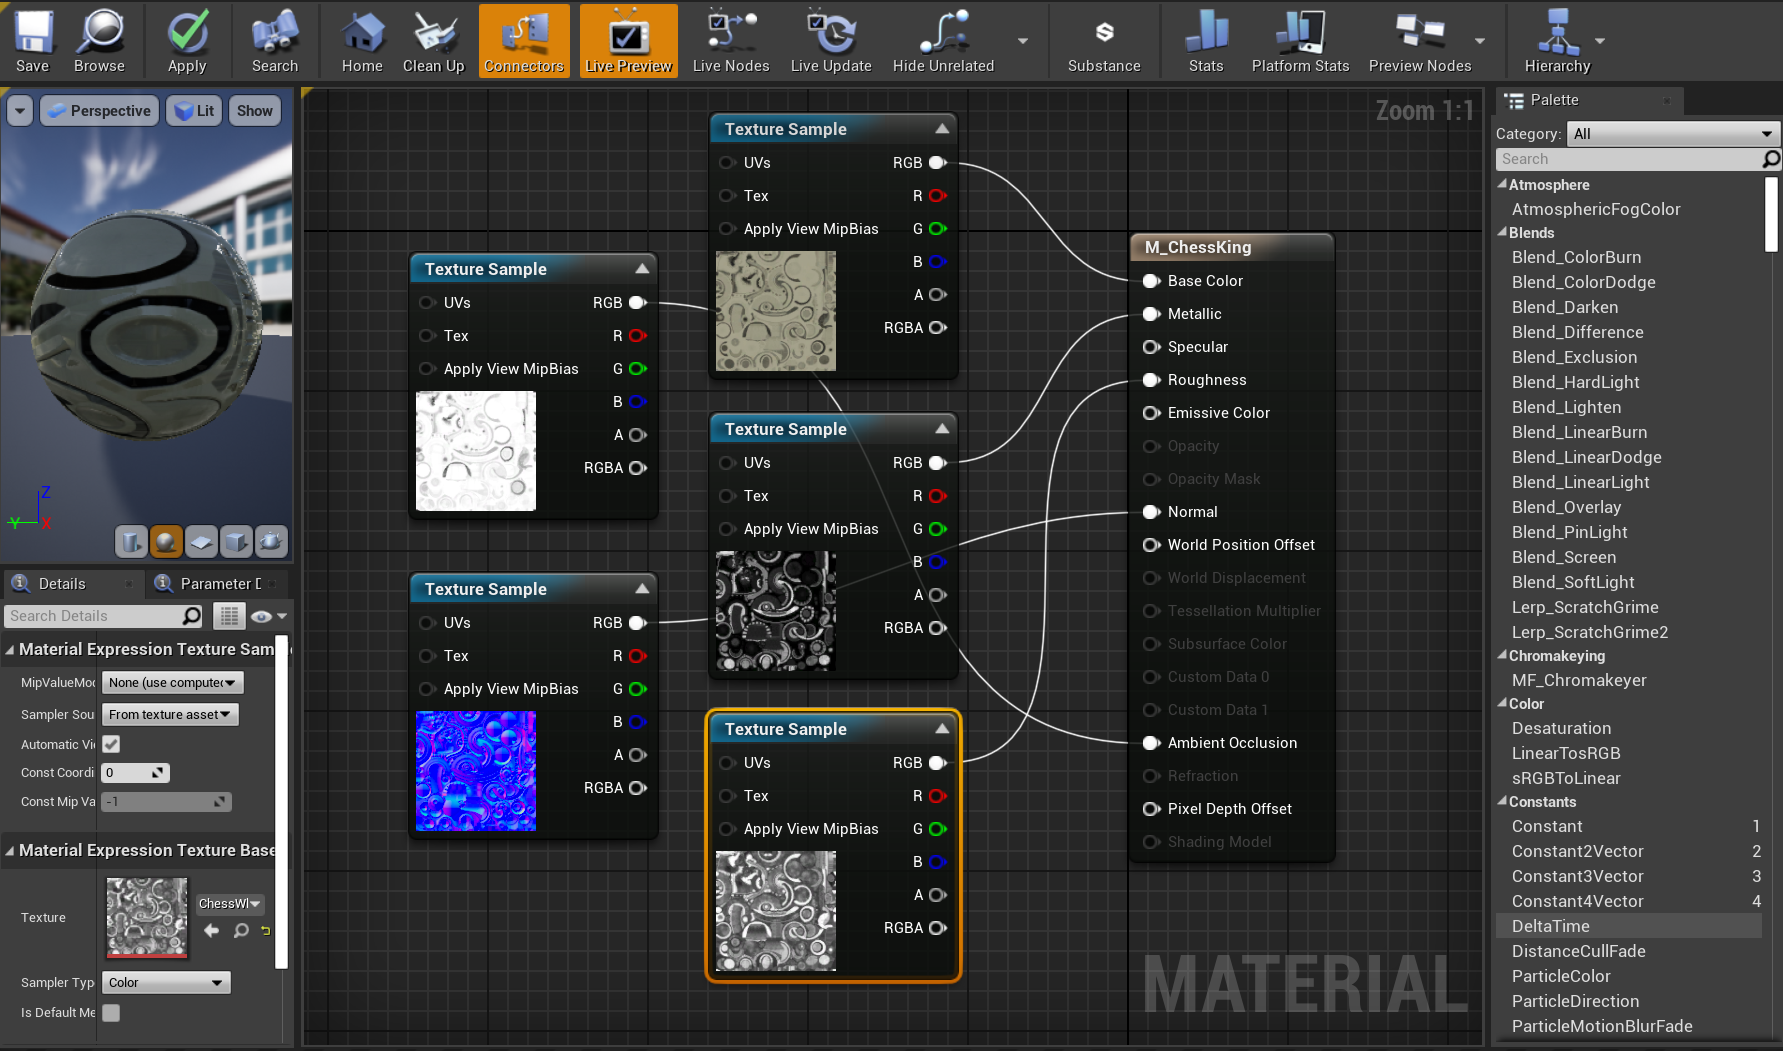
Open M_ChessWhite in the Material editor and hook up the following Texture Sample nodes to the following:
- Set Texture to ChessWhite_Albedo and link the RGB to the Base Color pin.
- Set Texture to ChessWhite_AO and link the RGB to the Ambient Occlusion pin.
- Set Texture to ChessWhite_Metal and link the RGB to the Metallic pin.
- Set Texture to ChessWhite_Normal and link the RGB to the Normal pin.
- Set Texture to ChessWhite_Rough and link the RGB to the Roughness pin.
- Click Save.
Your M_ChessKing material should look like the following image before continuing.
You're almost there, just need to add the new chess piece into the scene:
Open the WhiteKing blueprint and change the Scale to (0.05, 0.05, 0.05) and Z Rotation to 90.
- Compile and save your blueprint, then head back to the main window.
Drag WhiteKing into the viewport, switch to the World Outliner panel drag WhiteKing onto Board to make it a child object.
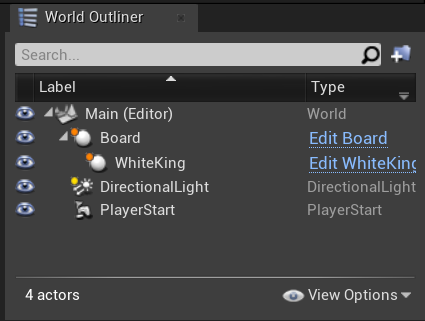
- In the Details panel under Transform, set WhiteKing's Location to X = -26, Y = 4, and Z = 0.
That's a wrap! Select Play to see your populated level in action, and press Esc when you're ready to exit. You covered a lot of ground just creating a simple project, but now you're ready to move on to the next part of the series: setting up for mixed reality.