How to: Create a web template component
Creating a web template component allows you to build a configurable, repeatable component that can be customized for each specific instance used.
In this how-to, you learn how to:
- Define a manifest and specify the parameters to be passed to a web template component
- Create a web template component
- Add the web template component to a web page
- Configure the parameters using the design studio
Prerequisites
- A Power Pages subscription or trial. Get a Power Pages trial here.
- A Power Pages site created. Create a Power Pages site.
Create a web template component
In the steps below, we create a web template component that displays feedback records from a Microsoft Dataverse table in a card layout format, with a button to provide a review. You are able to define the number of cards can configuration.
Create a Dataverse table to use in the web template component
In our example, we create a Dataverse table called Review for our process. For more information on how to create Dataverse tables, see How to create and modify Dataverse tables by using the Data workspace. You can modify these steps to reflect your own business processes.
Go to Power Pages.
Select a site where you want to add the web template component and select Edit.
In the design studio, select the Data workspace.
Create a Dataverse table called Review with the following properties:
Tip
- The following table is just an example, feel free to create tables to match your own business processes.
Column name Column data type Name Text (existing name column) Content Multiple lines of text Rating Whole Number (minimum value: 1, maximum value: 5) 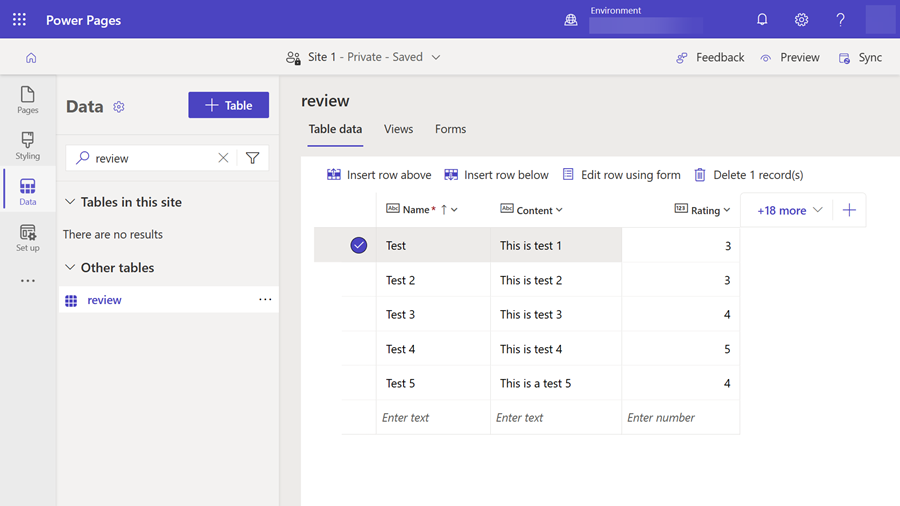
Add some sample records to the table.
In the Set up workspace, add a table permission to allow read access and assign to appropriate web roles.
Create web template with manifest
In the Portal Management app, in the Content section, choose Web Templates and select New from the main menu to create a new web template.
Enter reviews for the Name (or other value that reflects your requirement).
Copy and paste the following code into the Source field of the web template record, replace values prefixed with
cr54fwith the prefix used in your own environment.{% fetchxml postsQuery %} <fetch mapping='logical'> <entity name='cr54f_review'> <attribute name='cr54f_name'/> <attribute name='cr54f_content'/> <attribute name='cr54f_rating'/> <attribute name='createdon'/> <order attribute='createdon' descending='false'/> </entity> </fetch> {% endfetchxml %} {% assign posts_count = count | times: 1 %} {% assign col_div = columns | integer %} <h2>({{postsQuery.results.entities.size}}) {{name | default:"Feedback entries (default)"}} </h2> {% if postsQuery.results.entities.size > 0 %} <div class="col-sm-12"> <ul style="list-style: none;"> {% for post in postsQuery.results.entities limit:count %} <li class="col-md-{{ 12 | divided_by: col_div }}"> <div class="panel panel-{% if post.cr54f_rating < cutoff %}danger{% else %}default{% endif %}"> <div class="panel-heading">{{post.cr54f_name}} <span class="badge" style="float:right">{{post.cr54f_rating}}</span></div> <div class="panel-body"> <p>{{post.cr54f_content}}</p> </div> <div class="panel-footer">{{post.createdon}}</div> </div> </li> {% endfor %} </ul> </div> {% if postsQuery.results.entities.size > count %} <hr/> <button onclick="alert('Not yet implemented :)')" class="button1" style="margin: 0 auto; display:block">{{load_more_label | default: "Load More"}}</button> {% endif %} {% endif %} {% manifest %} { "type": "Functional", "displayName": "Posts", "description": "Shows all posts", "tables": ["cr54f_review"], "params": [ { "id": "name", "displayName": "Title", "description": "Let's give it a title" }, { "id": "count", "displayName": "Count", "description": "No. of items" }, { "id": "columns", "displayName": "# of Columns", "description": "less than 12" }, { "id": "cutoff", "displayName": "Limit for review", "description": "Number between 1 and 5" }, { "id": "load_more_label", "displayName": "Load more label", "description": "" } ] } {% endmanifest %}
Add web template component to web page
Once you have created the web template component, you can add it to a web page.
In the Power Pages design studio, select the page that you want to add the web template component to.
Select Edit Code which opens the Visual Studio Code for the Web for the webpage.
Enter the following include statement that references the web template you created earlier, you can replace the name with the name of your own web template:
{% include "reviews" %}Select CTRL-S to save the code. Return to design studio and select Sync. A preview of the component on your webpage will display.
Select Edit custom component and you can configure the parameters that are defined in the manifest of the web template component you created above.
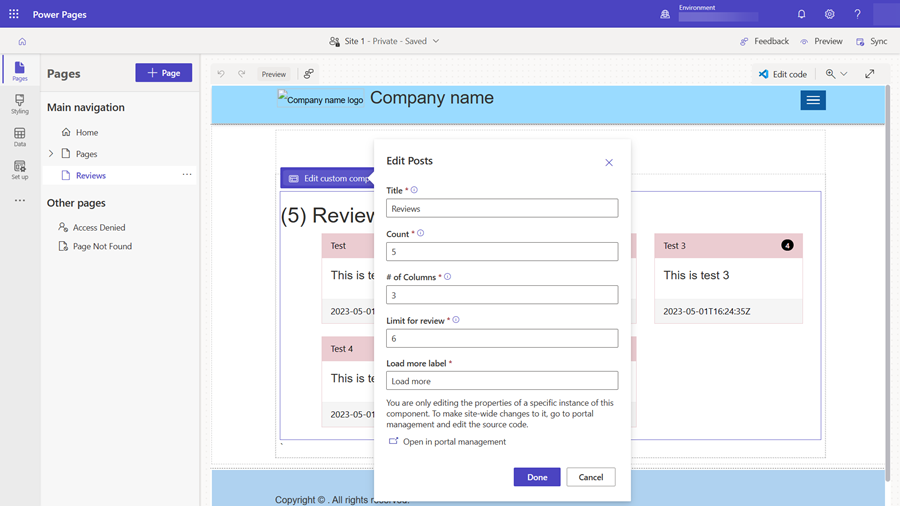
Preview the site to view the layout, return to the design studio and experiment with different layout options.
Feedback
Coming soon: Throughout 2024 we will be phasing out GitHub Issues as the feedback mechanism for content and replacing it with a new feedback system. For more information see: https://aka.ms/ContentUserFeedback.
Submit and view feedback for