Add an image
Use the image component to add images to your portal page.
To add an image:
Open the design studio to edit the content and components of your page.
Select the page you want to edit.
Select the section you want to add the image component to.
Hover over any editable canvas area, then select the Image icon from the component panel.
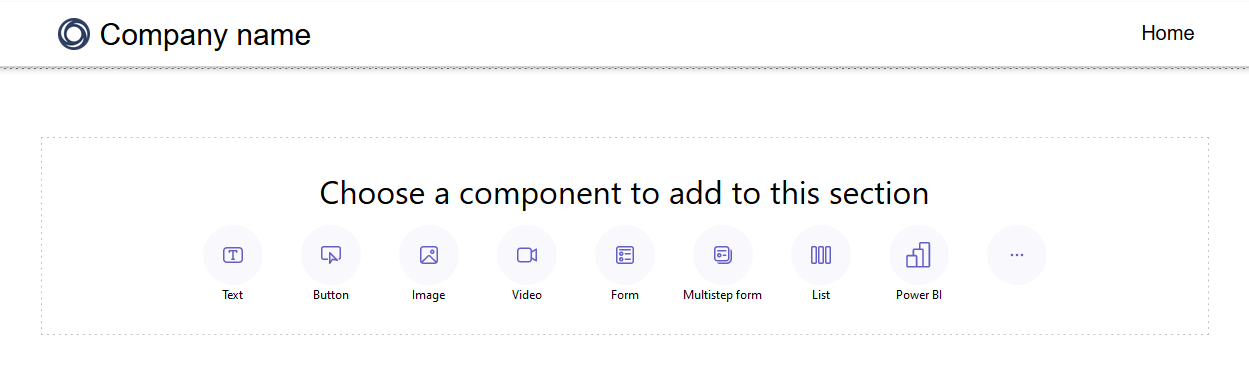
You can now upload an image, use an external URL, or use template images (if available).
Option Description Upload image Select this option if you want to select an existing image or upload a new one. If you want to select a previously uploaded image, choose it from the Select image list. To upload a new image, select Upload image. All the uploaded images are included in the image library, which you can select again through the Select image list. External URL Select this option if you want to upload an image from an external URL. Enter the URL in the External URL field. Only secured links are accepted—that is, https:// is mandatory. If you have images stored in your content delivery network, you can provide the link in this field.
Format an image
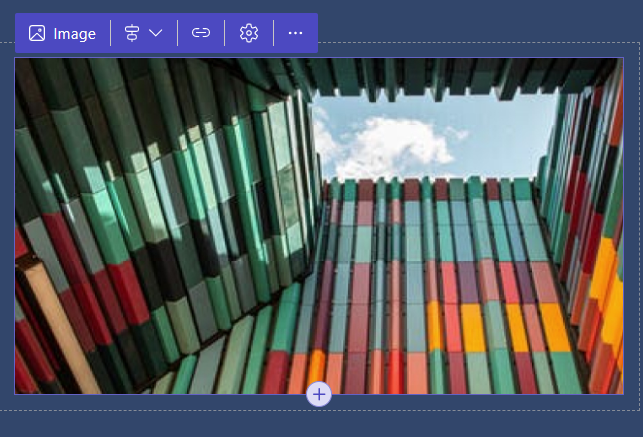
To format your image, select it and a menu with editing options will appear:
- Select a new image
- Configure the alignment
- Add a link to the image
- Access more options
- Duplicate the image, move it up, move it down, or delete it
Add a link to an image
To add a link to your image:
- Choose the link icon from the editing options above the image.
- Select a radio button to Link to a URL or Link to a page.
- If you're linking to a URL, fill in the text field.
- If you're linking to a page, select the page from the drop down.
- Select the OK button.
Once the link is created, you can select the link icon to edit or remove the link.
Adjust image size
Options to adjust the size of your image are located under More options. To access these options:
- Select the gear icon from the editing options above the image to access the More options window.
- Update the height and width fields.
- Select the OK button.
Add alt text to an image
- Select the gear icon from the editing options above the image to access the More options window.
- Update the alt text field.
- Select the OK button.
Storing images in Power Pages design studio
By default, images in Power Pages sites are stored beneath the Home page.
Change image storage location
To change the location where your images will be stored
Select the image button for any image component.
Choose Advanced Options in the bottom-left corner of the Add an image dialog.
Select the page to store all newly updated images beneath.
Tip
- This only applies to newly updated images. If you want to change the parent page for an existing image, re-upload the image after changing this setting.
- If you want to prevent, direct access to images, store them beneath a restricted page and set the image files to inherit the page's permissions. More information: Page permissions in Power Pages
View image storage location
To see the parent page of your images in design studio
- Select the Image button for any image component.
- Locate the parent age in Grid or List view.
Feedback
Coming soon: Throughout 2024 we will be phasing out GitHub Issues as the feedback mechanism for content and replacing it with a new feedback system. For more information see: https://aka.ms/ContentUserFeedback.
Submit and view feedback for