Note
Access to this page requires authorization. You can try signing in or changing directories.
Access to this page requires authorization. You can try changing directories.
Summary
| Item | Description |
|---|---|
| Release State | General Availability |
| Products | Excel Power BI (Semantic models) Power BI (Dataflows) Fabric (Dataflow Gen2) Power Apps (Dataflows) Dynamics 365 Customer Insights |
| Authentication Types Supported | Anonymous Microsoft Account Windows Organizational Account Workspace identity |
| Function Reference Documentation | SharePoint.Contents SharePoint.Files |
Note
Some capabilities might be present in one product but not others due to deployment schedules and host-specific capabilities.
Note
Microsoft Entra ID/OAuth for SharePoint on-premises isn't supported using the on-premises data gateway.
Capabilities supported
- Folder path
- Combine
- Combine and load
- Combine and transform
Authentication types supported
Note
Workspace identity support for SharePoint Files is rolling out with recent service updates and is available only in supported Fabric-hosted experiences.
Availability may vary by workload and host (for example, Power BI Desktop is not supported).
The SharePoint Folder connector supports the following authentication methods, depending on the hosting experience:
- Organizational account: Uses a user’s Microsoft Entra ID to authenticate to SharePoint.
- Workspace identity: In Microsoft Fabric, supported experiences (such as Dataflows Gen2 and Power BI) can authenticate to SharePoint Files using workspace identity. This enables Fabric to access SharePoint file content using the workspace’s managed identity, without relying on user credentials or legacy ACS-based authentication.
Determine the site URL
When you're connecting to the document library in a SharePoint site, you're asked to enter the site URL. To find the site URL that contains your SharePoint folder, first open a page in SharePoint. From a page in SharePoint, you can usually get the site address by selecting Home in the navigation pane, or the icon for the site at the top. Copy the address from your web browser's address bar and save for later.

Note
A classic SharePoint URL page isn't supported and will fail to connect. Only a modern SharePoint home page is supported.
SharePoint site picker
The SharePoint site picker allows you to find and select the correct SharePoint site during connection creation, without navigating to separate pages to locate and copy URLs manually.
Simplified site selection: Instead of copying URLs manually, use the Site URL dropdown to choose from your Recent sites, Favorite sites, and all sites you can access.
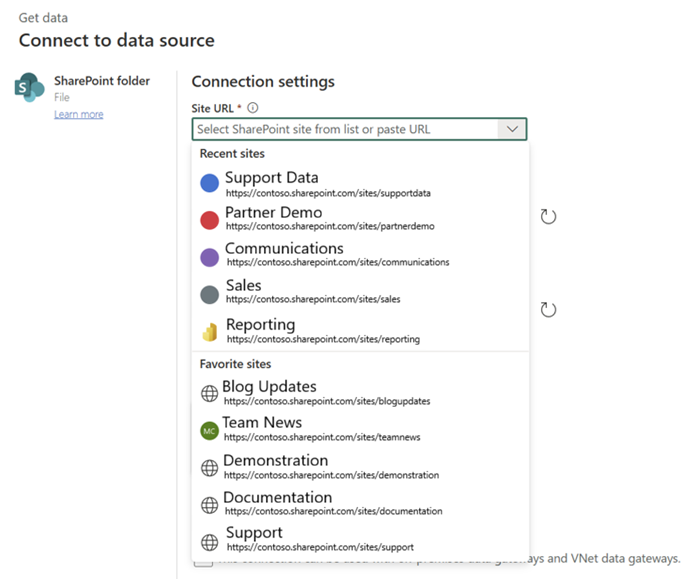
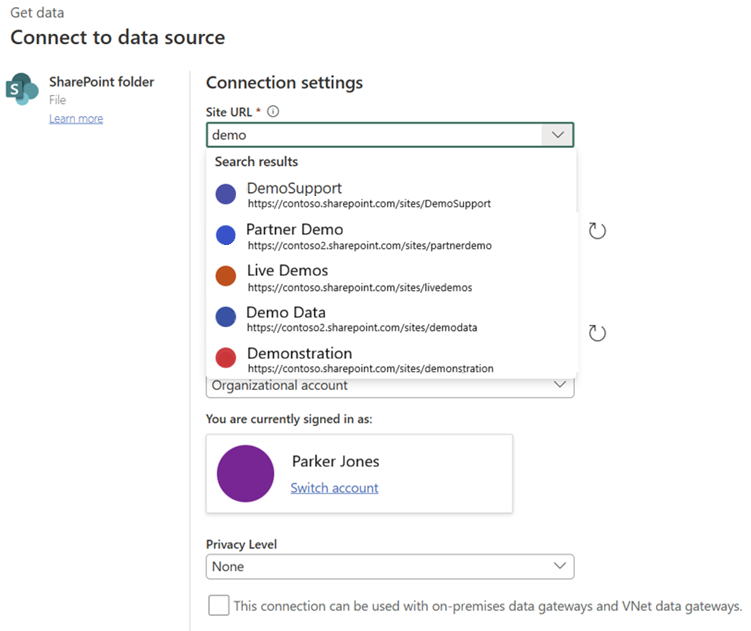
Quick search experience: Type keywords in the dropdown search box to quickly locate relevant sites. After selecting a site, you can immediately proceed to load data for analysis.
Note
- SharePoint site picker is available for SharePoint sources in Dataflow Gen2 and Gen1, Power BI Web modeling, Pipelines, Copy Job, and Lakehouse shortcuts, and as a destination in Dataflow Gen2.
- The first time you use the SharePoint site picker, an authentication window appears. Select the same account you're currently signed in with. If you close or ignore the window, the site picker won't work, though you can still manually paste SharePoint site URLs as before.
- When using the SharePoint site picker, you could encounter issues searching for sites hosted in regions outside your own geography.
Connect to a SharePoint folder from Power Query Desktop
To connect to a SharePoint folder:
From Get Data, select SharePoint folder. More information: Where to get data
Paste the SharePoint site URL you copied in Determine the site URL to the Site URL text box in the SharePoint folder dialog box. In this example, the site URL is
https://contoso.sharepoint.com/marketing/data. If the site URL you enter is invalid, a warning icon appears next to the URL text box.
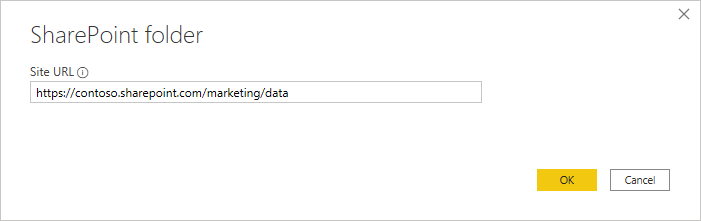
Select OK to continue.
If you're visiting this site address for the first time, select the appropriate authentication method. Enter your credentials and choose which level to apply these settings to. Then select Connect.
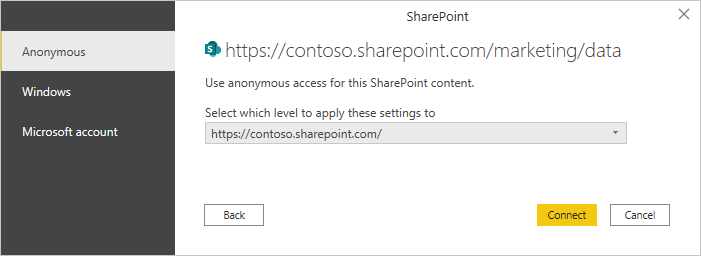
For more information about authentication methods and level settings, go to Authentication in desktop apps.
After you connect, file information about all of the files in that SharePoint folder is displayed. In addition, file information about any files in subfolders is also displayed.

Select Combine & Transform Data to combine the data in the files of the selected SharePoint folder and load the data into the Power Query editor for editing. Or select Combine & Load to load the data from all of the files in the SharePoint folder directly into your app.
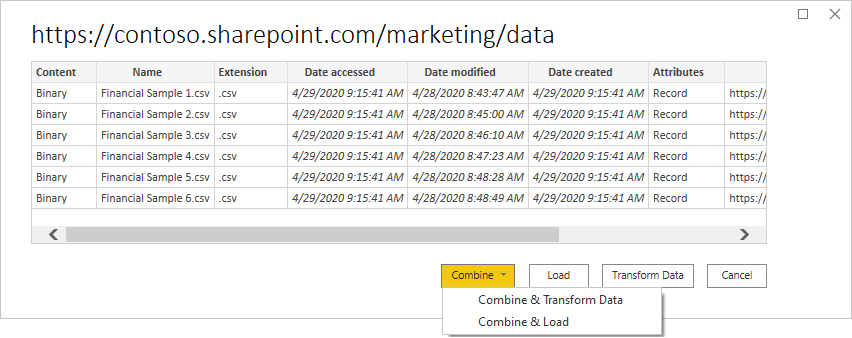


Note
The Combine & Transform Data and Combine & Load buttons are the easiest ways to combine data found in the files of the SharePoint folder you specify. You could also use the Load button or the Transform Data buttons to combine the files as well, but that requires more manual steps.
Connect to a SharePoint folder from Power Query Online
To connect to a SharePoint folder:
From the Data sources page, select SharePoint folder.
If you have access to the SharePoint site picker, use it to locate and select the sites directly on the connection settings page. If not, copy the SharePoint site URL and paste it into the Site URL text box in the SharePoint Folder dialog box. In this example, the site URL is
https://contoso.sharepoint.com/marketing/data.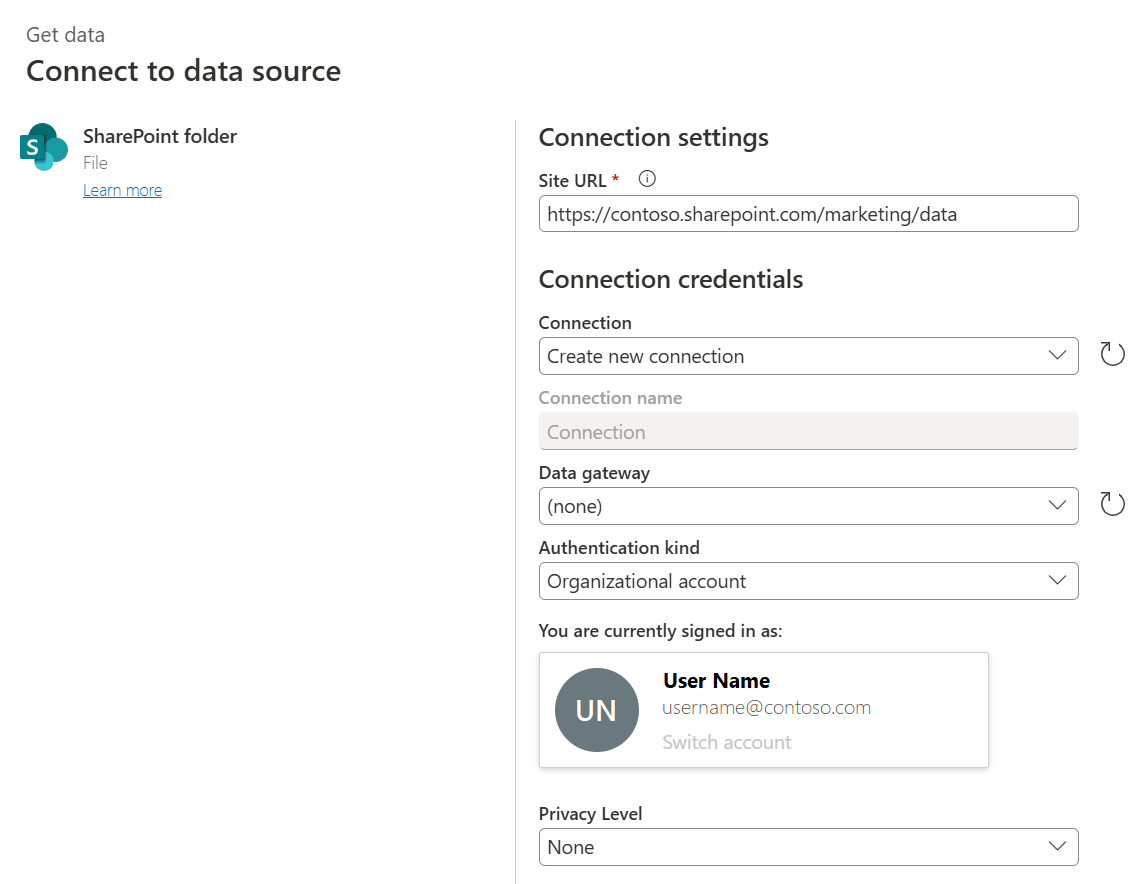
If the SharePoint folder is on-premises, enter the name of an on-premises data gateway.
Select the authentication kind, and enter any credentials that are required.
Select Next.
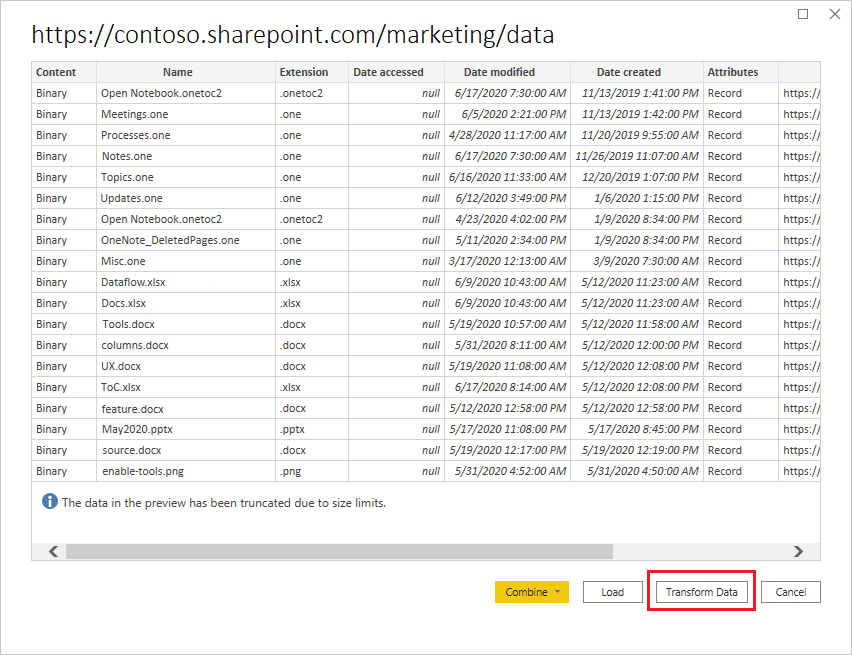
When you select the SharePoint folder you want to use, the file information about all of the files in that SharePoint folder are displayed. In addition, file information about any files in any subfolders is also displayed.
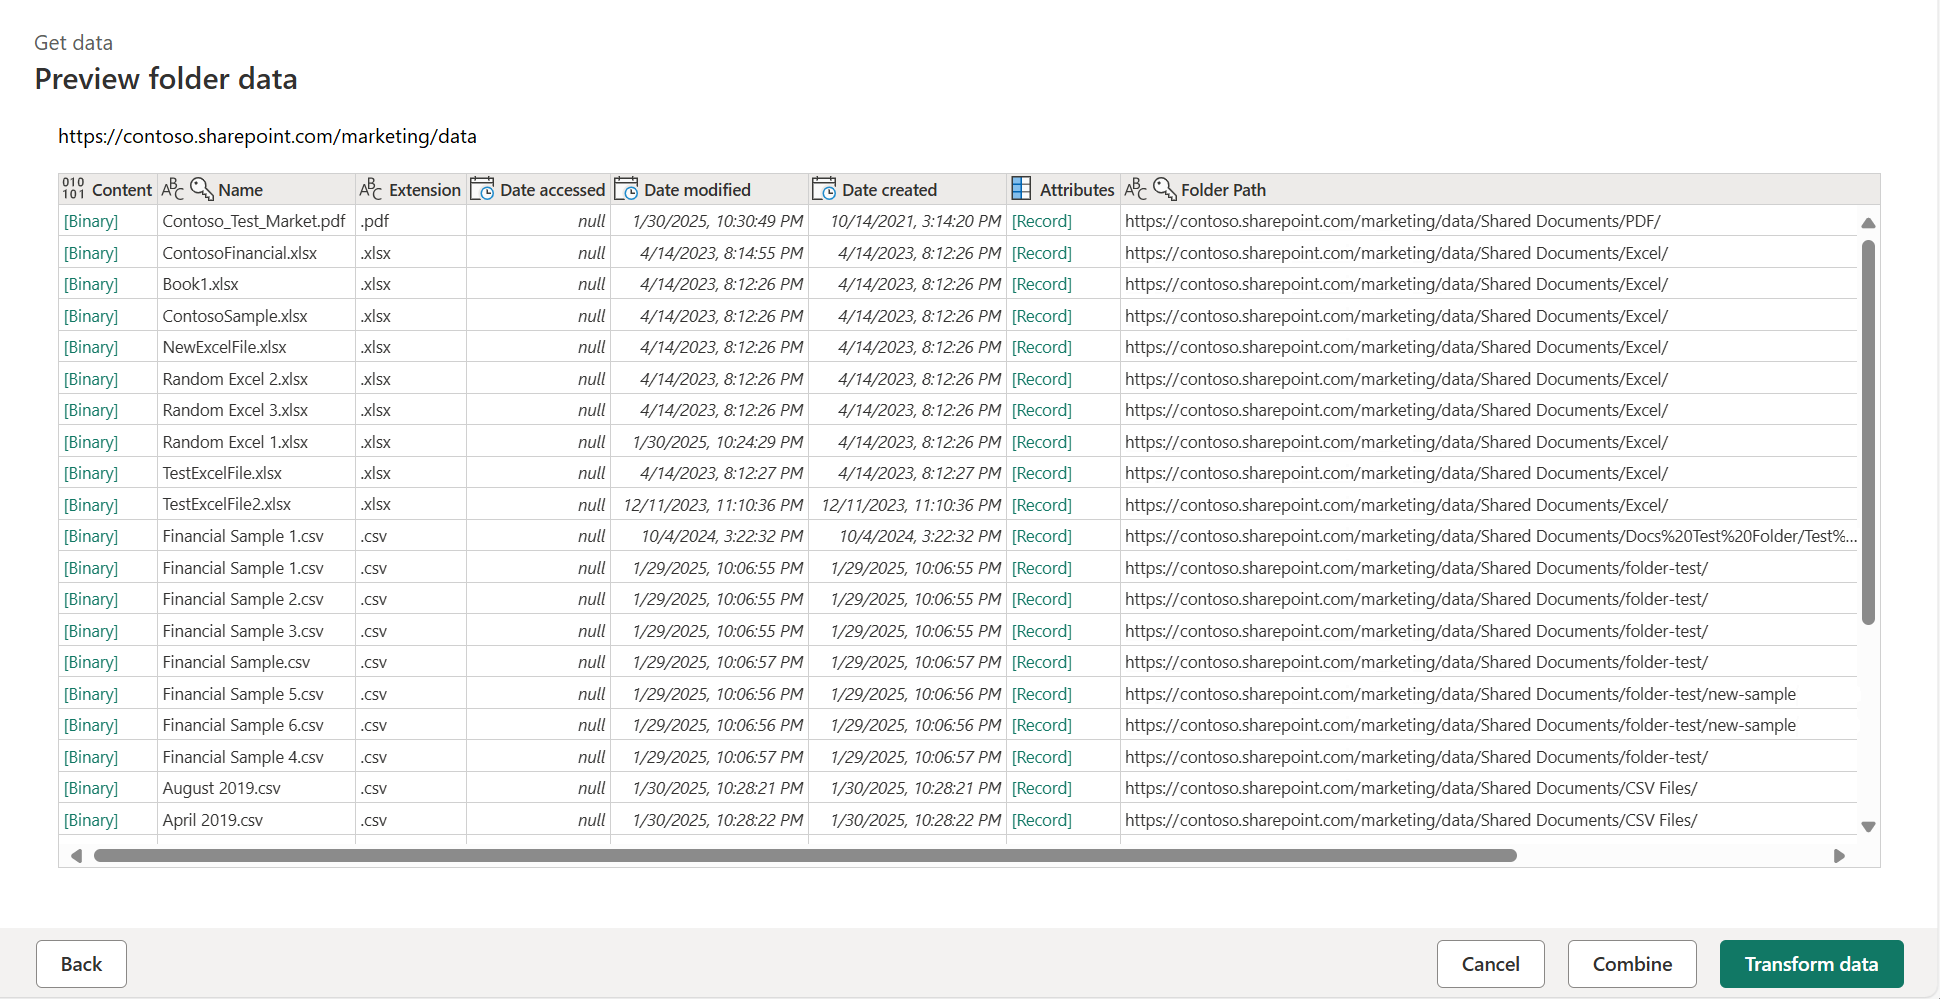
Select Combine to combine the data in the files of the selected SharePoint folder and load the data into the Power Query editor for editing.
Note
The Combine button is the easiest way to combine data found in the files of the SharePoint folder you specify. You could also use the Transform Data buttons to combine the files as well, but that requires more manual steps.

Troubleshooting
Combining files
All of the files in the SharePoint folder you select are included in the data to be combined. If you have data files located in a subfolder of the SharePoint folder you select, all of these files are also included. To ensure that combining the file data works properly, make sure that all of the files in the folder and the subfolders have the same schema.
In some cases, you might have multiple folders on your SharePoint site containing different types of data. In this case, you need to delete the unnecessary files. To delete these files:
In the list of files from the SharePoint folder you chose, select Transform Data.
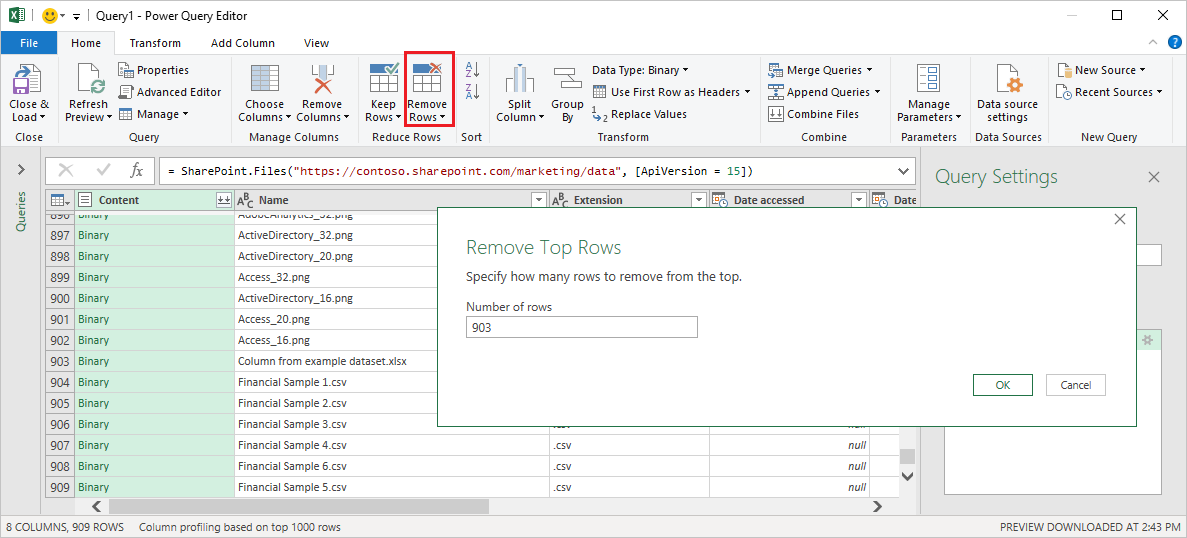
In the Power Query editor, scroll down to find the files you want to keep.
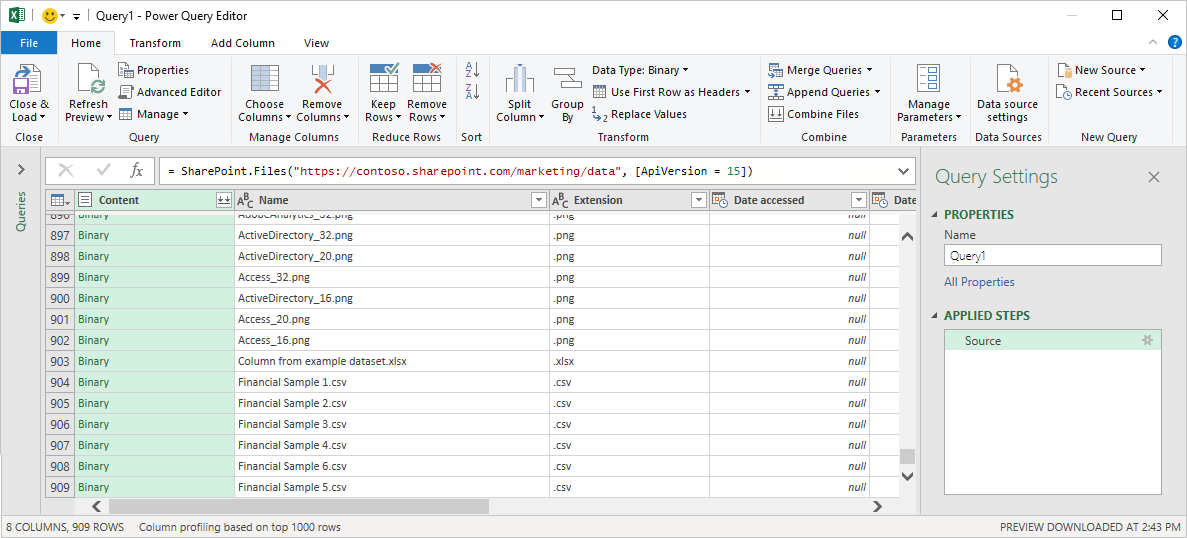
In this example, the required files are the last rows in the table. Select Remove Rows > Remove Top Rows, enter the value of the last row before the files to keep (in this case 909), and select OK.
Once you remove all the unnecessary files, select Combine Files from the Home ribbon to combine the data from all of the remaining files.


For more information about combining files, go to Combine files overview.
Filename special characters
If a filename contains certain special characters, it might lead to authentication errors because of the filename being truncated in the URL. If you're getting unusual authentication errors, make sure all of the filenames you're using don't contain any of the following special characters.
# % $
If these characters are present in the filename, the file owner must rename the file so that it doesn't contain any of these characters.
Permissions
When requesting document library contents, you should have Read access to the SharePoint site, the document library, and any folders leading to the requested file.
Microsoft Entra ID authentication
Microsoft Entra ID authentication isn't supported for on-premises SharePoint sources.