Notă
Accesul la această pagină necesită autorizare. Puteți încerca să vă conectați sau să modificați directoarele.
Accesul la această pagină necesită autorizare. Puteți încerca să modificați directoarele.
The Azure Developer CLI (azd) is an open-source command-line tool that replaces manual setup and configuration with consistent commands for building and deploying apps on Azure.
In this quickstart, you initialize a sample template and deploy it to Azure. You get a running app on Azure and a reusable local project that you can redeploy, customize, or remove when you're done.
Prerequisites
Before you begin, ensure you have the following prerequisites:
- An Azure account with an active subscription. Create an account for free.
- The Azure Developer CLI installed.
- For the .NET sample, the .NET 10 SDK.
Note
Both samples build container images remotely in Azure. The Python sample doesn't require a local Python installation for deployment. The .NET sample still requires a local .NET SDK because its postprovision hook runs dotnet user-secrets set.
Understand azd templates
An azd template is a source repository that contains everything azd needs to work with an app. You can build your own template for a new or existing app, or start from an existing template and customize it. In this quickstart, you use a sample template so you can focus on the core azd workflow.
The following structure shows a simplified, top-level view of a typical template:
|-- src/         # Application source code
|-- infra/       # Azure resources defined as infrastructure as code
|-- azure.yaml   # azd project configuration
`-- .azure/      # Local environment settings
For the full breakdown of these files, see Explore and edit template files.
Initialize the template
From the parent directory where you want to store the project, select a sample repository and run azd init:
This option uses the hello-azd-python sample repository.
azd init --template hello-azd-python
azd supports many languages, frameworks, and containers. For more information, see Supported languages and environments.
When prompted, enter a short environment name, such as dev. After initialization completes, open the new project directory in your terminal before you continue.
The azd init command:
- Downloads the selected template into the new project directory.
- Initializes the new directory as an
azdproject. - Creates an environment that stores deployment settings, such as your Azure subscription and location, under the
.azuredirectory.
The command doesn't create or deploy any Azure resources.
Sign in to Azure
Run the following command, and then sign in through the browser:
azd auth login
Provision and deploy the app resources
Run the following command:
azd up
When prompted, select the Azure subscription and location to use. The first deployment can take several minutes because azd up runs the complete deployment workflow:
- Provision: Creates the Azure resources that the template's infrastructure-as-code files define.
- Package: Builds and packages the app for deployment. The sample uses a remote container build, so the build runs in Azure.
- Deploy: Deploys the packaged app to the provisioned hosting resource.
The template defines supporting resources, such as managed identities, role assignments, and application settings, in the Bicep files under the infra directory and the azure.yaml project configuration, and azd deploys them together with the app. To learn more about these files, see Explore and edit template files.
You can run azd up again after changing the app or infrastructure. azd updates the existing environment instead of creating a separate deployment.
Explore the deployed app
When azd up finishes, it prints links to the provisioned resources and the running app in the command output.
Select the Azure portal resource-group link in the output to view the resources that
azdprovisioned.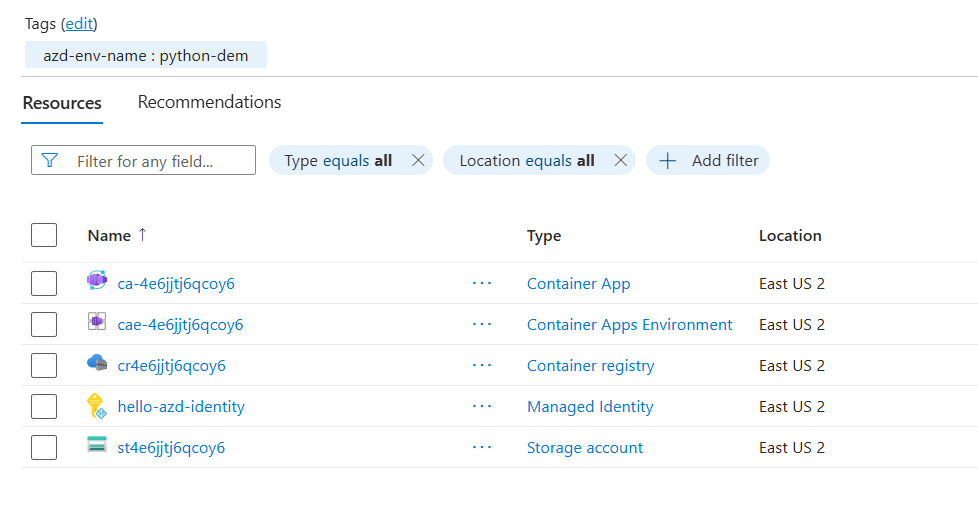
Select the app endpoint link in the output to open the running app in a browser.
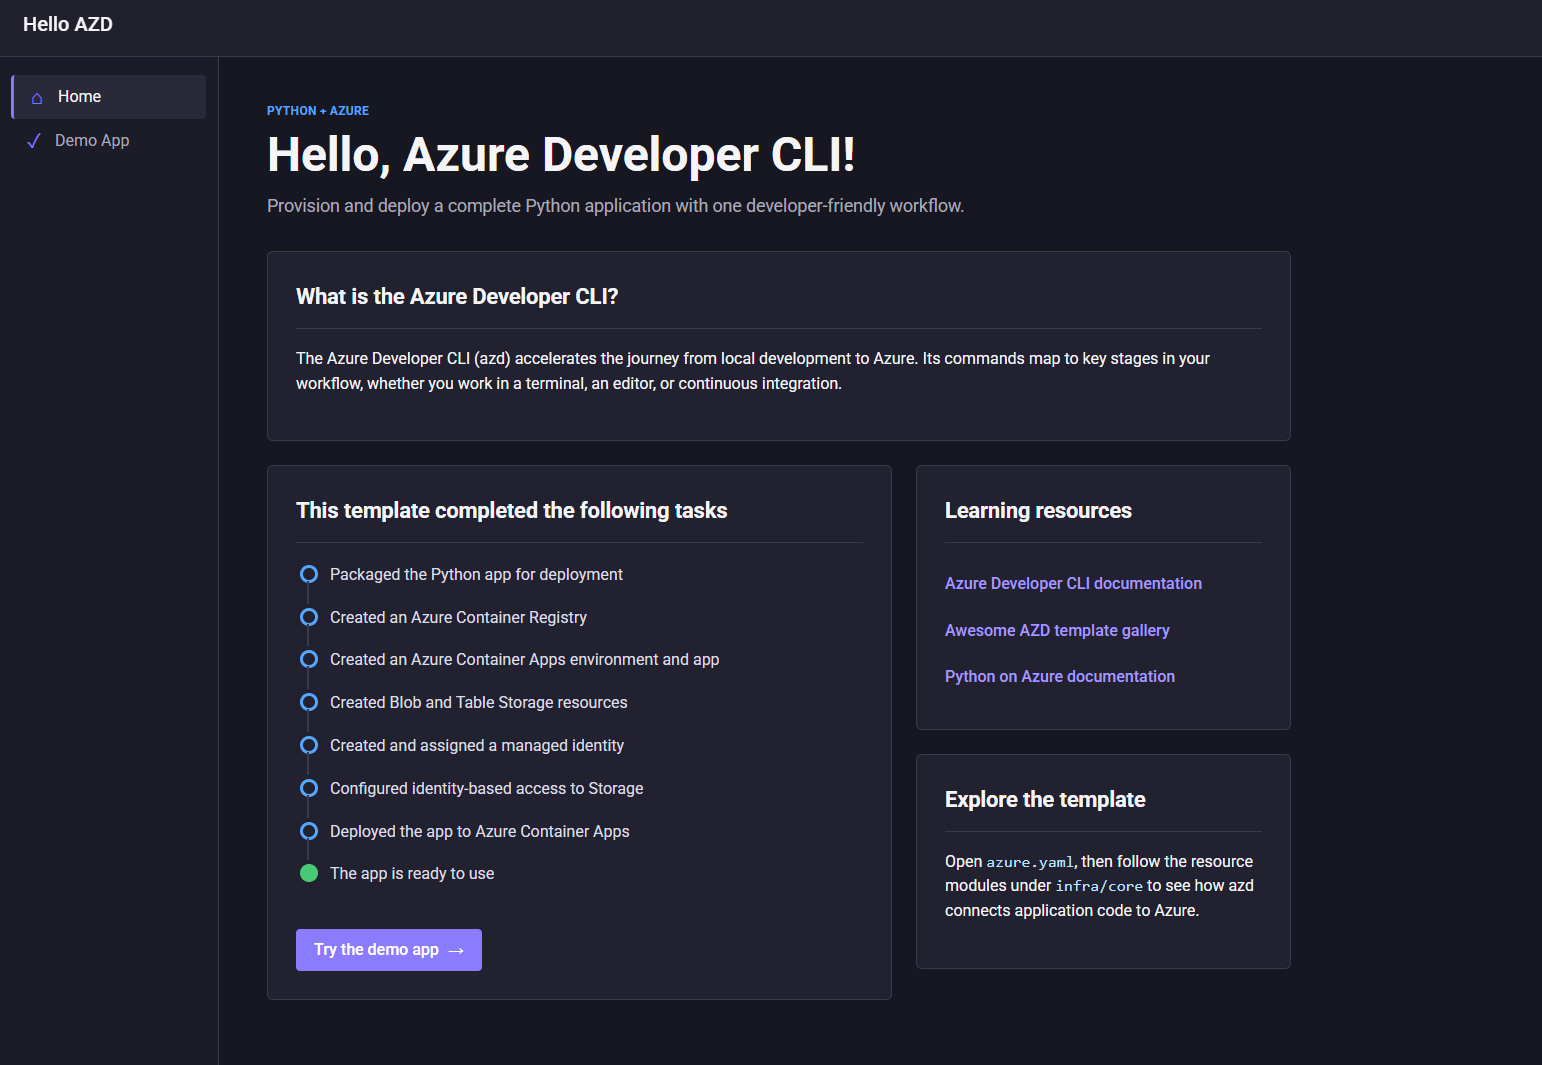
Make a change and redeploy
Optionally, make a small change to the sample app, and then redeploy just the app code with azd deploy.
- Open
src/app/templates/home.html. - Find the
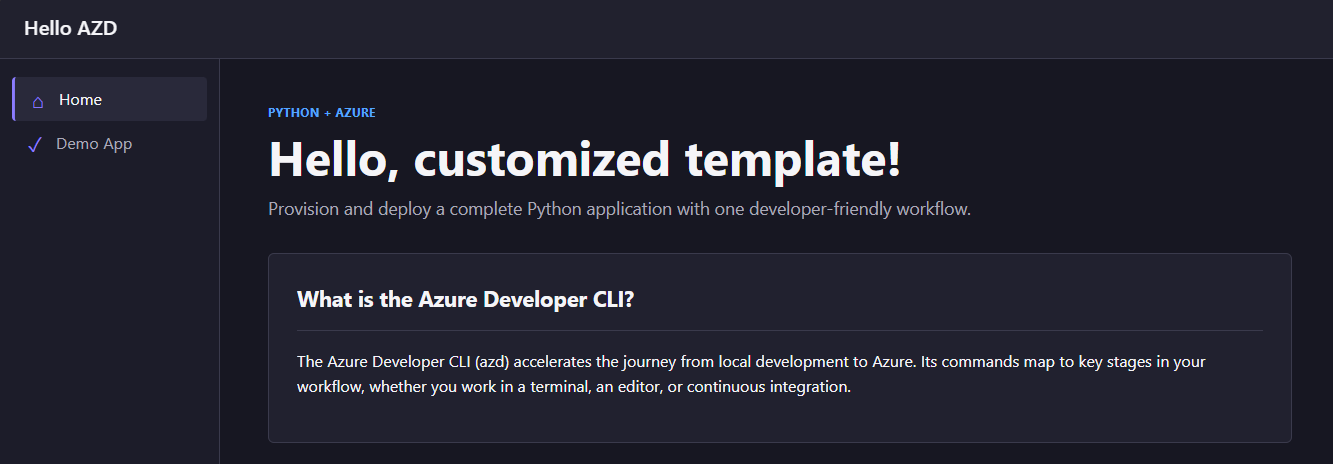
<h1>Hello, customized template!</h1>heading. - Replace the heading text with
<h1>Hello from your azd template!</h1>, and then save the file.
This change affects only the app source, so you don't need to reprovision the infrastructure. Redeploy the updated code:
azd deploy
The azd deploy command packages and deploys only the app code, while azd up runs the full provision, package, and deploy workflow. When the command finishes, open the app endpoint from the command output. The home page shows the updated heading.
Clean up resources
When you're finished, run the following command to delete the Azure resources and avoid ongoing charges:
azd down
Confirm the deletion when prompted. This command removes the resources that azd provisioned for the current environment but keeps the local project files.
Next step
Request help
For information on how to file a bug, request help, or propose a new feature for the Azure Developer CLI, please visit the troubleshooting and support page.