Edit and publish a Microsoft Fabric eventstream (preview)
This article shows you how to edit and publish a Microsoft Fabric eventstream.
Important
Enhanced capabilities of Fabric event streams are currently in preview.
Edit mode and Live view
Fabric event streams offer two distinct modes, Edit mode and Live view, to provide flexibility and control over your data streams. If you create a new eventstream with enhanced capabilities enabled, you can modify your eventstreams in Edit mode and design stream processing operations for your data streams by using a no-code editor. Once you're done, you can publish your eventstreams and visualize how your eventstreams start streaming and processing data in Live view.
Here's an overview of everything you find in the two different modes:
Edit mode:
Any changes made within Edit mode aren't implemented until you choose to publish them, ensuring you have full control over the development process of your eventstreams.
There's no risk of test data being streamed to your eventstreams or destinations. This mode is designed to provide a secure environment for testing without affecting your actual data streams.
If you make changes to an existing eventstream, those changes aren't implemented until you publish the eventstream.
Live view:
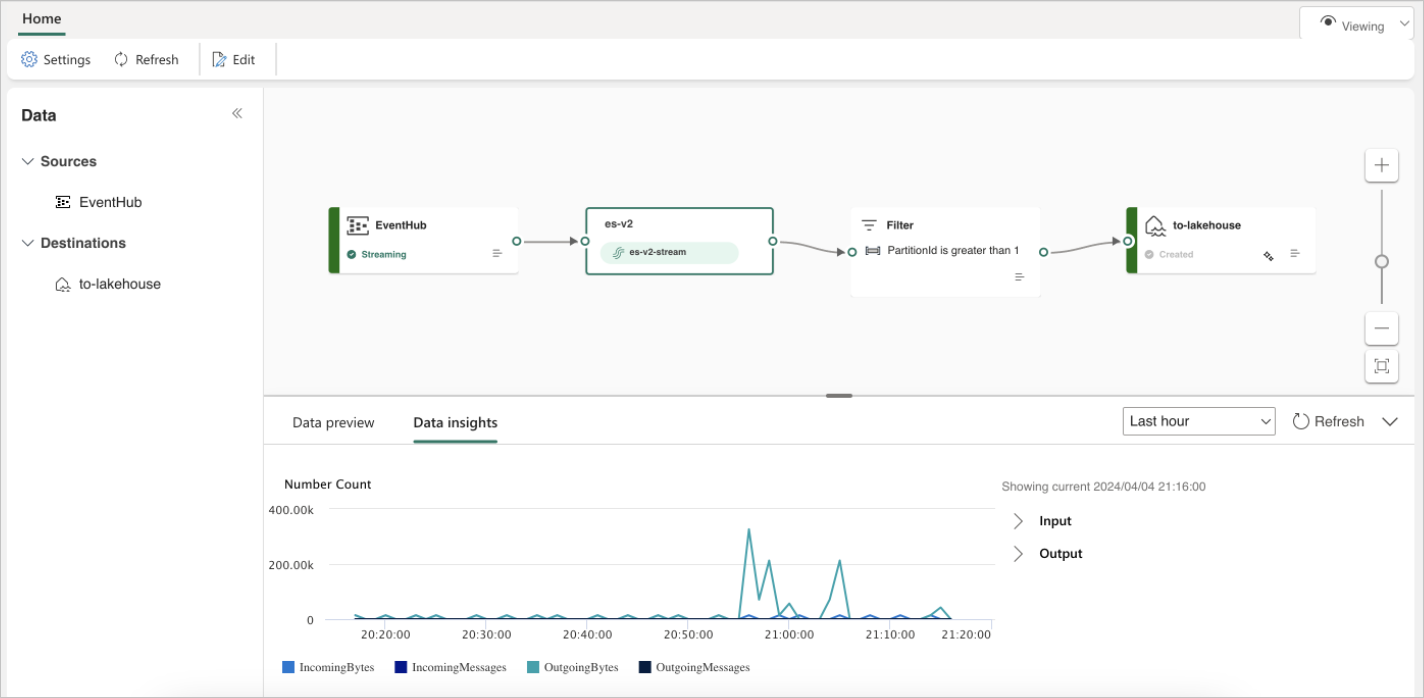
You can visualize how your eventstreams receive, transform, and route your events from sources to various destinations after you publish the changes.
You can pause the flow of data on any selected sources and destinations, providing you with more control over your data streams.
Create a new eventstream
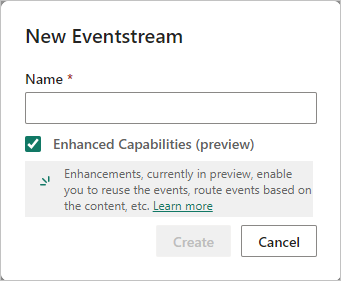
Switch your Power BI experience to Real-Time Intelligence and select Eventstream to create a new eventstream. Make sure the Enhanced Capabilities (preview) option is enabled.
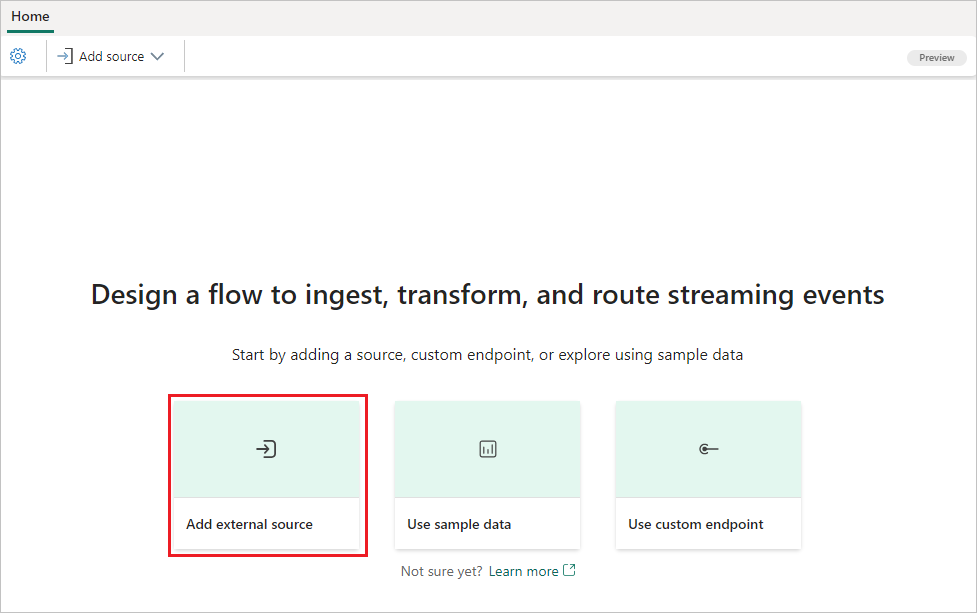
On the next screen, select Add external source to stream your data to Fabric event streams.
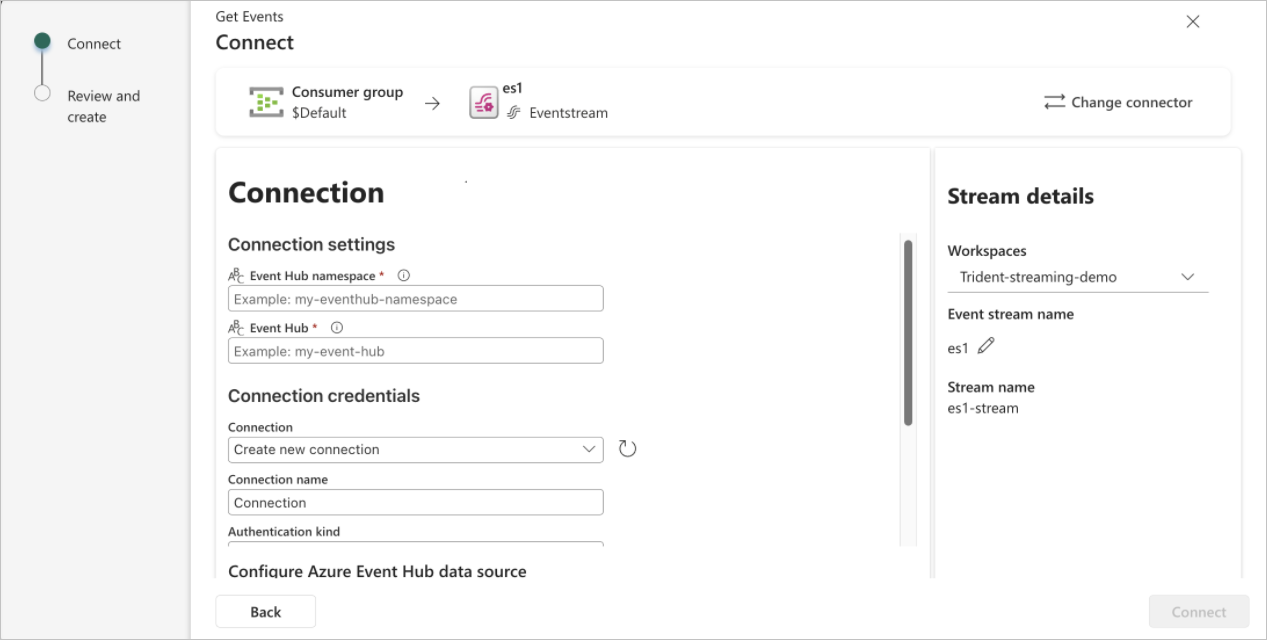
Select Azure Event Hub as your data source and input the necessary event hub details to link it with your Fabric eventstreams.
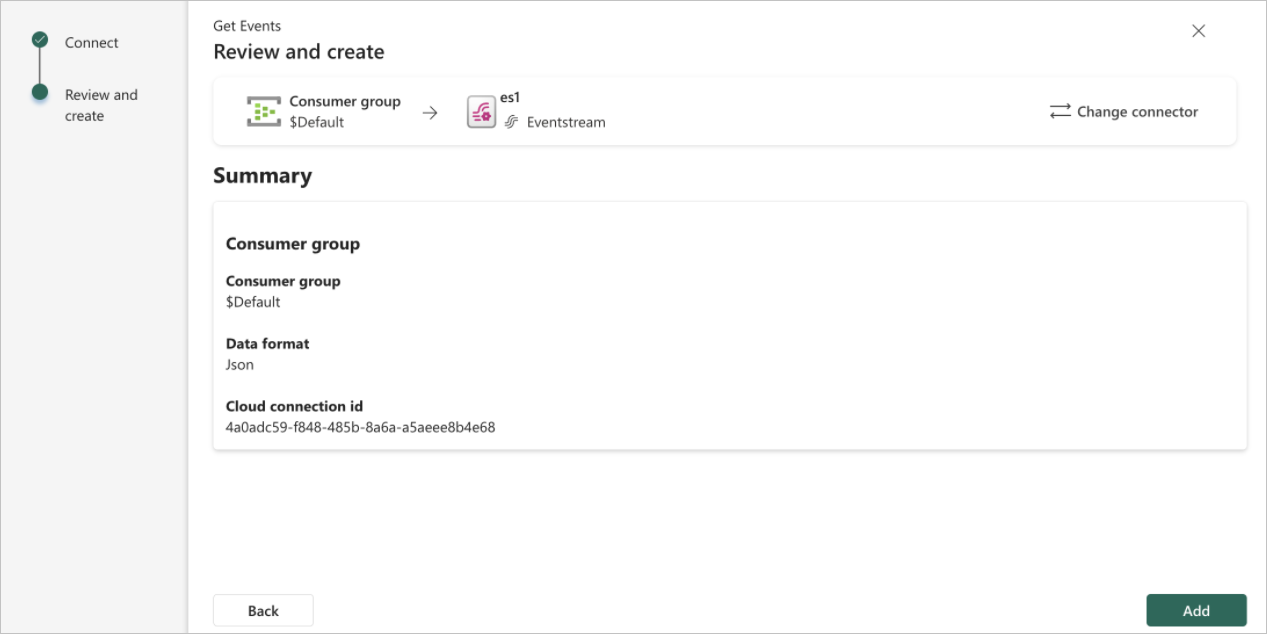
When you're done, select Add to finish the setup and add the Azure Event Hubs source to your Fabric eventstream.
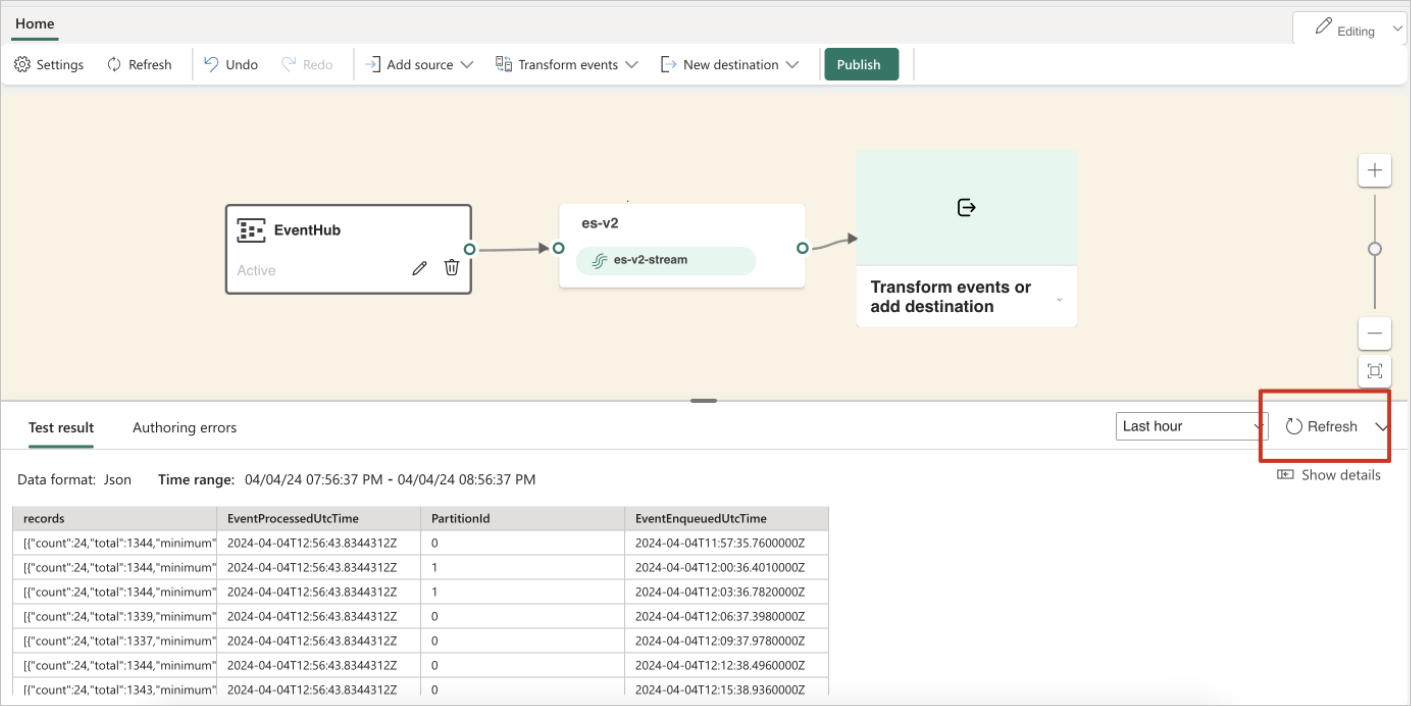
You're now in the eventstream Edit mode. Select Refresh to preview your Azure Event Hubs data.
Publish your eventstream
To publish your eventstream, ensure that your eventstream has both a configured source and destination, and that no authoring errors display.
The following steps show how you can add event processing operations and a destination to your eventstream and then publish it.
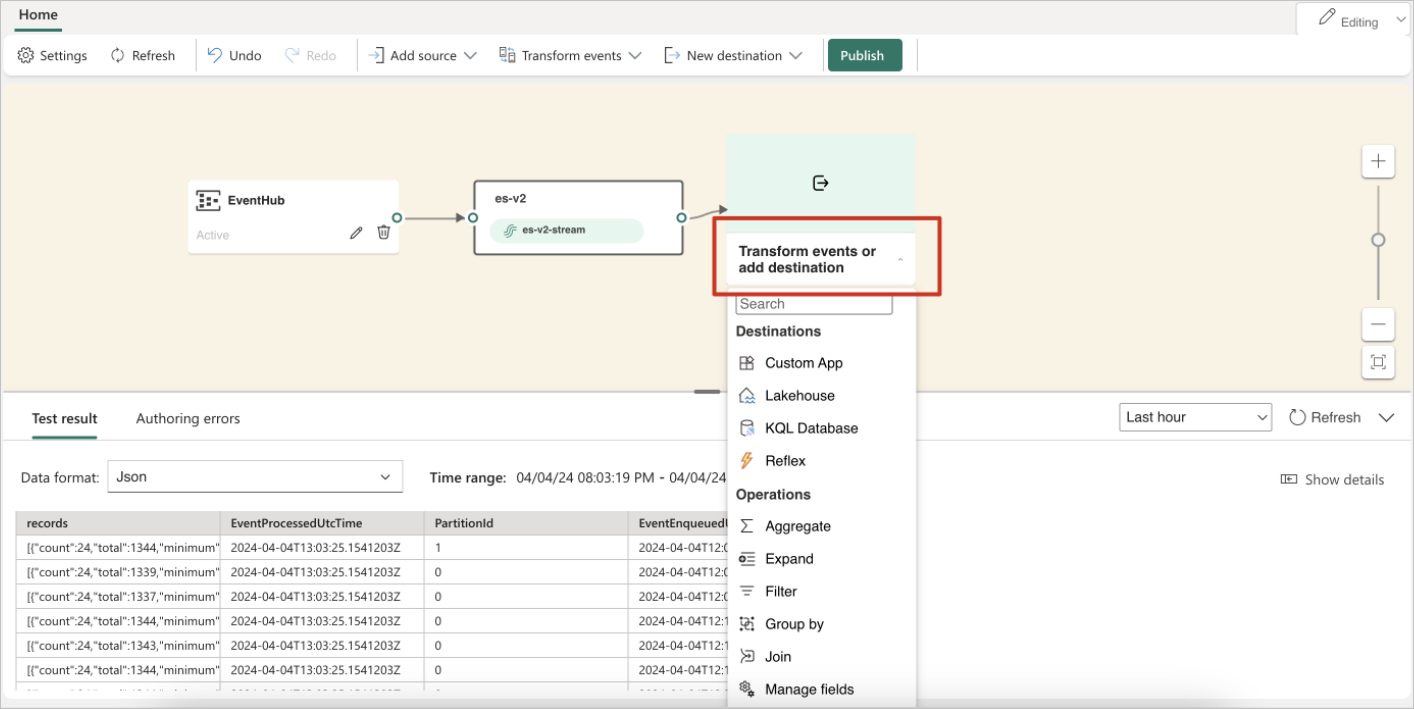
You can expand the dropdown menu on the editor and choose a Destination or Operation to add to your eventstream.
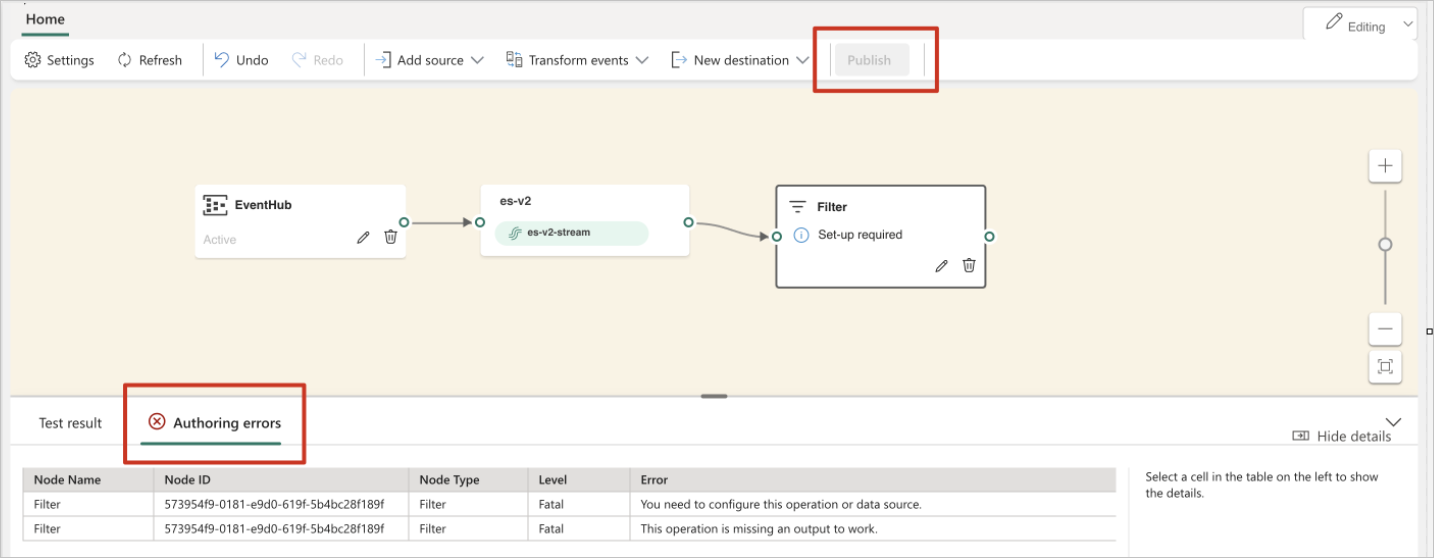
The Publish button is disabled if there are any authoring errors. For example, you must add a destination for a Filter operation before you can publish it.
After you configure a Lakehouse destination, select Publish to commit your changes.
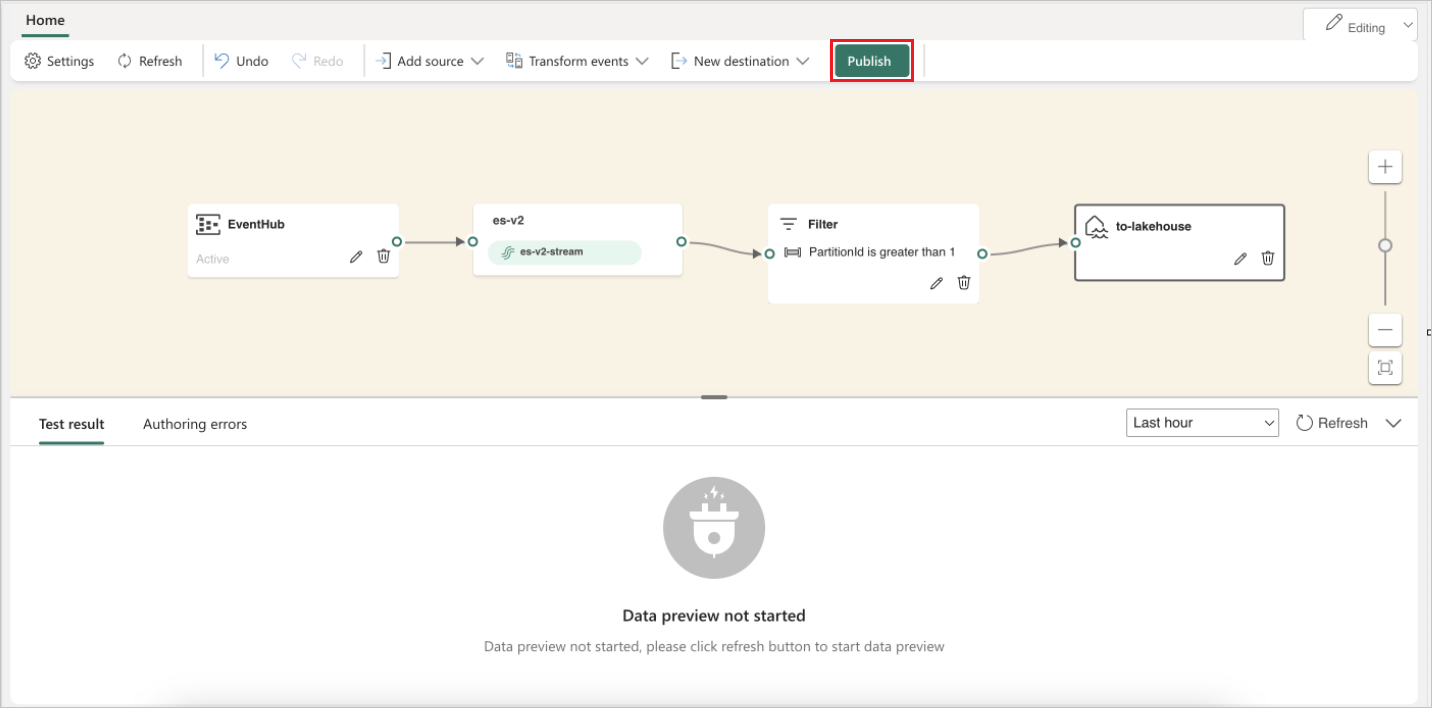
This action switches your eventstream from Edit mode to Live view, initiating real-time data processing.
Related content
Feedback
În curând: Pe parcursul anului 2024, vom elimina treptat Probleme legate de GitHub ca mecanism de feedback pentru conținut și îl vom înlocui cu un nou sistem de feedback. Pentru mai multe informații, consultați: https://aka.ms/ContentUserFeedback.
Trimiteți și vizualizați feedback pentru