Step 4 - Import data into Dataverse tables
To import data into the Dataverse tables, perform the following steps:
Download the Yume Card Data V3 initial content CSV file from the VivaSolutions GitHub repository if not already downloaded as part of the prerequisites.
Sign in to https://powerapps.microsoft.com and select the environment to which you'll be deploying the CSV file.
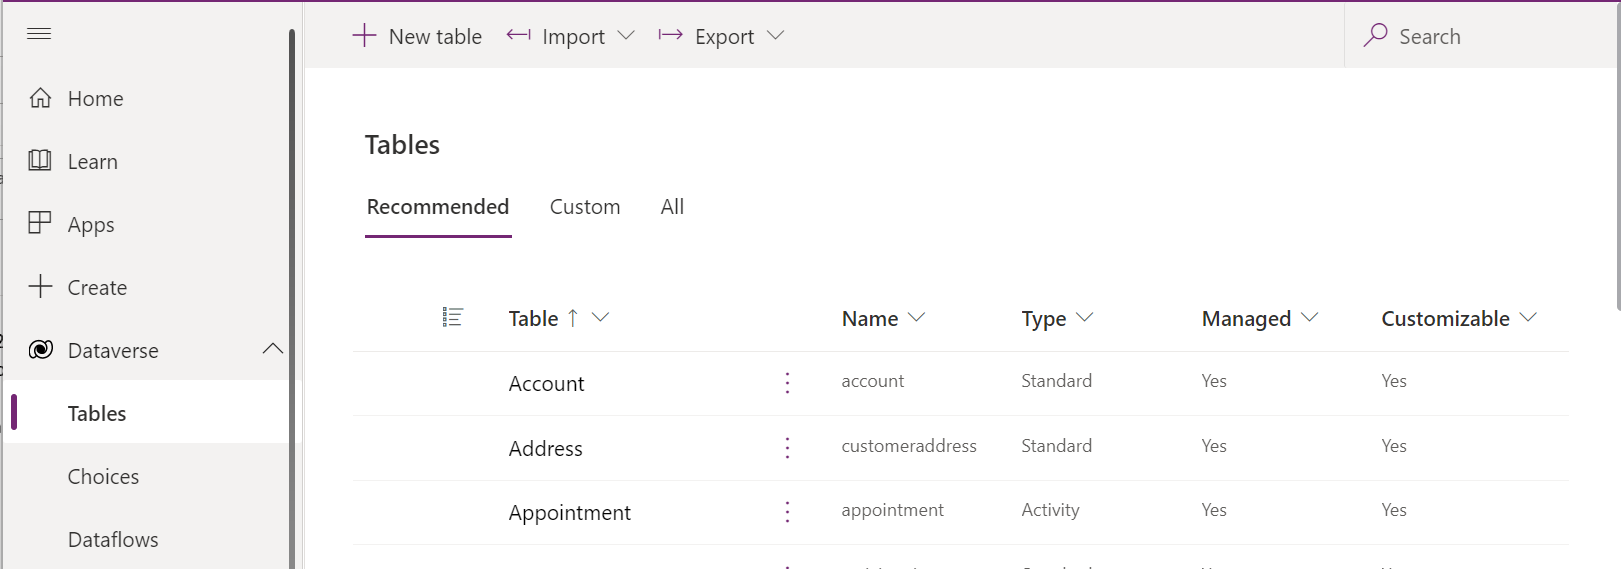
On the left navigation pane, select Dataverse > Tables.

The page listing the Dataverse tables is displayed.
Find the Yume Cards table using the search box as shown in the following screenshot.

The Yume Cards table is displayed.
Open the Yume Cards table by selecting the three-dotted option and then selecting Open.

The screen containing information of Yume Cards is displayed.

Select Import > Import data from Excel. The page as shown in the following screenshot is displayed.

Select Upload. A dialog box listing files and folders are displayed.

Select the YumeCardDataV3_initialcontent.csv file. This selected file is displayed in the File box as shown in the following screenshot.

Select Map columns on the far-right side of the page. The column mapping page is displayed, as shown in the following screenshot.

Select Save changes on the top right. You return to the Import data pane, as shown in the following screenshot.

Select Import on the top right. A notification message denoting a successful import is displayed, for example, the following screenshot.


