Add an Azure Active Directory by using Connected Services in Visual Studio
Applies to: ![]() Visual Studio
Visual Studio ![]() Visual Studio for Mac
Visual Studio for Mac
Note
This article applies to Visual Studio 2017. If you're looking for the latest Visual Studio documentation, see Visual Studio documentation. We recommend upgrading to the latest version of Visual Studio. Download it here
By using Azure Active Directory (Azure AD), you can support Single Sign-On (SSO) for ASP.NET MVC web applications, or Active Directory Authentication in web API services. With Azure AD Authentication, your users can use their accounts from Azure Active Directory to connect to your web applications. The advantages of Azure AD Authentication with web API include enhanced data security when exposing an API from a web application. With Azure AD, you do not have to manage a separate authentication system with its own account and user management.
This article and its companion articles provide details of using the Visual Studio Connected Service feature for Active Directory. The capability is available in Visual Studio 2015 and later.
At present, the Active Directory connected service does not support ASP.NET Core applications.
Prerequisites
- Azure account: if you don't have an Azure account, you can sign up for a free trial or activate your Visual Studio subscriber benefits.
- Visual Studio 2015 or later. Download Visual Studio now.
Connect to Azure Active Directory using the Connected Services dialog
In Visual Studio, create or open an ASP.NET MVC project, or an ASP.NET Web API project. You can use the MVC, Web API, Single-Page Application, Azure API App, Azure Mobile App, and Azure Mobile Service templates.
Select the Project > Add Connected Service... menu command, or double-click the Connected Services node found under the project in Solution Explorer.
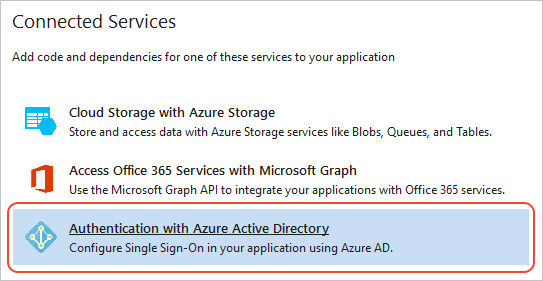
On the Connected Services page, select Authentication with Azure Active Directory.
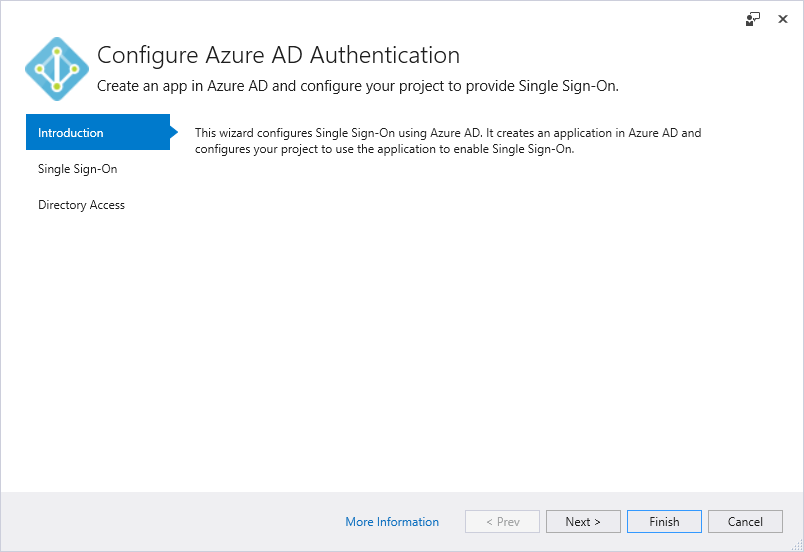
On the Introduction page, select Next. If you see errors on this page, refer to Diagnosing errors with the Azure Active Directory Connected Service.
On the Single-Sign On page, select a domain from the Domain drop-down list. The list contains all domains accessible by the accounts listed in the Account Settings dialog of Visual Studio (File > Account Settings...). As an alternative, you can enter a domain name if you don’t find the one you’re looking for, such as
mydomain.onmicrosoft.com. You can choose the option to create an Azure Active Directory app or use the settings from an existing Azure Active Directory app. Select Next when done.
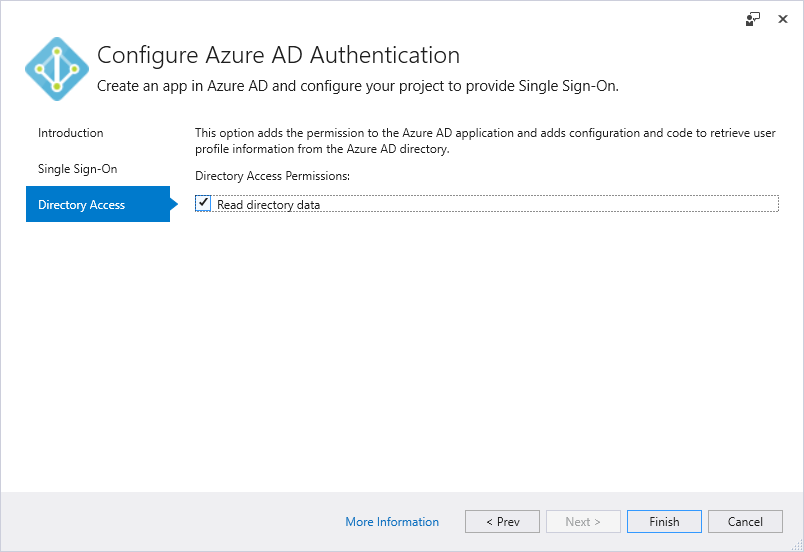
On the Directory Access page, select the Read directory data option as desired. Developers typically include this option.
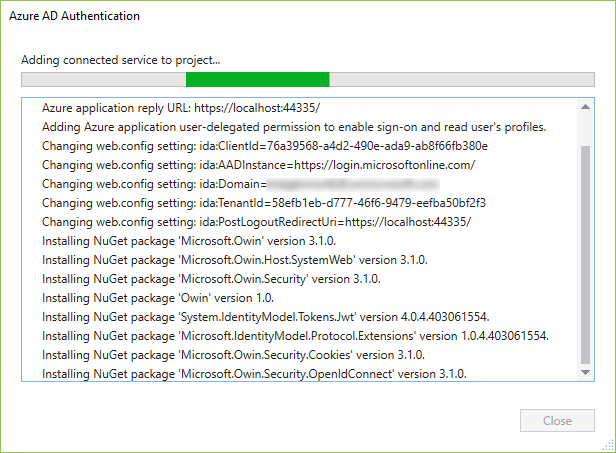
Select Finish to start modifications to your project to enable Azure AD authentication. Visual Studio shows progress during this time:
When the process is complete, Visual Studio opens your browser to one of the following articles, as appropriate to your project type:
You can also see the Active Directory domain on the Azure portal.
How your project is modified
When you add the connected service the wizard, Visual Studio adds Azure Active Directory and associated references to your project. Configuration files and code files in your project are also modified to add support for Azure AD. The specific modifications that Visual Studio makes depend on the project type. See the following articles for details: