Register a confidential client application in Microsoft Entra ID for Azure API for FHIR
Important
Azure API for FHIR will be retired on September 30, 2026. Follow the migration strategies to transition to Azure Health Data Services FHIR® service by that date. Due to the retirement of Azure API for FHIR, new deployments won't be allowed beginning April 1, 2025. Azure Health Data Services FHIR service is the evolved version of Azure API for FHIR that enables customers to manage FHIR, DICOM, and MedTech services with integrations into other Azure services.
In this tutorial, you learn how to register a confidential client application in Microsoft Entra ID.
A client application registration is a Microsoft Entra representation of an application that can be used to authenticate on behalf of a user, and request access to resource applications. A confidential client application is an application that can be trusted to hold a secret and present that secret when requesting access tokens. Examples of confidential applications are server-side applications.
To register a new confidential client application, use the following steps.
Register a new application
In the Azure portal, select Microsoft Entra ID.
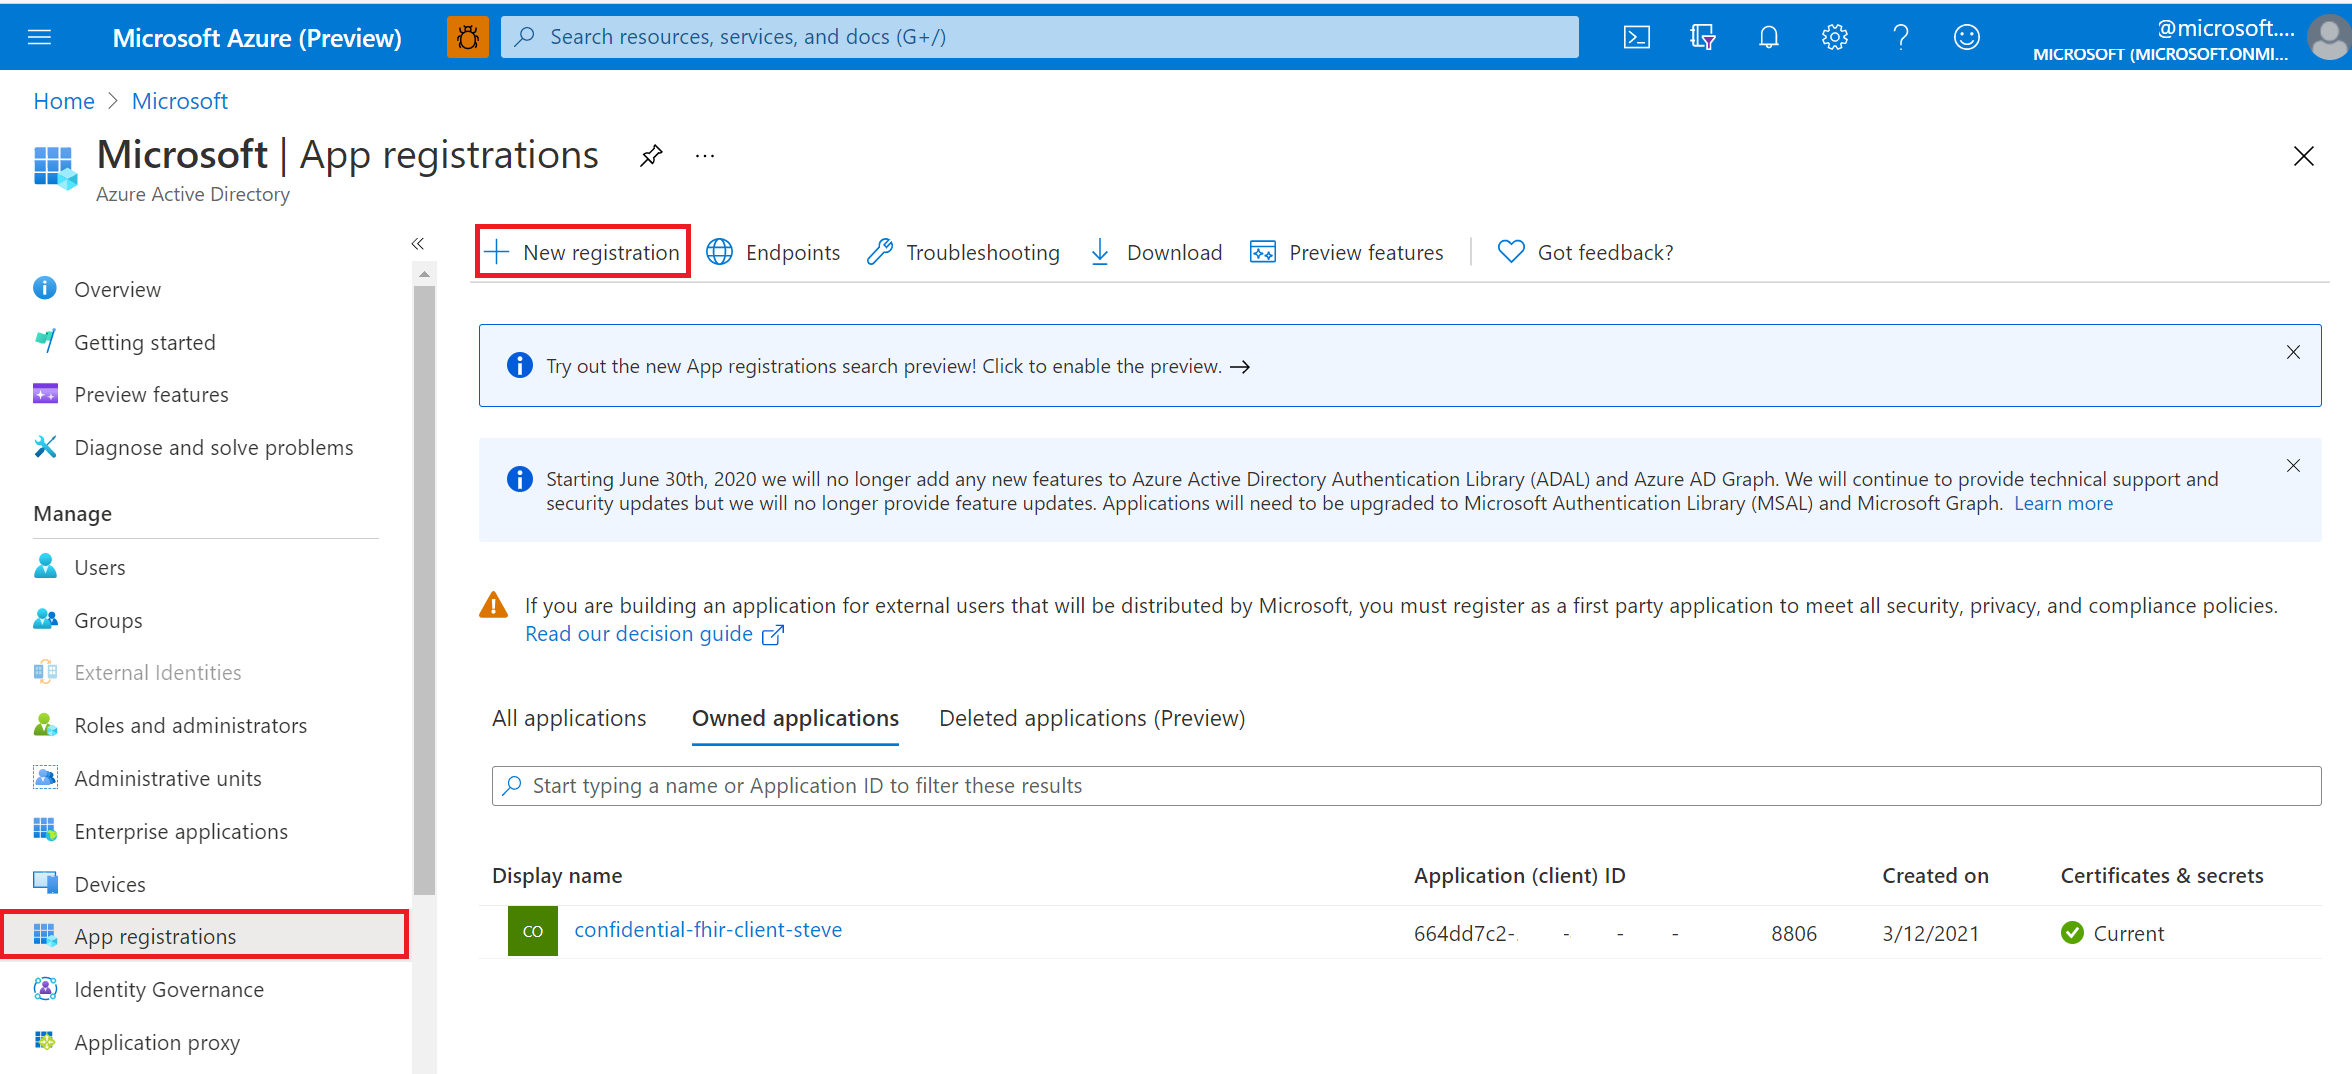
Select App registrations.

Select New registration.
Give the application a user-facing display name.
For Supported account types, select who can use the application or access the API.
(Optional) Provide a Redirect URI. These details can be changed later, but if you know the reply URL of your application, enter it now.

Select Register.
API permissions
Permissions for Azure API for FHIR are managed through role-based access control (RBAC). For more details, visit Configure Azure RBAC for FHIR.
Note
Use a grant_type of client_credentials when trying to obtain an access token for Azure API for FHIR using tools such as Postman. For more details, visit Testing the FHIR API on Azure API for FHIR.
Application secret
Select Certificates & secrets, and then select New client secret.

Enter a Description for the client secret. Select the Expires drop-down menu to choose an expiration time frame, and then select Add.

After the client secret string is created, copy its Value and ID, and store them in a secure location of your choice.

Note
The client secret string is visible only once in the Azure portal. When you navigate away from the Certificates & secrets web page and then return back to it, the Value string becomes masked. It's important to make a copy your client secret string immediately after it is generated. If you don't have a backup copy of your client secret, you must repeat the above steps to regenerate it.
Next steps
In this article, you were guided through the steps of how to register a confidential client application in the Microsoft Entra ID. You were also guided through the steps of how to add API permissions in Microsoft Entra ID for Azure API for FHIR. Lastly, you were shown how to create an application secret.
You can also learn how to access your FHIR server using Postman.
Note
FHIR® is a registered trademark of HL7 and is used with the permission of HL7.