Create verifiable credentials for ID tokens
A rules definition that uses the idTokens attestation produces an issuance flow where you're required to do an interactive sign-in to an OpenID Connect (OIDC) identity provider in Microsoft Authenticator. Claims in the ID token that the identity provider returns can be used to populate the issued verifiable credential. The claims mapping section in the rules definition specifies which claims are used.
Create a custom credential with the idTokens attestation type
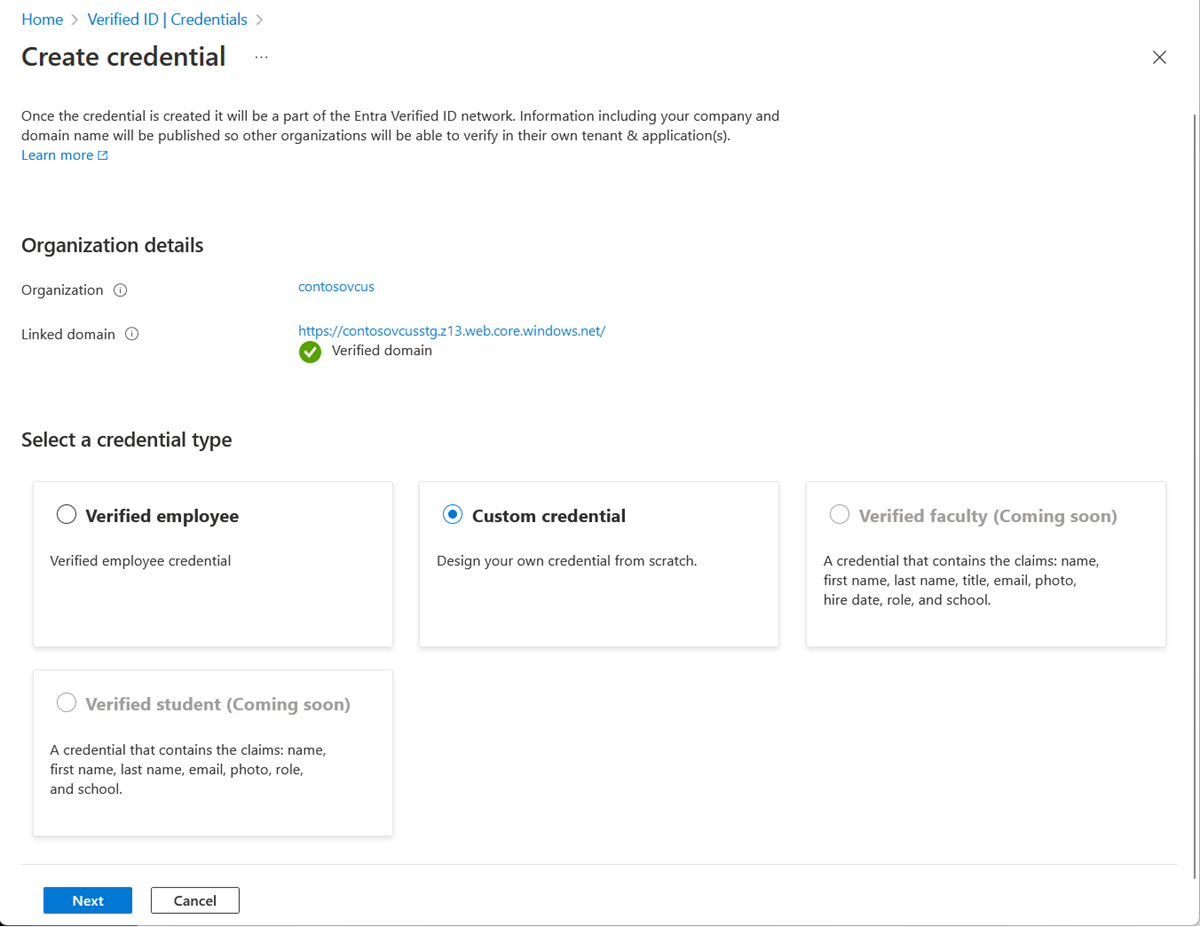
In the Azure portal, when you select Add credential, you get the option to launch two quickstarts. Select custom credential, and then select Next.

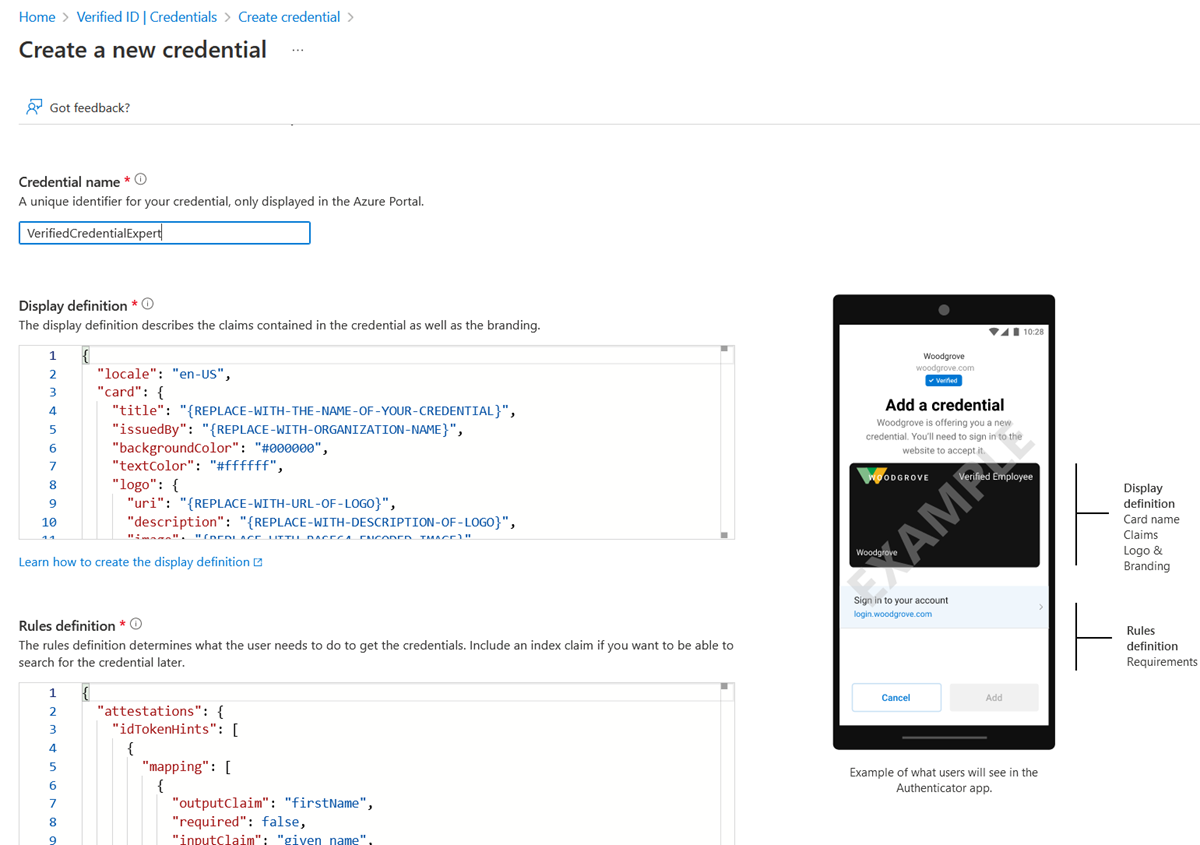
On the Create a new credential page, enter the JSON code for the display and the rules definitions. In the Credential name box, give the credential a type name. To create the credential, select Create.

Sample JSON display definitions
The JSON display definition is nearly the same, regardless of attestation type. You only have to adjust the labels according to the claims that your verifiable credential has. The expected JSON for the display definitions is the inner content of the displays collection. The JSON is a collection, so if you want to support multiple locales, add multiple entries with a comma as separator.
{
    "locale": "en-US",
    "card": {
      "title": "Verified Credential Expert",
      "issuedBy": "Microsoft",
      "backgroundColor": "#000000",
      "textColor": "#ffffff",
      "logo": {
        "uri": "https://didcustomerplayground.z13.web.core.windows.net/VerifiedCredentialExpert_icon.png",
        "description": "Verified Credential Expert Logo"
      },
      "description": "Use your verified credential to prove to anyone that you know all about verifiable credentials."
    },
    "consent": {
      "title": "Do you want to get your Verified Credential?",
      "instructions": "Sign in with your account to get your card."
    },
    "claims": [
      {
        "claim": "vc.credentialSubject.userName",
        "label": "User name",
        "type": "String"
      },
      {
        "claim": "vc.credentialSubject.displayName",
        "label": "Display name",
        "type": "String"
      },
      {
        "claim": "vc.credentialSubject.firstName",
        "label": "First name",
        "type": "String"
      },
      {
        "claim": "vc.credentialSubject.lastName",
        "label": "Last name",
        "type": "String"
      }
    ]
}
Sample JSON rules definitions
The JSON attestation definition should contain the idTokens name, the OIDC configuration details (clientId, configuration, redirectUri, and scope) and the claims mapping section. The expected JSON for the rules definitions is the inner content of the rules attribute, which starts with the attestation attribute.
The claims mapping in the following example requires that you configure the token as explained in the Claims in the ID token from the identity provider section.
{
  "attestations": {
    "idTokens": [
      {
        "clientId": "00001111-aaaa-2222-bbbb-3333cccc4444",
        "configuration": "https://didplayground.b2clogin.com/didplayground.onmicrosoft.com/B2C_1_sisu/v2.0/.well-known/openid-configuration",
        "redirectUri": "vcclient://openid/",
        "scope": "openid profile email",
        "mapping": [
          {
            "outputClaim": "userName",
            "required": true,
            "inputClaim": "$.upn",
            "indexed": true
          },
          {
            "outputClaim": "displayName",
            "required": true,
            "inputClaim": "$.name",
            "indexed": false
          },
          {
            "outputClaim": "firstName",
            "required": true,
            "inputClaim": "$.given_name",
            "indexed": false
          },
          {
            "outputClaim": "lastName",
            "required": true,
            "inputClaim": "$.family_name",
            "indexed": false
          }
        ],
        "required": false
      }
    ]
  },
  "validityInterval": 2592000,
  "vc": {
    "type": [
      "VerifiedCredentialExpert"
    ]
  }
}
Application registration
The clientId attribute is the application ID of a registered application in the OIDC identity provider. For Microsoft Entra ID, you create the application by following these steps:
In the Azure portal, go to Microsoft Entra ID.
Select App registrations, select New registration, and then give the app a name.
If you want only accounts in your tenant to be able to sign in, keep the Accounts in this directory only checkbox selected.
In Redirect URI (optional), select Public client/native (mobile & desktop), and then enter vcclient://openid/.
If you want to check the claims included in the Microsoft Entra ID token, take the following steps:
On the left pane, select Authentication> Add platform > Web.
For Redirect URI, enter https://jwt.ms, and then select ID Tokens (used for implicit and hybrid flows).
Select Configure.
After you finish testing your ID token, consider removing https://jwt.ms and the support for implicit and hybrid flows.
For Microsoft Entra ID: You can test your app registration and, if you enable support for redirecting to https://jwt.ms, you can get an ID token by running the following in your browser:
https://login.microsoftonline.com/<your-tenantId>/oauth2/v2.0/authorize?client_id=<your-appId>&nonce=defaultNonce&redirect_uri=https%3A%2F%2Fjwt.ms&scope=openid%20profile&response_type=id_token&prompt=login
In the code, replace <your-tenantId> with your tenant ID. To get the extra claims, you need to have profile as part of the scope.
For Azure Active Directory B2C: The app registration process is the same, but B2C has built-in support in the Azure portal for testing your B2C policies via the Run user flow functionality.
Claims in the ID token from the identity provider
Claims must exist in the returned identity provider so that they can successfully populate your verifiable credential.
If the claims don't exist, there's no value in the issued verifiable credential. Most OIDC identity providers don't issue a claim in an ID token if the claim has a null value in your profile. Be sure to include the claim in the ID token definition, and ensure that you enter a value for the claim in your user profile.
For Microsoft Entra ID: To configure the claims to include in your token, see Provide optional claims to your app. The configuration is per application, so this configuration should be for the app that has the application ID specified in the client ID in the rules definition.
To match the display and rules definitions, you should make your application's optionalClaims JSON look like the following example:
"optionalClaims": {
    "idToken": [
        {
            "name": "upn",
            "source": null,
            "essential": false,
            "additionalProperties": []
        },
        {
            "name": "family_name",
            "source": null,
            "essential": false,
            "additionalProperties": []
        },
        {
            "name": "given_name",
            "source": null,
            "essential": false,
            "additionalProperties": []
        },
        {
            "name": "preferred_username",
            "source": null,
            "essential": false,
            "additionalProperties": []
        }
    ],
    "accessToken": [],
    "saml2Token": []
},
For Azure Active Directory B2C: Configuring other claims in your ID token depends on whether your B2C policy is a user flow or a custom policy. For information about user flows, see Set up a sign-up and sign-in flow in Azure Active Directory B2C. For information about custom policy, see Provide optional claims to your app.
For other identity providers, see the relevant documentation.
Configure the samples to issue and verify your custom credential
To configure your sample code to issue and verify your custom credentials, you need:
- Your tenant's issuer decentralized identifier (DID)
- The credential type
- The manifest URL to your credential
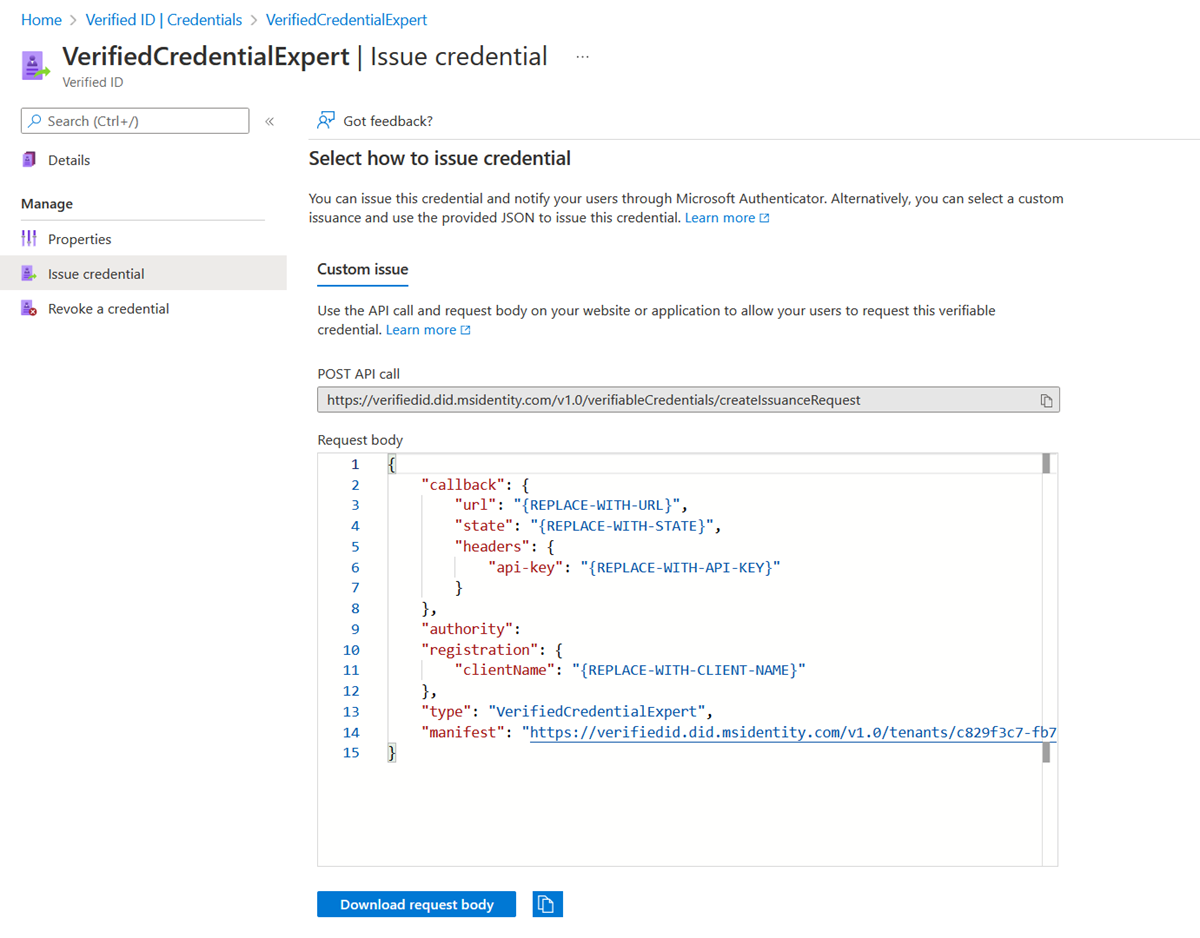
The easiest way to find this information for a custom credential is to go to your credential in the Azure portal. Select Issue credential. Then you have access to a text box with a JSON payload for the Request Service API. Replace the placeholder values with your environment's information. The issuer’s DID is the authority value.
