Exercise - Create recurring flows
In this unit, you'll learn how to build prescheduled flows by using a trigger called recurrence. Contoso has an annual event and they receive phone calls inquiring about the details. The Contoso team answering the phone calls places the contact information in a Microsoft Excel workbook on Microsoft OneDrive. You'll build a flow for the Contoso event team that automatically pulls customer email addresses from a Microsoft Excel workbook on Microsoft OneDrive. You'll then set up the flow so that any email addresses that anyone adds to the workbook will receive an event information email once a day.
Prerequisites
For this scenario, you'll create an Excel file with a table that contains the following columns: ContactEmail, FirstName, and LastName. Save the Excel file in OneDrive. You'll connect to this file in step 9. Use your organization email address as the ContactEmail, using your email will make testing the flow easier.
Format an Excel Table
Highlight all the cells that contain data.
Select the Insert tab.
Select the Table option.
Make sure "My table has headers" is checked.
Select Ok.
Save the file in OneDrive.

Here’s what the Excel table looks like after being formatted:

Create a scheduled flow
Sign in to Power Automate by using your organizational account.
Make sure you are in the correct environment.
In the middle of the screen, type Create a flow that runs daily, gets a list of excel rows and for each row, send an email. Select Generate.

Copilot will do its best to come up with a flow and its actions from the description.
- If Copilot provided incorrect actions, you can continue to refine the flow actions in this top box.
- In this example, Copilot added a List rows present in a table (Excel) action, a For Each action and within the For Each, a Send an Email action.
- Review the actions Copilot generated and select Next.

Select the Recurrence trigger to open the properties panel on the left and to verify Copilot set the correct parameters.
Note
Be mindful of the repeating module you select and how often you would like the flows to run. In the below example, the flow runs daily at 10:00 a.m. You can set these options however you like.

Select the List rows present in the table action to open the properties panel on the left.
In the Location field, select OneDrive for Business.
In the Document Library field, select the drop-down arrow and select OneDrive.
In the File name field, select the folder button, and then select the Excel file to use. In this case, it's Book1.xlsx
In the Table name box, select the drop-down arrow, and then browse to and select the table to use. In this case, it's Table1

Next, we want an email to be sent to each contact in the Excel file. Copilot automatically puts our Send an email action inside of a For Each action so we only need to configure the Send an Email action.
Select the Send an email action to open the properties panel on the left. Click inside the To field and select Enter custom value.

Type / and then select Insert Dynamic Content.

Select ContactEmail.

Enter Contoso Event Information for Subject.
Type Dear in the Body and then type /, and select the Insert Dynamic Content button.

Select FirstName from the dynamic content pane.
Press ENTER and then type Thank you for your interest in Contoso's annual event. As information becomes available, you'll be the first to know!
The Send an email step should now look like the image below.

Select Save and wait for the flow to be saved.
Your cloud flow should now look like the image below. Select Test.

Select Manually and then select the Test button.
Select Run flow.
Select Done.
The flow should run successfully.

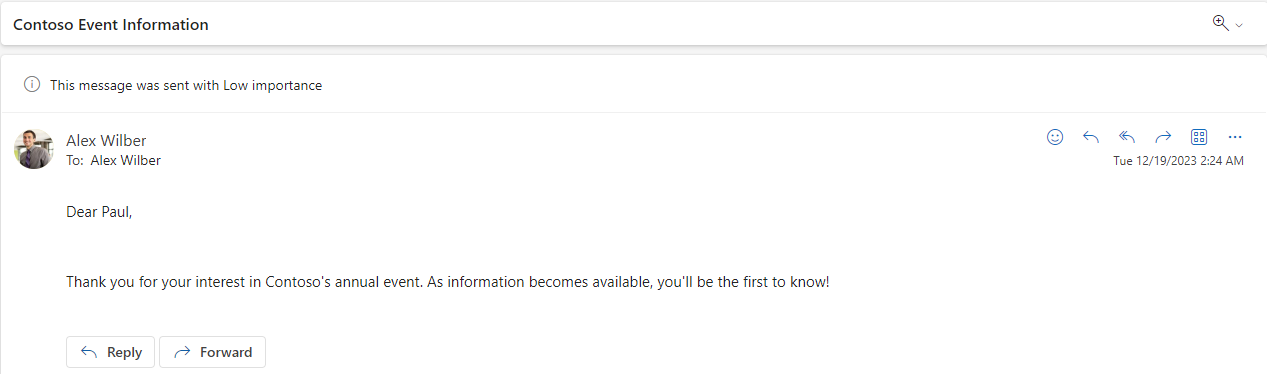
You should receive an email like the one below.
And there you have it!
This flow will now run once a day. It will:
Get the rows from the Excel worksheet
Grab the email address and name from each row
Enter the email address and name in the email, and send them an event information email
Save you from manually composing emails to each interested caller.