Note
Access to this page requires authorization. You can try signing in or changing directories.
Access to this page requires authorization. You can try changing directories.
Use Viva Learning academy to curate pages for selected learners to develop business-critical capabilities through a facilitated learning experience. The academy goes beyond technical and functional skills and focuses on the business capabilities a company needs to thrive. You can curate an academy by using a group of learning paths focused on specific learning objectives.
Academies are set up and managed on the admin tab in Viva Learning under Manage Academies. Creating and editing academies involves managing featured sets and learning paths.
There are many ways to personalize academies to your organization. This includes:
- Grouping learning paths under multiple layers.
- Applying your own branding to academies by uploading a logo and background image.
- Customizing academy components like featured sets and learner profiles cards.
Note
Do you have Microsoft 365 Copilot? Check out Microsoft Copilot Academy to learn how to help your users learn and use Microsoft 365 Copilot.
Prerequisites
You need a premium license for Viva Learning or Viva Suite to view, create, and manage academies.
Existing Microsoft 365 admins, knowledge admins, and knowledge managers can create and manage academies.
Create an academy
Select Manage academies.
Select Create new academy.
Enter a name and description for the academy.
Upload an academy logo and background image.
Define your academy access:
- Select Open Academy if you want your academy to be accessible to all users.
- Select Restricted Academy if you want to select specific learner groups.
Select Save.

Now your academy is available for configuration.
Configure academy
Auto Save: Your changes will automatically be saved as you curate academy, reducing the risk of lost updates.
Drafts: You will be able to save work-in-progress content as a draft and return to it later before publishing.
Configure academy details
Select Edit in the Academy Details section to modify the title, description, logo, and background image.
Configure the academy by selecting the featured set and learning paths.
Select a featured set
Under the featured set, select Add to select existing Draft Featured set created for Academy.
Go to the featured set tab to create a new featured set.
Select Create New at the top to create new featured set.
Enter a featured set name.
Select and add the content from the Viva Learning catalog or add content from the web, which are displayed in the featured set.
Select Save. The draft featured set are displayed in the dashboard.
Note
You can add a maximum of six learning objects to one featured set.
Select Activate on the draft featured set.
Select the academy where you want the featured set to be displayed. This maps the featured set to the academy. The featured set is now activated.
Enable profile card
The profile card is disabled by default.
Add a feature set if you want to enable the profile card. You can choose to either disable the profile card and keep the feature set, or to disable both.
Organize the academy structure
Add sections and sub-sections
- You can optionally add sections and subsections to organize learning paths.
- You can edit or delete the section and sub-section, add descriptions, and reorder content.
Add learning paths
Select Add Learning Paths to add existing learning paths.
To create new learning paths, go to the Viva Learning admin, and then select Learning paths.
Select Create New to generate a new learning path. Learning more about creating learning paths
Publish the learning path.
To add newly created learning paths to the academy, go to Manage Academies.
You can reorder the learning paths using drag and drop.
View selected learning paths under in the Selected tab in Search.
Changes will be automatically saved but you can also use Save to manually save the changes.
Enable academy
Select Publish to enable the academy for learners.

Select Preview to review the academy structure before making it live.
Publish academy to the selected group or everyone in the organization.

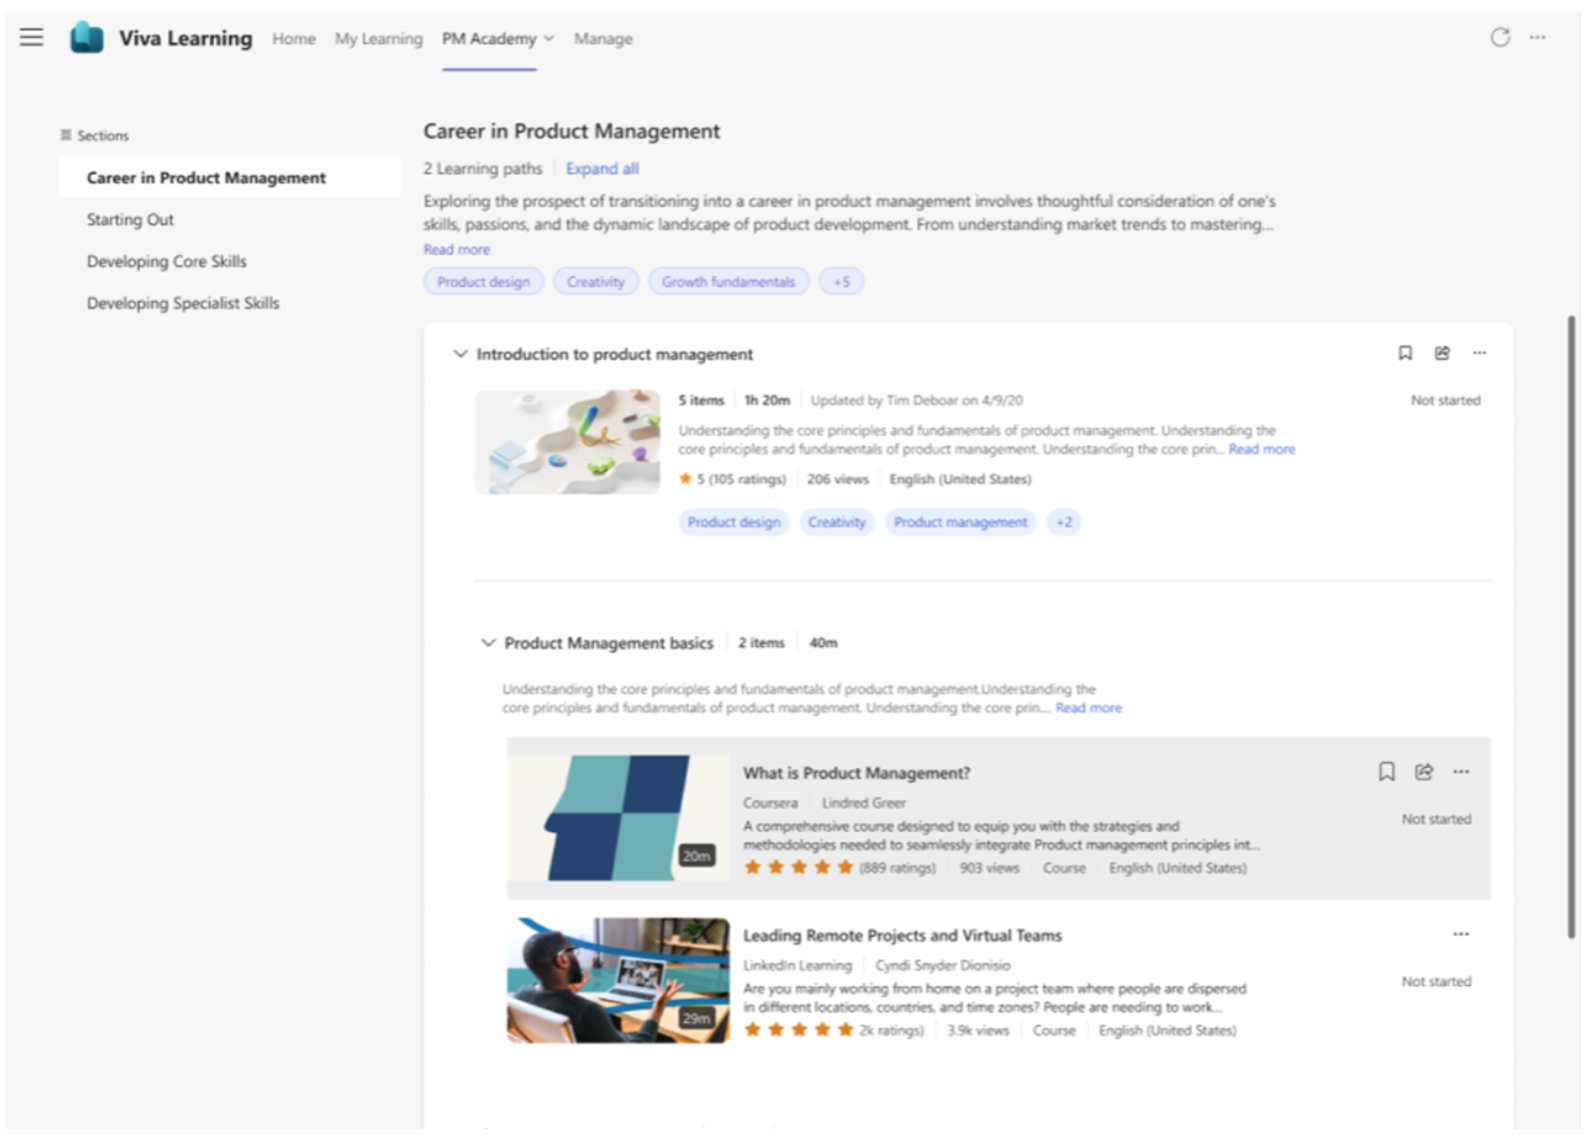
Learners can expand any Learning Path directly within the Academy after Academy is published to them.