Note
Access to this page requires authorization. You can try signing in or changing directories.
Access to this page requires authorization. You can try changing directories.
In this quickstart, you'll create a WinUI app that sends and responds to local app notifications using the Windows App SDK.
For complete sample apps that implement app notifications, see the Windows App SDK Samples repo on GitHub.
Important
App notifications aren't supported for elevated (admin) apps.
Prerequisites
- Install Visual Studio 2022 (v17.6+)
- Include C++ workload for C++ or .NET workloads for C# development.
- Make sure that MSIX Packaging Tools under .NET desktop development is selected.
- Make sure Windows Application Development is selected.
- Make sure Windows UI Application Development is selected.
For more information about managing workloads in Visual Studio, see Modify Visual Studio workloads, components, and language packs. For more information about getting started with WinUI, see Get started with WinUI. To add the Windows App SDK to an existing project, see Use the Windows App SDK in an existing project.
Create a new WinUI app project in Visual Studio
- In Visual Studio, create a new project.
- In the Create a new project dialog, set the language filter to "C#" or "C++" and the platform filter to "WinUI", then select the "Blank App, Packaged (WinUI 3 in Desktop)" project template.
- Name the new project "AppNotificationsExample".
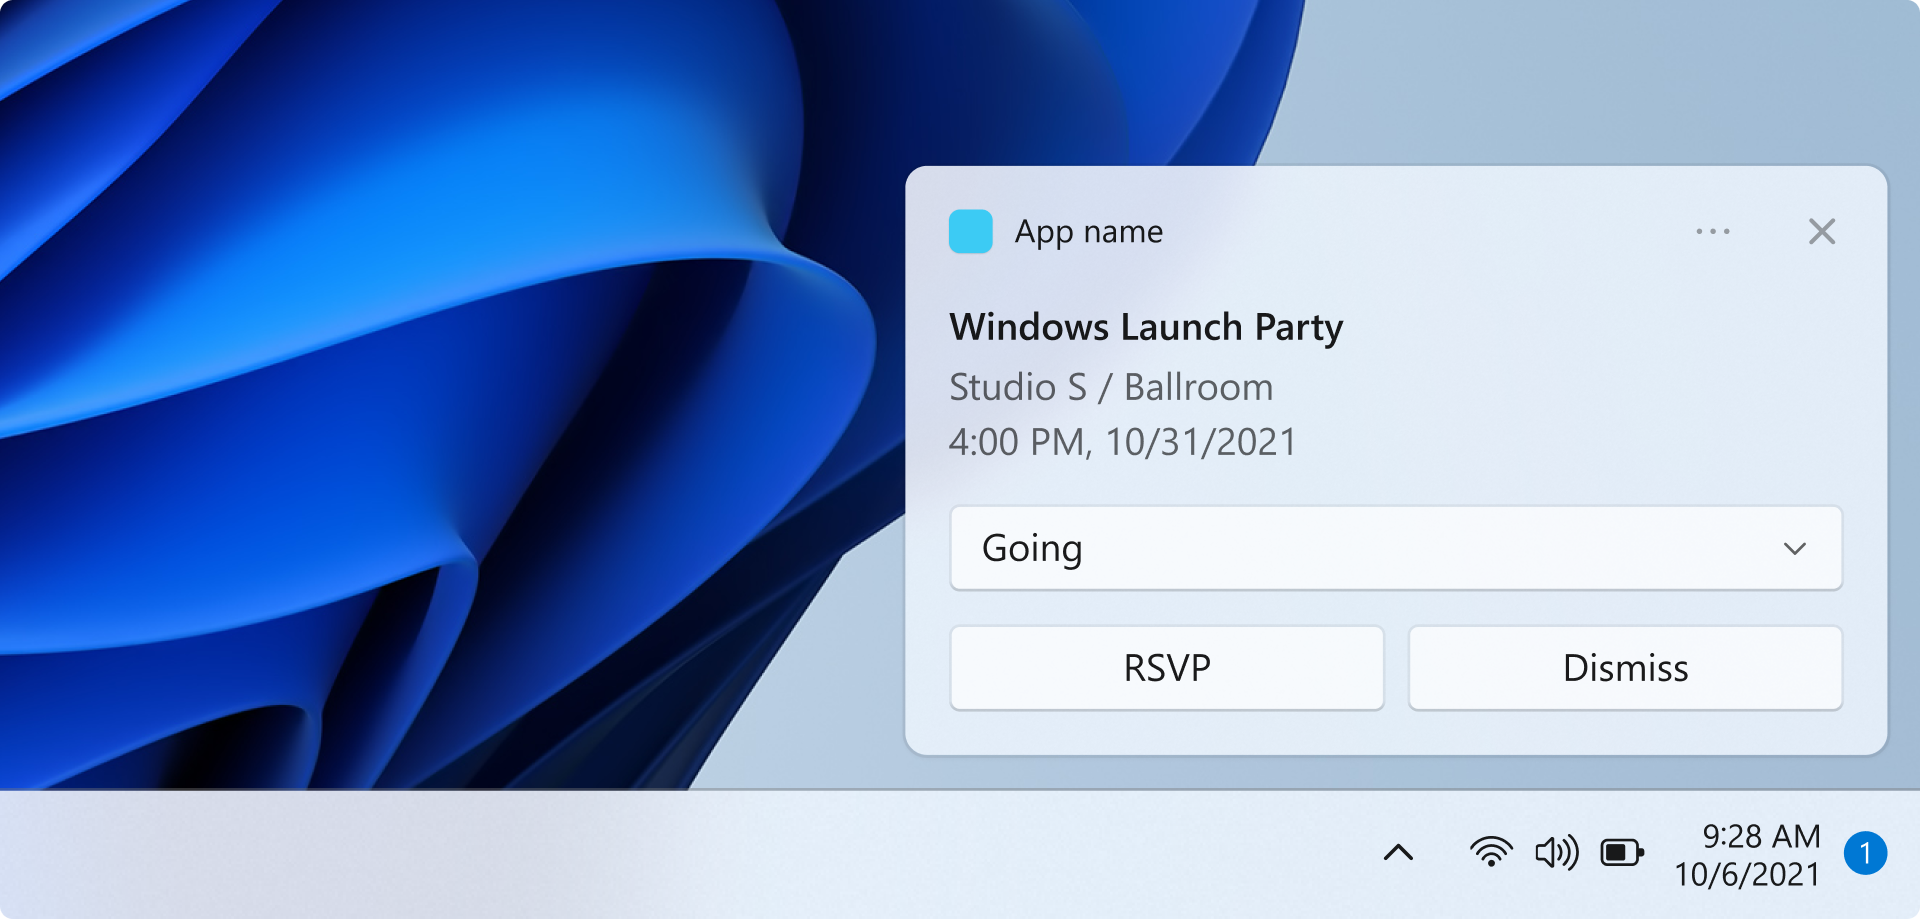
Send a local app notification
In this section, you'll add a button to your app that sends a local app notification when clicked. The notification will include text content and an app logo image. You'll also add two read-only text boxes that will display the activation arguments when the user clicks on the notification.
First, add a Button control and two TextBox controls to your MainWindow.xaml:
<!-- MainWindow.xaml -->
<Button x:Name="SendNotificationButton" Content="Send App Notification" Click="SendNotificationButton_Click"/>

<TextBlock Text="Activation arguments:" FontWeight="SemiBold" Margin="0,12,0,0"/>
<TextBox x:Name="ActionTextBox" Header="action" IsReadOnly="True" PlaceholderText="(none)"/>
<TextBox x:Name="ExampleEventIdTextBox" Header="exampleEventId" IsReadOnly="True" PlaceholderText="(none)"/>
The app notification APIs are in the Microsoft.Windows.AppNotifications and Microsoft.Windows.AppNotifications.Builder namespaces. Add the following references to your project:
// MainWindow.xaml.cs
using Microsoft.Windows.AppNotifications;
using Microsoft.Windows.AppNotifications.Builder;
Now, add the following code to your button click handler. This example uses AppNotificationBuilder to construct notification content, including arguments that will be passed back to the app when the user clicks the notification, an app logo image, and text. The notification also includes a button that demonstrates performing an action without launching the app's UI. The BuildNotification method creates the AppNotification object, and AppNotificationManager.Show displays it to the user.
// MainWindow.xaml.cs
private void SendNotificationButton_Click(object sender, RoutedEventArgs e)
{
    var appNotification = new AppNotificationBuilder()
        .AddArgument("action", "NotificationClick")
        .AddArgument("exampleEventId", "1234")
        .SetAppLogoOverride(new System.Uri("ms-appx:///Assets/Square150x150Logo.png"), AppNotificationImageCrop.Circle)
        .AddText("This is text content for an app notification.")
        .AddButton(new AppNotificationButton("Perform action without launching app")
            .AddArgument("action", "BackgroundAction"))
        .BuildNotification();

    AppNotificationManager.Default.Show(appNotification);
}
At this point, you can build and run your app. Click the Send App Notification button to display the notification. Note that clicking the notification won't perform any action yet — in the next section, you'll learn how to handle app activation so your app can respond when a user clicks the notification.
Note
App notifications are not supported when your app is running with administrator privileges (elevated). Show will fail silently and no notification will be displayed. Make sure you run your app without elevation when testing notifications.
Update the app package manifest file
The Package.appmanifest file provides the details of the MSIX package for an app. To enable your app to be launched when a user interacts with an app notification, you must update your app package manifest file so that your app is registered with the system as a target for app notification activation. For more information about app package manifests, see App package manifest.
- Edit the Package.appxmanifest file by right-clicking the file in Solution Explorer and selecting View Code.
- Add
xmlns:com="http://schemas.microsoft.com/appx/manifest/com/windows10"andxmlns:desktop="http://schemas.microsoft.com/appx/manifest/desktop/windows10"namespaces to<Package>. - Add a
<desktop:Extension>element under<Extensions>. Set theCategoryattribute to"windows.toastNotificationActivation"to declare that your app can be activated by app notifications.- Add a
<desktop:ToastNotificationActivation>child element and set theToastActivatorCLSIDto a GUID that will uniquely identify your app. - You can generate a GUID in Visual Studio by going to Tools > Create GUID.
- Add a
- Add a
<com:Extension>element under<Extensions>and set theCategoryattribute to"windows.comServer". The example manifest file shown below shows the syntax for this element.- Update the
Executableattribute of the<com:ExeServer>element with your executable name. For this example, the name will be"AppNotificationsExample.exe". - Specify
Arguments="----AppNotificationActivated:"to ensure that Windows App SDK can process your notification's payload as an AppNotification kind. - Set the
Idattribute of the<com:Class>element to the same GUID you used for theToastActivatorCLSIDattribute.
- Update the
<!--package.appxmanifest-->

<Package
  xmlns:com="http://schemas.microsoft.com/appx/manifest/com/windows10"
  xmlns:desktop="http://schemas.microsoft.com/appx/manifest/desktop/windows10"
  ...
  <Applications>
    <Application>
      ...
      <Extensions>

        <!--Specify which CLSID to activate when notification is clicked-->
        <desktop:Extension Category="windows.toastNotificationActivation">
          <desktop:ToastNotificationActivation ToastActivatorCLSID="replaced-with-your-guid-C173E6ADF0C3" />
        </desktop:Extension>

        <!--Register COM CLSID-->
        <com:Extension Category="windows.comServer">
          <com:ComServer>
            <com:ExeServer Executable="SampleApp.exe" DisplayName="SampleApp" Arguments="----AppNotificationActivated:">
              <com:Class Id="replaced-with-your-guid-C173E6ADF0C3" />
            </com:ExeServer>
          </com:ComServer>
        </com:Extension>

      </Extensions>
    </Application>
  </Applications>
 </Package>
Handle activation from an app notification
When a user clicks on an app notification or a button within a notification, your app needs to respond appropriately. There are two common activation scenarios:
- Launch with UI — The user clicks the notification body and your app should launch or come to the foreground, displaying relevant content.
- Background action — The user clicks a button in the notification that triggers an action (such as sending a reply) without showing any app UI.
To support both scenarios, your app's activation flow should create the main window in OnLaunched but not activate it immediately. Instead, register the AppNotificationManager.NotificationInvoked event, call AppNotificationManager.Register, and then check AppInstance.GetActivatedEventArgs to determine whether the app was launched from a notification or from a normal launch. If the launch was triggered by a notification, your code can inspect the notification arguments and decide whether to show the window or handle the action silently and exit.
The NotificationInvoked event handles clicks that occur while the app is already running. When the app is not running, Windows launches the app via COM activation and the activation kind is reported as Launch, not AppNotification. The notification arguments are then delivered through the NotificationInvoked event.
Important
You must call AppNotificationManager.Register before calling AppInstance.GetActivatedEventArgs.
Important
Setting activationType="background" in the notification XML payload is ignored for desktop apps. You must process the activation arguments in your code and decide whether to display a window or not.
// App.xaml.cs
using Microsoft.UI.Xaml;
using Microsoft.Windows.AppLifecycle;
using Microsoft.Windows.AppNotifications;

namespace AppNotificationsExample;

public partial class App : Application
{
    private Window? _window;

    public App()
    {
        InitializeComponent();
    }

    protected override void OnLaunched(Microsoft.UI.Xaml.LaunchActivatedEventArgs args)
    {
        _window = new MainWindow();

        AppNotificationManager.Default.NotificationInvoked += OnNotificationInvoked;
        AppNotificationManager.Default.Register();

        var activatedArgs = AppInstance.GetCurrent().GetActivatedEventArgs();

        if (activatedArgs.Kind == ExtendedActivationKind.AppNotification)
        {
            // App was launched by clicking a notification
            var notificationArgs = (AppNotificationActivatedEventArgs)activatedArgs.Data;
            HandleNotification(notificationArgs);
        }
        else
        {
            // Normal launch
            _window.Activate();
        }
    }

    private void OnNotificationInvoked(AppNotificationManager sender, AppNotificationActivatedEventArgs args)
    {
        // Notification clicked while app is already running
        HandleNotification(args);
    }

    private void HandleNotification(AppNotificationActivatedEventArgs args)
    {
        var action = args.Arguments.ContainsKey("action") ? args.Arguments["action"] : "(none)";
        var exampleEventId = args.Arguments.ContainsKey("exampleEventId") ? args.Arguments["exampleEventId"] : "(none)";

        _window!.DispatcherQueue.TryEnqueue(() =>
        {
            switch (action)
            {
                case "BackgroundAction":
                    // Handle the action without showing the app window.
                    // If the window was never shown, exit the app.
                    if (!_window.Visible)
                    {
                        Application.Current.Exit();
                    }
                    break;

                default:
                    // Bring the app to the foreground and display the notification arguments.
                    _window.Activate();
                    ((MainWindow)_window).UpdateNotificationUI(action, exampleEventId);
                    break;
            }
        });
    }
}
Add an UpdateNotificationUI method to MainWindow to display the notification arguments in the text boxes added earlier.
// MainWindow.xaml.cs
public void UpdateNotificationUI(string action, string exampleEventId)
{
    DispatcherQueue.TryEnqueue(() =>
    {
        ActionTextBox.Text = action;
        ExampleEventIdTextBox.Text = exampleEventId;
    });
}
Next steps
- App notification content — learn how to add images, buttons, inputs, and other UI elements to your notifications.
- Remove app notifications — learn how to tag, remove, and set expiration on your notifications.
See also
Collaborate with us on GitHub
The source for this content can be found on GitHub, where you can also create and review issues and pull requests. For more information, see our contributor guide.

Windows developer