Note
Access to this page requires authorization. You can try signing in or changing directories.
Access to this page requires authorization. You can try changing directories.
This quick start guide walks you through setting up your WinUI and Windows App SDK development environment and creating your first app. To learn more about how Visual Studio and its templates support WinUI development, see the Visual Studio overview. To develop WinUI apps, you need:
- Visual Studio 2026 with the required workloads for WinUI and Windows App SDK
- Developer Mode enabled on your device
Set up your development environment
Open Windows Terminal and run the following command in PowerShell to automatically set up your environment using a WinGet Configuration file. This will:
- Install Visual Studio 2026 with the required workloads
- Enable Developer Mode
winget configure -f https://aka.ms/winui-config
To review the config file and learn more, see its README on GitHub.
Note
If WinGet is not available by default in your environment, you can use the following commands to install it. See Using WinGet for more information.
Install-Module -Name Microsoft.WinGet.Client -Force
Repair-WinGetPackageManager -AllUsers

Create and launch your first WinUI app
Open Visual Studio and select Create a new project.
Search for WinUI, select the WinUI Blank App (Packaged) C# project template, and select Next.

Enter a project name and select Create.

Press Start (F5) to build and run your app.

Your app builds, deploys, and launches in debug mode:

You've built and launched your first WinUI app! 🎉


Next steps

Build your first WinUI app
Ready to go further? Follow the step-by-step tutorial to build a full WinUI app.
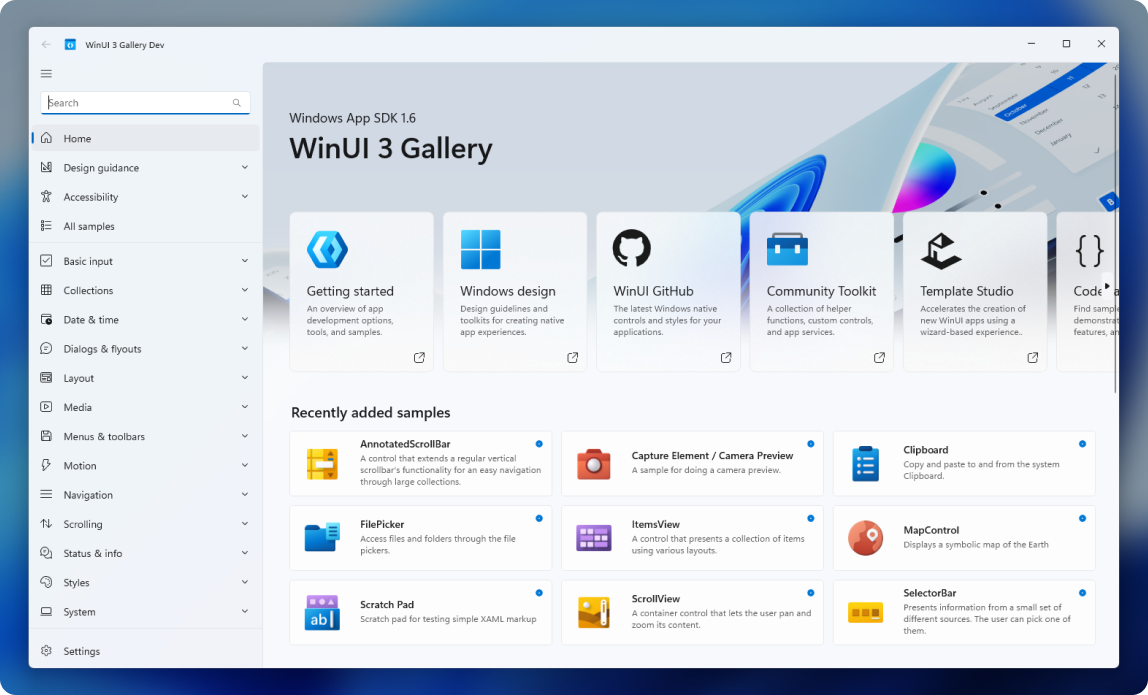
WinUI 3 Gallery
Explore interactive examples of WinUI controls, features, and functionality.

Samples and resources
Browse code samples, starter projects, and tools to accelerate your development.
Collaborate with us on GitHub
The source for this content can be found on GitHub, where you can also create and review issues and pull requests. For more information, see our contributor guide.

Windows developer