你当前正在访问 Microsoft Azure Global Edition 技术文档网站。 如果需要访问由世纪互联运营的 Microsoft Azure 中国技术文档网站,请访问 https://docs.azure.cn。
使用托管标识访问 Azure Key Vault 证书
借助 Microsoft Entra ID 生成的托管标识,Azure Front Door 实例可以轻松、安全地访问其他受 Microsoft Entra 保护的资源,例如 Azure Key Vault。 Azure 将管理标识资源,你无需创建或轮换任何机密。 有关托管标识的详细信息,请参阅什么是 Azure 资源托管标识?。
为 Azure Front Door 启用托管标识并授予访问 Azure Key Vault 的适当权限后,Front Door 将始终使用托管标识来访问证书。 如果未将托管标识权限添加到 Key Vault,那么在没有 Key Vault 权限的情况下,自定义证书自动轮换和添加新证书会失败。 如果禁用托管标识,Azure Front Door 会回退到使用原始配置的 Microsoft Entra 应用。 不建议使用此解决方案,将来会停用它。
可以向 Azure Front Door 配置文件授予两种类型的标识:
系统分配的标识与你的服务相关联,如果删除该服务,也会删除该标识。 服务只能有一个系统分配的标识。
用户分配的标识是可以分配给服务的独立 Azure 资源。 服务可以有多个用户分配的标识。
托管标识特定于托管 Azure 订阅的 Microsoft Entra 租户。 如果将订阅移动到其他目录,这些标识不会更新。 如果移动订阅,需要重新创建和配置标识。
还可以选择使用基于角色的访问控制(RBAC)或访问策略配置 Azure 密钥库访问。
先决条件
必须创建了 Azure Front Door Standard 或 Premium 配置文件,然后才能为 Azure Front Door 设置托管标识。 若要创建新的 Front Door 配置文件,请参阅创建 Azure Front Door。
启用托管标识
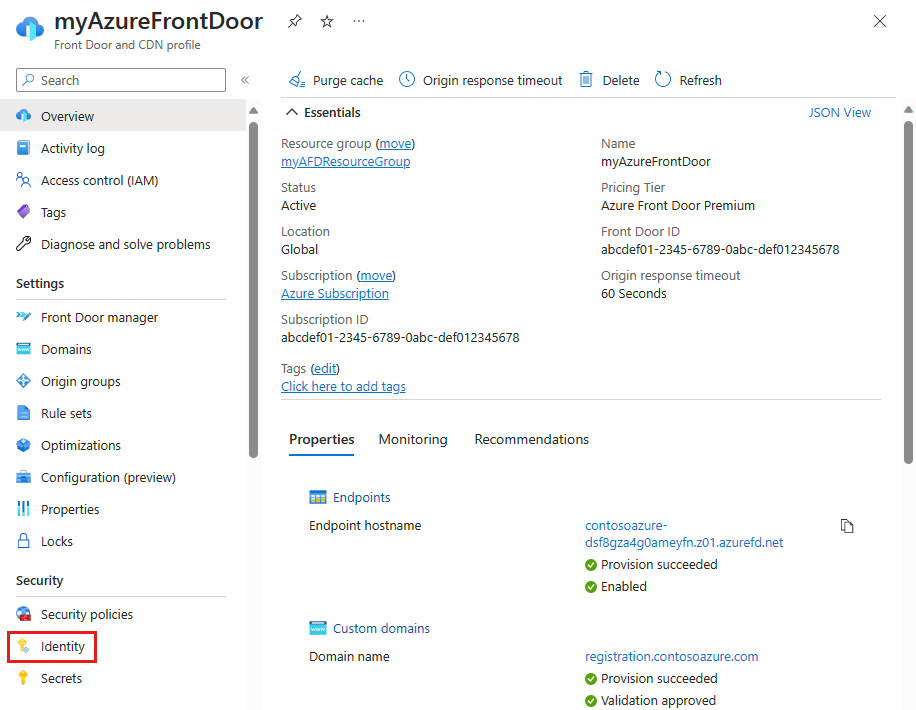
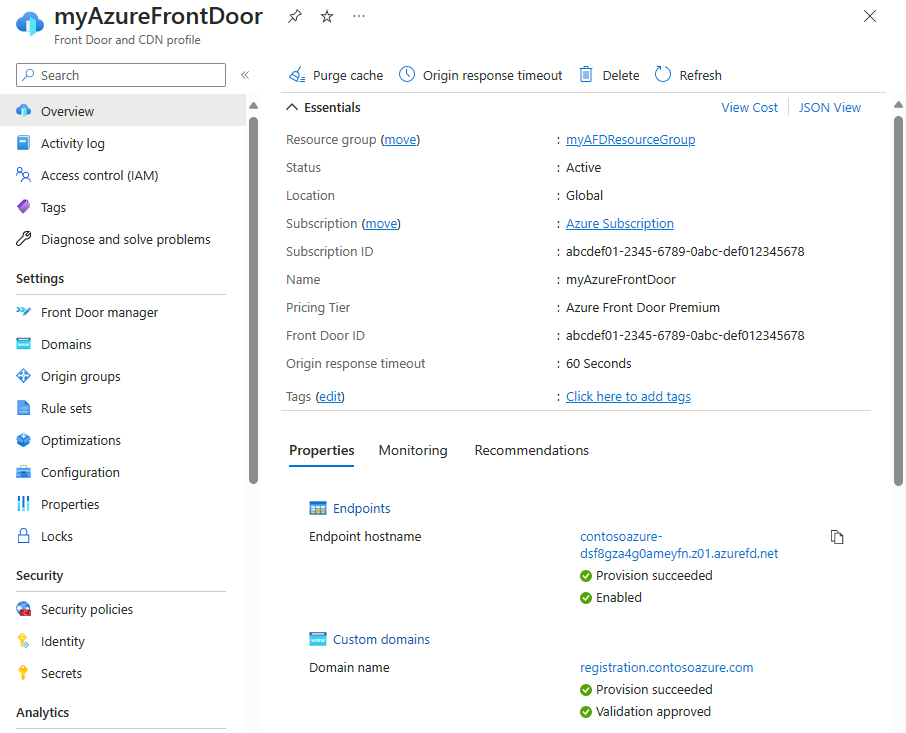
转到现有 Azure Front Door 配置文件。 在左侧菜单窗格上的“安全性”下选择“标识”。
选择系统分配或用户分配的托管标识。
系统分配 - 会为 Azure Front Door 配置文件生命周期创建托管标识,它用于访问 Azure Key Vault。
用户分配 - 使用独立托管标识资源用 Azure Key Vault 进行身份验证,该资源具有自身的生命周期。
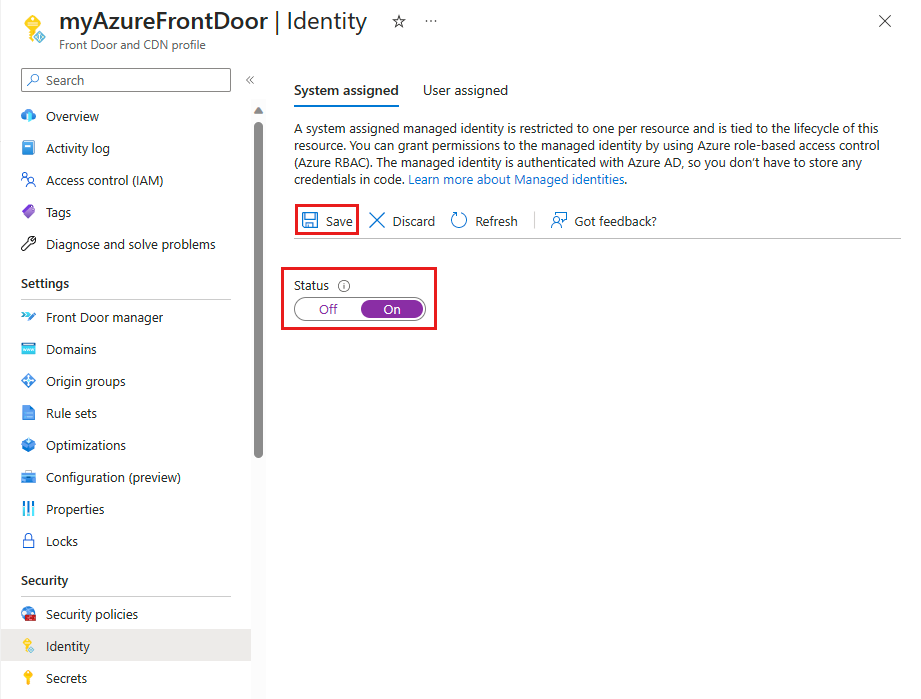
系统分配
将“状态”切换为“打开”,然后选择“保存”。
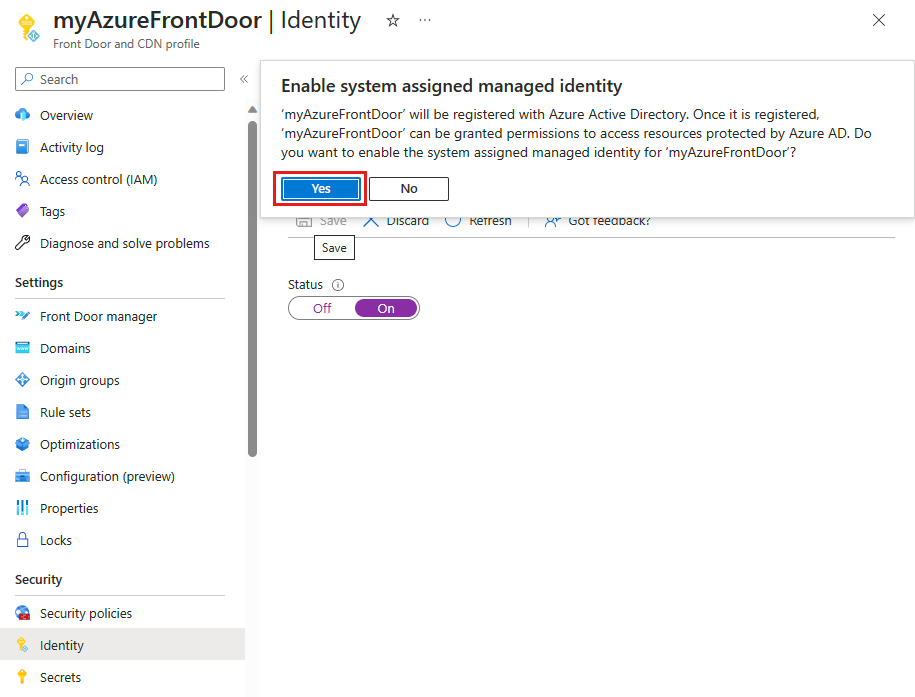
系统会显示一条提示消息,要求你确认为 Front Door 配置文件创建系统托管标识。 请选择“是”以确认。
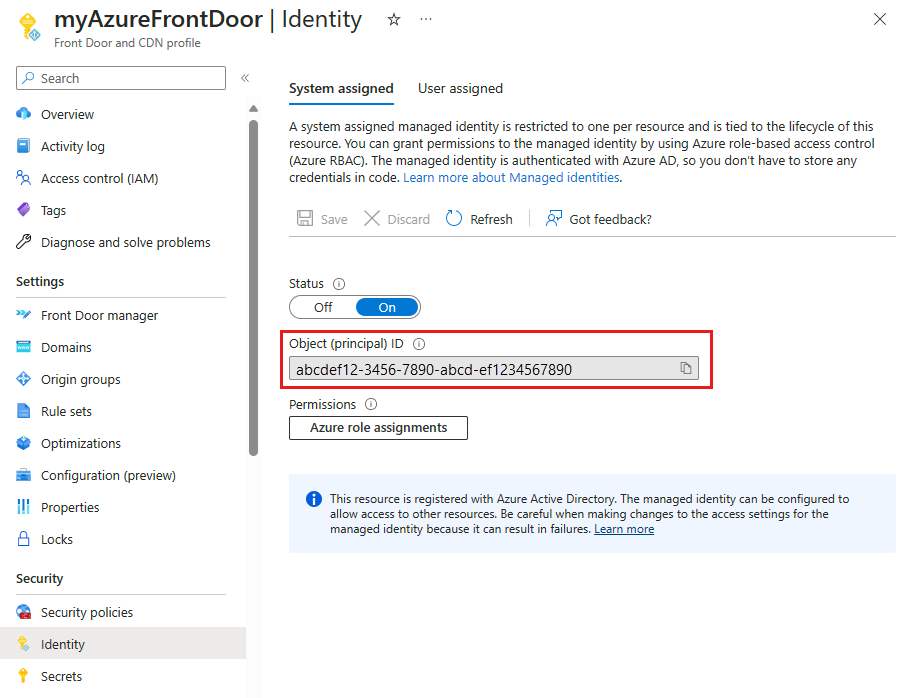
系统分配的托管标识创建并注册到 Microsoft Entra ID 后,可以使用对象(主体)ID 向 Azure Front Door 授予对 Azure 密钥库的访问权限。
用户分配
必须已经了创建用户托管标识。 若要创建新标识,请参阅创建用户分配的托管标识。
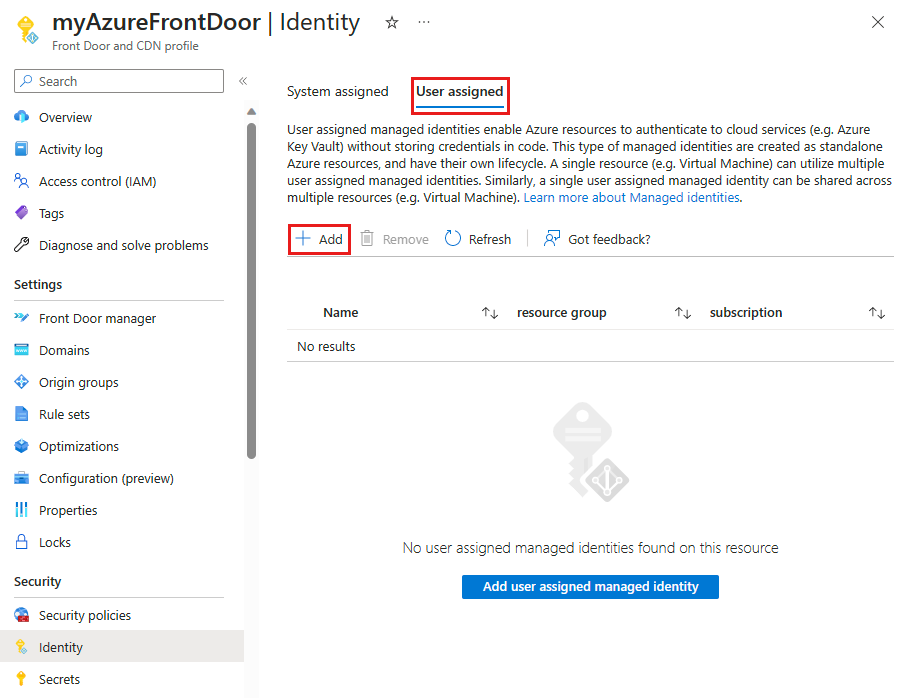
在“用户分配”选项卡中,选择“+ 添加”来添加用户分配的托管标识。
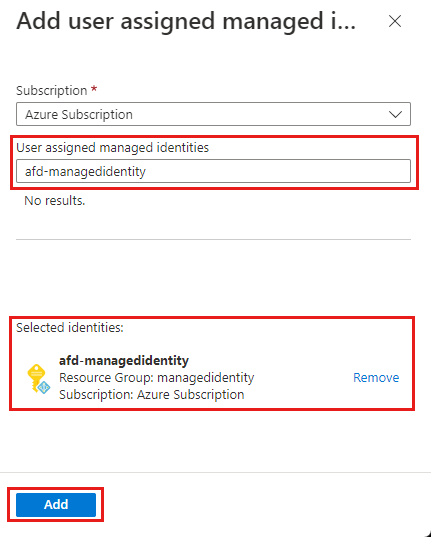
搜索并选择用户分配的托管标识。 然后选择“添加”以将用户托管标识添加到 Azure Front Door 配置文件。
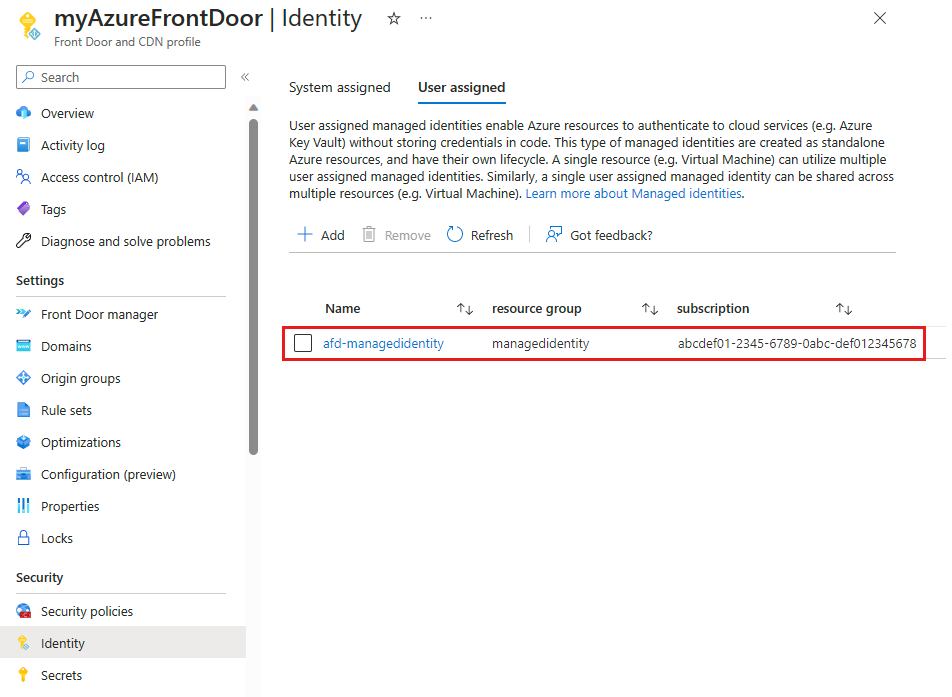
可以看到所选用户分配的托管标识的名称显示在 Azure Front Door 配置文件中。
配置 Key Vault 访问权限
- 基于角色的访问控制 - 使用 Azure 资源管理器 对 Azure 密钥库授予对 Azure 密钥库的精细访问控制。
- 访问策略 - 本机 Azure 密钥库访问控制,以授予 Azure Front Door 对 Azure 密钥库的访问权限。
有关详细信息,请参阅 Azure 基于角色的访问控制(Azure RBAC)与访问策略。
基于角色的访问控制 (RBAC)
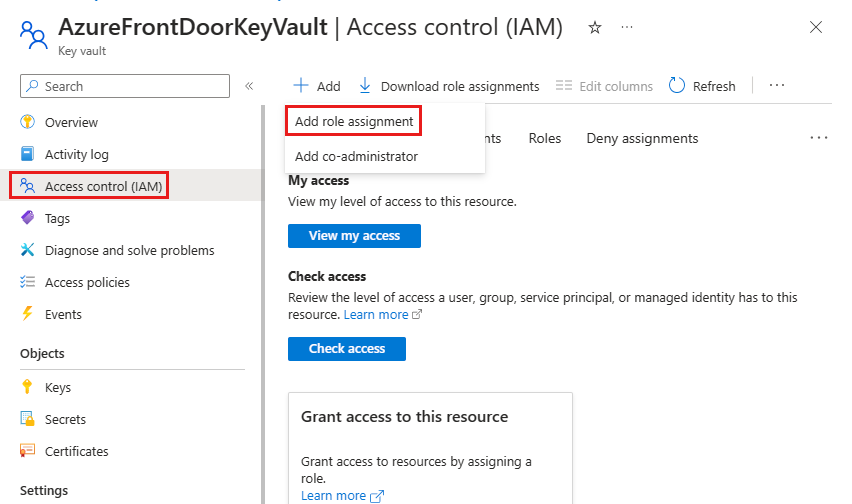
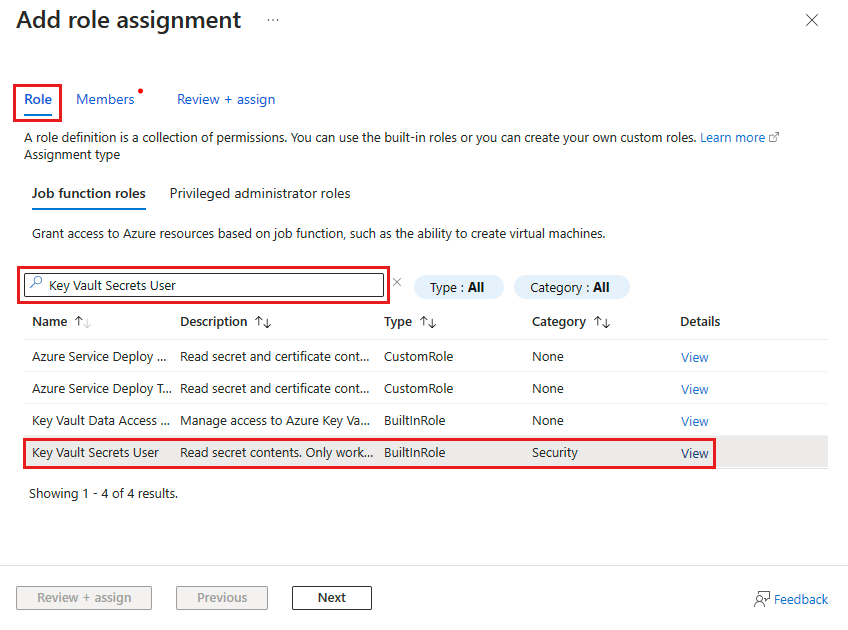
导航到你的 Azure 密钥保管库。 从设置下选择访问控制(IAM),然后选择“+ 添加”。 从下拉菜单中选择“ 添加角色分配 ”。
在“添加角色分配”页上,在搜索框中搜索密钥库机密用户。 然后从搜索结果中选择密钥库机密用户。
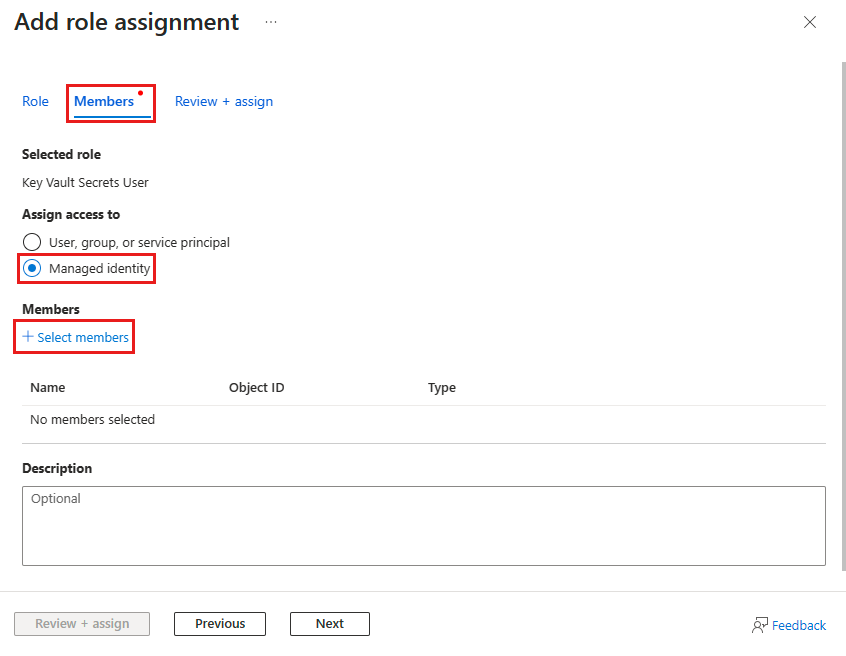
选择“成员”选项卡,然后选择“托管标识”。 选择“ + 选择成员 ”,将托管标识添加到角色分配。
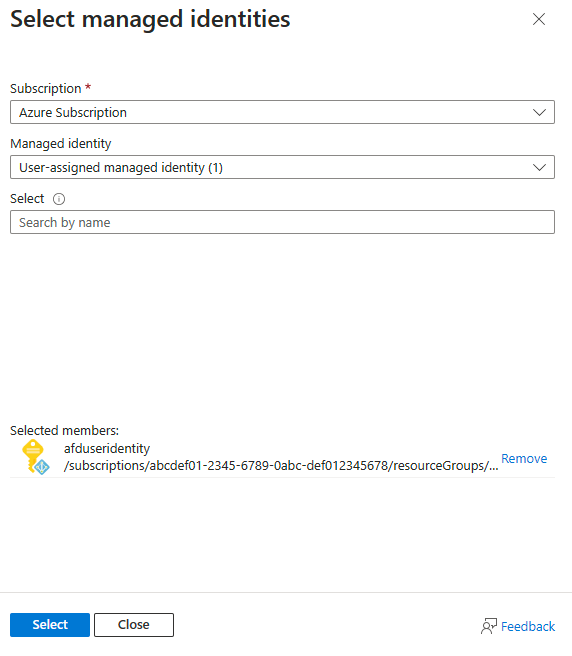
选择与 Azure Front Door 关联的系统分配或用户分配的托管标识,然后选择“选择”将托管标识添加到角色分配。
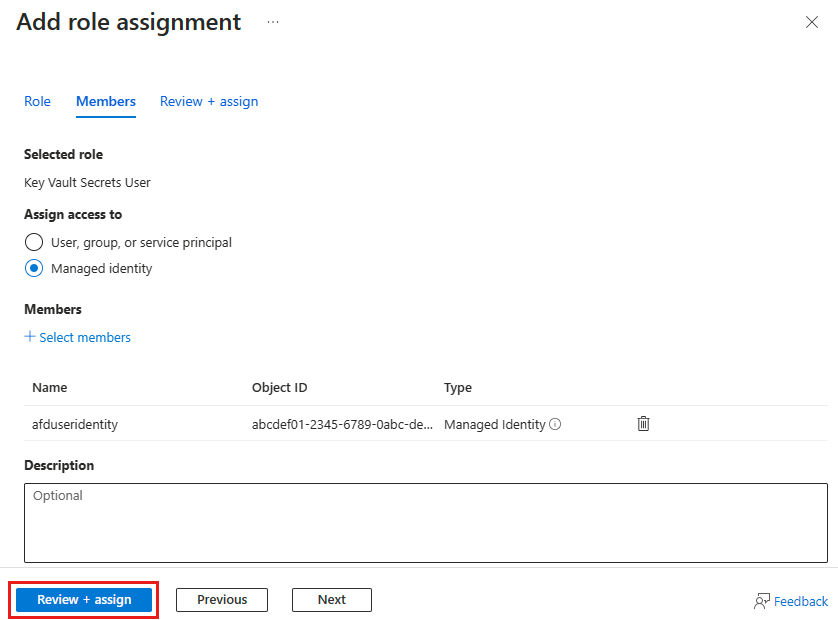
选择“ 查看 + 分配 ”以设置角色分配。
访问策略
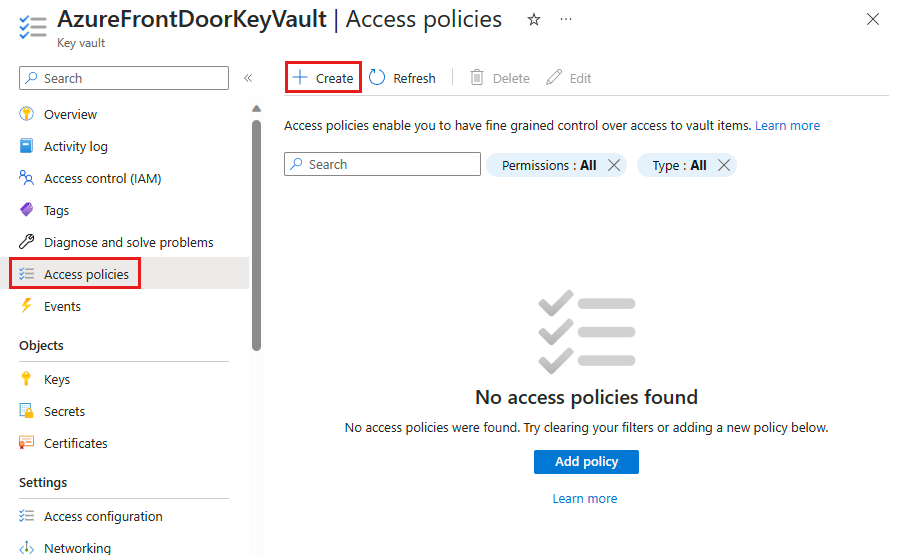
导航到你的 Azure 密钥保管库。 在“设置”下选择“访问策略”,然后选择“+ 创建”。
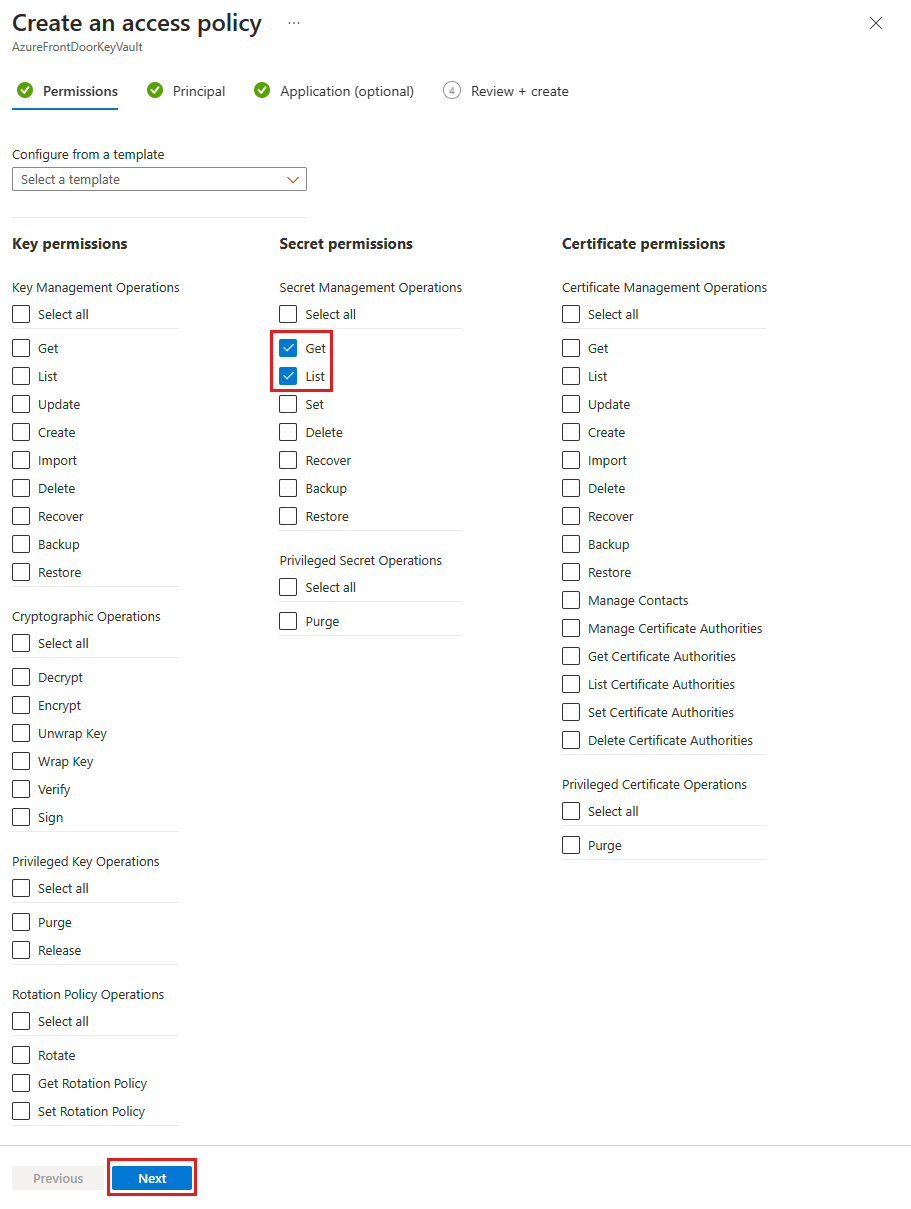
在“创建访问策略”页的“权限”选项卡上,选择“机密权限”下的“列出”和“获取”。 然后,选择“下一步”来配置主体选项卡。
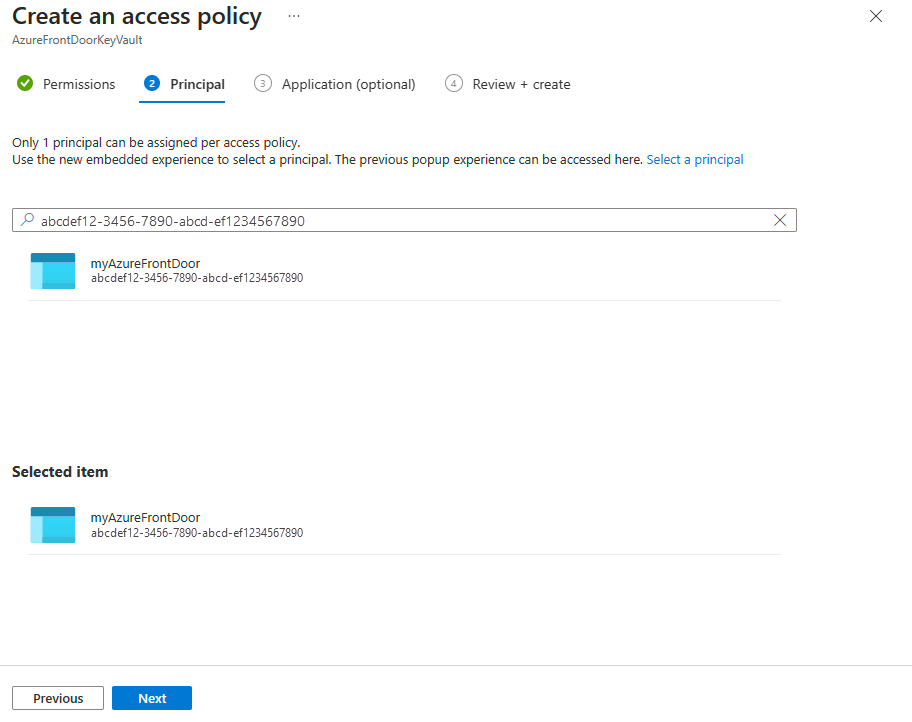
在“主体”选项卡上,如果你使用的是系统托管标识,请粘贴“对象(主体) ID”;如果使用的是用户分配的托管标识,请输入名称。 接着,选择“查看 + 创建”选项卡。会跳过“应用程序”选项卡,因为已为你选择了 Azure Front Door。
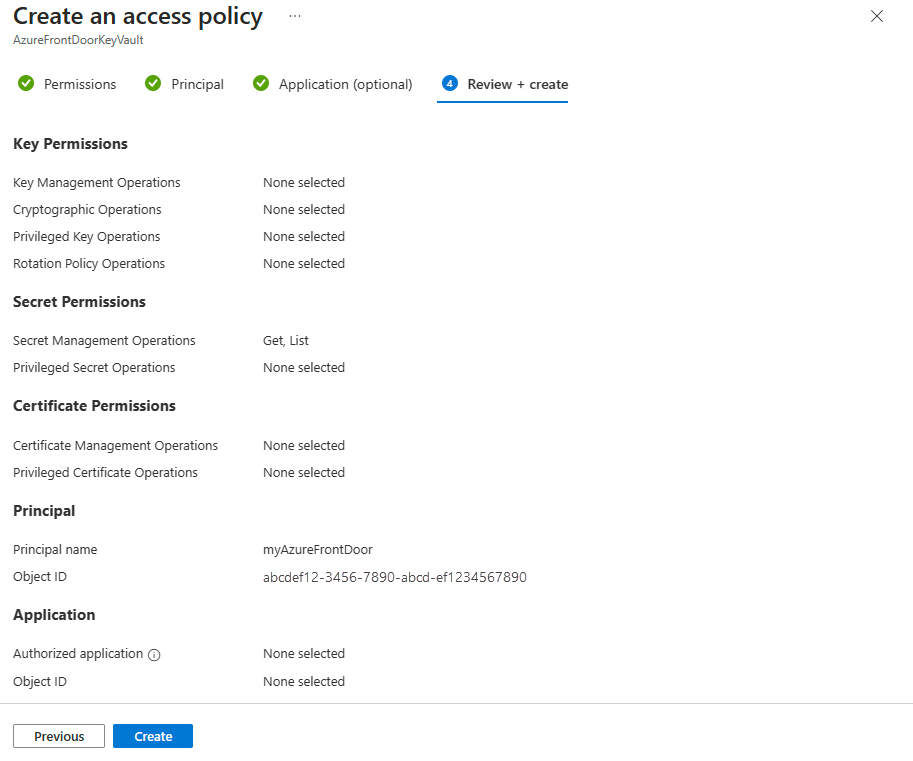
查看访问策略设置,然后选择“创建”以设置访问策略。
验证访问权限
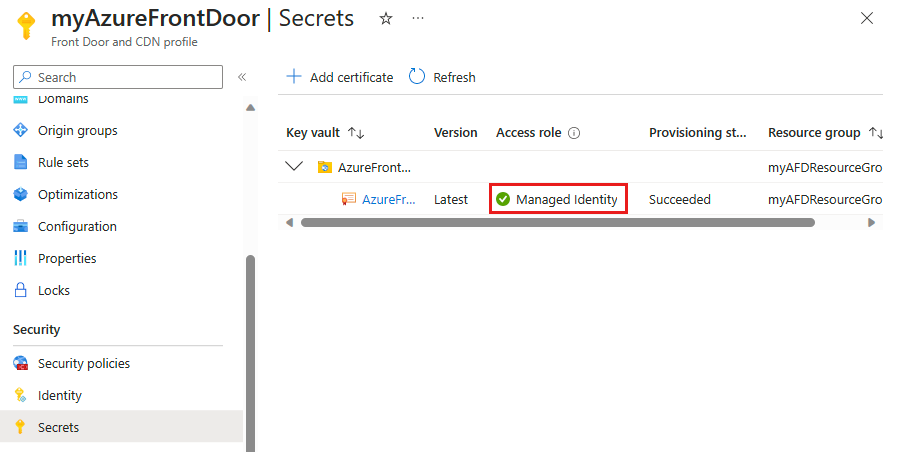
转到已启用托管标识的 Azure Front Door 配置文件,并在“设置”下选择“安全性”。
确认“托管标识”显示在 Front Door 中使用的证书的“访问角色”列下。 如果首次设置托管标识,则需要将证书添加到 Front Door 以查看此列。
后续步骤
- 详细了解端到端 TLS 加密。
- 了解如何在 Azure Front Door 自定义域上配置 HTTPS。