Purchase and manage app subscriptions and licenses
Users can purchase subscriptions and manage licenses from Microsoft Teams Store for an individual, a team, or an organization. As a developer, you can enhance the user experience for your app purchases based on the content outlined here. This article helps you understand the user's app purchase experience in Teams Store and provide a similar experience.
Subscription purchase experience
Note
Users might be asked to add a value-added tax (VAT) ID and a registration ID based on the compliance requirements of a country or region. For more information, see VAT ID number and registration ID number.
Here's the user experience to purchase a subscription plan for a Teams app:
In Teams, select Apps > Best selling.

Browse and select the app for which you want to purchase the subscription.
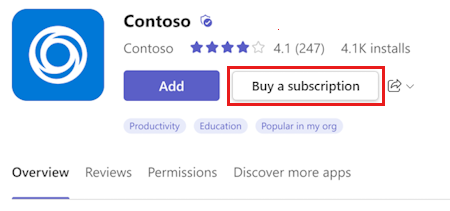
In the app details dialog, select Buy a subscription.
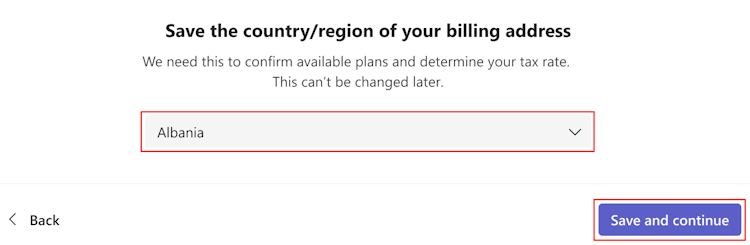
To view the available plans for your location, select your country or region and select Save and continue.
In the Choose a subscription plan dialog, select Buy for the plan you want to purchase.
Note
Private plans are only visible to users within the organization that the offer is intended for and are indicated with a Private offer
 icon.
icon.
The checkout experience partially differs for a new and an existing user. In the Checkout dialog, perform the following actions:
Under Subscription details, select Quantity and Subscription length and select Next.

Under Billing account, enter the name and billing details and select Next.

Under Verify your address, select the address and select Next.

Under Add a credit or debit card, add the required details and select Next.
By default, the Same as billing address checkbox is selected to use the billing account’s address for the card. To add a new address, clear the checkbox and enter the address.

Under Review, verify the details and select Place order.

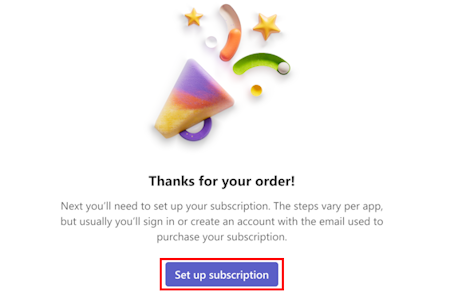
When prompted, select Set up subscription to activate your subscription.
Users are redirected to the app website (also known as a landing page) where they can manage subscriptions.


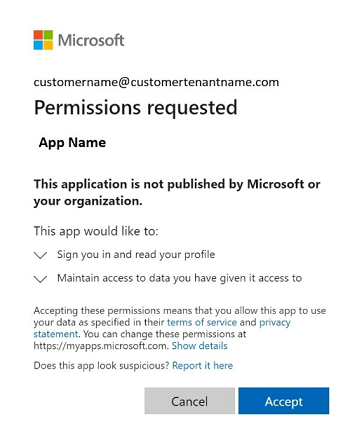
When a new user launches the app for the first time, they are requested to provide consent to the app.
Note
Consent dialog is part of the flow to get the user's license information and might vary based on independent software vendors (ISVs) integration approach.
Following is an example of the consent screen:
License and subscriptions management experience
Users can manage the app subscriptions purchased in Teams through the Manage your apps section. It allows to access the list of subscriptions and their details, and perform the following actions to manage the subscription:
- Change a plan
- Buy or remove licenses
- Update a payment method
- Cancel a subscription
- View your invoices
The following example shows how users can manage licenses for third-party apps from Teams Store:
Go to Microsoft Teams.
Select Apps > Manage your apps.
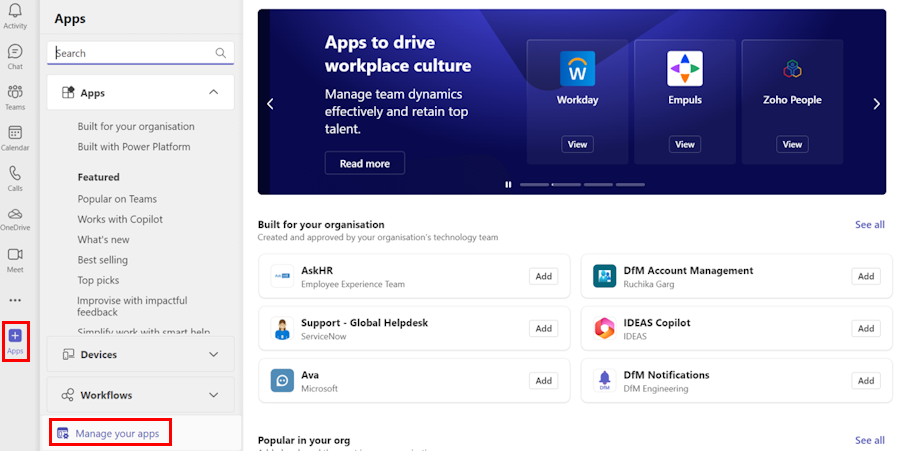
Select Subscriptions. A tab appears with a list of purchases made in the tenant.
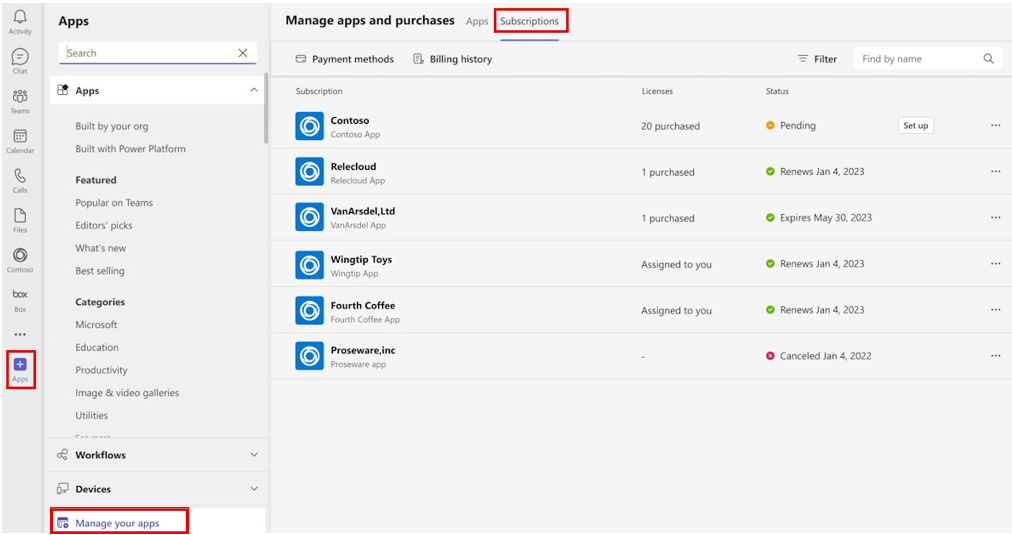
Here's the subscription management options available for users on the Subscriptions page:
Assign or unassign licenses
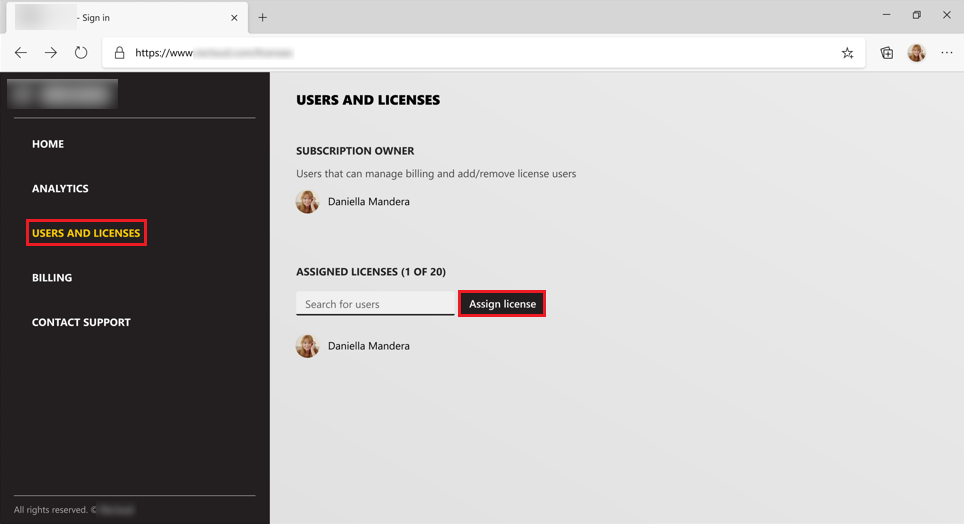
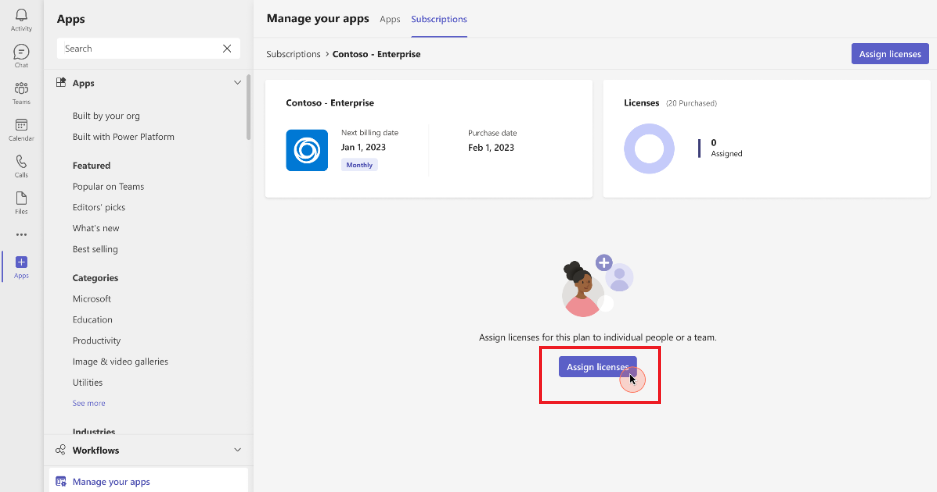
Select an existing subscription from the list and select Assign licenses.
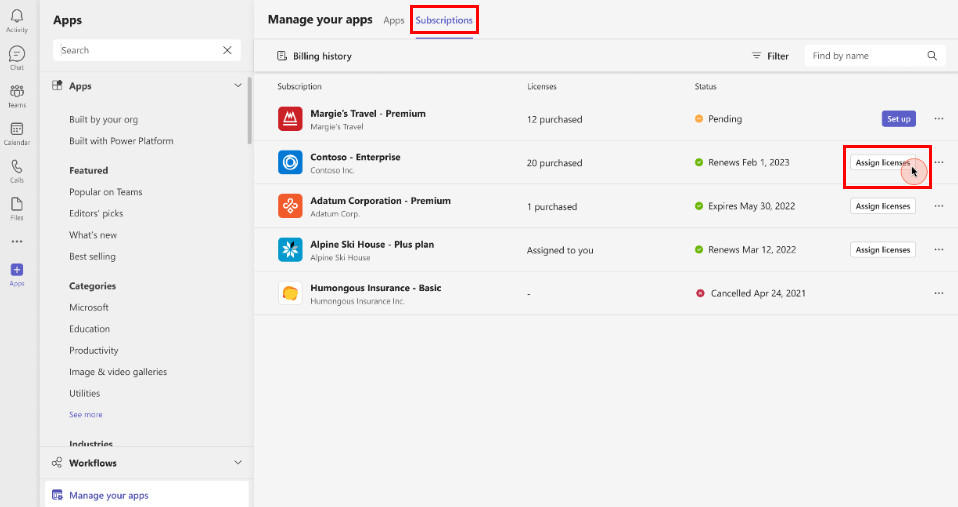
To view license utilization and assign licenses, select Assign licenses.
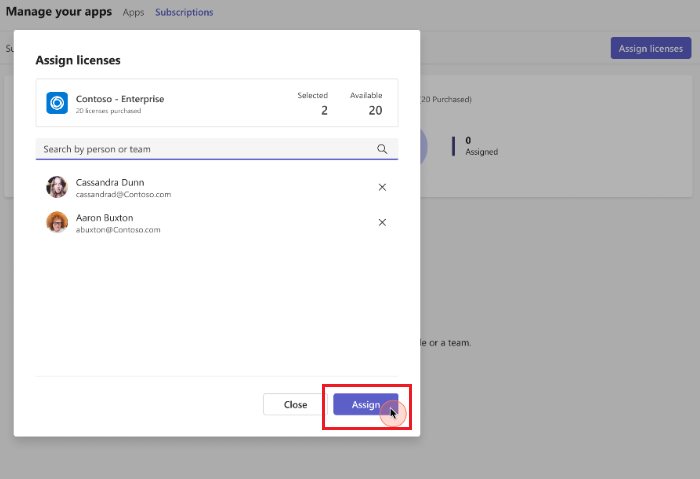
Search for the users or a team in the search box and select Assign. The users or a team are assigned with the license.
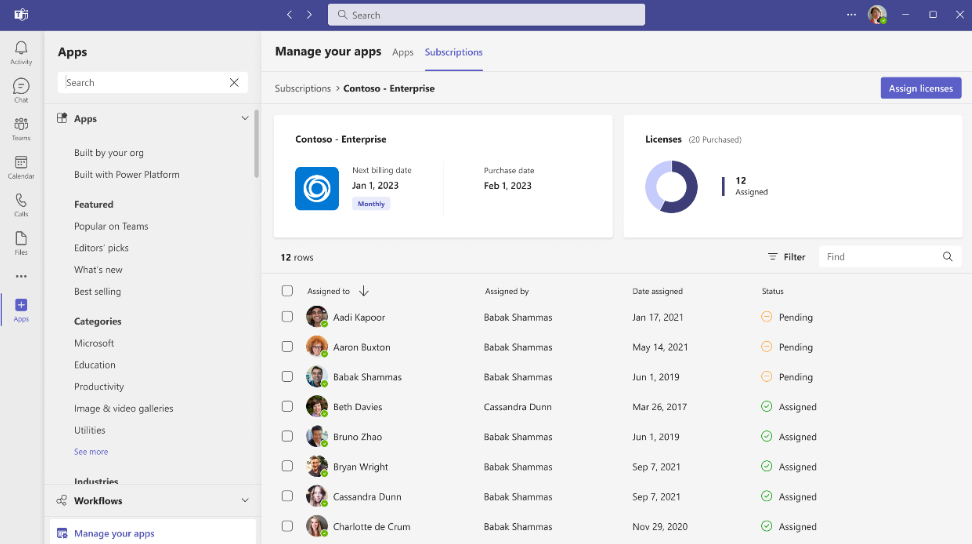
Users can view the list of assigned users or teams for the subscription and also check the status of the assignment.
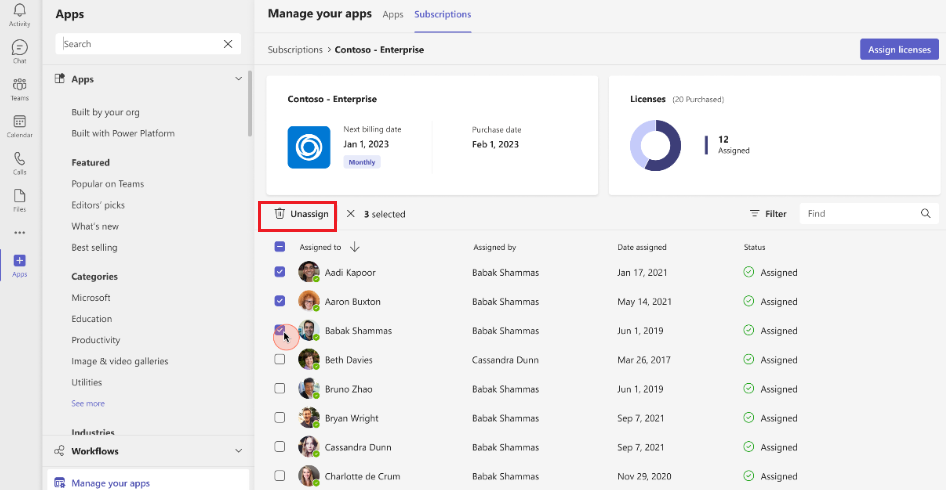
To unassign a license for a user or a team, select the users or a team from the list and select Unassign.
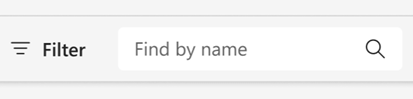
Filter your subscriptions
To filter subscriptions by status, select Filter and then select the type(s) of subscriptions:
- Pending: Subscription still needs to be set up.
- Active: Subscription is set up and the service can be used.
- Deleted: Subscription is no longer available.
To find a specific subscription, type the name of the app in the search box.
Buy or remove licenses
Find the app subscription that you want to manage and select More options ....
Manage licenses by selecting Buy licenses or Remove licenses.
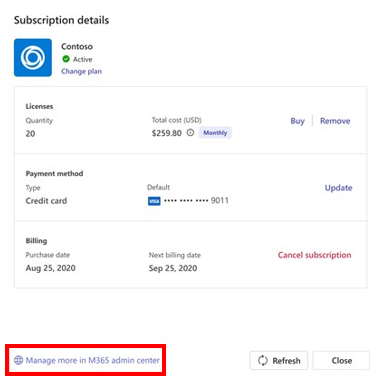
Cancel a subscription
Find the app that you want to cancel and select More options ... > View subscription.
Select Cancel subscription.


Users can take additional actions related to app subscription, such as editing the billing profile or recurring billing settings in M365 admin center.
Admin purchasing experience
Admins can manage the app subscriptions and licenses in the Teams admin center. For more information, see purchase third-party Teams apps and manage subscriptions.