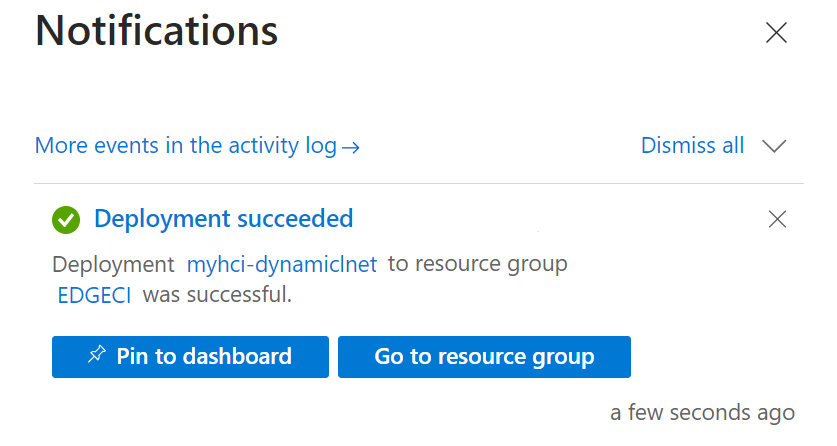
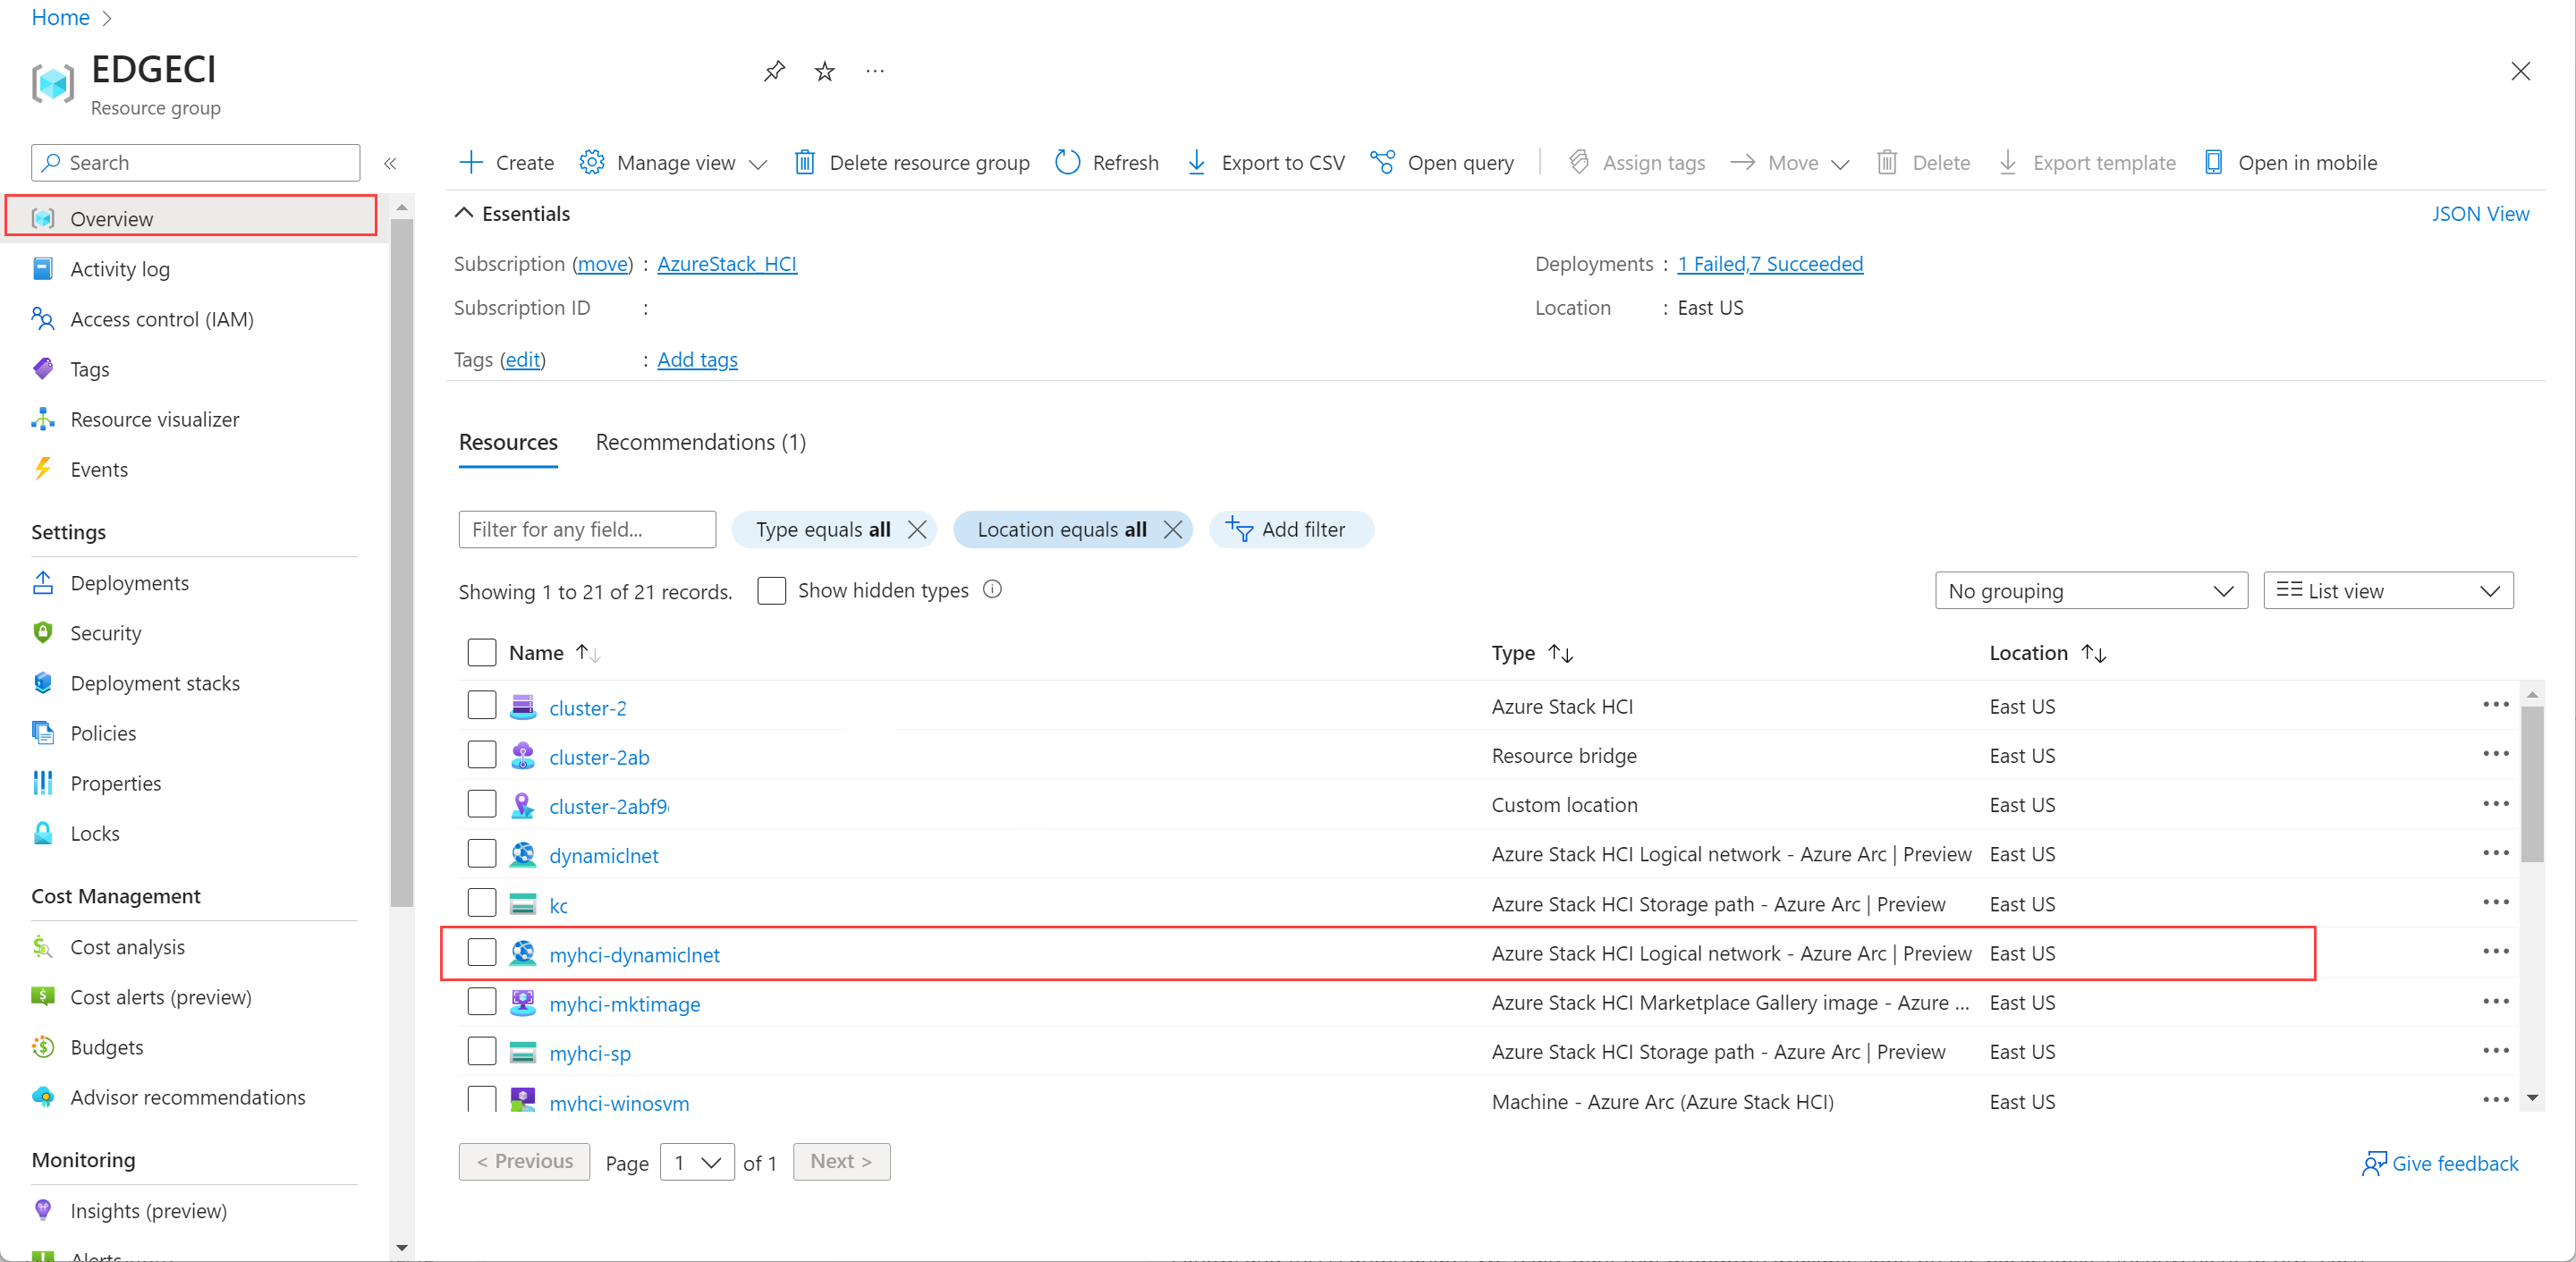
为 Azure Stack HCI 创建逻辑网络
适用于:Azure Stack HCI 版本 23H2
本文介绍如何为 Azure Stack HCI 群集创建或添加逻辑网络。
先决条件
在开始之前,请确保满足以下先决条件:
确保你具有可由 Azure Stack HCI 群集中的所有服务器访问的外部 VM 交换机。 默认情况下,在部署 Azure Stack HCI 群集期间会创建外部交换机,该群集可用于与要创建的逻辑网络相关联。
运行以下命令,获取群集上外部 VM 交换机的名称。
Get-VmSwitch -SwitchType External记下交换机的名称。 创建逻辑网络时,请使用此信息。 下面是示例输出:
PS C:\Users\hcideployuser> Get-VmSwitch -SwitchType External
Name                               SwitchType       NetAdapterInterfaceDescription
----                               ----------       ----------------------------
ConvergedSwitch(management_compute_storage) External        Teamed-Interface
PS C:\Users\hcideployuser>
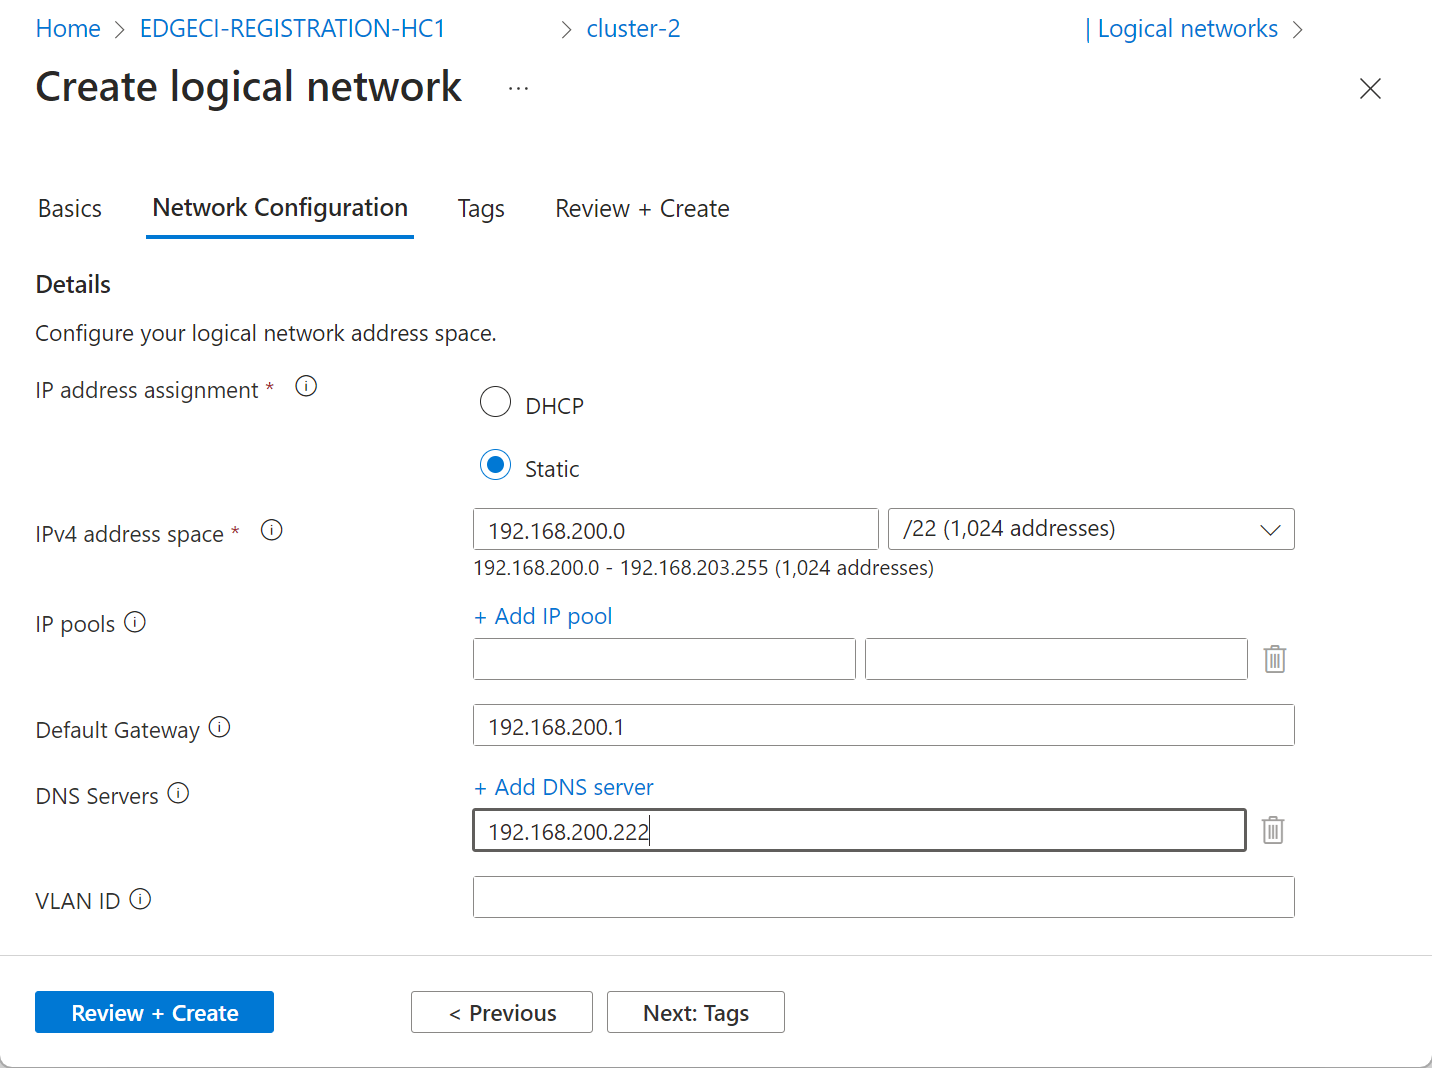
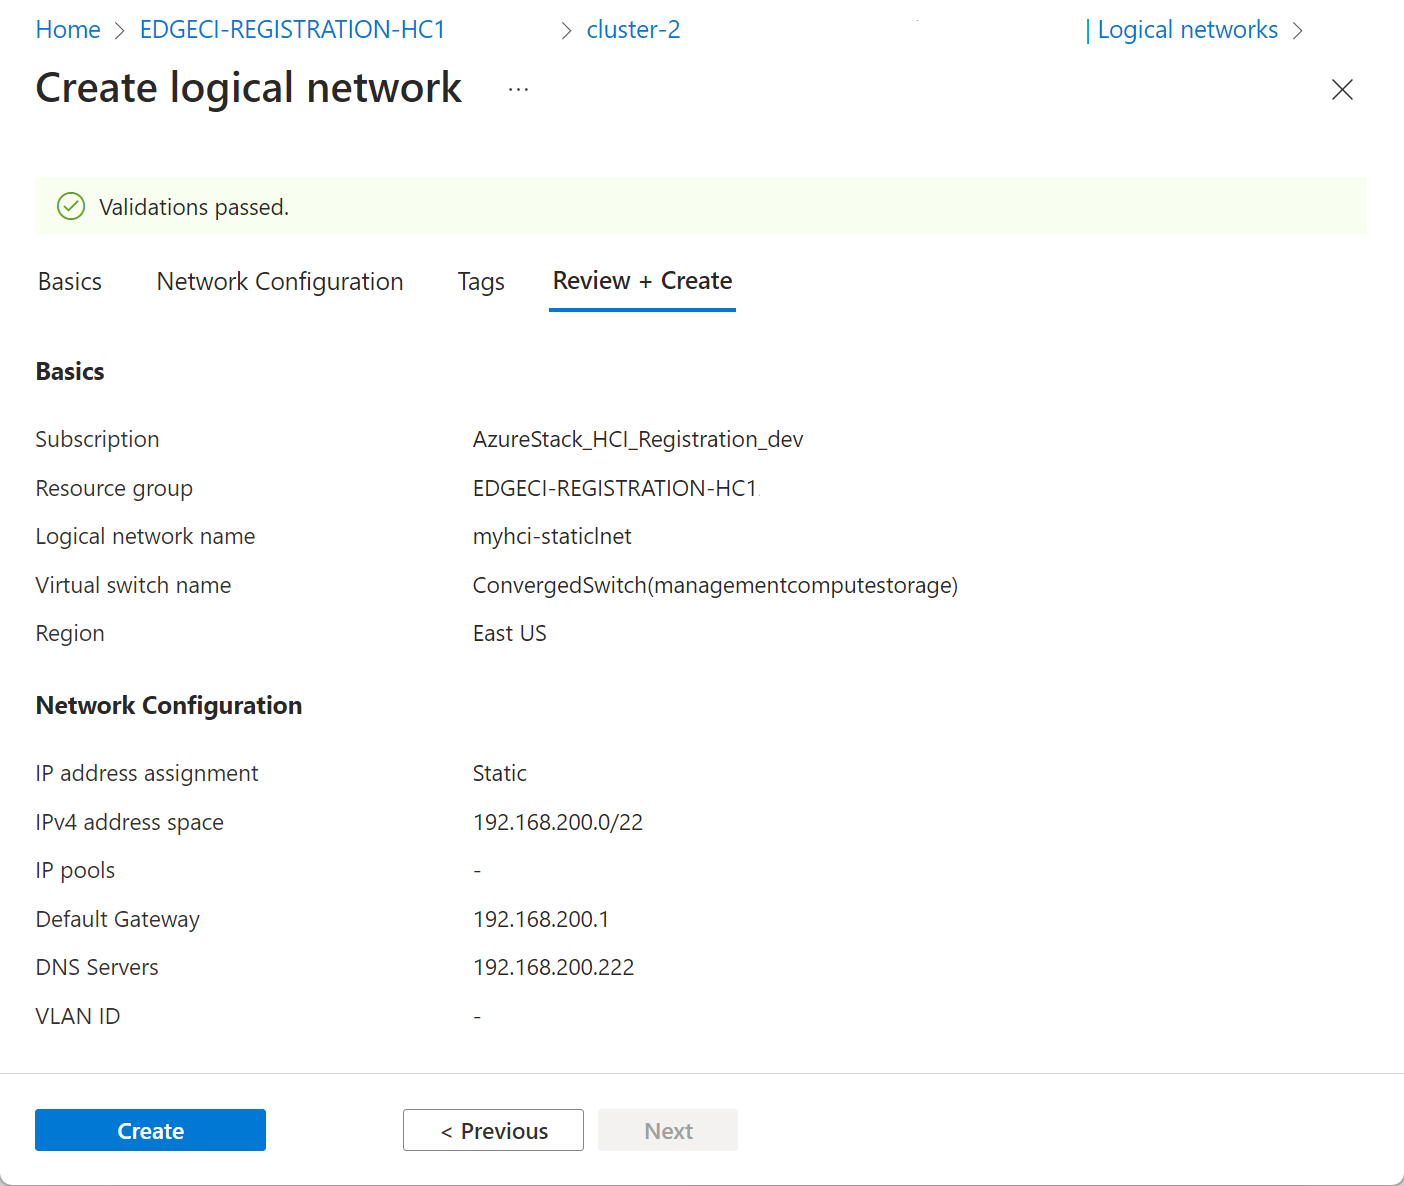
若要在地址空间中创建具有静态 IP 地址的 VM,请添加具有静态 IP 分配的逻辑网络。 请与网络管理员一起保留某个 IP 范围,并确保获取此 IP 范围的地址前缀。
创建逻辑网络
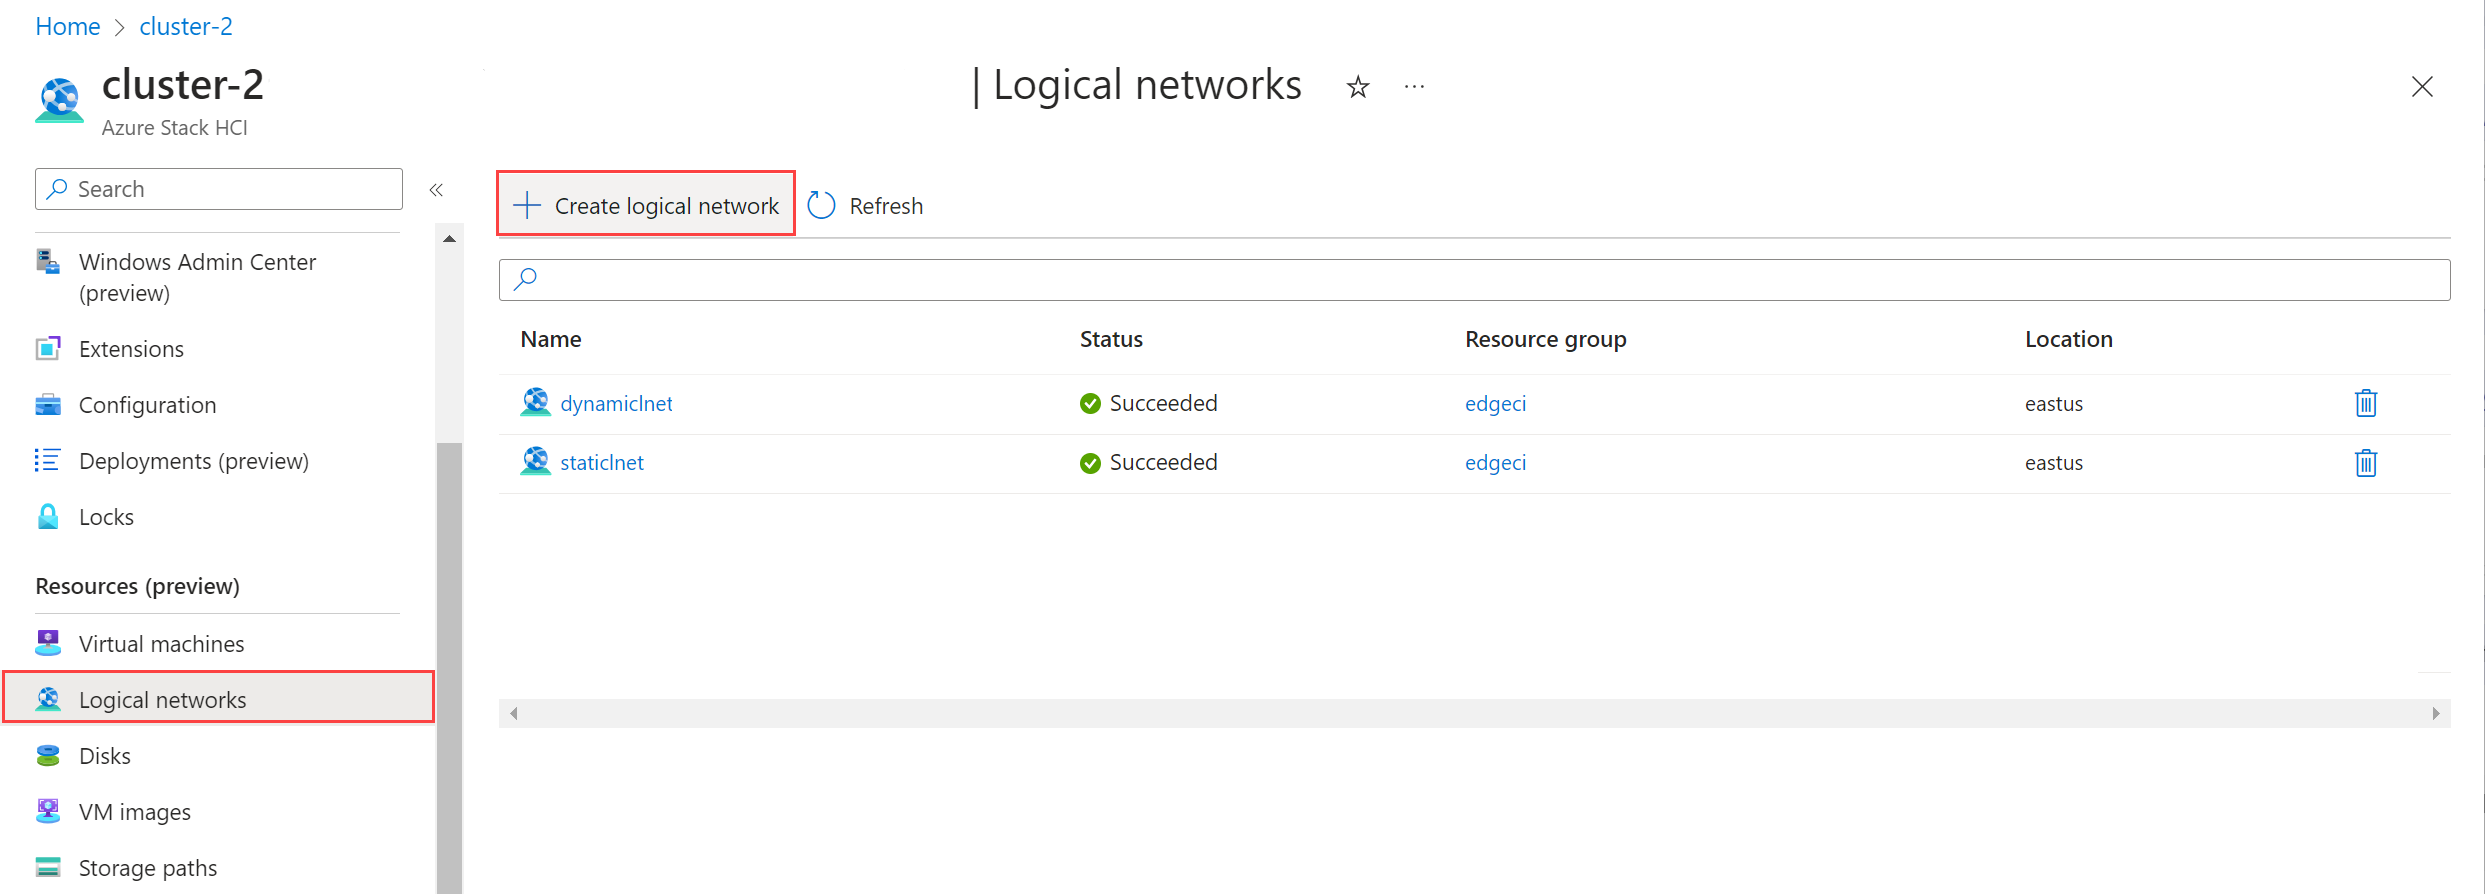
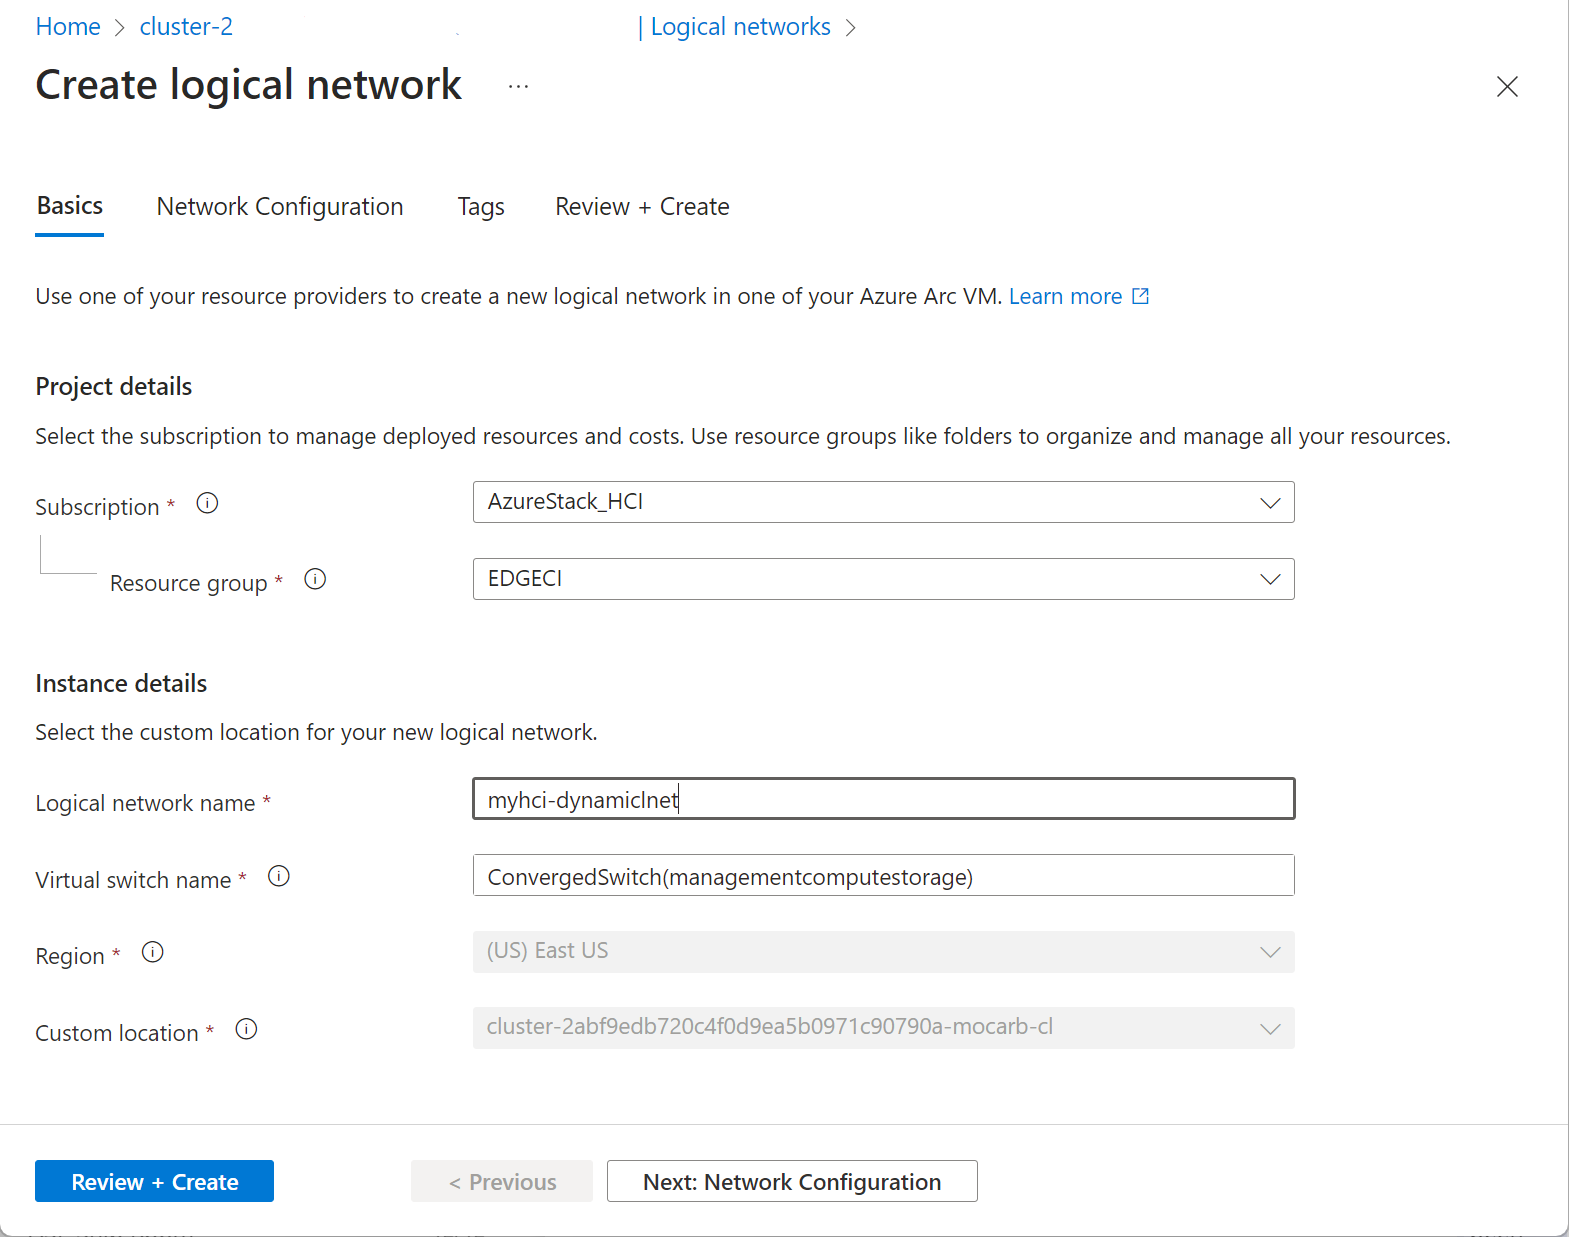
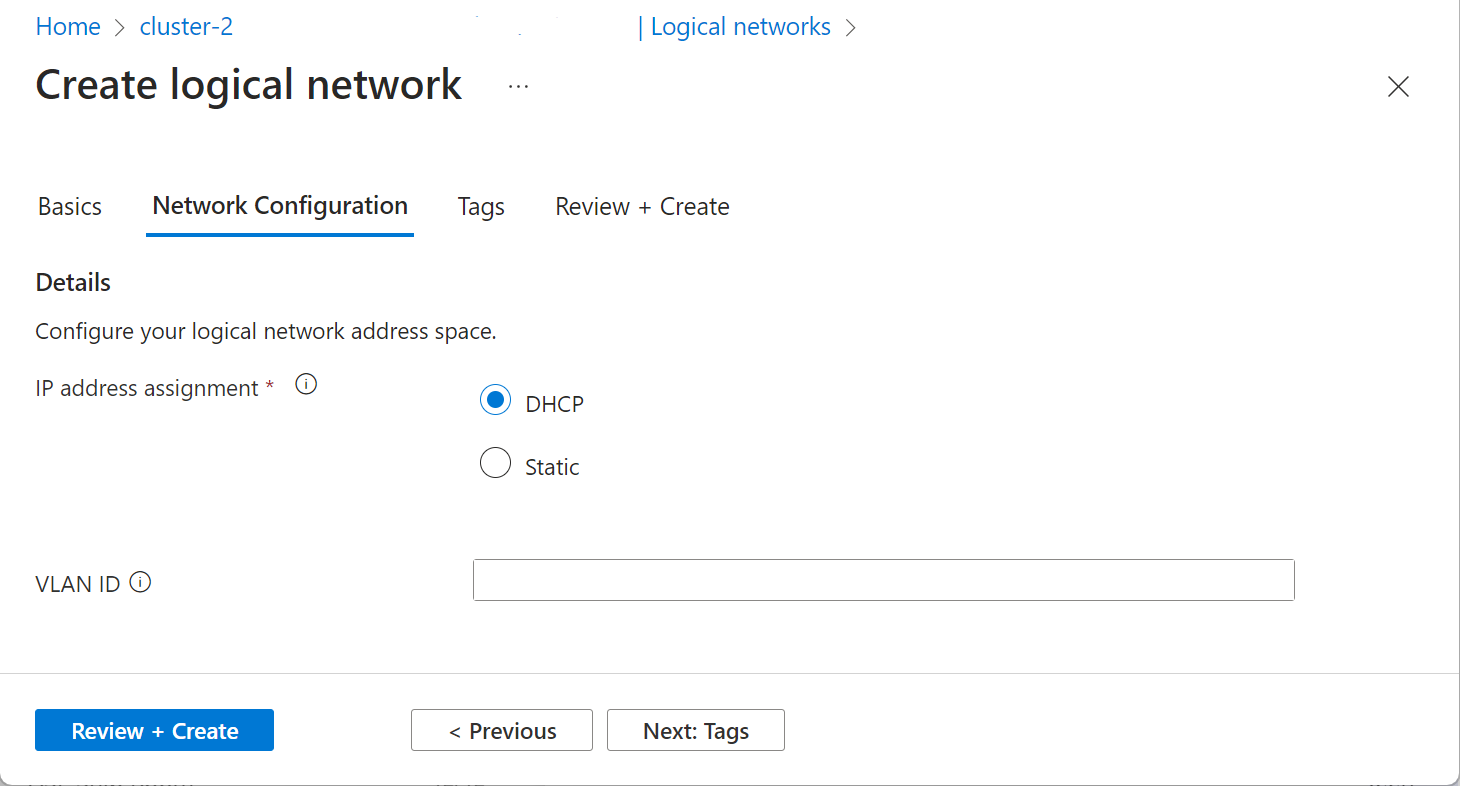
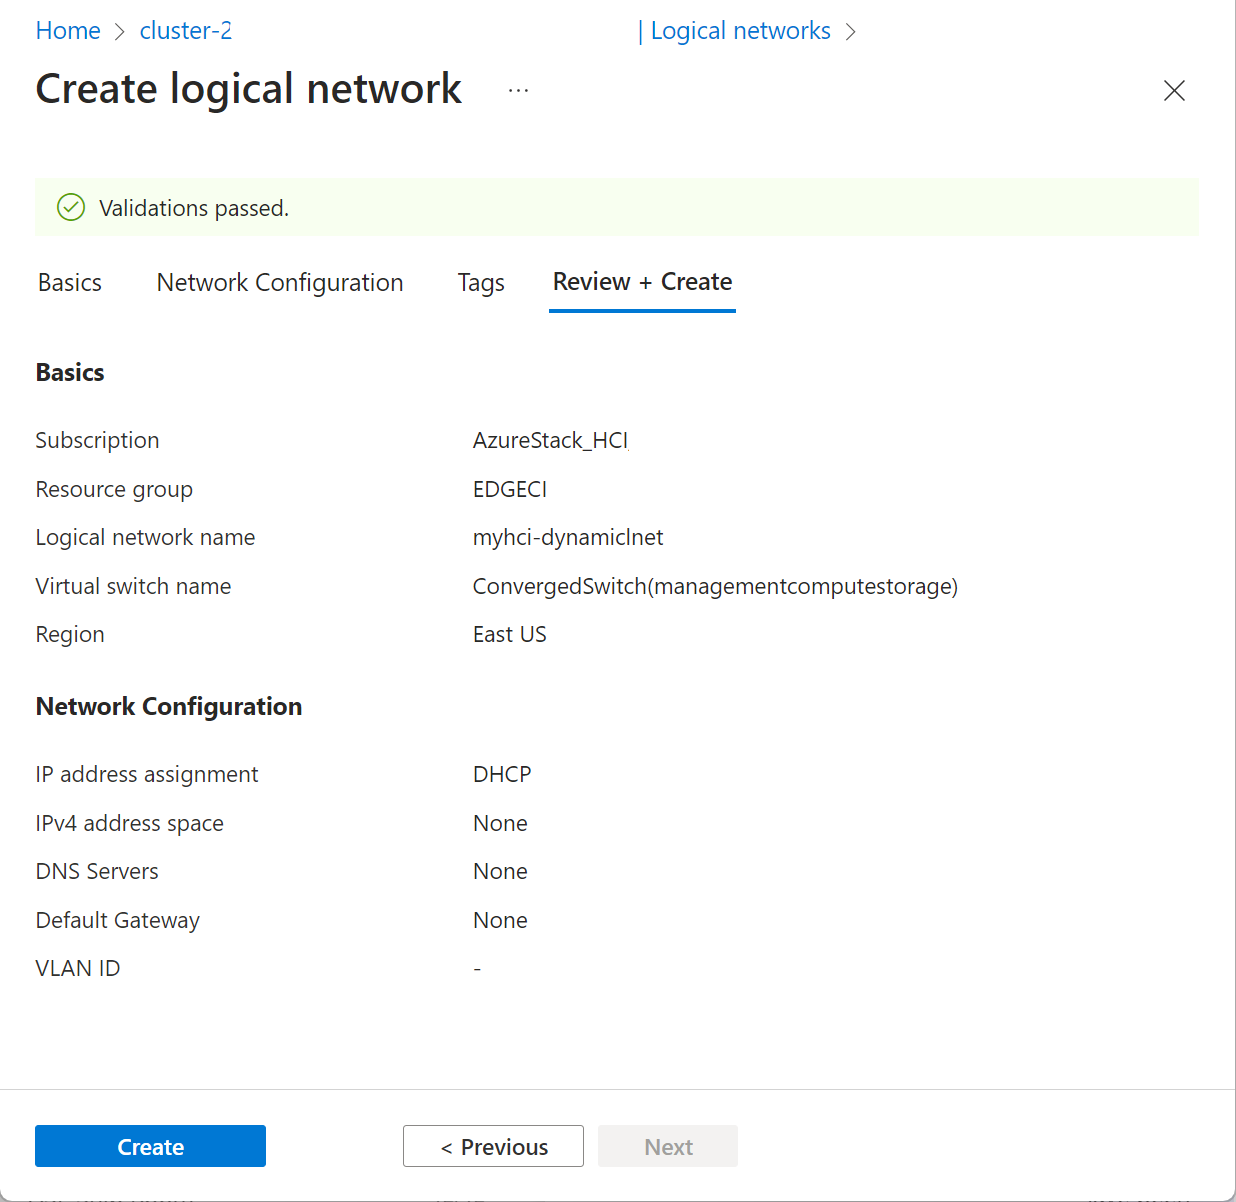
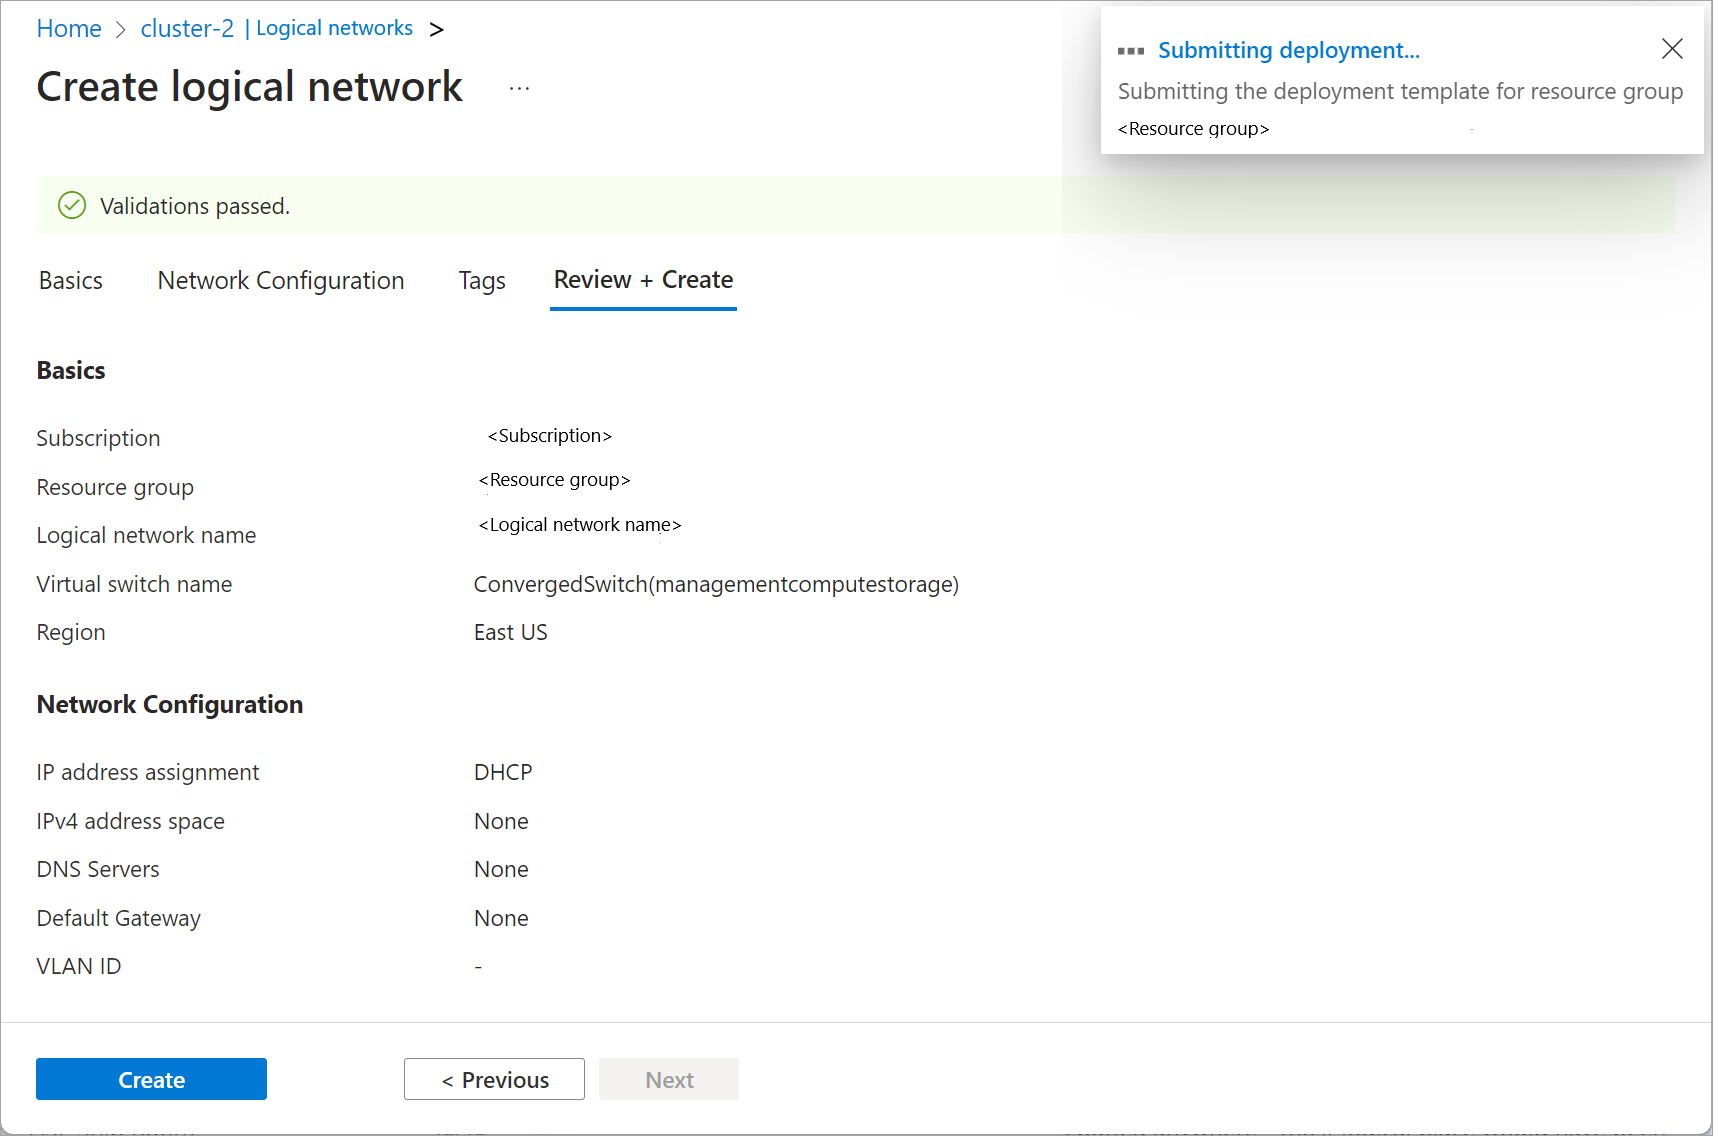
可以使用Azure 命令行接口(CLI)或使用Azure 门户创建逻辑网络。
完成以下步骤,使用 Azure CLI 创建逻辑网络。
登录并设置订阅
登录。 键入:
az login --use-device-code设置订阅。
az account set --subscription <Subscription ID>
通过 CLI 创建逻辑网络
可以使用 az stack-hci-vm network lnet create cmdlet 在 VM 交换机上为 DHCP 或静态 IP 配置创建逻辑网络。 用于创建 DHCP 和静态逻辑网络的参数是不同的。
通过 CLI 创建静态逻辑网络
在此版本中,只能通过 Azure CLI 使用静态 IP 创建虚拟机。
如果要在这些逻辑网络上创建具有网络接口的虚拟机,请创建静态逻辑网络。 按照 Azure CLI 中的以下步骤配置静态逻辑网络:
设置参数。 下面是一个示例:
$lnetName = "myhci-lnet-static"
$vmSwitchName = '"ConvergedSwitch(management_compute_storage)"'
$subscription = "<Subscription ID>"
$resource_group = "myhci-rg"
$customLocationName = "myhci-cl"
$customLocationID ="/subscriptions/$subscription/resourceGroups/$resource_group/providers/Microsoft.ExtendedLocation/customLocations/$customLocationName"
$location = "eastus"
$addressPrefixes = "100.68.180.0/28"
$gateway = "192.168.200.1"
$dnsServers = "192.168.200.222"
注意
对于部署时创建的默认 VM 交换机,请传递名称字符串并用双引号括住,后跟单引号。 例如,默认 VM 交换机 ConvergedSwitch(management_compute_storage) 作为“ConvergedSwitch(management_compute_storage)”传递。
对于静态 IP, 所需的 参数按如下所示进行表格化:
参数 说明 name 为 Azure Stack HCI 群集创建的逻辑网络的名称。 请确保提供遵循 Azure 网络资源的命名规则的名称。 创建逻辑网络后无法重命名。 vm-switch-name 部署逻辑网络的 Azure Stack HCI 群集上的外部虚拟交换机的名称。 resource-group 在其中创建逻辑网络的资源组的名称。 为便于管理,建议使用与 Azure Stack HCI 群集相同的资源组。 subscription 部署 Azure Stack HCI 的订阅的名称或 ID。 这可能是 Azure Stack HCI 群集上用于逻辑网络的另一个订阅。 custom-location 使用此函数提供与要在其中创建此逻辑网络的 Azure Stack HCI 群集关联的自定义位置。 location az locations指定的 Azure 区域。vlan Arc VM 的 VLAN 标识符。 请与你的网络管理员联系以获取此值。 值为 0 表示没有 VLAN ID。 ip-allocation-method IP 地址分配方法可以是 Dynamic或Static。 如果未指定此参数,则默认使用动态配置创建逻辑网络。address-prefixes CIDR 表示法中的子网地址。 例如:“192.168.0.0/16”。 dns-servers DNS 服务器的 IPv4 地址列表。 以空格分隔的格式指定多个 DNS 服务器。 例如,"10.0.0.5" "10.0.0.10" gateway 默认网关的 IPv4 地址。 注意
如果要创建静态逻辑网络,则必须指定 DNS 服务器和网关。
创建静态逻辑网络。 运行以下 cmdlet:
az stack-hci-vm network lnet create --subscription $subscription --resource-group $resource_group --custom-location $customLocationID --location $location --name $lnetName --vm-switch-name $vmSwitchName --ip-allocation-method "Static" --address-prefixes $addressPrefixes --gateway $gateway --dns-servers $dnsServers下面是示例输出:
{
  "extendedLocation": {
    "name": "/subscriptions/<Subscription ID>resourceGroups/myhci-rg/providers/Microsoft.ExtendedLocation/customLocations/myhci-cl",
    "type": "CustomLocation"
  },
  "id": "/subscriptions/<Subscription ID>resourceGroups/myhci-rg/providers/Microsoft.AzureStackHCI/logicalnetworks/myhci-lnet-static",
  "location": "eastus",
  "name": "myhci-lnet-static",
  "properties": {
    "dhcpOptions": {
      "dnsServers": [
        "192.168.200.222"
      ]
    },
    "provisioningState": "Succeeded",
    "status": {},
    "subnets": [
      {
        "name": "myhci-lnet-static",
        "properties": {
          "addressPrefix": "192.168.201.0/24",
          "addressPrefixes": null,
          "ipAllocationMethod": "Static",
          "ipConfigurationReferences": null,
          "ipPools": null,
          "routeTable": {
            "etag": null,
            "name": null,
            "properties": {
              "routes": [
                {
                  "name": "myhci-lnet-static-default-route",
                  "properties": {
                    "addressPrefix": "0.0.0.0/0",
                    "nextHopIpAddress": "192.168.200.1"
                  }
                }
              ]
            },
            "type": null
          },
          "vlan": null
        }
      }
    ],
    "vmSwitchName": "ConvergedSwitch(management_compute_storage)"
  },
  "resourceGroup": "myhci-rg",
  "systemData": {
    "createdAt": "2023-11-02T16:38:18.460150+00:00",
    "createdBy": "guspinto@contoso.com",
    "createdByType": "User",
    "lastModifiedAt": "2023-11-02T16:40:22.996281+00:00",
    "lastModifiedBy": "319f651f-7ddb-4fc6-9857-7aef9250bd05",
    "lastModifiedByType": "Application"
  },
  "tags": null,
  "type": "microsoft.azurestackhci/logicalnetworks"
}
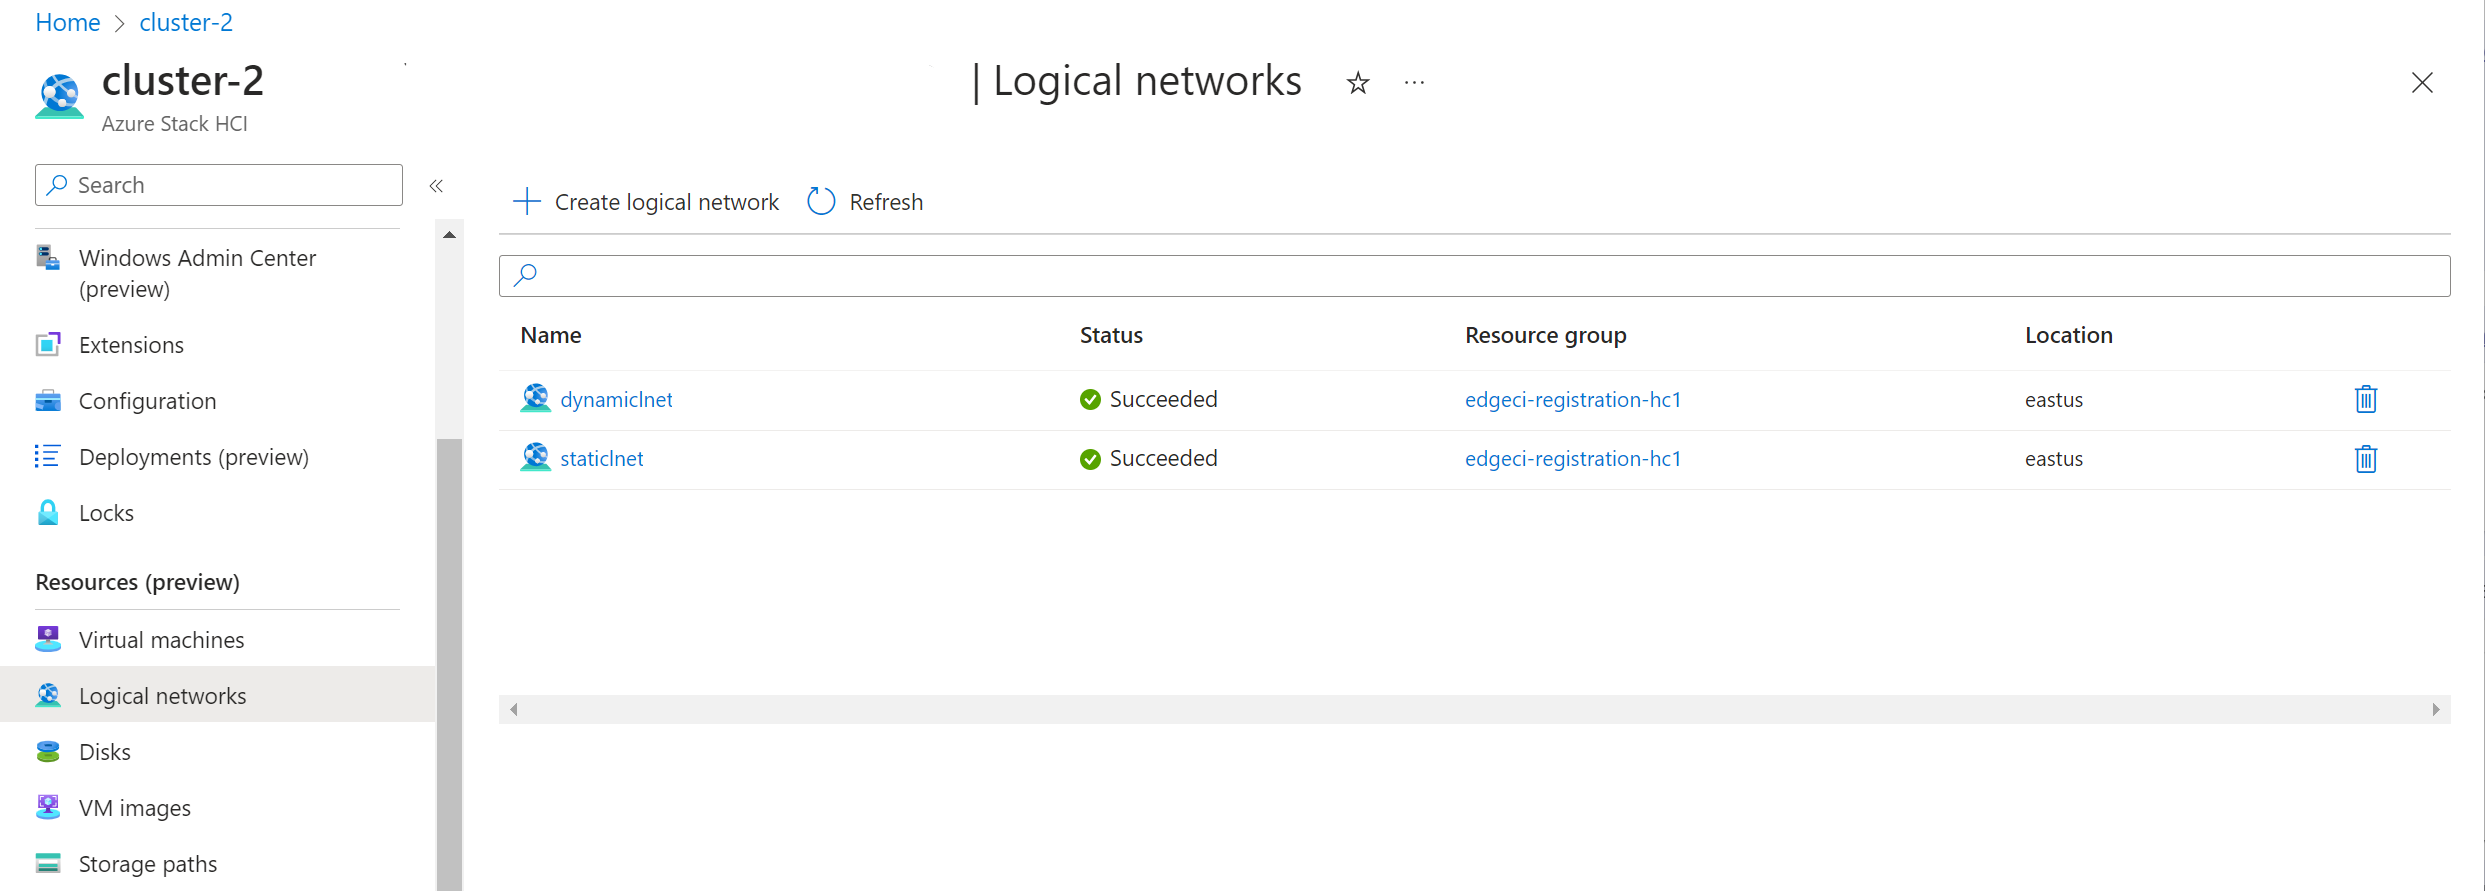
逻辑网络创建完成后,即可在这些逻辑网络上创建具有网络接口的虚拟机。
通过 CLI 创建 DHCP 逻辑网络
如果要将虚拟机连接到的基础网络具有 DHCP,请创建 DHCP 逻辑网络。
按照以下步骤配置 DHCP 逻辑网络:
设置参数。 下面是使用默认外部交换机的示例:
$lnetName = "myhci-lnet-dhcp"
$vSwitchName = "ConvergedSwitch(management_compute_storage)"
$subscription = "<subscription-id>"
$resourceGroup = "myhci-rg"
$customLocationName = "myhci-cl"
$customLocationID = "/subscriptions/$subscription/resourceGroups/$resourceGroup/providers/Microsoft.ExtendedLocation/customLocations/$customLocationName"
$location = "eastus"
注意
对于部署时创建的默认 VM 交换机,请传递名称字符串并用双引号括住,后跟单引号。 例如,默认 VM 交换机 ConvergedSwitch(management_compute_storage) 作为“ConvergedSwitch(management_compute_storage)”传递。
下面是创建 DHCP 逻辑网络所需的参数:
参数 说明 name 为 Azure Stack HCI 群集创建的逻辑网络的名称。 请确保提供遵循 Azure 资源规则的名称。 创建逻辑网络后无法重命名。 vm-switch-name 部署逻辑网络的 Azure Stack HCI 群集上的外部虚拟交换机的名称。 resource-group 在其中创建逻辑网络的资源组的名称。 为便于管理,建议使用与 Azure Stack HCI 群集相同的资源组。 subscription 部署 Azure Stack HCI 的订阅的名称或 ID。 这可能是 Azure Stack HCI 群集上用于逻辑网络的另一个订阅。 custom-location 使用此函数提供与要在其中创建此逻辑网络的 Azure Stack HCI 群集关联的自定义位置。 location az locations指定的 Azure 区域。vlan Arc VM 的 VLAN 标识符。 请与你的网络管理员联系以获取此值。 值为 0 表示没有 VLAN ID。 运行以下 cmdlet 创建 DHCP 逻辑网络:
az stack-hci-vm network lnet create --subscription $subscription --resource-group $resourceGroup --custom-location $customLocationID --location $location --name $lnetName --vm-switch-name $vSwitchName --ip-allocation-method "Dynamic"下面是示例输出:
{
  "extendedLocation": {
    "name": "/subscriptions/<Subscription ID>/resourceGroups/myhci-rg/providers/Microsoft.ExtendedLocation/customLocations/myhci-cl",
    "type": "CustomLocation"
  },
  "id": "/subscriptions/<Subscription ID>/resourceGroups/myhci-rg/providers/Microsoft.AzureStackHCI/logicalnetworks/myhci-lnet-dhcp",
  "location": "eastus",
  "name": "myhci-lnet-dhcp",
  "properties": {
    "dhcpOptions": null,
    "provisioningState": "Succeeded",
    "status": {},
    "subnets": [
      {
        "name": "myhci-lnet-dhcp",
        "properties": {
          "addressPrefix": null,
          "addressPrefixes": null,
          "ipAllocationMethod": "Dynamic",
          "ipConfigurationReferences": null,
          "ipPools": null,
          "routeTable": null,
          "vlan": 0
        }
      }
    ],
    "vmSwitchName": "ConvergedSwitch(management_compute_storage)"
  },
  "resourceGroup": "myhci-rg",
  "systemData": {
    "createdAt": "2023-11-02T16:32:51.531198+00:00",
    "createdBy": "guspinto@contoso.com",
    "createdByType": "User",
    "lastModifiedAt": "2023-11-02T23:08:08.462686+00:00",
    "lastModifiedBy": "319f651f-7ddb-4fc6-9857-7aef9250bd05",
    "lastModifiedByType": "Application"
  },
  "tags": null,
  "type": "microsoft.azurestackhci/logicalnetworks"
}
