Get started managing the Expense Reimbursement program
As a program administrator, you can use the Expense Reimbursement Admin app to manage your organization's Expense Reimbursement program. You can:
- Create custom refund programs
- Create custom categories and subcategories
- Set expense and reimbursement request limits
- Support more languages
- View error logs
- Use Microsoft Teams to approve requests
Create custom refund programs
Create as many refund programs as you need for your organization's Expense Reimbursement program. Users select the applicable refund program from a dropdown on the New Request screen.
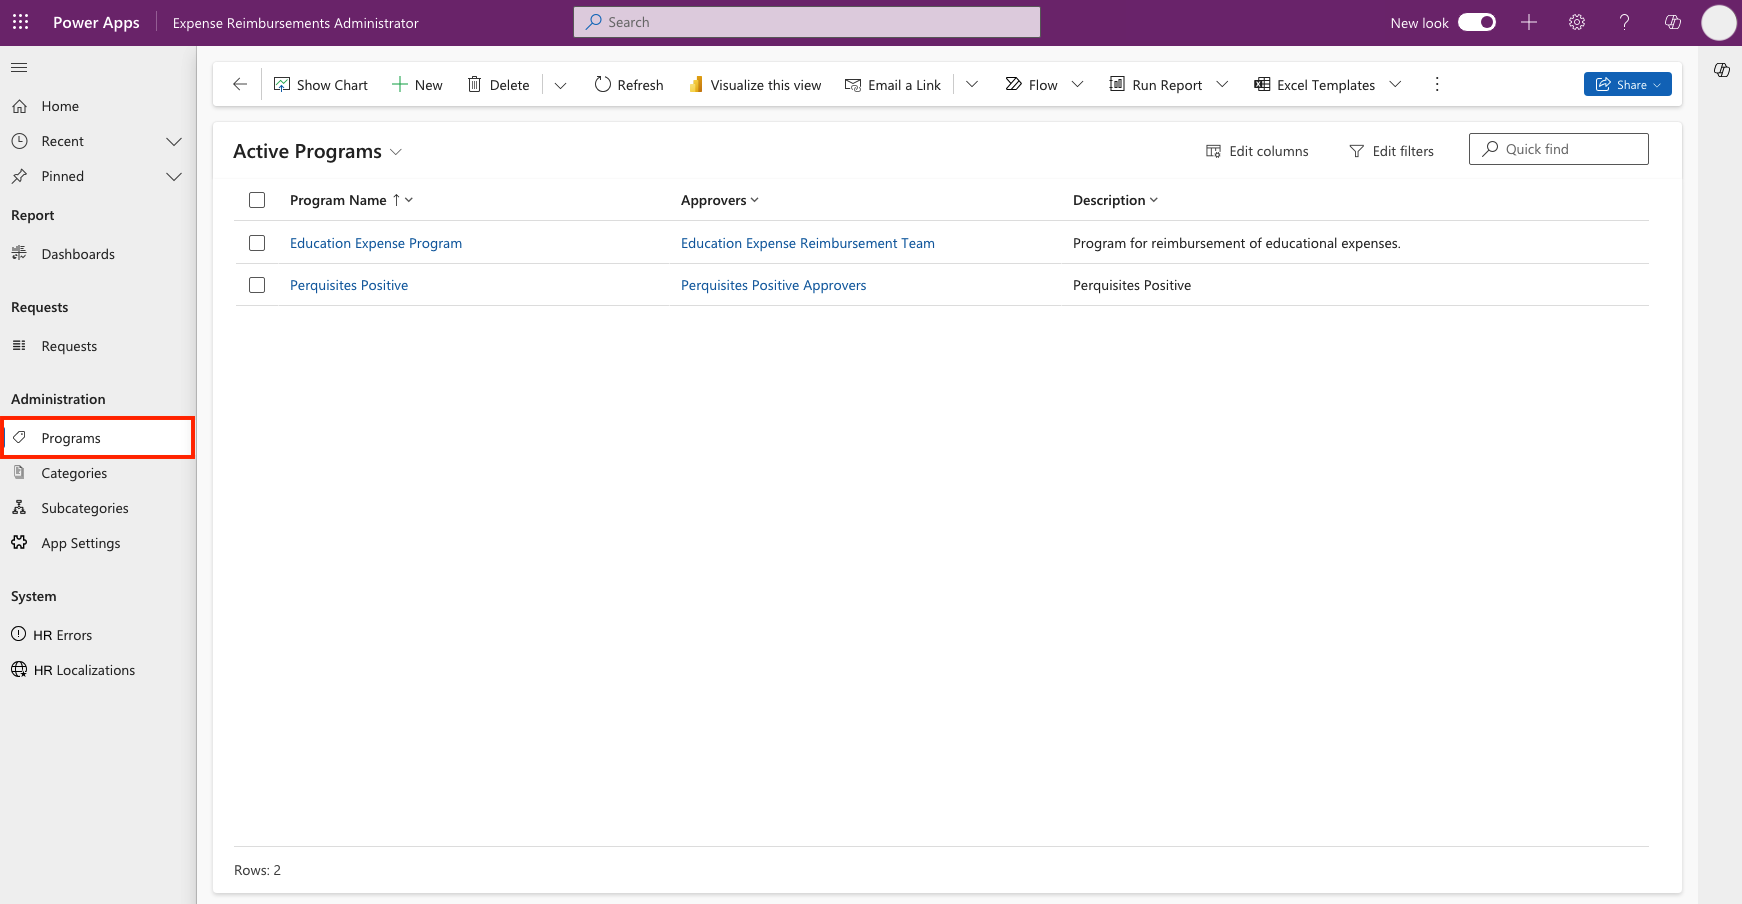
Take these steps to create types of refund programs:
Start the Expense Reimbursement Admin model-driven app.
Under Administration, select Refund Programs.
Select +New.
Fill out these fields for the new refund program:
- Refund Program name
- Approvers (admins who review and approve reimbursement requests)
- Description
Select Save.
Repeat the process until all the refund programs you want are set up.
Note
For the Approvers field, you can also specify a team of approvers. Go to Microsoft Dataverse teams management for more details on managing teams in your organization.
Create custom categories and subcategories
Create as many categories and subcategories you need within each refund program you set up for your organization's Expense Reimbursement program. Users select the applicable categories and subcategories from dropdowns on the New Request screen.
Create categories
Take these steps to create categories for each refund program you set up:
- Go to the Expense Reimbursement Admin model-driven app.
- Under Administration, select Categories.
- Select +New.
- Fill out the Category Name.
- Select Save.
Create subcategories
Take these steps to create subcategories that fit into refund program categories:
- Go to the Expense Reimbursement Admin model-driven app.
- Under Administration, select Subcategories.
- Select +New.
- Fill out Subcategory Name.
- Select Save.
Set expense and reimbursement limits
Set expense and reimbursement request limits in App Settings. Take these steps:
- Go to the Expense Reimbursement Admin model-driven app.
- Under System, select App Settings.
- Select +New.
- Fill out the settings name and enter the expense and reimbursement amount limits.
- Select Save.
Support more languages
You can localize all strings in the Expense Reimbursement app to support the diverse set of languages that may be spoken at your organization. The app contains default strings for all text, but checks to see if there's a localized version in the Employee Experience Base Localization table that's installed alongside the Expense Reimbursement solution. The Employee Experience Base solution and the Expense Reimbursement solution are accessed together from AppSource.
To localize app strings, users must have the Employee Experience Template Admin security role assigned to them by a Power Platform admin. Once assigned, a user can take these steps:
Go to the Employee Experience Template Administrator app.
Select Localizations on the left pane.
Select +New.
Fill out the form:
- English Value. The text (value) in the app that you replace
- Language. The language you are translating into
- Localized Value. The translated string you set up
- String Type. The type of string you're replacing or filter you can apply. This field is optional
Select Save & Close.
View error logs
You can view errors in the Expense Reimbursement Administrator model-driven app.
Take these steps to view errors:
- Go to the Expense Reimbursement Admin model-driven app.
- Under Administration, select Errors.
- Select an item in the Name column to view the error details.
Next step
反馈
即将发布:在整个 2024 年,我们将逐步淘汰作为内容反馈机制的“GitHub 问题”,并将其取代为新的反馈系统。 有关详细信息,请参阅:https://aka.ms/ContentUserFeedback。
提交和查看相关反馈