Deploy an ASP.NET Core container to Azure App Service using Visual Studio
Applies to: ![]() Visual Studio
Visual Studio ![]() Visual Studio for Mac
Visual Studio for Mac
Note
This article applies to Visual Studio 2017. If you're looking for the latest Visual Studio documentation, see Visual Studio documentation. We recommend upgrading to the latest version of Visual Studio. Download it here
This tutorial walks you through using Visual Studio to publish your containerized ASP.NET Core web application to an Azure App Service. Azure App Service is an appropriate service for a single-container web app hosted in Azure.
If you don't have an Azure subscription, create a free account before you begin.
Prerequisites
To complete this tutorial:
- Install the latest version of Visual Studio 2017 with the "ASP.NET and web development" workload
- Install Docker Desktop
Create an ASP.NET Core web app
The following steps guide you through creating a basic ASP.NET Core app that will be used in this tutorial.
- From the Visual Studio menu, select File > New > Project.
- Under the Templates section of the New Project dialog box, select Visual C# > Web.
- Select ASP.NET Core Web Application.
- Give your new application a name (or take the default) and select OK.
- Select Web Application.
- Check the Enable Docker Support checkbox.
- Select the Linux container type and click OK.
Deploy the container to Azure
Right-click your project in Solution Explorer and choose Publish.
On the publish target dialog, choose App Service Linux or App Service. This is the operating system that will host the web server.
You can publish only to App Service, or you can publish to both App Service and Azure Container Registry (ACR). To publish the container in an Azure Container Registry (ACR), choose Create new App Service for containers, and click Publish.
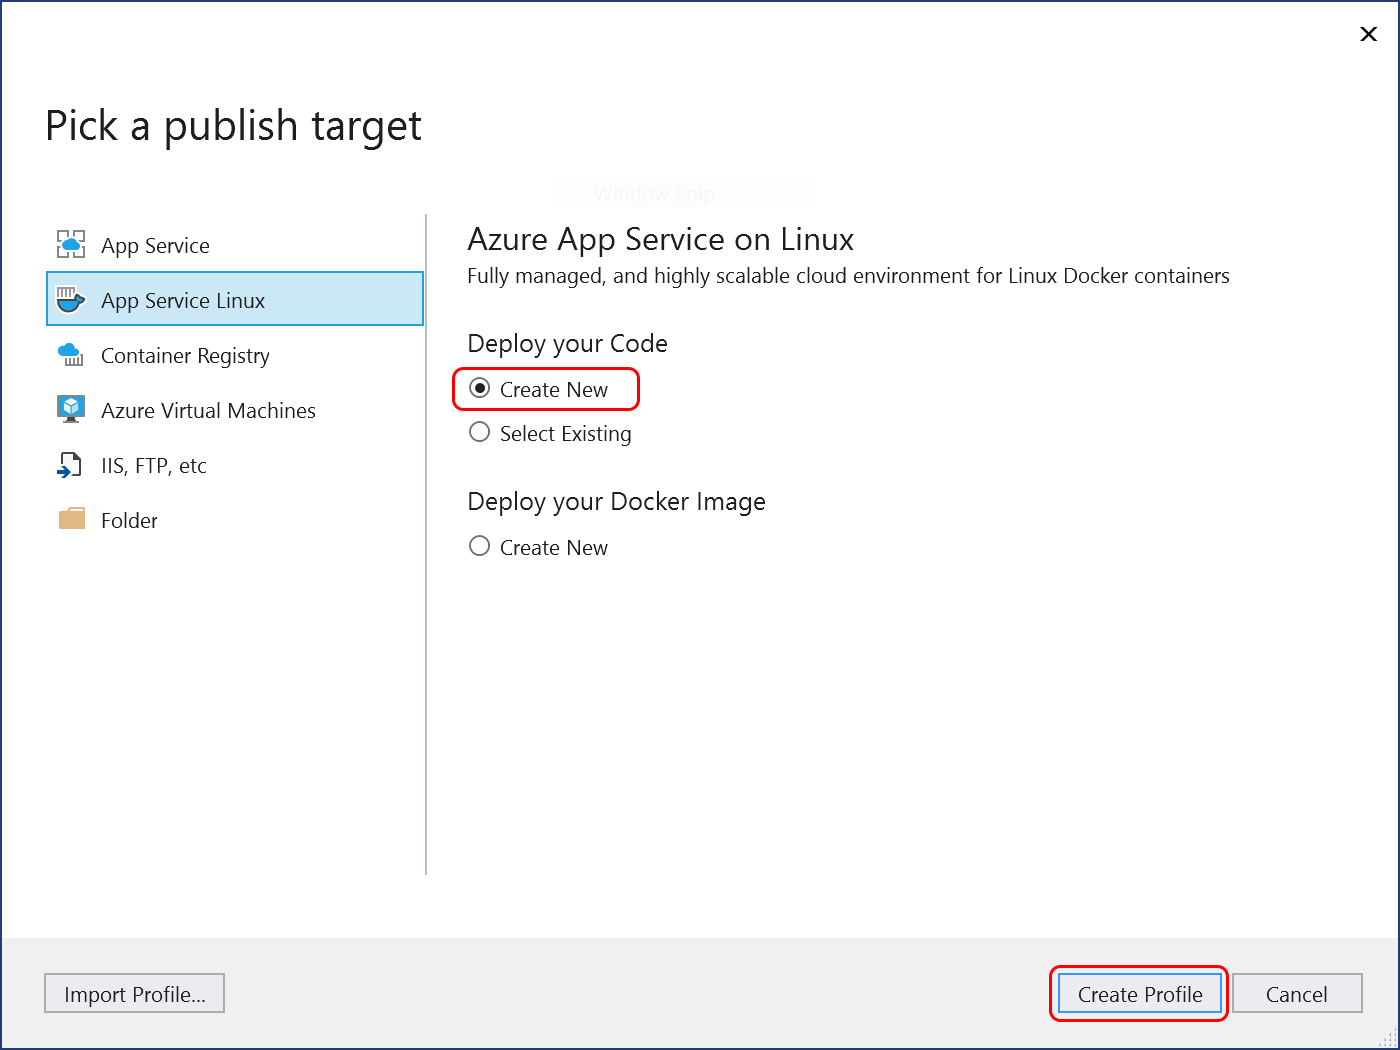
To publish only to an Azure App Service without using Azure Container Registry, choose Create new, and click Publish.
Check that you're signed in with the account that's associated with your Azure subscription, and choose a unique name, subscription, resource group, hosting plan, and container registry (if applicable), or accept the defaults.
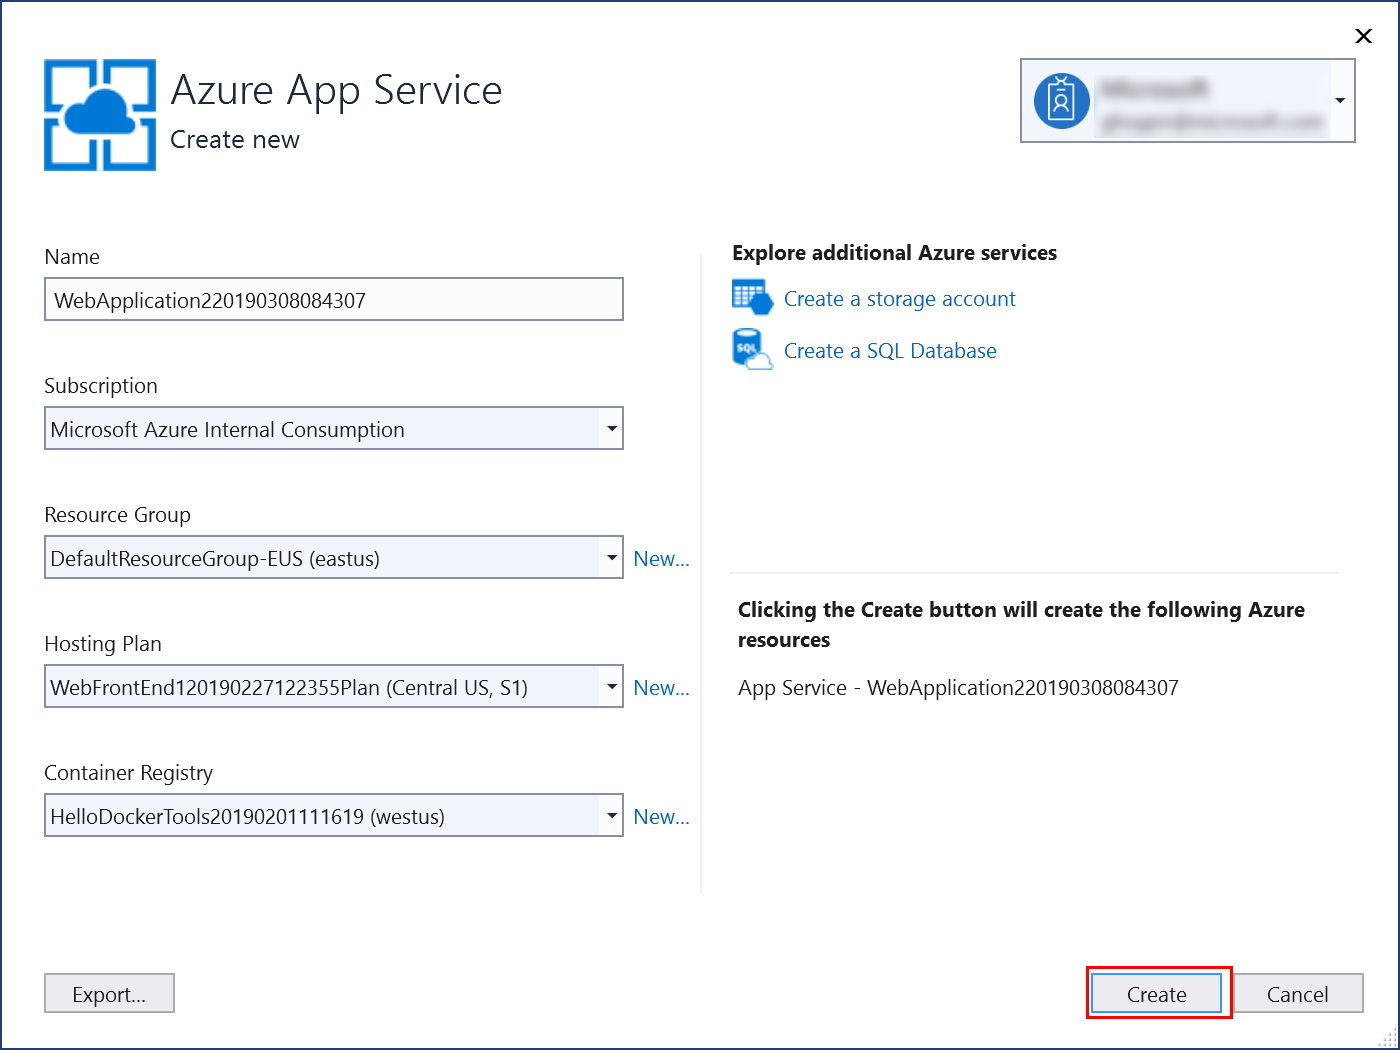
Choose Create. Your container is deployed to Azure in the resource group and container registry you selected. This process takes a bit of time. When it's completed, the Publish tab shows information about what was published, including the site URL.
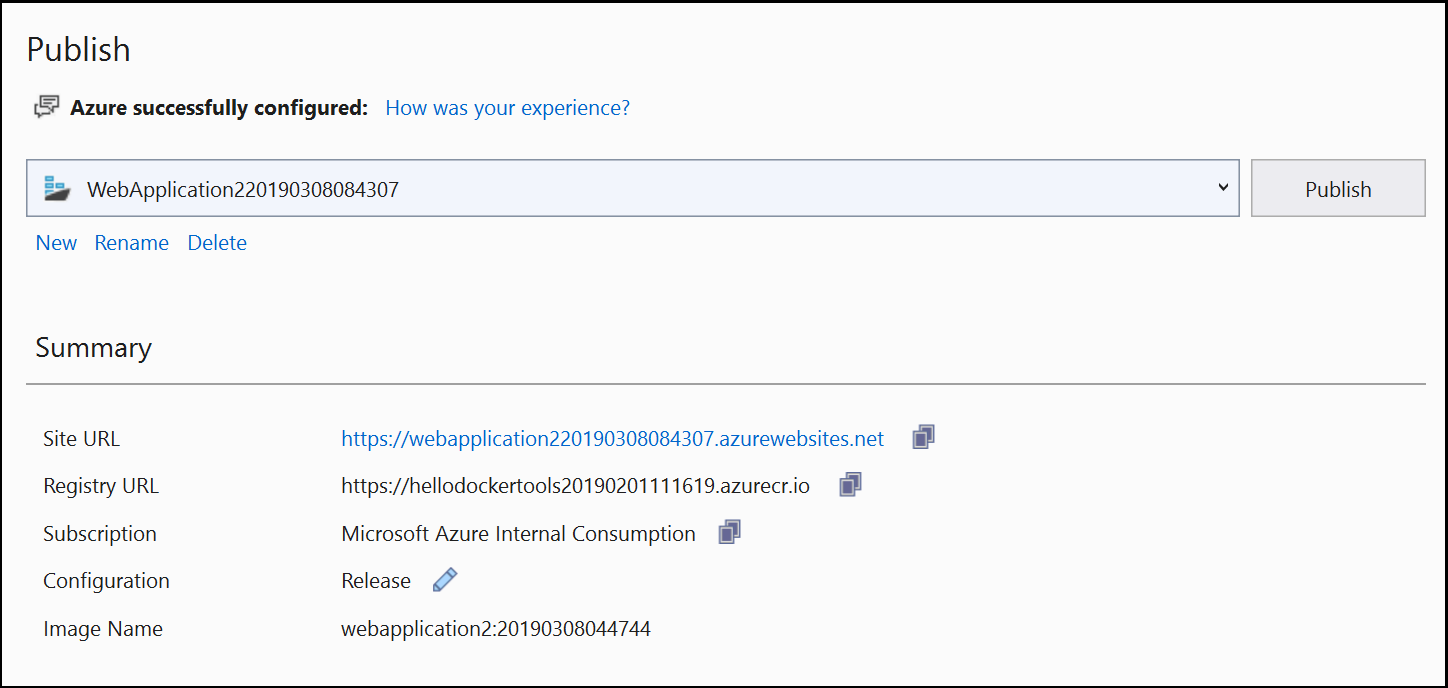
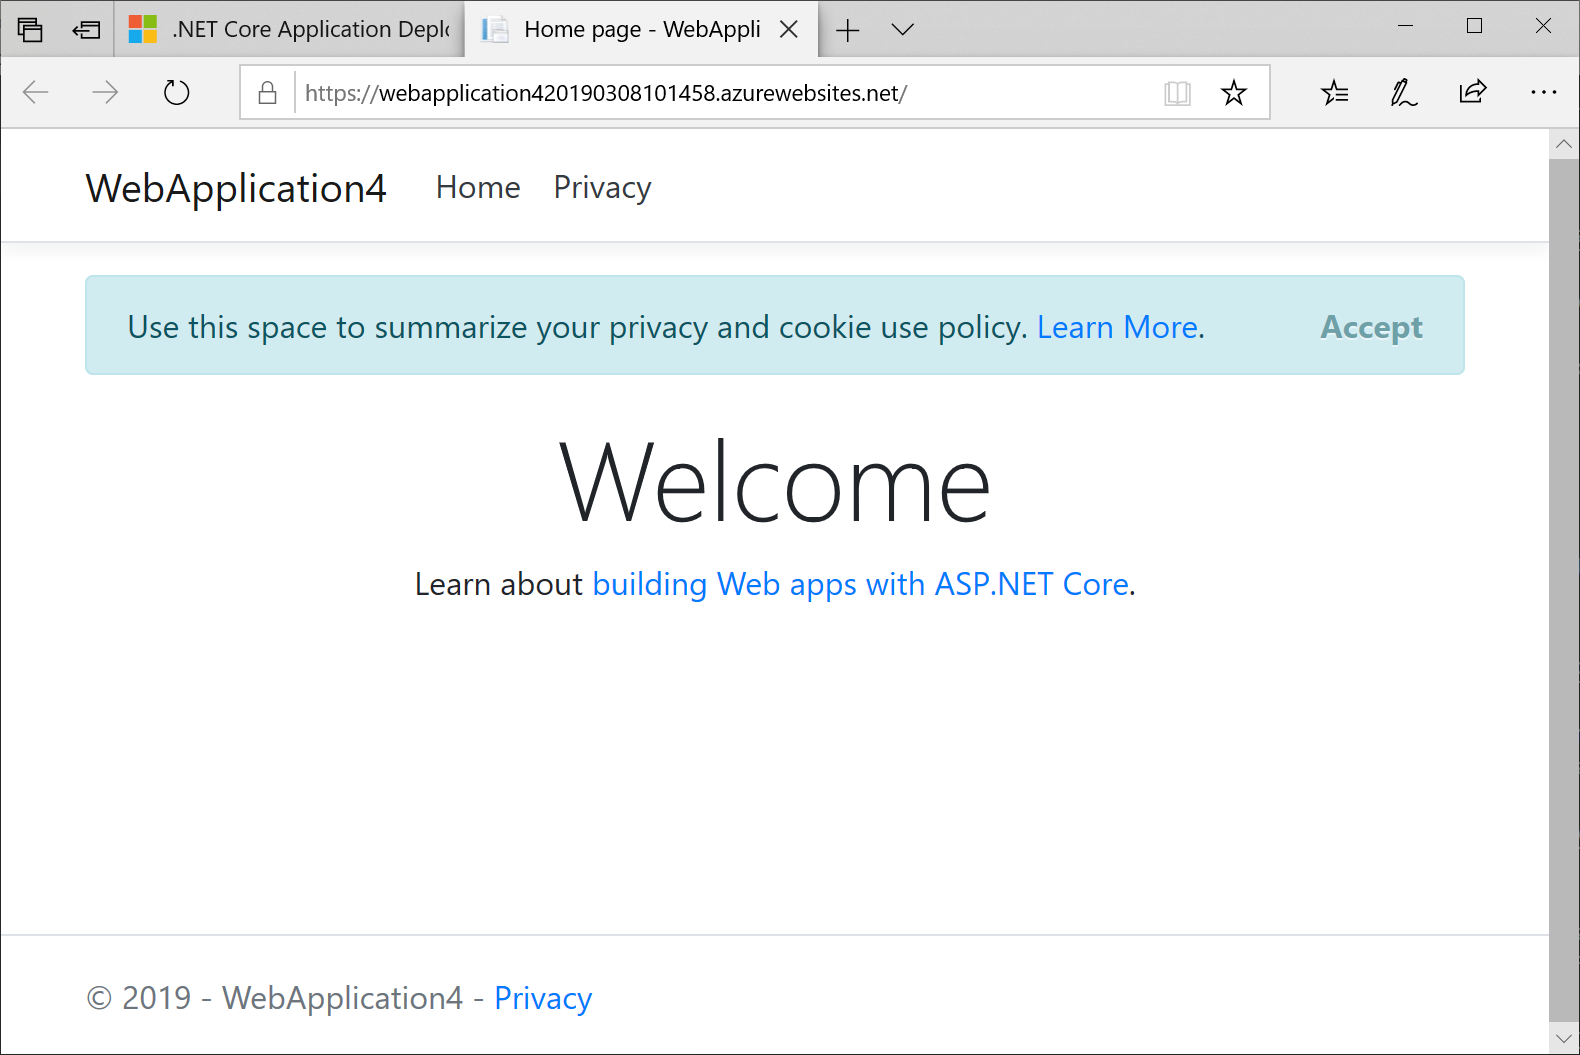
Click on the site link to verify your app works as expected in Azure.
The publishing profile is saved with all the details you selected, such as the resource group and container registry.
To deploy again with the same publishing profile, use the Publish button, the Publish button on the Web Publish Activity window, or right-click on the project in Solution Explorer and choose the Publish item on the context-menu.
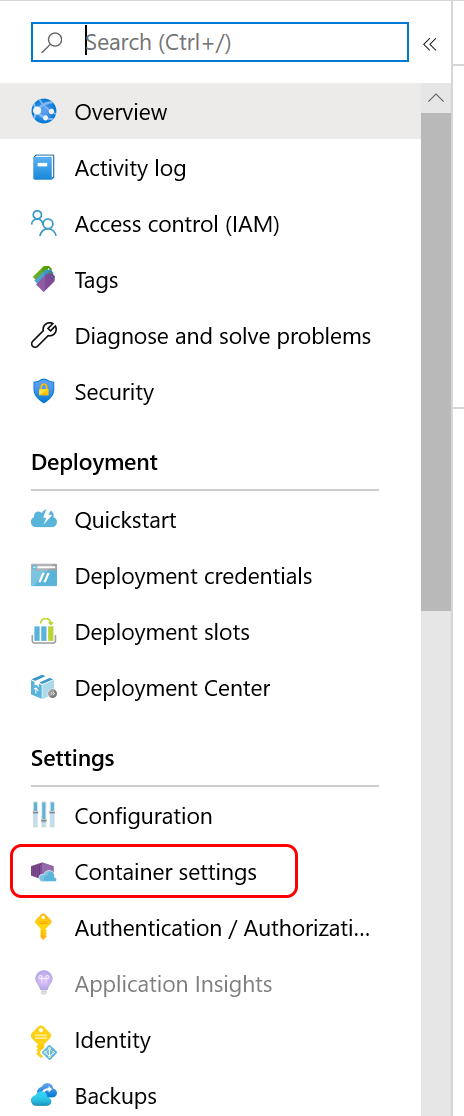
View container settings
In the Azure portal, you can open your deployed App Service.
You can view settings for your deployed App Service by opening the Container settings menu (when you are using Visual Studio 2019 version 16.4 or later).
From there, you can view the container information, view or download logs, or set up continuous deployment. See Azure App Service Continuous Deployment CI/CD.
Clean up resources
To remove all Azure resources associated with this tutorial, delete the resource group using the Azure portal. To find the resource group associated with a published web application, choose View > Other Windows > Web Publish Activity, and then choose the gear icon. The Publish tab opens, which contains the resource group.
In the Azure portal, choose Resource groups, select the resource group to open its details page. Verify that this is the correct resource group, then choose Remove resource group, type the name, and choose Delete.
Next steps
Learn more about Azure App Service.