使用“带参数运行”操作创建参数化笔记本
Azure Data Studio 中的参数化使用不同的参数集运行同一笔记本。
本文介绍如何使用 Python 内核在 Azure Data Studio 中创建和运行参数化笔记本。
注意
当前,可将参数化与 Python、PySpark、PowerShell 和 .NET Interactive 内核结合使用。
先决条件
“带参数运行”操作
当你使用“带参数运行”笔记本操作时,用户可在 UI 中输入新参数,以快速为你的笔记本设置新参数。 然后,用户可使用新参数运行笔记本。
注意
务必要使用新行上的每个新参数对参数单元格进行格式设置。
参数化示例
可使用示例笔记本文件来完成本文中的步骤:
- 转到 GitHub 中的笔记本文件。 选择“Raw”。
- 选择 Ctrl+S 或单击右键,然后使用 .ipynb 扩展名保存该文件。
- 在 Azure Data Studio 中打开该文件。
设置笔记本以便执行参数化
可从在 Azure Data Studio 中打开的示例笔记本开始操作,或完成以下步骤来创建一个笔记本。 然后,尝试使用不同的参数。 所有步骤都在一个 Azure Data Studio 笔记本中运行。
创建新的笔记本。 将“内核”更改为“Python 3” :
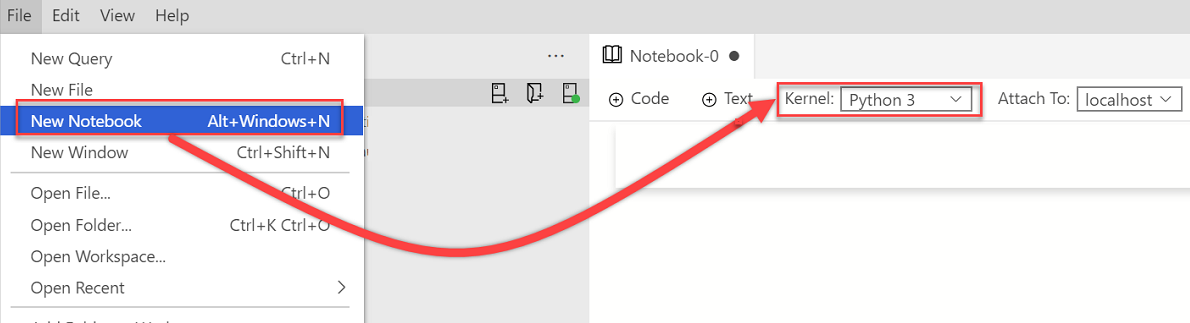
当包需要更新时,如果系统提示你升级 Python 包,则选择“是”:

验证“内核”设置为“Python 3” :

创建一个新代码单元格。 选择“参数”,将该单元格标记为参数单元格。
x = 2.0
y = 5.0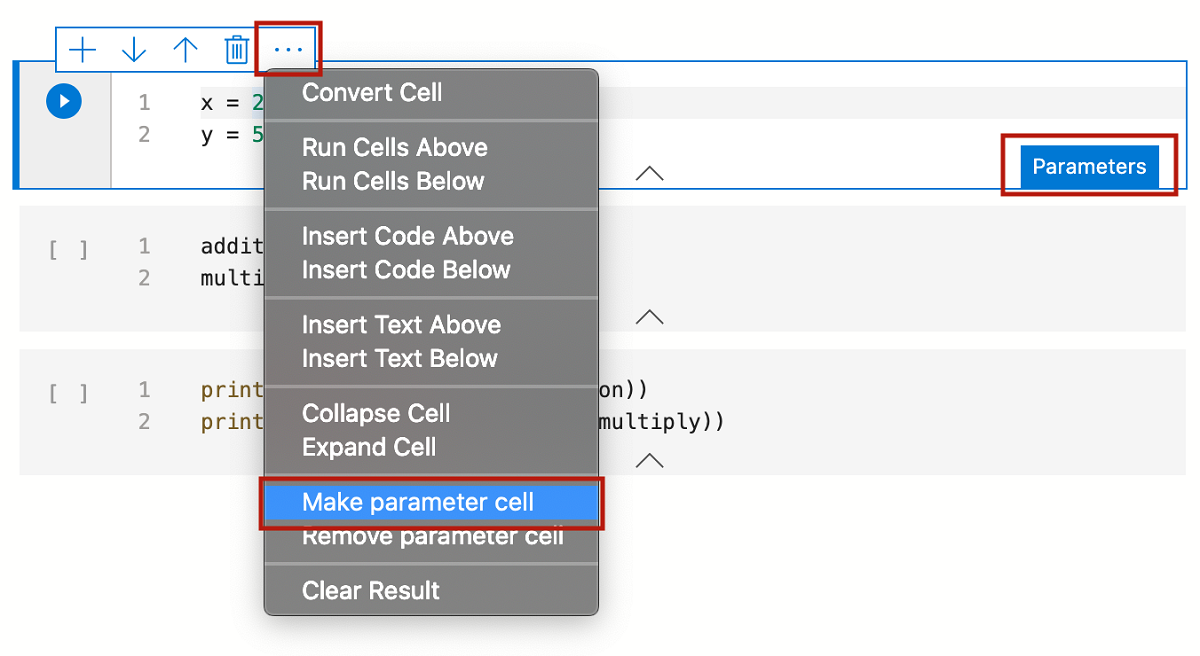
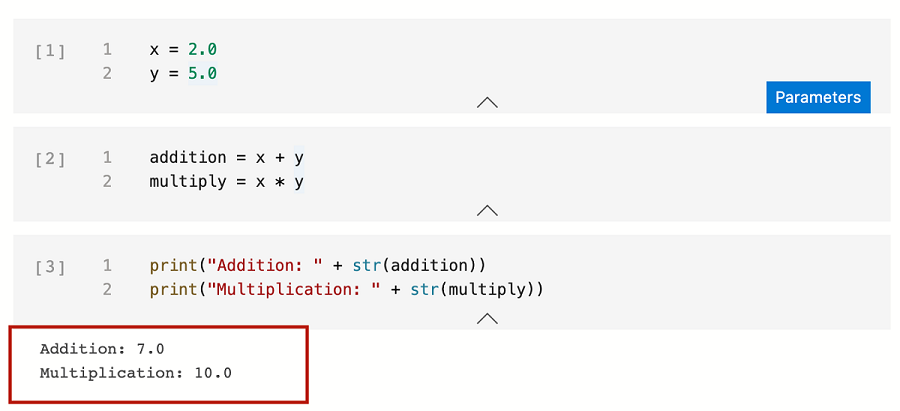
添加其他单元格以测试不同的参数:
addition = x + y
multiply = x * y
print("Addition: " + str(addition)) print("Multiplication: " + str(multiply))输出将类似于以下示例:
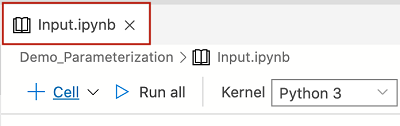
将笔记本保存为“Input.ipynb”:
运行带参数的笔记本
在笔记本工具栏上,选择“带参数运行”图标:

一系列新对话会提示你输入 x 和 y 的新参数 :


输入新参数后,查看新的参数化笔记本。 在工具栏上,选择“全部运行”,运行所有单元格并查看新输出。 标为
# Injected-Parameters的新单元格包含传入的新参数值: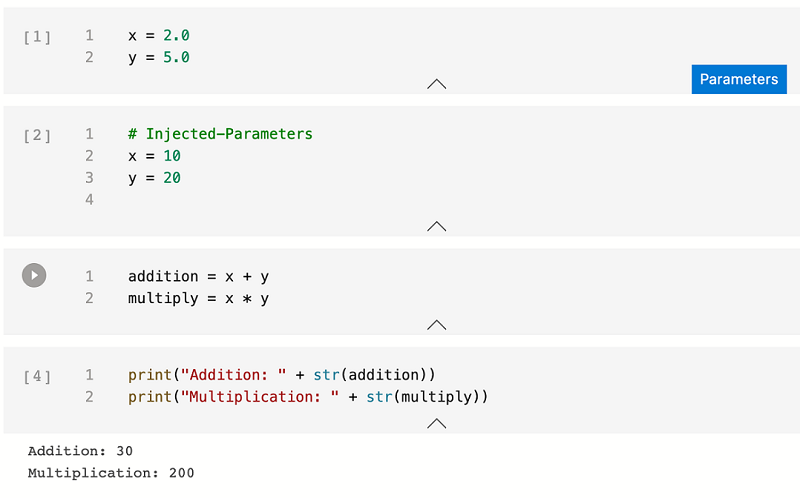
后续步骤
了解有关笔记本和参数化的详细信息:
反馈
即将发布:在整个 2024 年,我们将逐步淘汰作为内容反馈机制的“GitHub 问题”,并将其取代为新的反馈系统。 有关详细信息,请参阅:https://aka.ms/ContentUserFeedback。
提交和查看相关反馈