练习 - 配置自定义路由器
注意
此内容引用了 CentOS,这是一个处于生命周期结束 (EOL) 状态的 Linux 发行版。 请相应地考虑你的使用和规划。 有关详细信息,请参阅 CentOS 生命周期结束指南。
使用以下说明配置 FRR 的基础结构并生成默认路由:
az network vnet subnet create  -n <NVA-Subnet-name> -g <resource-group-name> --vnet-name <vnet-name>  --address-prefix 10.0.2.0/24

az network nic create -g <resource-group-name> --vnet-name <vnet-name>  --subnet <NVA-Subnet-name> -n <NVA-nic-name>

az vm availability-set create --name <nva-availability-set-name> --resource-group <resource-group-name> --location <your-preferred-azure-region>

az vm create --name <nva-vm-name>  --resource-group <resource-group-name>  --location <your-preferred-azure-region> --image OpenLogic:CentOS:8_5:8.5.2022012100 --size Standard_D1_v2        --availability-set <nva-availability-set-name>  --authentication-type password  --admin-username <vm-admin-user-name>  --admin-password <vm-admin-username-password> --storage-sku Standard_LRS  --nics <NVA-nic-name>
在 NVA 上配置 FRR 路由
现在,你将配置 FRR 软件。
更新以下脚本中的 routeServerSubnetPrefix 和 bgpNvaSubnetGateway 变量。
#
# IP prefix of the RouteServerSubnet in the Firewall VNet.
#
routeServerSubnetPrefix="<azure-route-server-subnet-prefix>"

#
# The first IP address of the subnet to which the "eth0" device is attached.
#
bgpNvaSubnetGateway="<nva-azure-subnet-first-ip-address>"

# Install FRR
sudo dnf install frr -y

# Configure FRR to run the bgpd daemon
sudo sed -i 's/bgpd=no/bgpd=yes/g' /etc/frr/daemons
sudo touch /etc/frr/bgpd.conf
sudo chown frr /etc/frr/bgpd.conf
sudo chmod 640 /etc/frr/bgpd.conf

# Start FRR daemons
sudo systemctl enable frr --now


# Add static routes to ensure reachability for Route Servers (Route Server are not-directly-connected external BGP neighbours).

# Please note that this configuration is transient and will be lost if the VM is rebooted.

# On CentOS VMs, you can add these routes to /etc/sysconfig/network-scripts/route-eth<X> to make them persistent across reboots.

sudo ip route add $routeServerSubnetPrefix via $bgpNvaSubnetGateway dev eth0
复制上面编辑的脚本。
登录到 NVA VM shell。
将从剪贴板复制的脚本作为纯文本粘贴到 NVA shell 中 (Ctrl-Shift-V)。
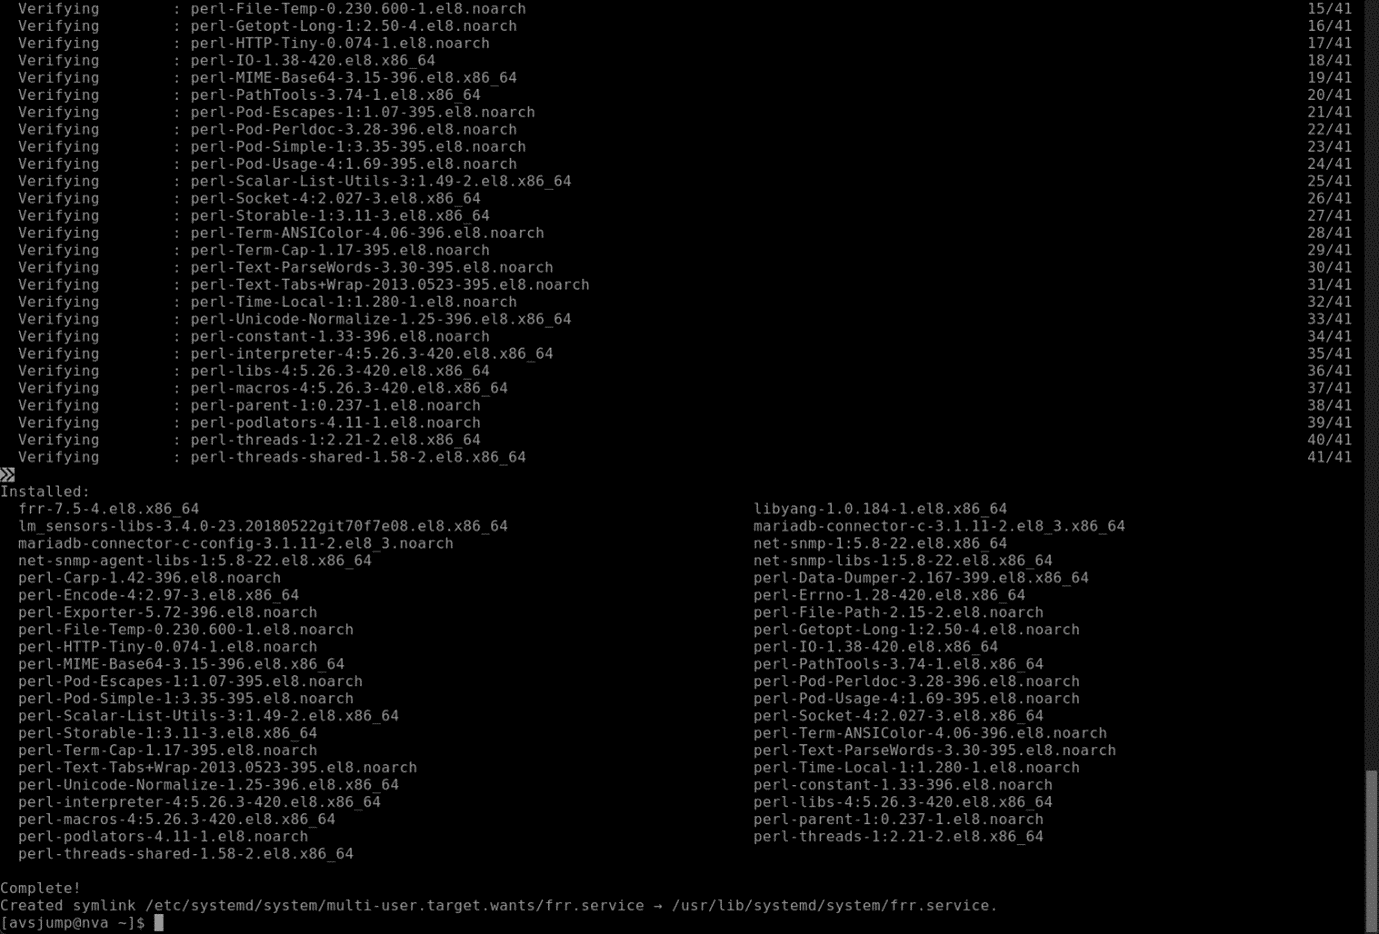
运行脚本并等待脚本在一分钟左右完成。
确保执行后未报告任何错误。
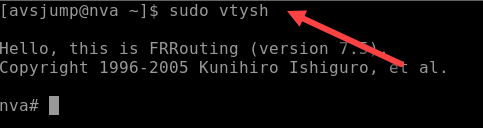
运行 sudo vtysh
确保 FRR 正在运行,并且其命令外壳已启动。
为 NVA 配置 BGP 邻域和默认路由
此步骤将 FRR NVA 配置为将 Azure 路由服务器作为其 BGP 邻域。 NVA 中还会添加默认路由 (0.0.0.0/0)。
在以下脚本中更新以下变量。
- <防火墙专用 IP 地址>
- <路由服务器实例 #0 的 IP 地址>
- <路由服务器实例 #1 的 IP 地址>
conf term
!
route-map SET-NEXT-HOP-FW permit 10
set ip next-hop <Firewall Private IP address>
exit
!
router bgp 65111
no bgp ebgp-requires-policy
neighbor <IP address of Route Server instance #0> remote-as 65515
neighbor <IP address of Route Server instance #0> ebgp-multihop 2
neighbor <IP address of Route Server instance #1> remote-as 65515
neighbor <IP address of Route Server instance #1> ebgp-multihop 2
network 0.0.0.0/0
!
address-family ipv4 unicast
  neighbor <IP address of Route Server instance #0> route-map SET-NEXT-HOP-FW out
  neighbor <IP address of Route Server instance #1> route-map SET-NEXT-HOP-FW out
exit-address-family
!
exit
!
exit
!
write file
!
登录到 FRR shell。
粘贴包含更新的变量的脚本。
运行
show ip bgp以确认 NVA 尚未获知其自己的默认路由以外的路由。运行
show ip bgp sum以确认 NVA 尚未建立 BGP 会话。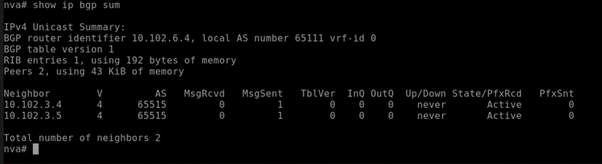
配置与 Azure 路由服务器的对等互连
以下步骤将在 FRR NVA 和 Azure 路由服务器之间建立 BGP 对等关系。
在 Azure CLI 提示符下运行以下命令:
 az network routeserver peering create  --name <nva-vm-name>  --peer-ip <private-ip-of-nva-vm-name>  --peer-asn <asn-value-other-than-65515-65520>  --routeserver <routeserver-name>  --resource-group <resource-group-name>`

 az network routeserver update --name <routeserver-name>  --resource-group <resource-group-name>   --allow-b2b-traffic true`
登录到 FRR shell。
运行
show ip bgp以确认 NVA 现已从 Azure 路由服务器获知路由。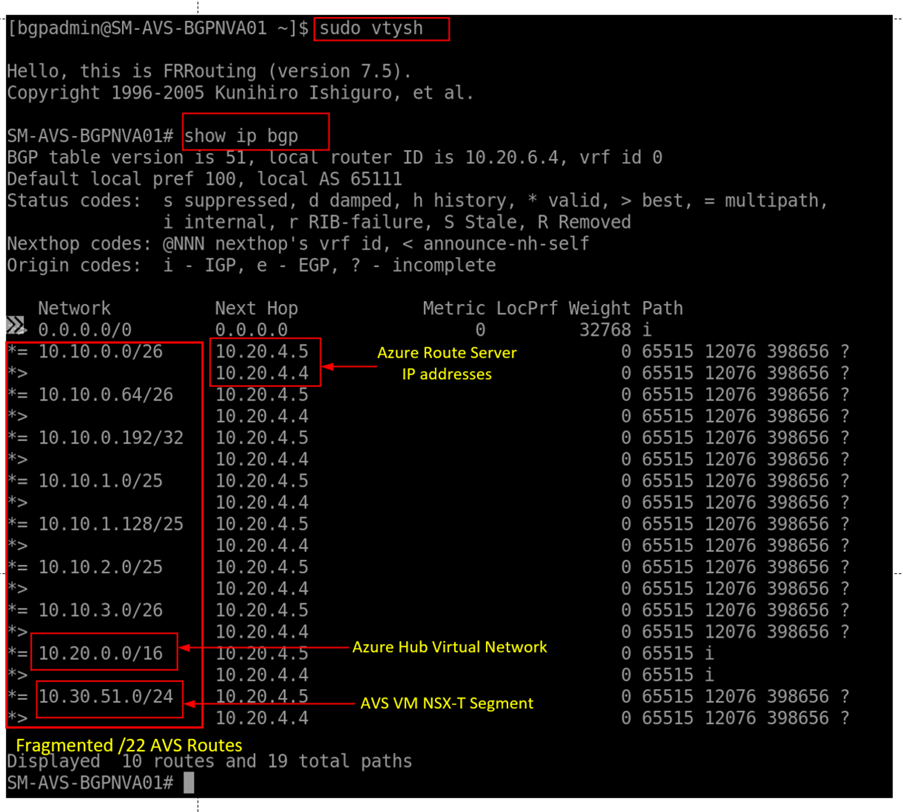
确保 Azure 防火墙具有直接 Internet 连接。 可以通过检查与 Azure 防火墙子网关联的路由表,使用 Azure 门户完成此操作。
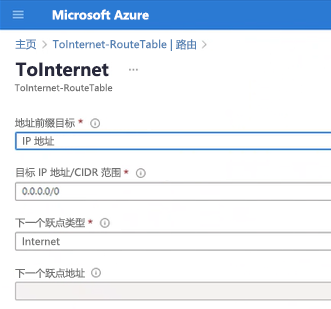
此时,已配置 Azure VMware 解决方案私有云来实现安全的出站 Internet 连接。 你部署了 Azure 路由服务器,以便在 Azure VMware 解决方案私有云与 NVA 之间进行有效的路由交换。 然后,将 Azure 防火墙部署为所有 Internet 绑定流量的出口点。 随后会使用 FRR(一种自定义路由器),将默认路由与 Azure 防火墙作为下一个跃点注入 Azure VMware 解决方案私有云。
在下一单元中,你将了解如何在 Azure 防火墙中实现细化的访问控制,从而允许/拒绝来自 Azure VMware 解决方案私有云的网络流量。