练习 - 转换和迁移资源
重要
需要自己的 Azure 订阅才能运行此练习,这可能会产生费用。 如果还没有 Azure 订阅,请在开始前创建一个免费帐户。
你所在的玩具公司收购了一家制造流行玩具卡车的竞争对手。 这些玩具都连接到 Azure 中托管的虚拟机,以便接收固件更新。 虚拟机的所有资源都是使用 Azure 门户手动创建的。 在此单元中,你将开始将资源迁移到 Bicep 文件。
在此过程中,你将执行以下任务:
- 使用 Azure 门户部署新的虚拟机。
- 将虚拟机资源导出到 JSON 模板。
- 将 JSON 模板反编译到 Bicep。
- 创建新的 Bicep 文件,然后从反编译的模板中移动资源。
本练习使用适用于 Visual Studio Code 的 Bicep 扩展。 请务必在 Visual Studio Code 中安装此扩展。
使用 Azure 门户创建虚拟机
若要模拟示例场景中的情况,需要首先使用 Azure 门户部署虚拟机。
登录 Azure 门户。
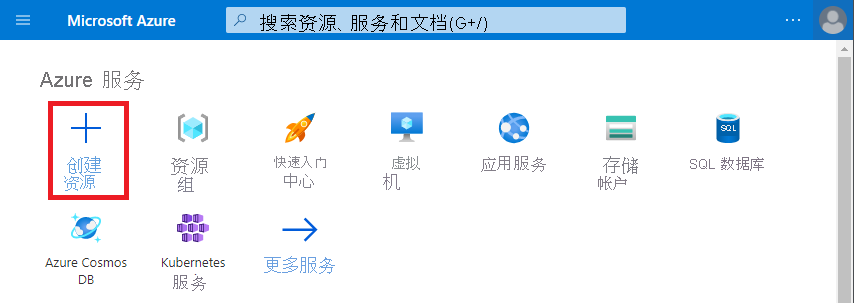
在 Azure 主页的“Azure 服务”下,选择“创建资源”:
Azure 市场在“创建资源”窗格中显示。
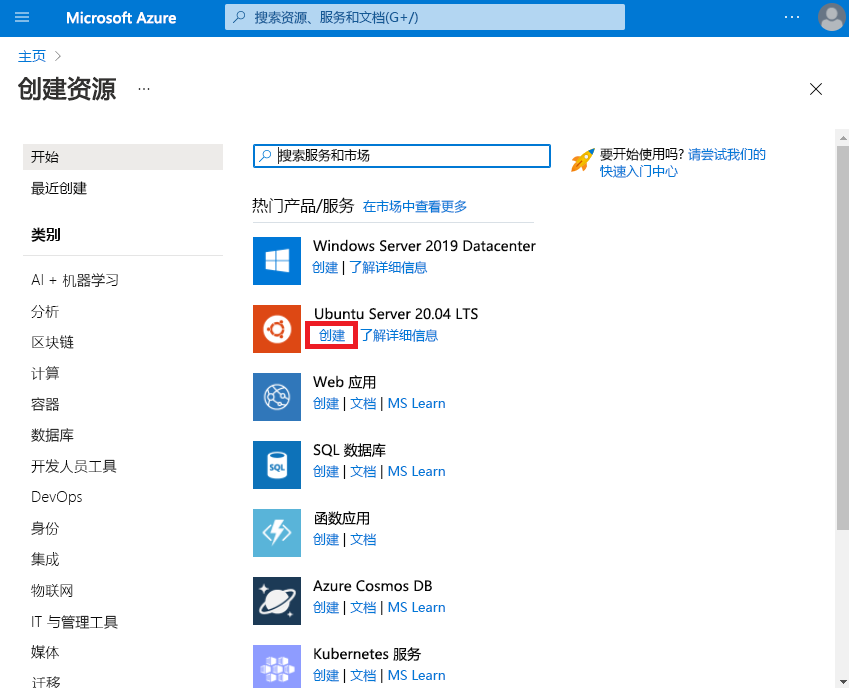
在“Ubuntu Server 20.04 LTS”下,选择“创建”:
重要
如果没有看到“Ubuntu Server 20.04 LTS”,请直接转到 Azure 市场中的 Ubuntu Server 20.04 LTS。
在“基本信息”选项卡上,为每个设置输入以下值。 对于所有其他设置,使用默认值。
设置 值 项目详细信息 资源组 选择“新建”,并输入“ToyTruck” 实例详细信息 虚拟机名称 ToyTruckServer 区域 (美国)美国西部 3 可用性选项 不需要基础结构冗余 映像 Ubuntu Server 20.04 LTS - x64 Gen2 大小 Standard_D2s_v3 管理员帐户 身份验证类型 密码 用户名 toytruckadmin 密码 输入密码 入站端口规则 公共入站端口 无 在“管理”选项卡上,确保未选择“启用自动关闭”。
选择“查看 + 创建” 。 Azure 将验证你的设置。 可能需要根据映像要求输入或选择详细信息。
选择“创建”以部署和创建 VM。
Azure 门户显示正在进行的部署。
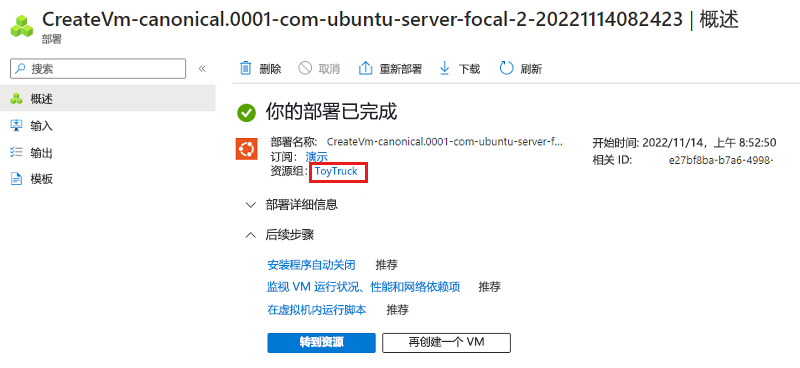
部署完成后,选择资源组名称以打开资源组:
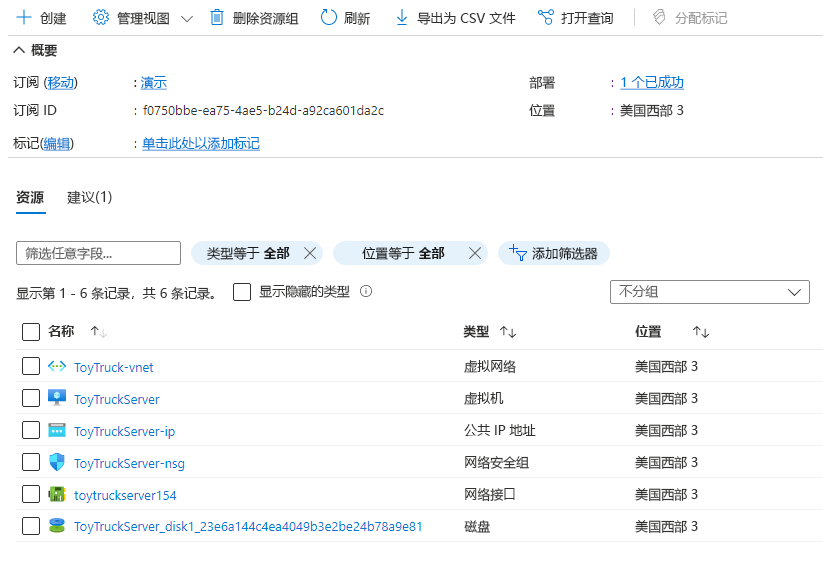
资源组现在包含虚拟机及其依赖项:
将资源组内容导出到 JSON 模板
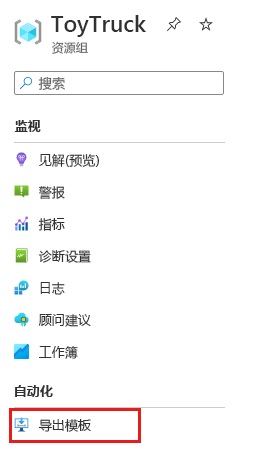
在左侧菜单的“自动化”下,选择“导出模板”:
生成 JSON 模板。 该过程可能需要一两分钟才能完成。
选择“下载”按钮:
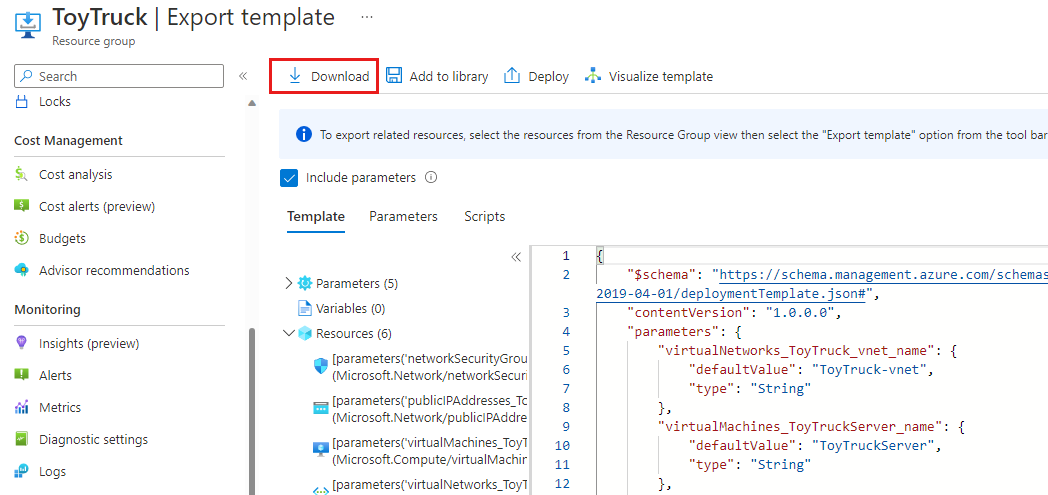
JSON 模板和参数文件将作为 zip 文件下载到计算机。
将文件解压缩到可以轻松访问的文件夹,例如桌面。
打开 Visual Studio Code。
准备本地环境
在“终端”菜单中,选择“新终端”。 终端窗口通常在屏幕的下半部分打开。
如果终端窗口右侧显示的 shell 为“bash”,则将打开正确的 shell,你可以跳到下一部分。

如果出现“bash”以外的 shell,请选择 shell 下拉箭头,然后选择“Azure Cloud Shell (Bash)”。
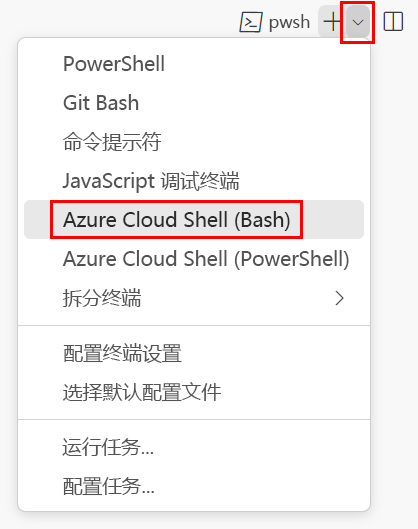
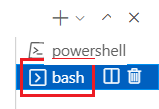
在终端 shell 列表中,选择“bash”。
在终端中,转到保存模板的目录。 例如,如果将模板保存到 templates 文件夹,则可以使用以下命令:
cd templates
安装 Bicep
运行以下命令以确保具有最新版本的 Bicep:
az bicep install && az bicep upgrade
在“终端”菜单中,选择“新终端”。 终端窗口通常在屏幕的下半部分打开。
如果终端窗口右侧显示的 shell 为“powershell”或“pwsh”,则会打开正确的 shell,你可以跳到下一部分。

如果出现“powershell”或“pwsh”以外的 shell,请选择 shell 下拉箭头,然后选择“PowerShell”。
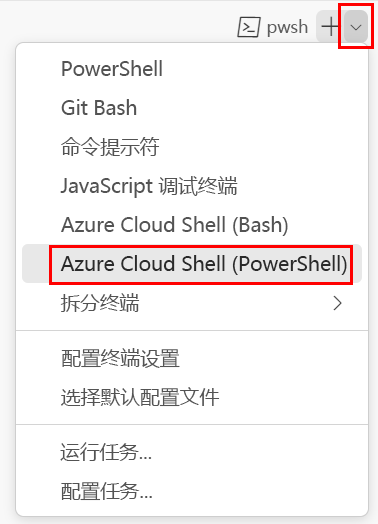
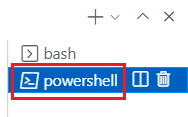
在终端 shell 列表中,选择“powershell”或“pwsh”。
在终端中,转到保存模板的目录。 例如,如果将模板保存到 templates 文件夹,则可以使用以下命令:
Set-Location -Path templates
安装 Bicep CLI
若要从 Azure PowerShell 中使用 Bicep,请安装 Bicep CLI。
将 JSON 模板反编译到 Bicep
使用 decompile 命令,从模板创建 Bicep 文件:
az bicep decompile --file template.json
反向编译操作生成类似于下面的警告:
WARNING: Decompilation is a best-effort process, as there is no guaranteed mapping from ARM JSON
 to Bicep.

You might need to fix warnings and errors in the generated bicep file(s), or decompilation might fail
 entirely if an accurate conversion is not possible.

If you would like to report any issues or inaccurate conversions,
please see https://github.com/Azure/bicep/issues.
使用 decompile 命令,从模板创建 Bicep 文件:
bicep decompile template.json
反向编译操作生成类似于下面的警告:
WARNING: Decompilation is a best-effort process, as there is no guaranteed mapping from ARM JSON
 to Bicep.

You might need to fix warnings and errors in the generated bicep file(s), or decompilation might fail
 entirely if an accurate conversion is not possible.

If you would like to report any issues or inaccurate conversions,
please see https://github.com/Azure/bicep/issues.
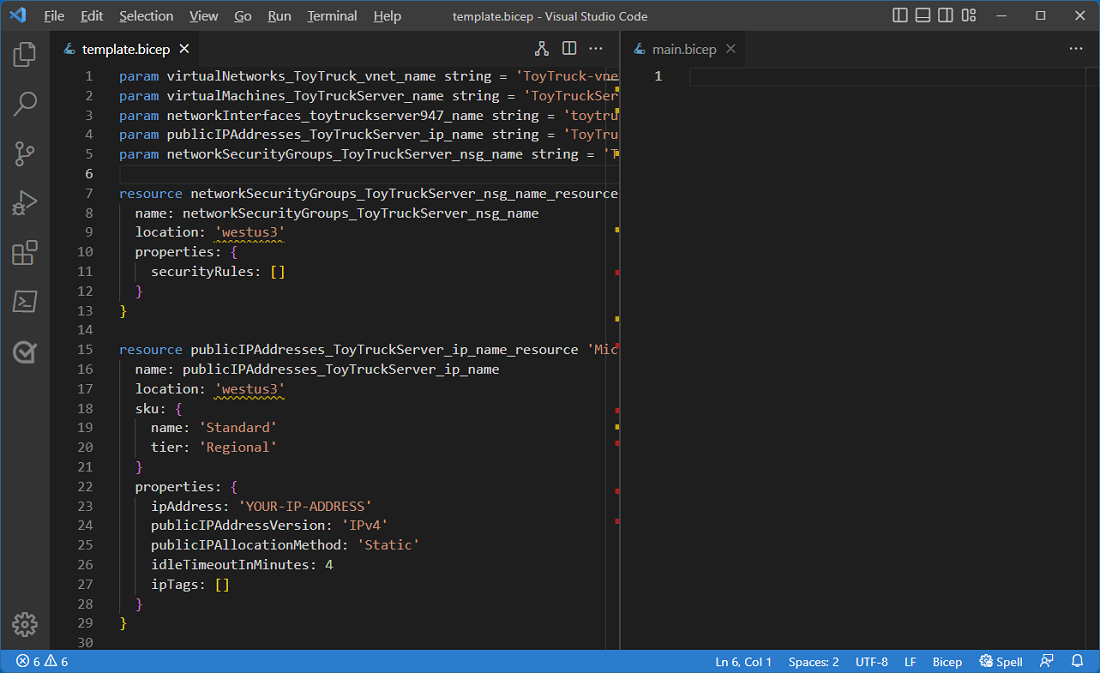
检查反编译的 Bicep 文件
在 Visual Studio Code 中打开 template.bicep 文件,并浏览该文件。 请注意,这是一个有效的 Bicep 文件,但它有一些问题,包括:
- 参数和资源的符号名称包含下划线,且不容易理解。
location属性在所有资源定义中都为硬编码。- 模板包含硬编码值,这些值应该是参数或由 Azure 自动设置。
在本模块的其余部分,你将解决这些问题。
创建新的 Bicep 文件
在 Visual Studio Code 中,创建名为 main.bicep 的新文件。
保存空文件,以便 Visual Studio Code 加载 Bicep 工具。
可选择“文件”>“另存为”,也可以在 Windows 中选择Ctrl+S(在 macOS 中选择 ⌘+S)。
拆分编辑器,使得可同时查看这两个文件(template.bicep 文件在左窗格中,以及 main.bicep 文件在右窗格)。
- 选择“main.bicep”选项卡。
- 选择“视图”>“编辑器布局”>“向右拆分”,在右窗格中打开“main.bicep”选项卡。
- 关闭左窗格中的“main.bicep”选项卡。
将每个元素复制到新的 Bicep 文件中
将名为
networkSecurityGroups_ToyTruckServer_nsg_name_resource的资源从 template.bicep 文件复制到 main.bicep 文件。复制时,请注意
securityRules属性为空。 在本模块的后面,你将重构文件以删除冗余属性。Visual Studio Code 指示错误,因为缺少
networkSecurityGroups_ToyTruckServer_nsg_name参数: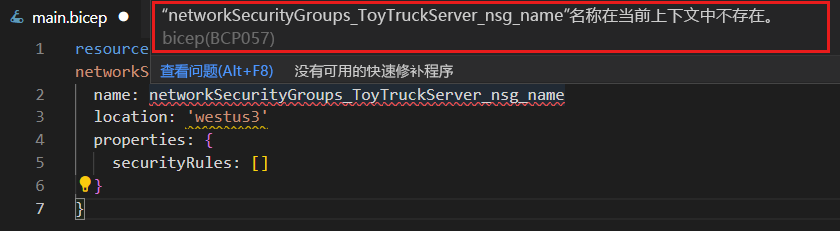
将参数复制到 main.bicep 文件中。
使用以下资源及其关联的参数重复此过程:
publicIPAddresses_ToyTruckServer_ip_name_resourcevirtualMachines_ToyTruckServer_name_resourcevirtualNetworks_ToyTruck_vnet_name_resourcevirtualNetworks_ToyTruck_vnet_name_defaultnetworkInterfaces_toytruckserver890_name_resource
注意
部署中资源的名称可能与此处列出的资源不同。 查找其名称与这些名称相近的资源。
复制每个资源时,请检查其属性。 在本模块的后面,你将更新每个资源的属性和配置以符合 Bicep 最佳做法。
提示
转换或导出自己的模板时,可以更新资源,以在复制它们时遵循最佳做法。 在本模块中,我们单独更新资源,以更轻松地了解迁移过程的每个阶段。
检查缺少的资源
在 Azure 门户中,打开“ToyTruck”资源组。
查看资源列表并将其与 Bicep 文件中的资源列表进行比较。 请注意,资源组包含 Bicep 文件中未定义为
resource的“磁盘”资源: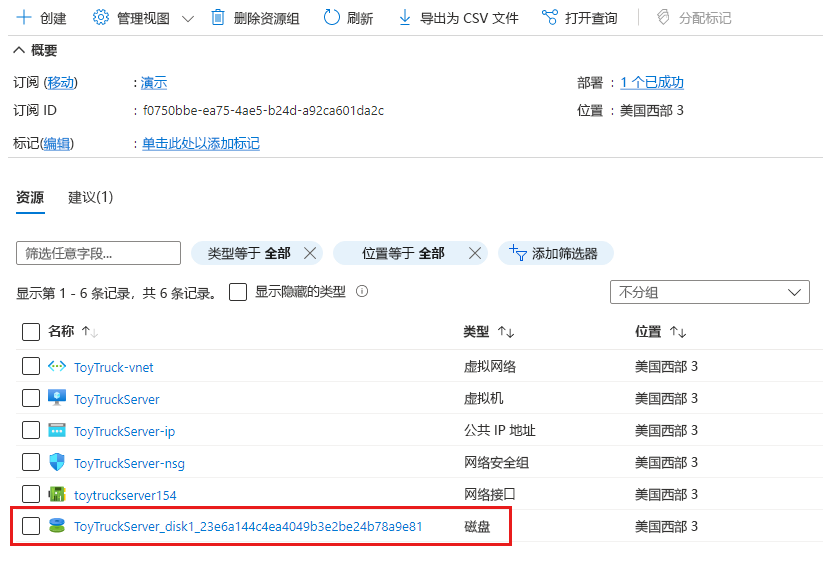
在 Bicep 中处理虚拟机时,无需显式定义托管磁盘资源。 而是定义虚拟机的属性,Azure 会自动为你创建托管磁盘。 在此示例中,无需担心磁盘资源未在 Bicep 文件中定义。
验证模板
在迁移阶段结束时,你的 main.bicep 文件应如以下示例所示:
param virtualNetworks_ToyTruck_vnet_name string = 'ToyTruck-vnet'
param virtualMachines_ToyTruckServer_name string = 'ToyTruckServer'
param networkInterfaces_toytruckserver154_name string = 'toytruckserver154'
param publicIPAddresses_ToyTruckServer_ip_name string = 'ToyTruckServer-ip'
param networkSecurityGroups_ToyTruckServer_nsg_name string = 'ToyTruckServer-nsg'

resource networkSecurityGroups_ToyTruckServer_nsg_name_resource 'Microsoft.Network/networkSecurityGroups@2022-05-01' = {
  name: networkSecurityGroups_ToyTruckServer_nsg_name
  location: 'westus3'
  properties: {
    securityRules: []
  }
}

resource publicIPAddresses_ToyTruckServer_ip_name_resource 'Microsoft.Network/publicIPAddresses@2022-05-01' = {
  name: publicIPAddresses_ToyTruckServer_ip_name
  location: 'westus3'
  sku: {
    name: 'Standard'
    tier: 'Regional'
  }
  properties: {
    ipAddress: '1.2.3.4'
    publicIPAddressVersion: 'IPv4'
    publicIPAllocationMethod: 'Static'
    idleTimeoutInMinutes: 4
    ipTags: []
  }
}

resource virtualMachines_ToyTruckServer_name_resource 'Microsoft.Compute/virtualMachines@2022-08-01' = {
  name: virtualMachines_ToyTruckServer_name
  location: 'westus3'
  properties: {
    hardwareProfile: {
      vmSize: 'Standard_D2s_v3'
    }
    storageProfile: {
      imageReference: {
        publisher: 'canonical'
        offer: '0001-com-ubuntu-server-focal'
        sku: '20_04-lts-gen2'
        version: 'latest'
      }
      osDisk: {
        osType: 'Linux'
        name: '${virtualMachines_ToyTruckServer_name}_disk1_23e6a144c4ea4049b3e2be24b78a9e81'
        createOption: 'FromImage'
        caching: 'ReadWrite'
        managedDisk: {
          storageAccountType: 'Premium_LRS'
          id: resourceId('Microsoft.Compute/disks', '${virtualMachines_ToyTruckServer_name}_disk1_23e6a144c4ea4049b3e2be24b78a9e81')
        }
        deleteOption: 'Delete'
        diskSizeGB: 30
      }
      dataDisks: []
    }
    osProfile: {
      computerName: virtualMachines_ToyTruckServer_name
      adminUsername: 'toytruckadmin'
      linuxConfiguration: {
        disablePasswordAuthentication: false
        provisionVMAgent: true
        patchSettings: {
          patchMode: 'ImageDefault'
          assessmentMode: 'ImageDefault'
        }
        enableVMAgentPlatformUpdates: false
      }
      secrets: []
      allowExtensionOperations: true
      requireGuestProvisionSignal: true
    }
    networkProfile: {
      networkInterfaces: [
        {
          id: networkInterfaces_toytruckserver154_name_resource.id
          properties: {
            deleteOption: 'Detach'
          }
        }
      ]
    }
    diagnosticsProfile: {
      bootDiagnostics: {
        enabled: true
      }
    }
  }
}

resource virtualNetworks_ToyTruck_vnet_name_resource 'Microsoft.Network/virtualNetworks@2022-05-01' = {
  name: virtualNetworks_ToyTruck_vnet_name
  location: 'westus3'
  properties: {
    addressSpace: {
      addressPrefixes: [
        '10.0.0.0/16'
      ]
    }
    subnets: [
      {
        name: 'default'
        id: virtualNetworks_ToyTruck_vnet_name_default.id
        properties: {
          addressPrefix: '10.0.0.0/24'
          delegations: []
          privateEndpointNetworkPolicies: 'Disabled'
          privateLinkServiceNetworkPolicies: 'Enabled'
        }
        type: 'Microsoft.Network/virtualNetworks/subnets'
      }
    ]
    virtualNetworkPeerings: []
    enableDdosProtection: false
  }
}

resource virtualNetworks_ToyTruck_vnet_name_default 'Microsoft.Network/virtualNetworks/subnets@2022-05-01' = {
  name: '${virtualNetworks_ToyTruck_vnet_name}/default'
  properties: {
    addressPrefix: '10.0.0.0/24'
    delegations: []
    privateEndpointNetworkPolicies: 'Disabled'
    privateLinkServiceNetworkPolicies: 'Enabled'
  }
  dependsOn: [
    virtualNetworks_ToyTruck_vnet_name_resource
  ]
}

resource networkInterfaces_toytruckserver154_name_resource 'Microsoft.Network/networkInterfaces@2022-05-01' = {
  name: networkInterfaces_toytruckserver154_name
  location: 'westus3'
  kind: 'Regular'
  properties: {
    ipConfigurations: [
      {
        name: 'ipconfig1'
        id: '${networkInterfaces_toytruckserver154_name_resource.id}/ipConfigurations/ipconfig1'
        etag: 'W/"6a38849d-bd59-4eae-856e-4909f7ac1fac"'
        type: 'Microsoft.Network/networkInterfaces/ipConfigurations'
        properties: {
          provisioningState: 'Succeeded'
          privateIPAddress: '10.0.0.4'
          privateIPAllocationMethod: 'Dynamic'
          publicIPAddress: {
            name: 'ToyTruckServer-ip'
            id: publicIPAddresses_ToyTruckServer_ip_name_resource.id
            properties: {
              provisioningState: 'Succeeded'
              resourceGuid: '07079685-0980-4ddf-acc3-3c8797c94b9a'
              publicIPAddressVersion: 'IPv4'
              publicIPAllocationMethod: 'Dynamic'
              idleTimeoutInMinutes: 4
              ipTags: []
              ipConfiguration: {
                id: '${networkInterfaces_toytruckserver154_name_resource.id}/ipConfigurations/ipconfig1'
              }
              deleteOption: 'Detach'
            }
            type: 'Microsoft.Network/publicIPAddresses'
            sku: {
              name: 'Basic'
              tier: 'Regional'
            }
          }
          subnet: {
            id: virtualNetworks_ToyTruck_vnet_name_default.id
          }
          primary: true
          privateIPAddressVersion: 'IPv4'
        }
      }
    ]
    dnsSettings: {
      dnsServers: []
    }
    enableAcceleratedNetworking: true
    enableIPForwarding: false
    disableTcpStateTracking: false
    networkSecurityGroup: {
      id: networkSecurityGroups_ToyTruckServer_nsg_name_resource.id
    }
    nicType: 'Standard'
  }
}
注意
模板中的一些内容可能有所不同,包括一些符号名称、API 版本和 IP 地址。 这没有关系。 你稍后将在模块中解决其中一些差异。
你已创建一个初始 Bicep 文件来表示资源。 Bicep 文件的结构并不完善,也没有遵循最佳做法。 在下一单元中,你将学习如何提高迁移后模板的质量。
提示
如果使用像 Git 这样的版本控制系统,这将是提交工作的好时机。
验证 main.bicep 文件后,请关闭 template.bicep 文件。